Windows 11的WSL2里丝滑运行PX4+Gazebo仿真
PX4 官方本身就支持 Windows 10/11 + WSL2 开发环境,并且可以跑 Gazebo 仿真。Windows 11 的 WSLg 也支持 Linux GUI,所以 Gazebo 窗口可以直接弹出来,不需要再装 VcXsrv 之类的 X Server。
一、使用的配置
|-----------------|----------------------|
| 电脑 | Windows11 |
| WSL | WSL2 |
| Ubuntu 22.04 | 22.04 |
| PX4 | -Autopilot main 或稳定版 |
| Gazebo Harmonic | / |
PX4 官方现在支持 Ubuntu 22.04 和 24.04,Gazebo 新版已经替代 Gazebo Classic;Ubuntu 22.04 及之后推荐用新版 Gazebo。
二、安装步骤
1、WSL+Ubuntu安装
(1) Windows PowerShell 管理员执行
wsl --update
wsl --set-default-version 2
wsl --install -d Ubuntu-22.04
当然也可以指定安装位置,博主是在D:\WSL\Ubuntu-22.04目录下
mkdir D:\WSL\Ubuntu-22.04
wsl --install -d Ubuntu-22.04 --location D:\WSL\Ubuntu-22.04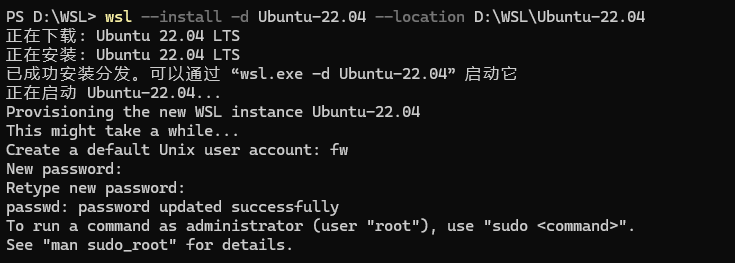
这里注意:
(1)用户名不要用默认的,因为比较长,自己起一个短一点的。
(2)设置密码的时候你输入是不显示的,但是实际上已经输入进去了。用过linux的应该都知道。

如果你已经装过 Ubuntu,就只执行:
bash
wsl --update
wsl --shutdown
2. 建议给 WSL2 分配资源
在 Windows 里打开:
C:\Users\你的用户名\.wslconfig如果没有就新建。写入:
bash
[wsl2]
memory=12GB
processors=8
swap=16GB
guiApplications=true
然后 PowerShell 里执行:
wsl --shutdown 再重新打开 Ubuntu。
如果你电脑内存只有 16GB,可以把 memory=12GB 改成:memory=8GB
3. 安装 PX4
注意:PX4 一定放在 WSL 的 Linux 目录里,不要放 /mnt/d/ 或 /mnt/c/。
在 Ubuntu 里执行:
bash
cd ~
sudo apt update
sudo apt upgrade -y
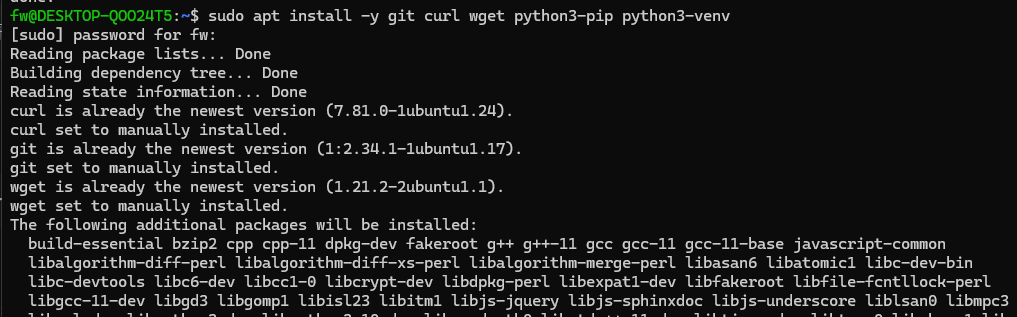
sudo apt install -y git curl wget python3-pip python3-venv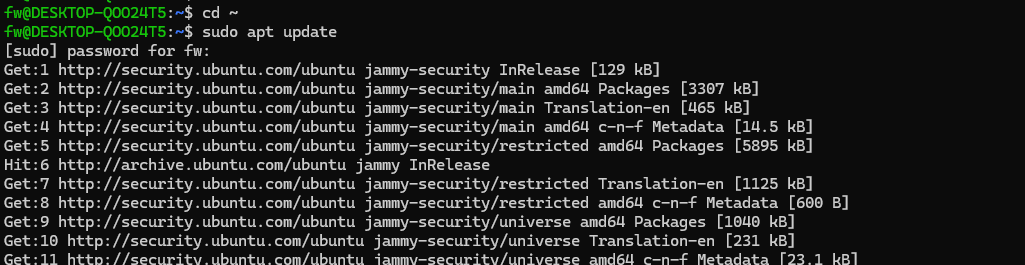

然后克隆 PX4:
bash
git clone https://github.com/PX4/PX4-Autopilot.git --recursive 如果 GitHub 慢,可以先浅克隆:
bash
git clone --depth 1 https://github.com/PX4/PX4-Autopilot.git
cd PX4-Autopilot
git submodule update --init --recursive --depth 1
4. 安装 PX4 工具链和 Gazebo
下载完成后进入目录:
bash
cd ~/PX4-Autopilot安装 PX4 工具链:
bash
bash ./Tools/setup/ubuntu.sh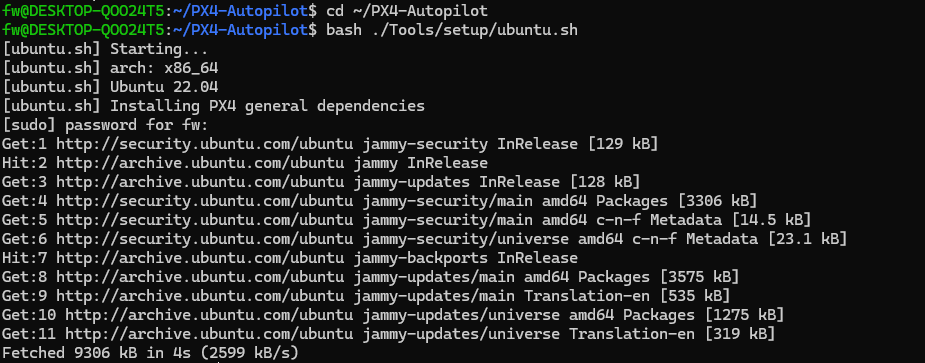
 官方 PX4 Ubuntu 安装脚本会安装 PX4 开发环境,包括 Gazebo Harmonic 和相关工具链。
这个过程会比较久,中间如果问你密码,就输入你的 Ubuntu 密码;如果问是否继续,输入:y
安装结束后,不要马上编译。先关闭 Ubuntu
bash
exit
然后回到 Windows PowerShell 执行:
TypeScript
wsl --shutdown然后重新进入 Ubuntu:
bash
wsl -d Ubuntu-22.04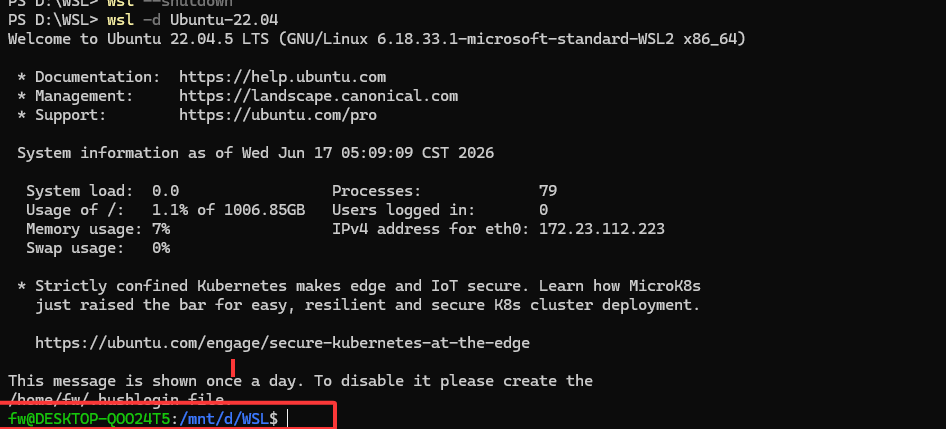
5. 运行 PX4 + Gazebo 仿真
再重新打开 Ubuntu:
bash
wsl -d Ubuntu-22.04然后运行 PX4 + Gazebo:
bash
cd ~/PX4-Autopilot
make px4_sitl gz_x500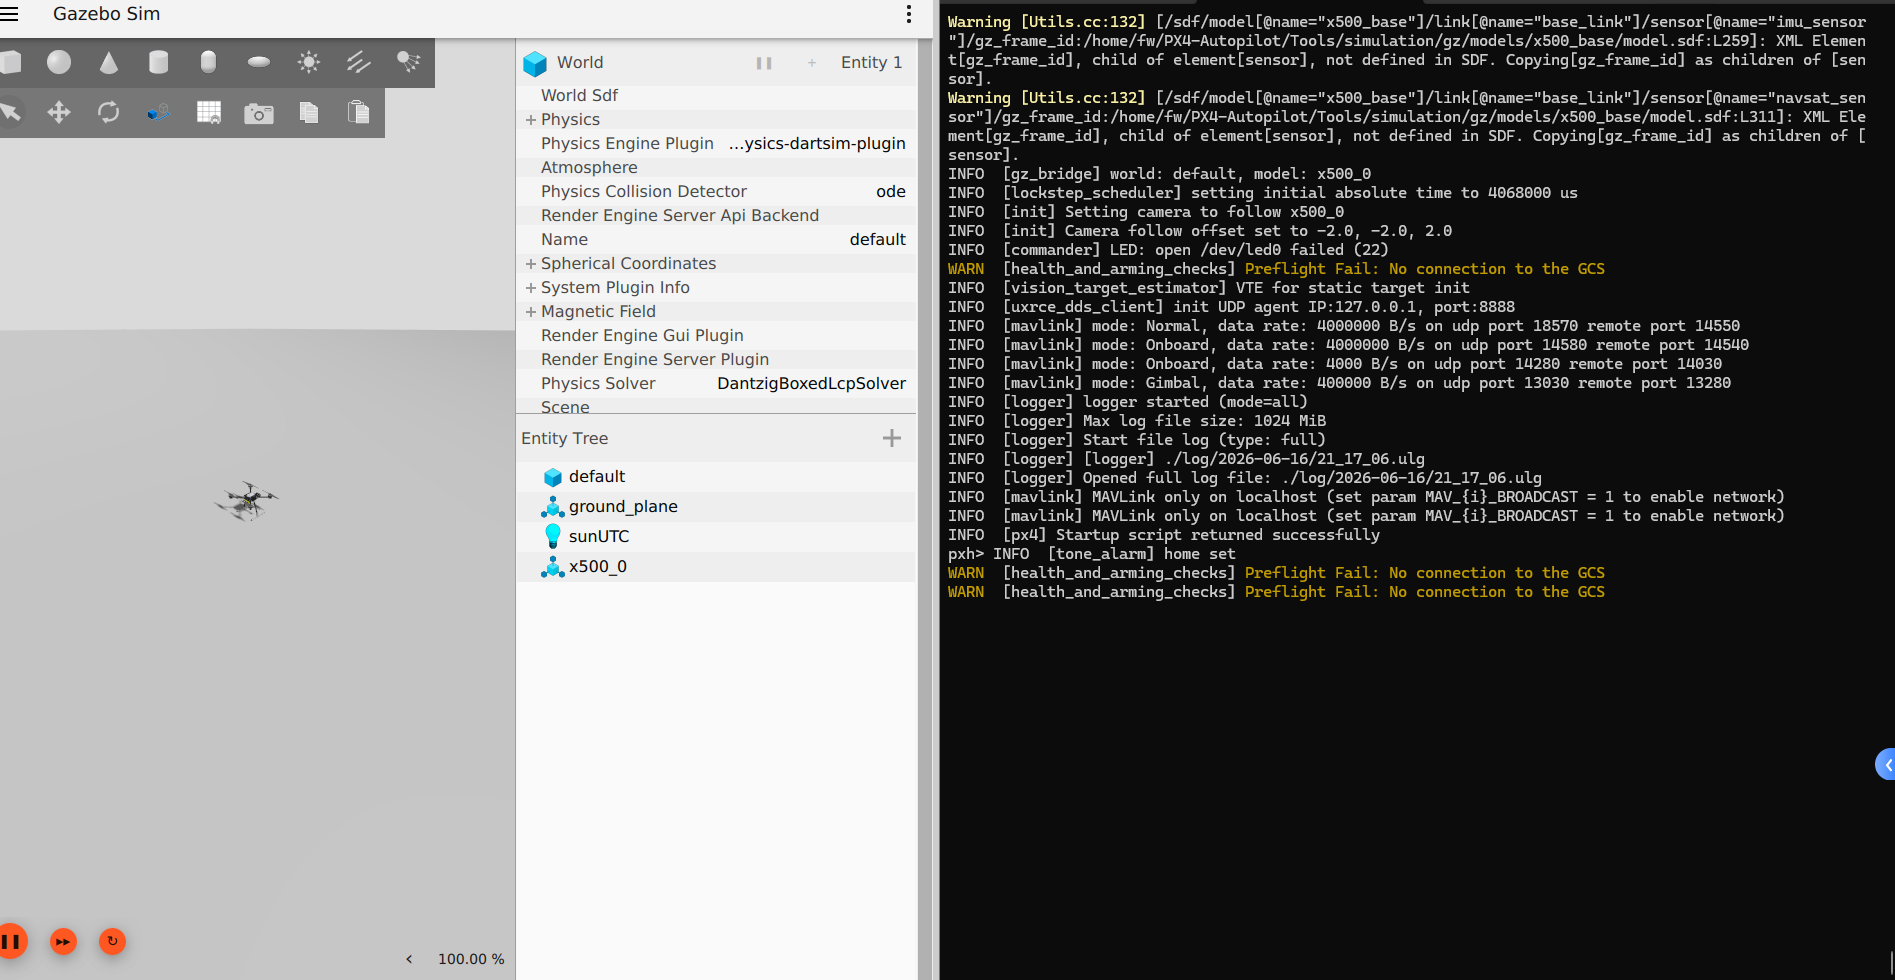 PX4 官方文档里第一次用模拟器构建就是这个命令,
gz_x500 会启动 Gazebo 里的 x500 多旋翼仿真。
成功的话,你会看到 PX4 控制台,并且 Gazebo 窗口弹出来。但是现在还是有问题:
现在 PX4 + Gazebo 已经跑起来了 。左边 Gazebo 里已经有 x500_0 无人机,右边 PX4 控制台也启动成功了。
现在不能起飞的原因是这两行:
bash
Preflight Fail: No connection to the GCS
Arming denied: Resolve system health failures first
意思是:PX4 没检测到地面站连接,所以拒绝解锁。PX4 仿真默认启用了 Data Link Loss 检查,没连接 QGroundControl / MAVSDK / MAVLink 程序时可能不允许起飞;官方文档也说明可以用 NAV_DLL_ACT=0 禁用这个数据链路丢失动作来做仿真测试。
6.临时测试起飞,直接在右边 pxh> 输入
你现在就在 PX4 shell 里,直接输入:
bash
param set NAV_DLL_ACT 0
param set NAV_RCL_ACT 0
param save
然后再输入:
bash
commander arm
commander takeoff
如果成功,无人机会在 Gazebo 里起飞,如图
NAV_DLL_ACT=0 是关闭 GCS 数据链路丢失动作;NAV_RCL_ACT=0 是关闭遥控器链路丢失动作。这个适合 SITL 仿真测试,不要照搬到真机上。
7.命令测试
PX4 控制台里可以测试
起飞:
bash
commander takeoff降落:
bash
commander land退出仿真:(直接按Ctrl + C也可以)
bash
shutdown三、上接上文中出现的问题,更正规的方法:连接 QGroundControl
如果你要正常调参、看姿态、规划任务,建议装 QGroundControl。QGC 会作为 GCS 给 PX4 发心跳,PX4 就不会再报 "No connection to the GCS"。QGC 文档也说明,建立通信链路后它会自动连接车辆。
1、安装QGroundControl
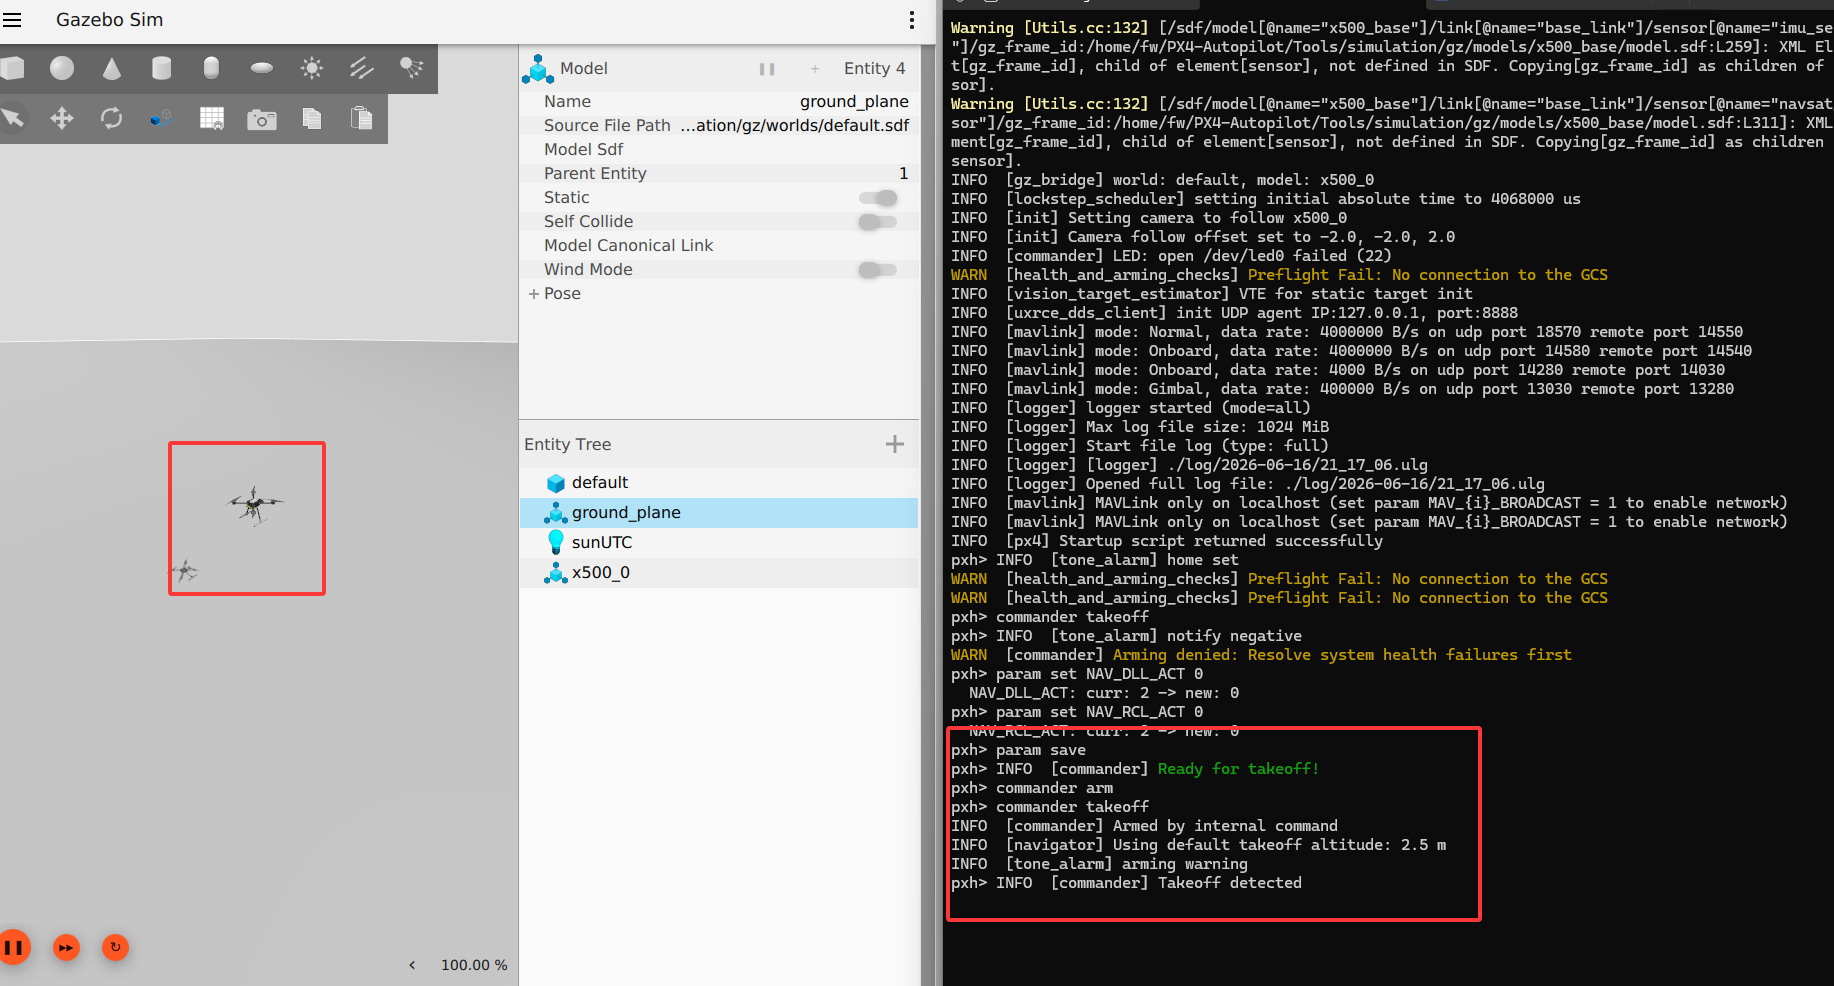
直接去官网:Download and Install | QGC Guide下载,然后一键安装就可以了。
安装好后先打开 QGroundControl。
2、Windows 版 QGC 连接 WSL2 里的 PX4
PX4 官方说明:Windows 版 QGroundControl 可以连接 WSL2 中运行的仿真,但需要手动添加 UDP 链接;WSL 的 IP 重启后会变,所以可能每次重启 WSL 后要更新一次。
在 Ubuntu 里新开一个终端,输入:
html
ip addr | grep eth0你会看到类似:
html
inet 172.xx.xx.xx/20复制 172.xx.xx.xx 这一段。
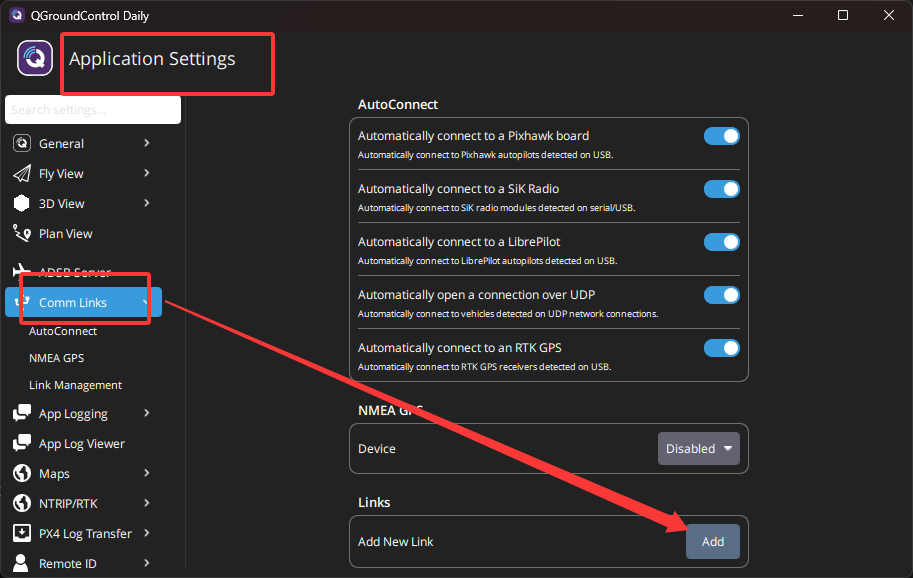
然后在 QGroundControl 里:
html
左上角 Q 图标
Application Settings
Comm Links
Add
Type 选 UDP
Name 填 WSL
Listening Port / Port 填 18570
Server Address 填刚才的 172.xx.xx.xx
Save
Connect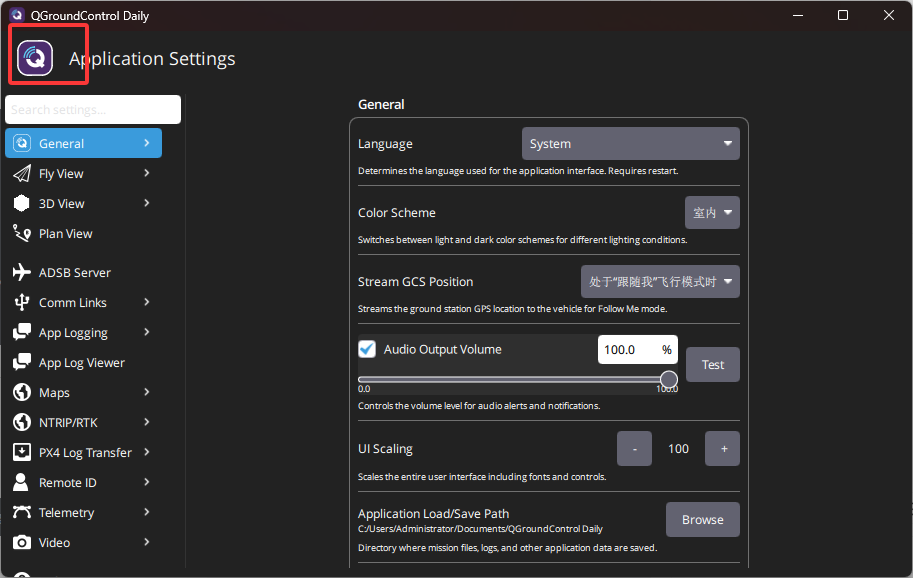
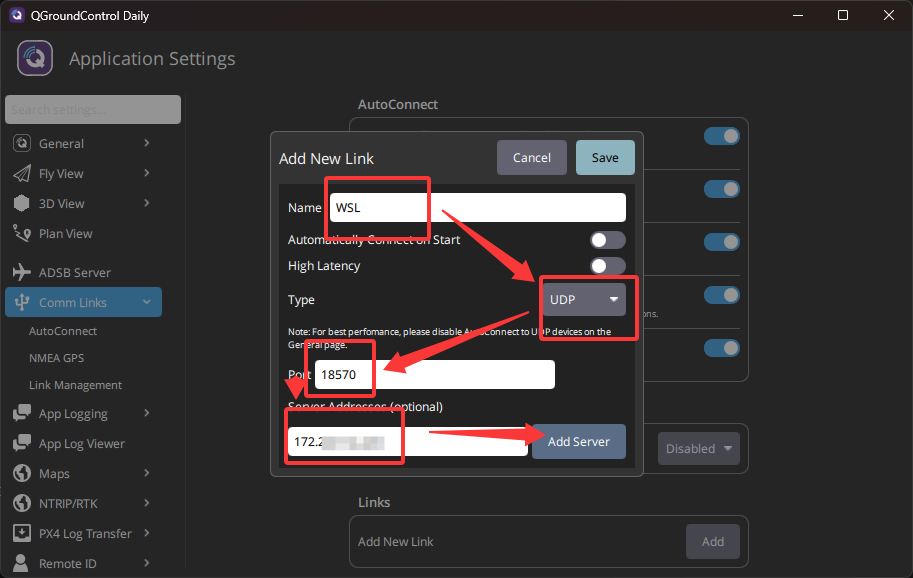
PX4 官方给的 WSL2 + Windows QGC 连接端口就是 18570。
3、在PX4运行的窗口,输入起飞指令
bash
commander takeoff飞机正常起飞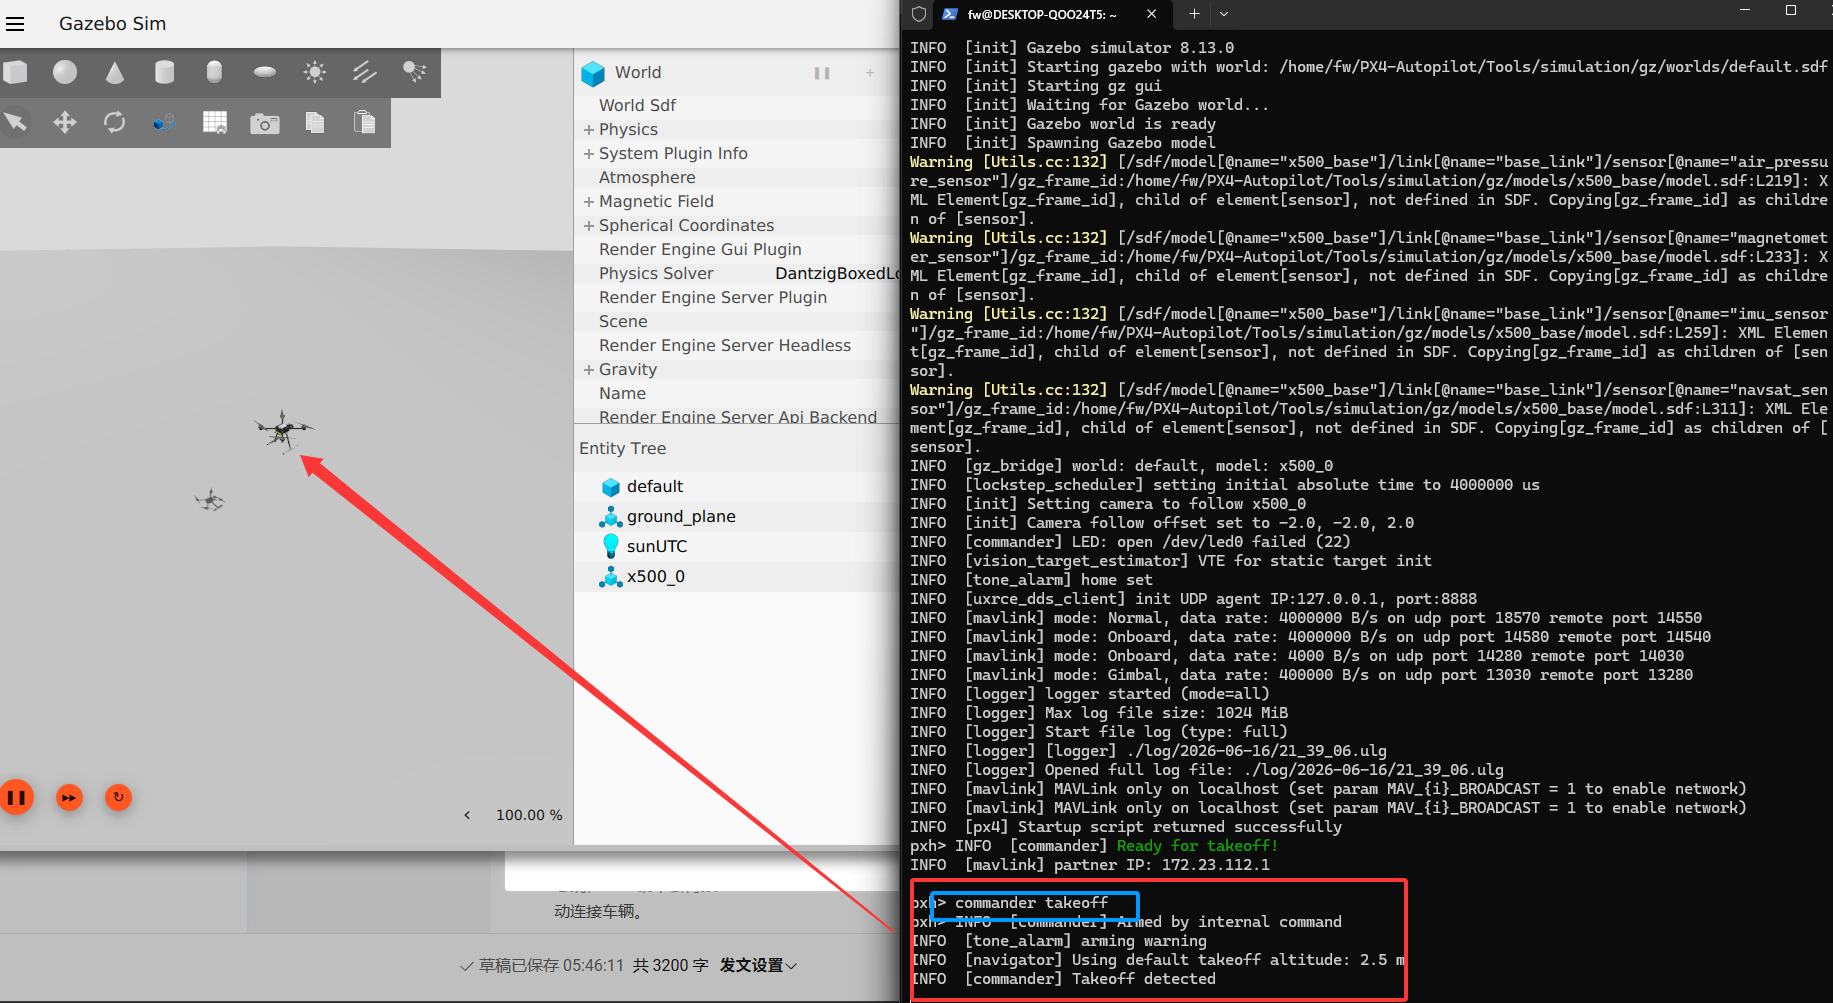
现在这个环境已经成功了,后面就可以继续接 MAVSDK、ROS 2、QGroundControl、路径规划 这些了。
四. 常见问题
如果出现:
html
ninja: error: unknown target 'gz_x500'执行:
bash
cd ~/PX4-Autopilot
make distclean
make px4_sitl gz_x500
PX4 文档也提到这个错误可以用 make distclean 清理后重试。
如果 Gazebo 窗口打不开,先检查:
bash
echo $WAYLAND_DISPLAY
echo $DISPLAY
Windows 11 WSLg 正常时,这两个变量通常会有值。然后 Windows PowerShell 执行:
bash
wsl --update
wsl --shutdown
再重开 Ubuntu。
如果你是 NVIDIA 显卡,只需要在 Windows 侧安装最新 NVIDIA 驱动,不要在 WSL 里装 Linux 显卡驱动。
NVIDIA 官方 WSL 文档明确说明 WSL 里不要安装 Linux display driver。