圆锥网格 · Cone Mesh · ▶ 在线运行案例
- 案例合集: 三维可视化功能案例(threehub.cn)
- 开源仓库github地址: https://github.com/z2586300277/three-cesium-examples
- 400个案例代码: 网盘链接
你将学到什么
- EffectComposer 多 Pass 后期处理管线
- UnrealBloomPass 辉光 Bloom 效果
- OrbitControls 相机轨道交互
requestAnimationFrame渲染循环与resize自适应
效果说明
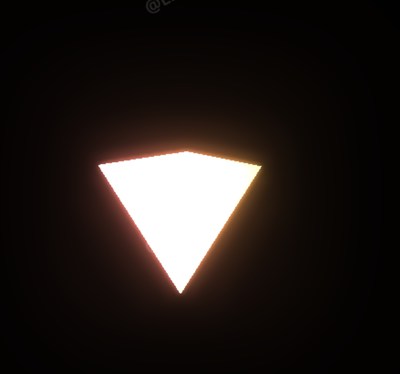
本案例演示 圆锥网格 效果:原场景渲染后经 EffectComposer 叠加 Bloom/模糊等全屏后期;核心用到 EffectComposer、UnrealBloomPass、OrbitControls。建议先打开文首在线案例查看动态画面,再对照下方源码逐步理解。
核心概念
- Scene / Camera / WebGLRenderer 构成最小渲染闭环;大场景可开
logarithmicDepthBuffer缓解 Z-fighting。 - EffectComposer 以多 Pass 链式渲染:RenderPass → 特效 Pass → 输出屏幕,替代直接
renderer.render。 - OrbitControls 提供轨道旋转/缩放;开启
enableDamping后需在 animate 中controls.update()。
实现步骤
- 搭建 Scene、PerspectiveCamera、WebGLRenderer,挂载 canvas 并处理
resize - 组装 EffectComposer Pass 链,在 animate 中调用
composer.render() - 创建 OrbitControls(及 Raycaster 等交互控件,若源码包含)
- 在
requestAnimationFrame循环中更新状态并 render(Cesium 为viewer.render或自动渲染)
代码要点
  import * as THREE from 'three'

  import { OrbitControls } from 'three/examples/jsm/controls/OrbitControls.js'
  import { UnrealBloomPass } from 'three/examples/jsm/postprocessing/UnrealBloomPass.js';
  import { EffectComposer } from 'three/examples/jsm/postprocessing/EffectComposer.js';
  import { RenderPass } from 'three/examples/jsm/postprocessing/RenderPass.js';


  const box = document.getElementById('box')


  const scene = new THREE.Scene()


  const camera = new THREE.PerspectiveCamera(75, box.clientWidth / box.clientHeight, 0.1, 100000)


  camera.position.set(0, 0, 20)


  const renderer = new THREE.WebGLRenderer({ antialias: true, alpha: true, logarithmicDepthBuffer: true })


  renderer.setSize(box.clientWidth, box.clientHeight)


  box.appendChild(renderer.domElement)


  new OrbitControls(camera, renderer.domElement)


  const effectComposer = new EffectComposer(renderer);
  const renderPass = new RenderPass(scene, camera);
  effectComposer.addPass(renderPass);
  const bloomPass = new UnrealBloomPass(new THREE.Vector2(box.clientWidth, box.clientHeight), 0.8, 0.4, 0.0);
  effectComposer.addPass(bloomPass);


  const geometry = new THREE.ConeGeometry(3.5, 5.5, 4);
  const textureLoader = new THREE.TextureLoader();
  const texture = textureLoader.load("https://g2657.github.io/examples-server/smartCity/demo/image/gradual_change_y_02.png");
  const material = new THREE.MeshBasicMaterial({
      map: texture
  })


  const cone = new THREE.Mesh(geometry, material);
  cone.rotation.x = -Math.PI;
  scene.add(cone);


  let d = 0.03
  animate()


  function animate() {


  if (cone.position.y > 3 || cone.position.y < 0) d = -d
      cone.position.y += d;
      cone.rotation.y += Math.PI / 100;


  requestAnimationFrame(animate)
      effectComposer.render()


  }


  window.onresize = () => {


  renderer.setSize(box.clientWidth, box.clientHeight)


  camera.aspect = box.clientWidth / box.clientHeight


  camera.updateProjectionMatrix()


  `}
`完整源码:GitHub
小结
- 本文提供 圆锥网格 完整 Three.js 源码与在线 Demo,建议先运行案例再改 uniform/参数做二次实验
- 更多 Three.js 实战案例见 three-cesium-examples 合集 与 GitHub 开源仓库