实现一个简单的博客系统。当前先完成页面设计的部分,通过前面学习的前端知识来构建出网页。
主要分成四个页面:
- 博客列表页
- 博客正文页
- 博客登陆页
- 博客编辑页
一、实现博客列表页
创建 blog_list.html,编写博客列表页。
1、实现导航栏
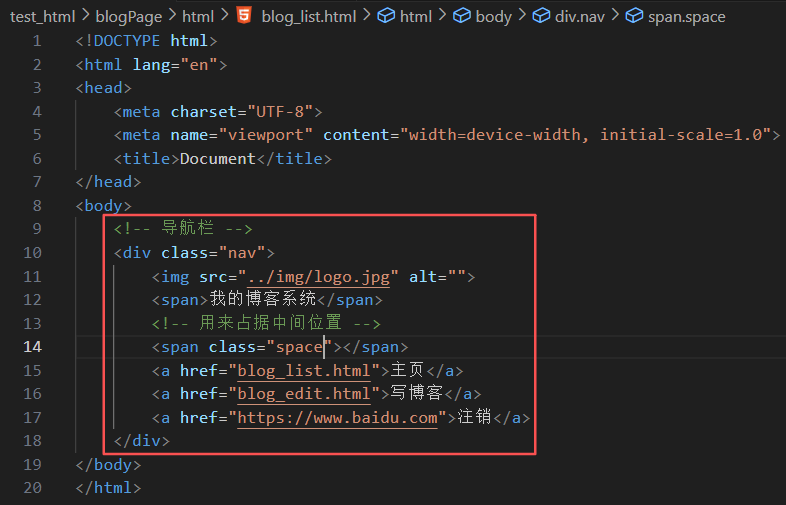
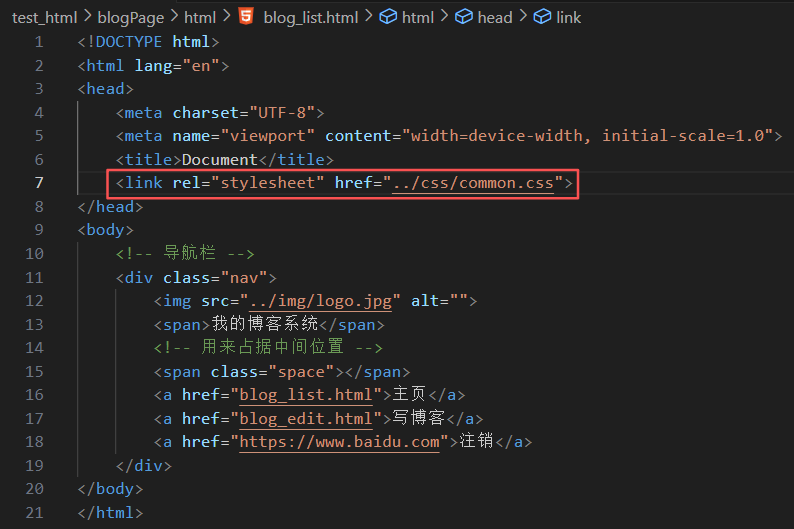
编辑 blog_list.html,创建导航栏的 html 代码。
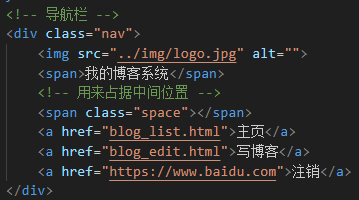
导航栏里面包含 logo、标题,以及一些按钮(跳转链接)。为了实现左右排列,在 logo 和按钮之间加一个 space 作为占位器
准备一个 logo.jpg, 放到 img 目录中:

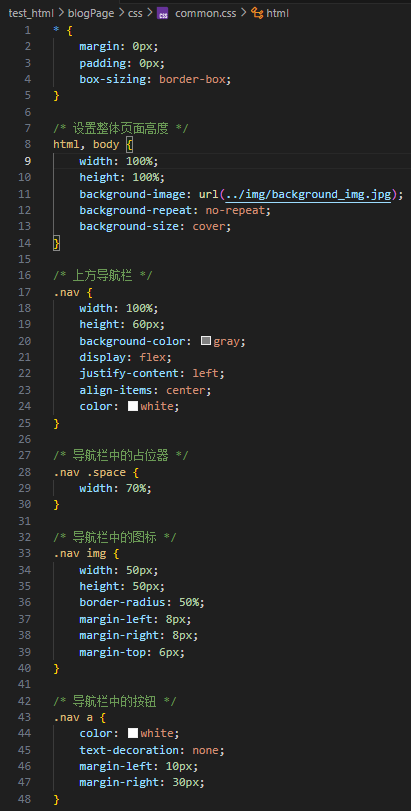
创建 common.css。对于导航栏来说,每个页面都需要,因此把样式提取出来。
- 先清除浏览器默认样式
- 准备一个 cat.jpg 作为背景图
- 需要把 html 和 body 高度都设为 100%,使背景的高度和浏览器窗口高度一样
- 导航栏 nav 内部使用 flex 布局,用来排列 logo 和一些按钮
引入 common.css:

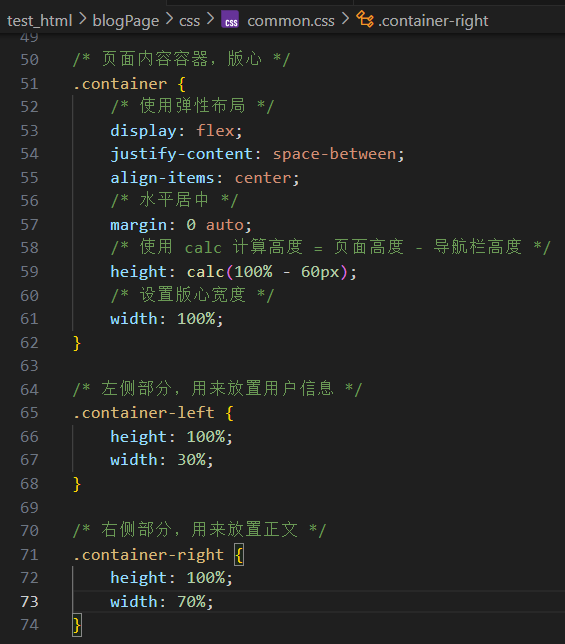
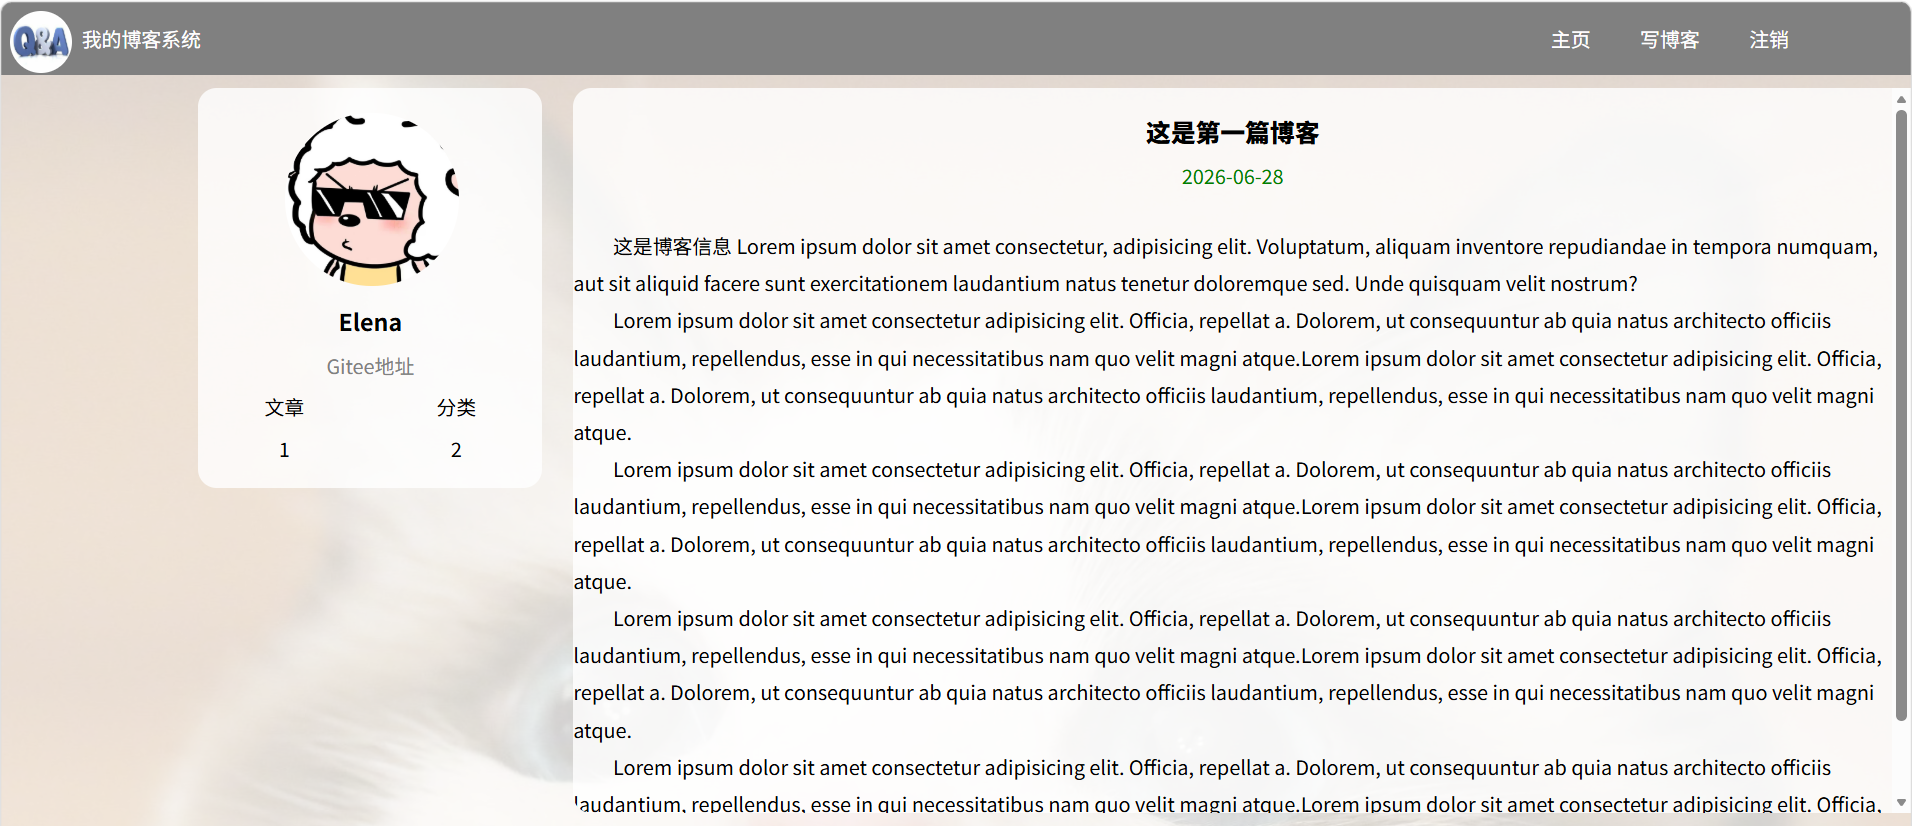
2、实现版心
编辑 blog_list.html。
- container 作为版心,实现居中对齐的效果
- 左侧放用户信息
- 右侧放博客列表

编辑 common.css:
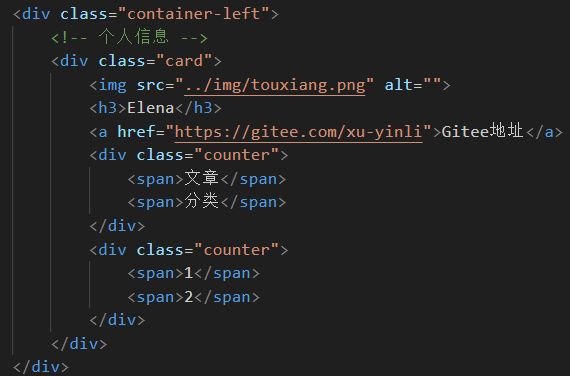
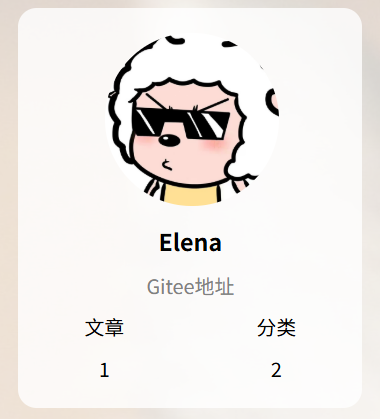
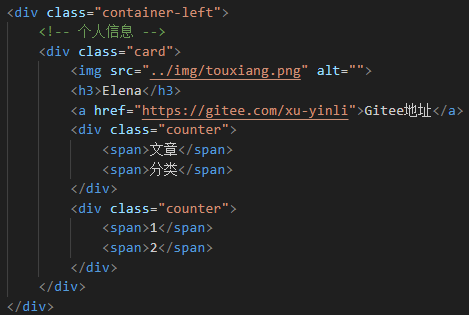
3、实现个人信息
编辑 blog_list.html,把个人信息放到一个 .card div 中。
个人信息中包含头像(img)、用户名(h3)、用户的 Gitee(a)、用户的文章数量和分类数量。
编辑 common.css:

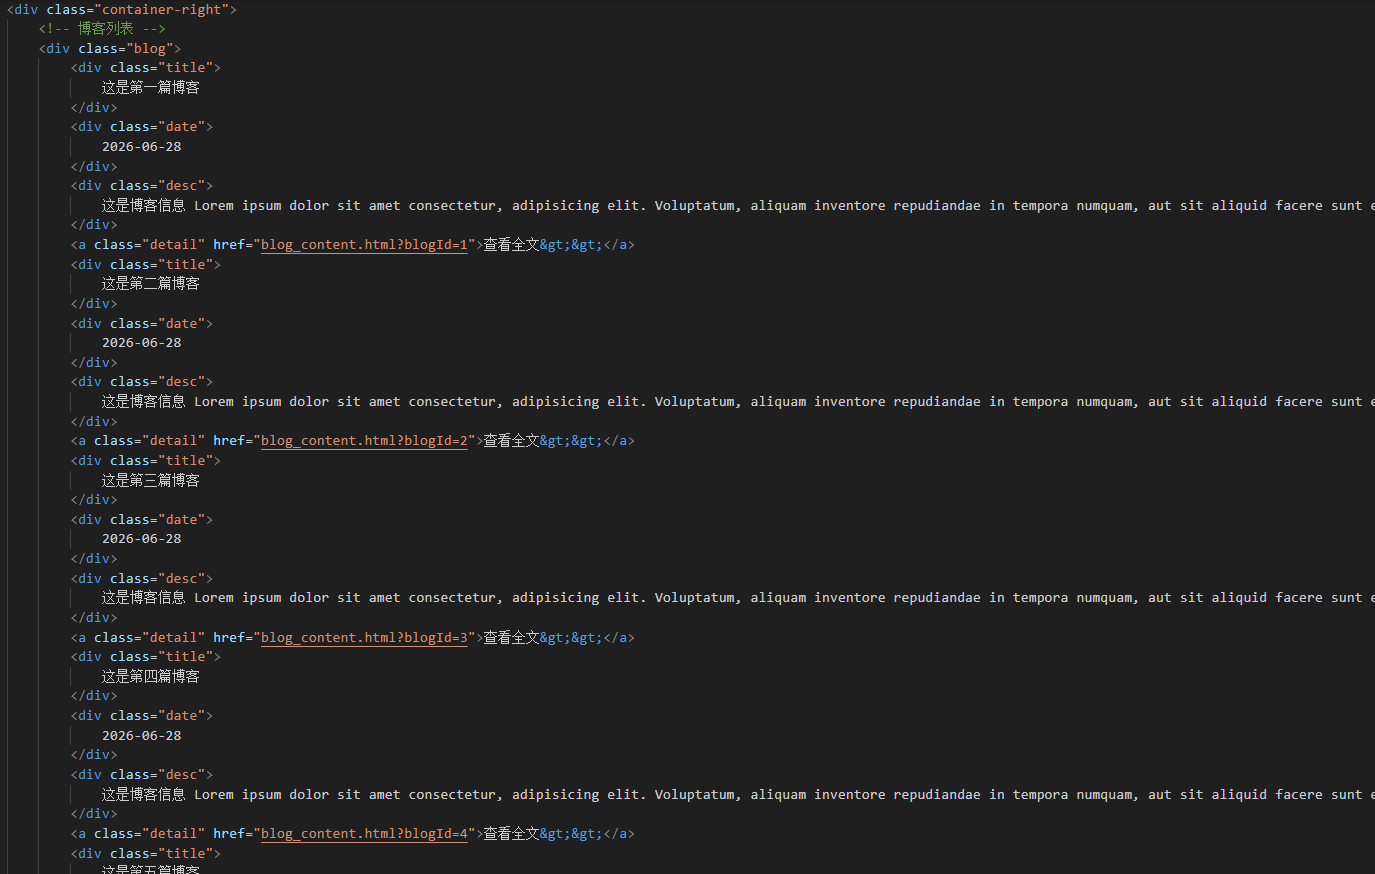
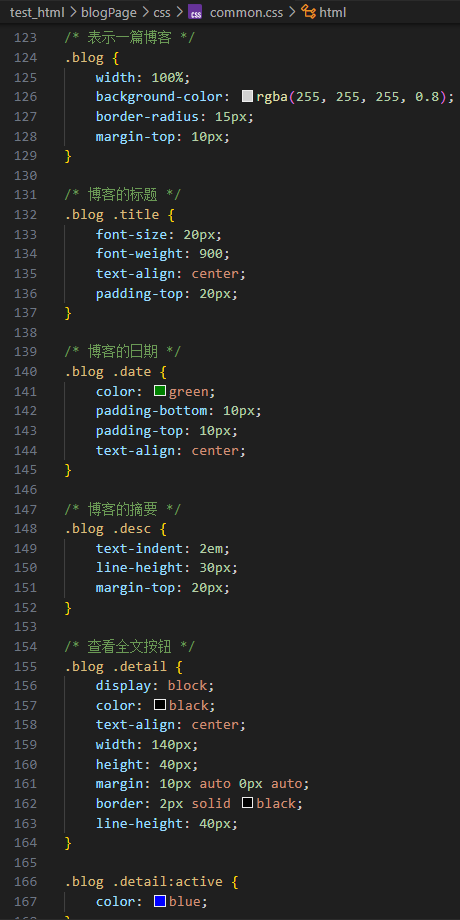
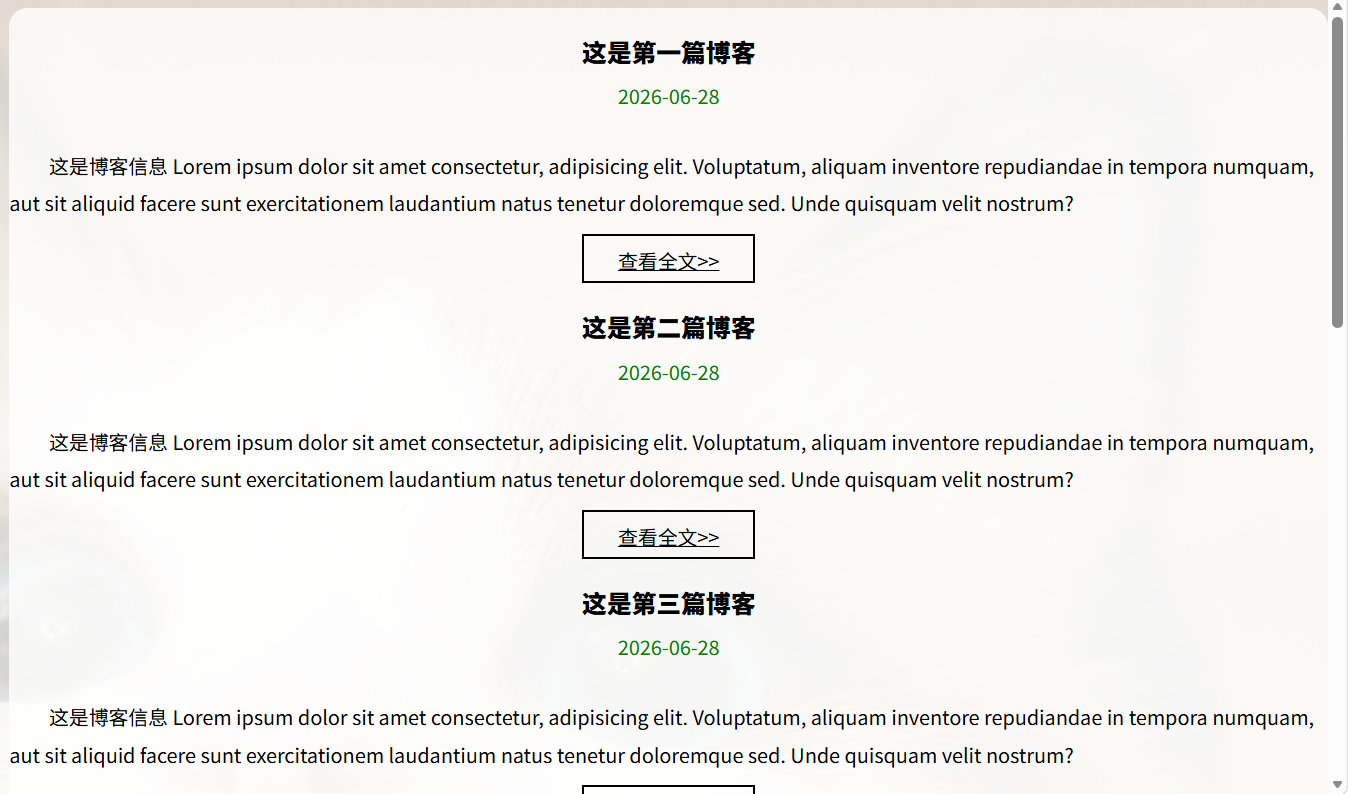
4、实现博客列表
编辑 blog_list.html。
每个博客使用 div.blog 来表示。每个博客中包含标题、发布时间、描述、查看全文按钮。
5、实现博客正文页
创建 blog_content.html
(1)引入导航栏
编辑 blog_content.html。这部分代码和 blog_list.html 中相同,直接复制即可。

(2)引入个人信息
编辑 blog_content.html。这部分代码和 blog_list.html 相同,直接复制。
(3)实现博客正文
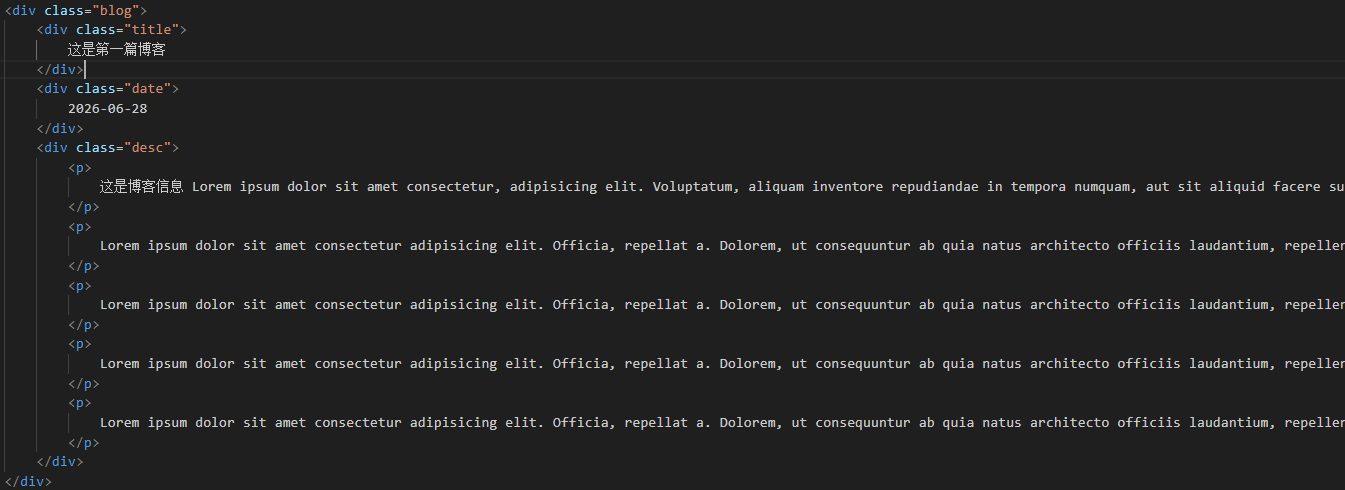
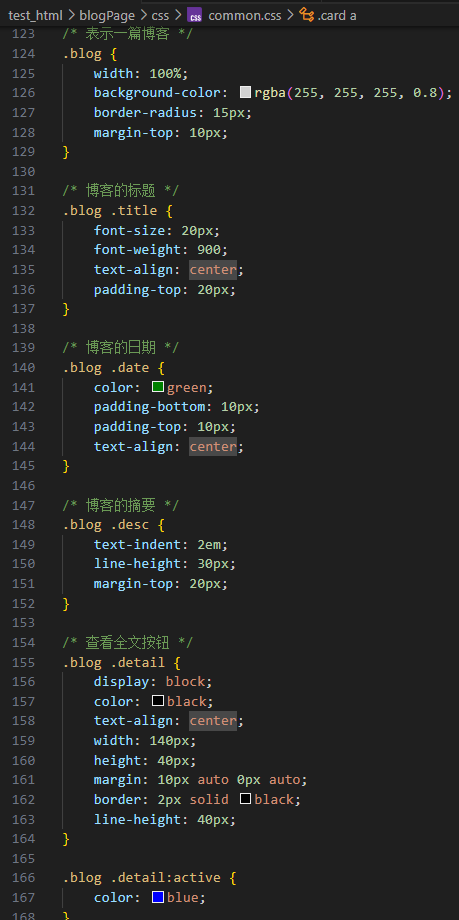
编辑 blog_content.html。博客内容整体放倒 div.blog-content 中,博客内容中包含博客标题(h3)、博客时间(div.date)、博客正文(p)。
创建 content.css:
引入 content.css:

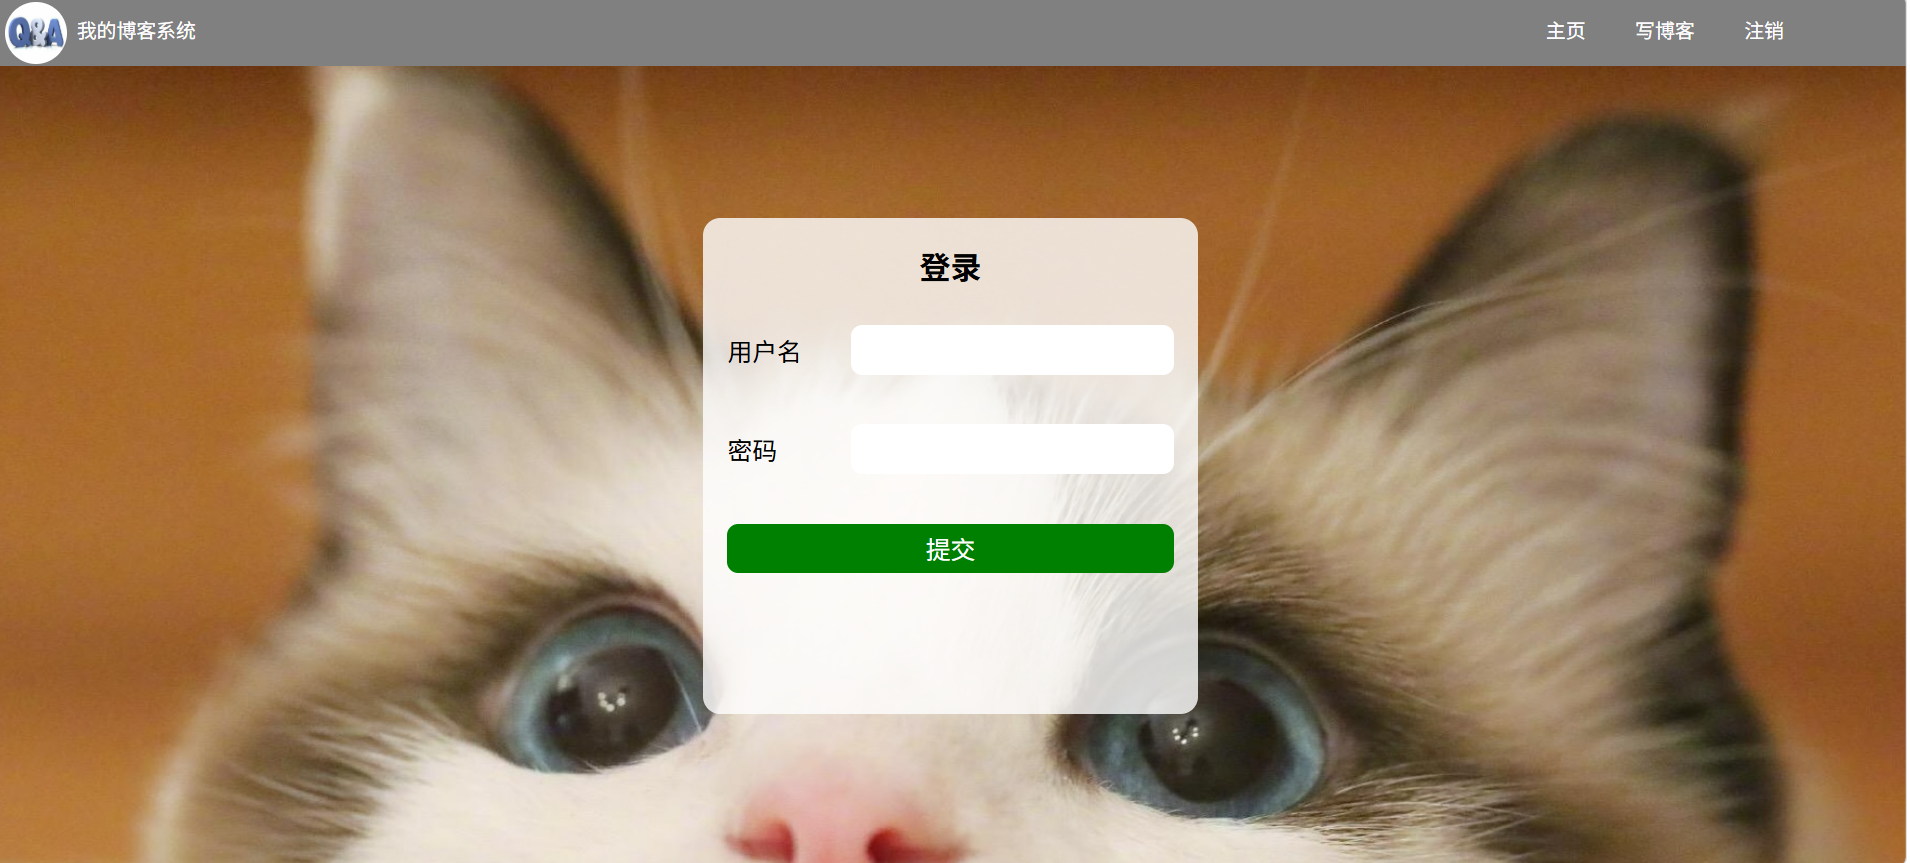
二、实现博客登陆页
1、引入导航栏
编辑 login.htm。这部分代码和 blog_list.html 中相同,直接复制即可。
引入样式 common.css:

2、实现版心
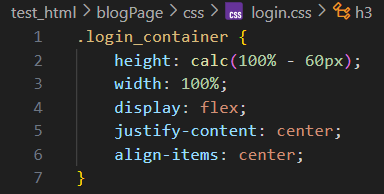
编辑 login.html。使用 flex 使登陆对话框能够在页面中水平垂直居中。

创建 login.css:
引入 login.css:

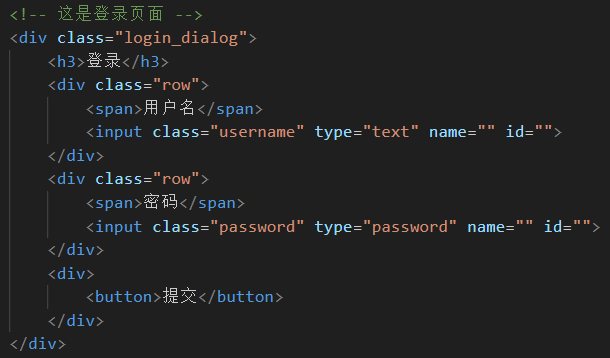
3、实现登陆框
编辑 login.html。登陆框整体放到 div.login-dialog 中,内部包含三个行,使用 div.row 表示。每个行里分别包含用户名输入框、密码输入框、提交按钮。
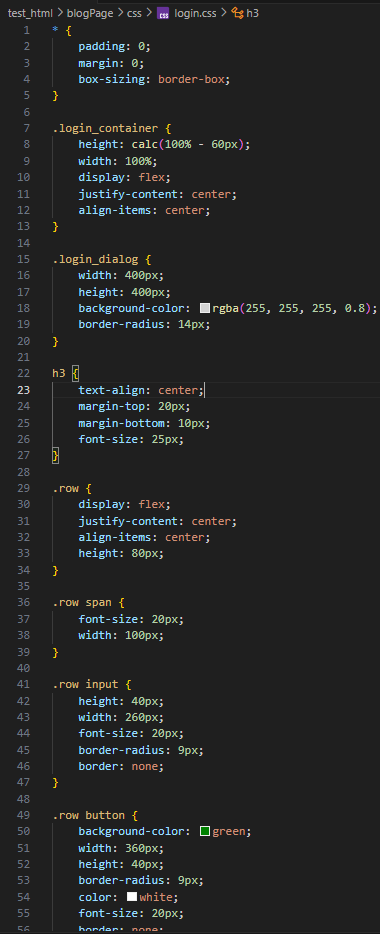
编辑 login.css:
4、实现博客编辑页
创建 blog_edit.html。
(1)引入导航栏
编辑 blog_edit.html。这部分代码和 blog_list.html 中相同,直接复制即可。
引入样式 common.css:

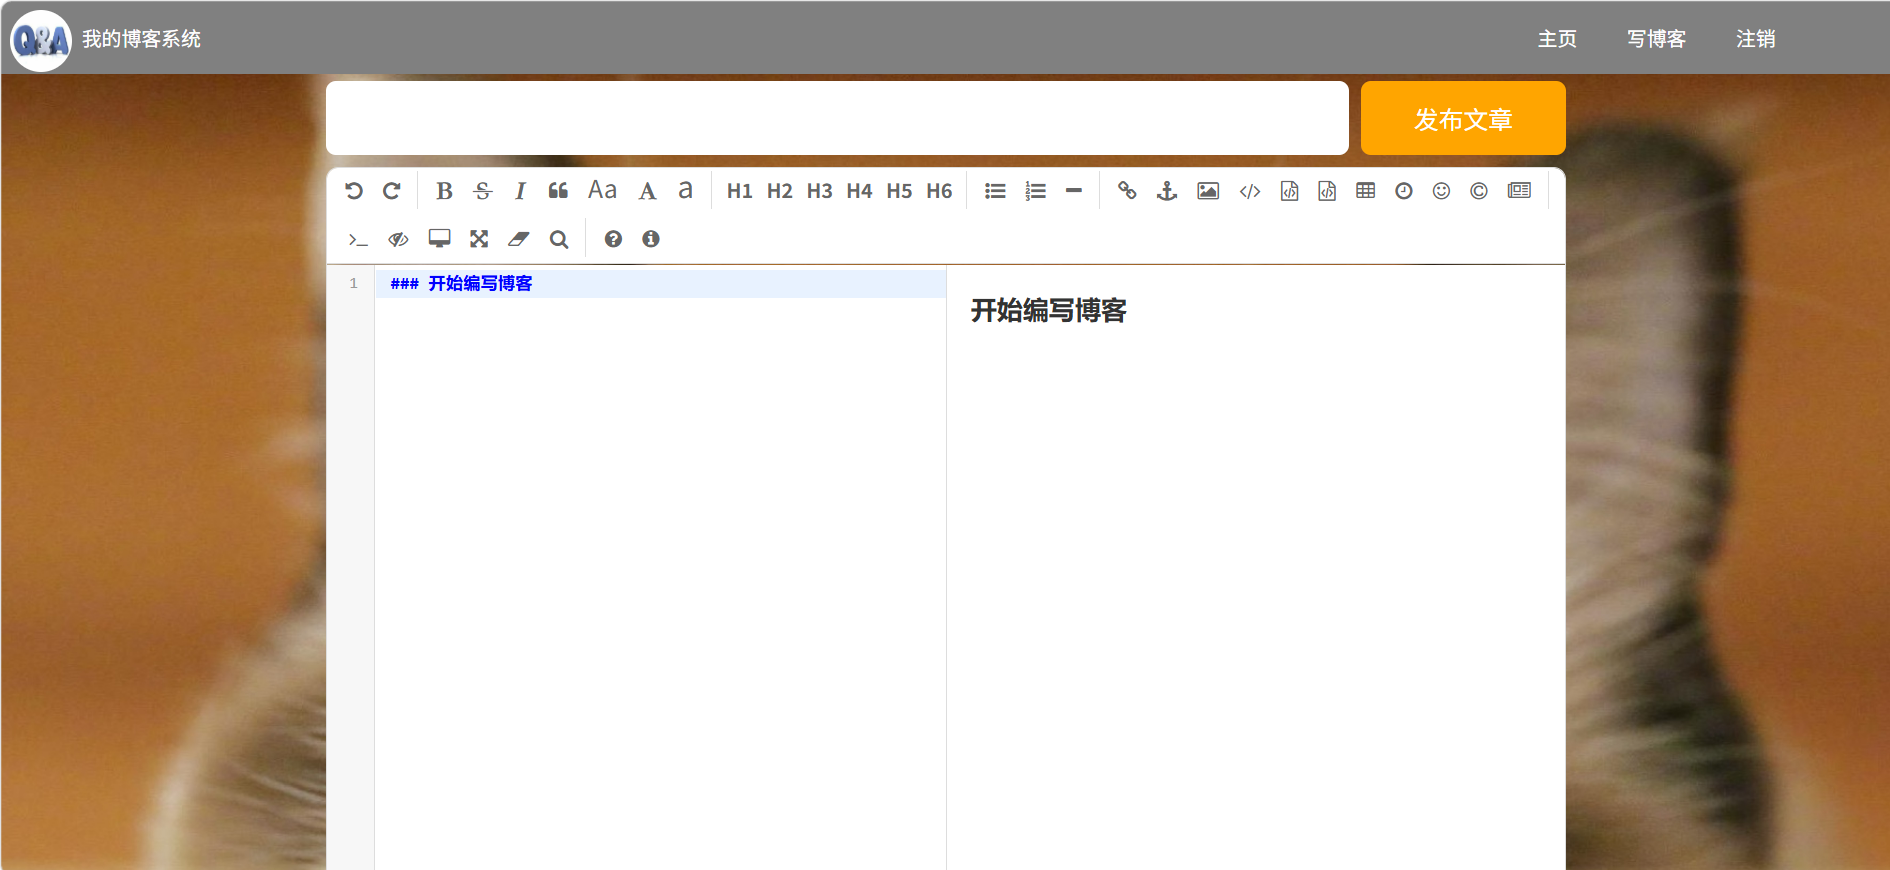
(2)实现编辑区
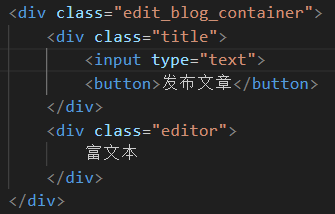
编辑 blog_edit.html。整个编辑区放到 div.edit_blog_container 中。
里面包含一个标题编辑区和内容编辑区。
- 标题编辑区包含一个 input,用来填写标题,以及一个 button 按钮用于提交。
- 内容编辑区先创建一个 div#editor,后面将使用 editor.md 进行初始化。
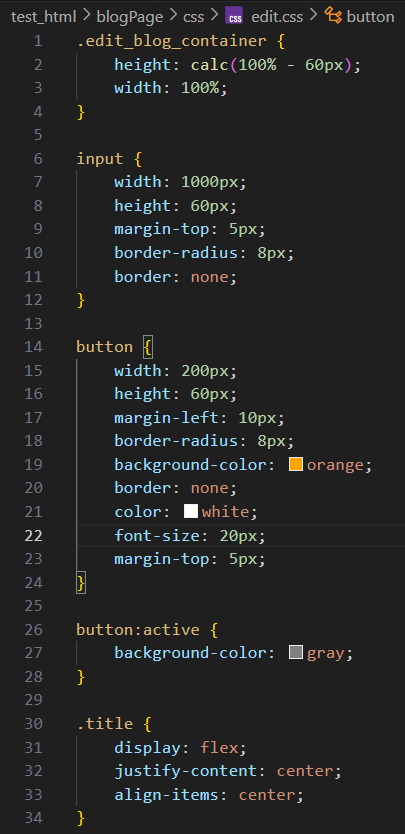
创建 blog_edit.css:


(3)引入 editor.md
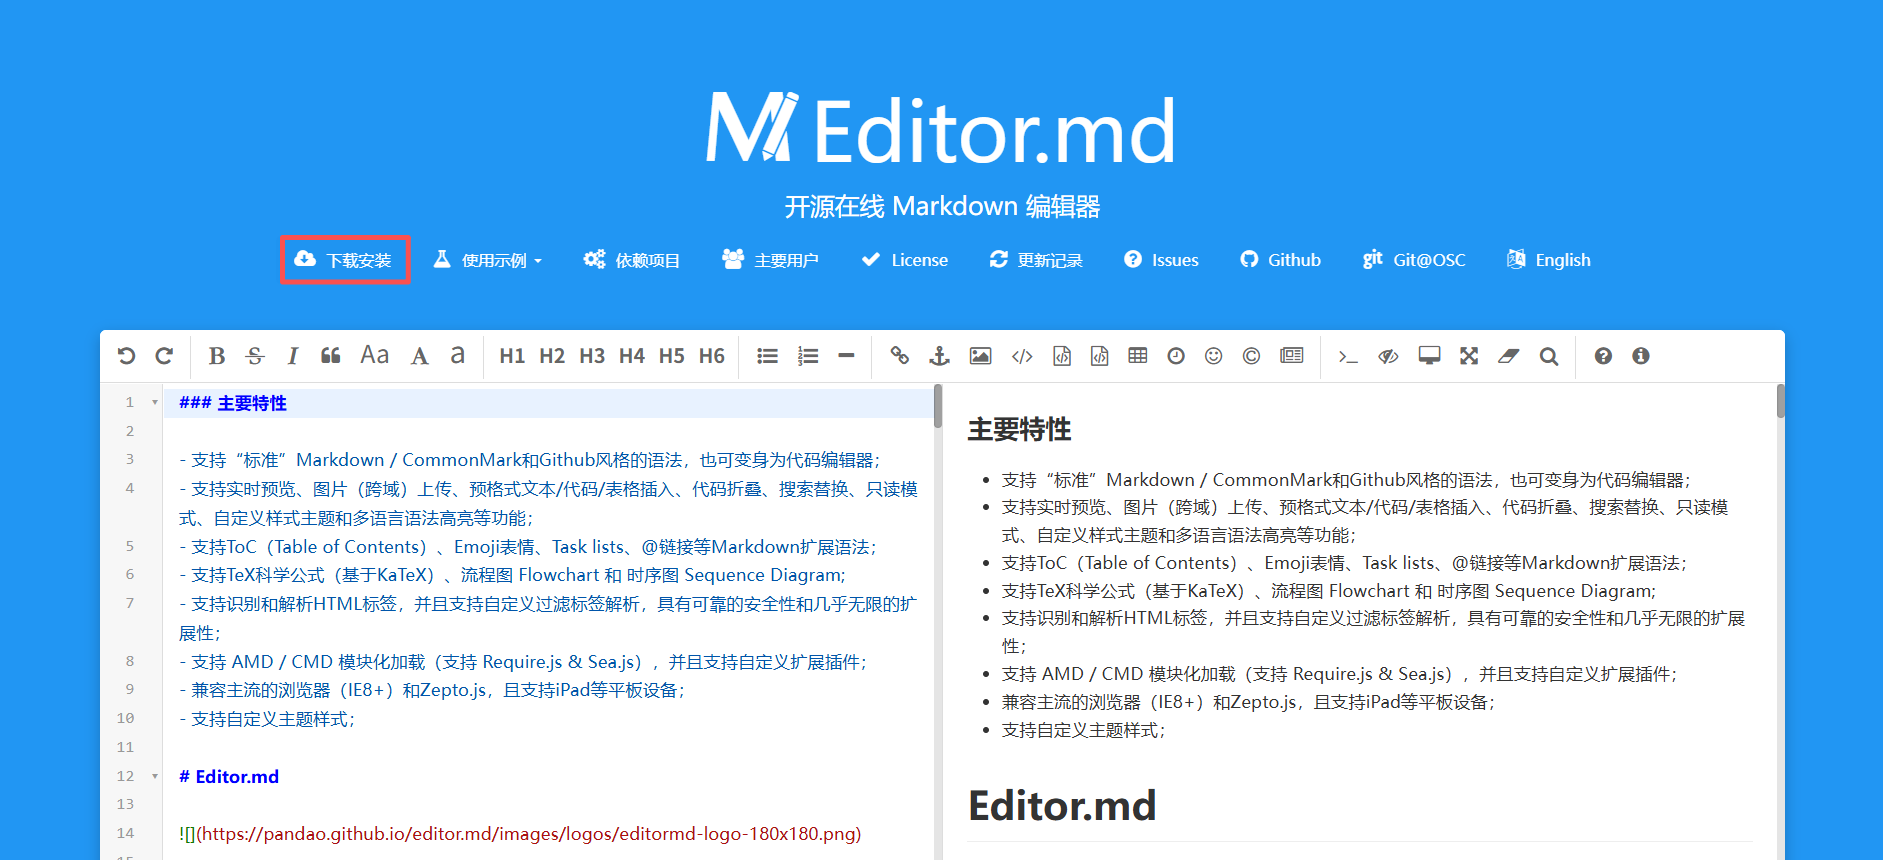
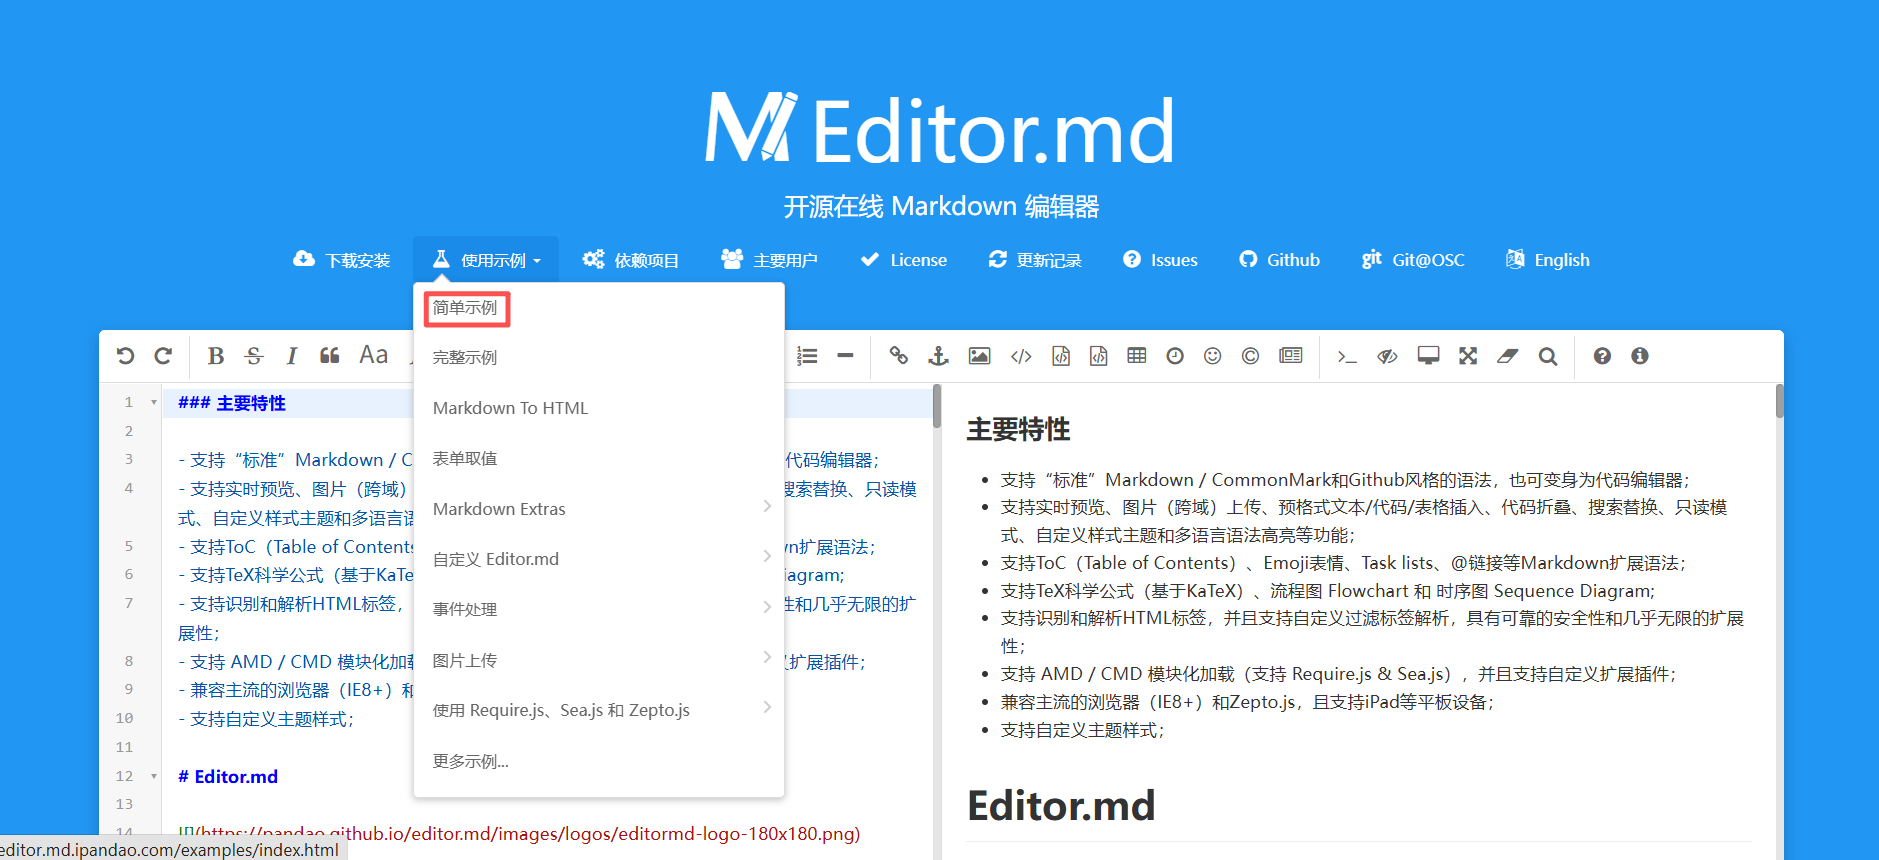
editor.md 是一个开源的页面 markdown 编辑器组件。
官网参见:Editor.md - 开源在线 Markdown 编辑器
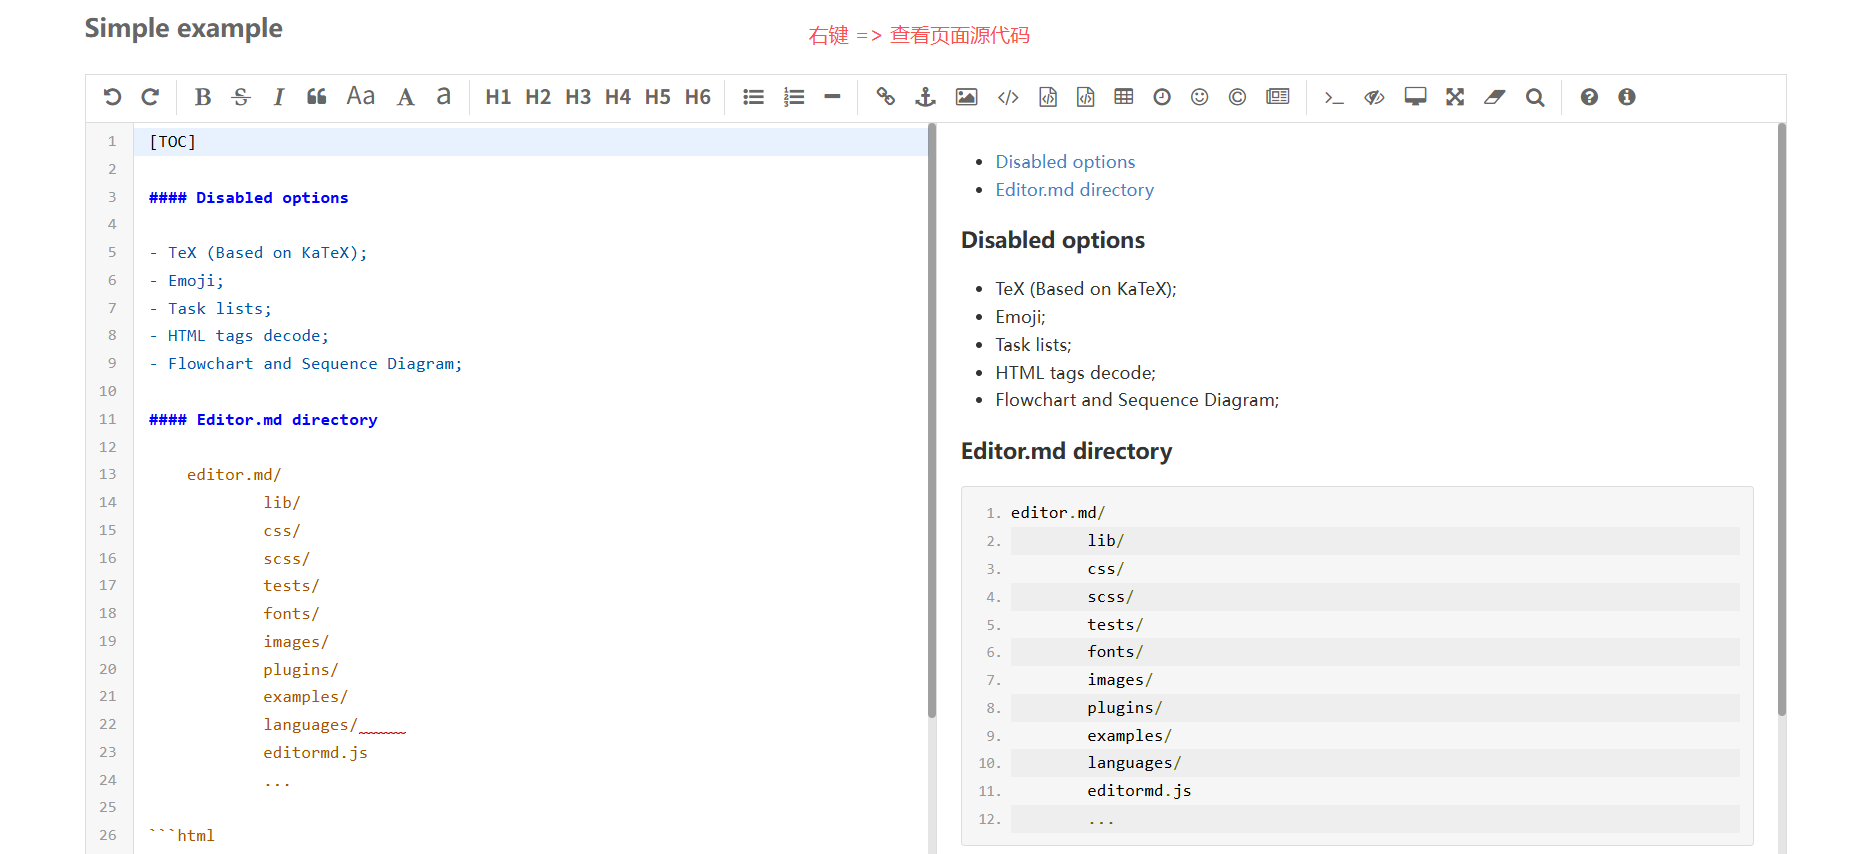
用法可以参考代码中的 examples 目录中的示例,非常丰富。
A. 下载 editor.md
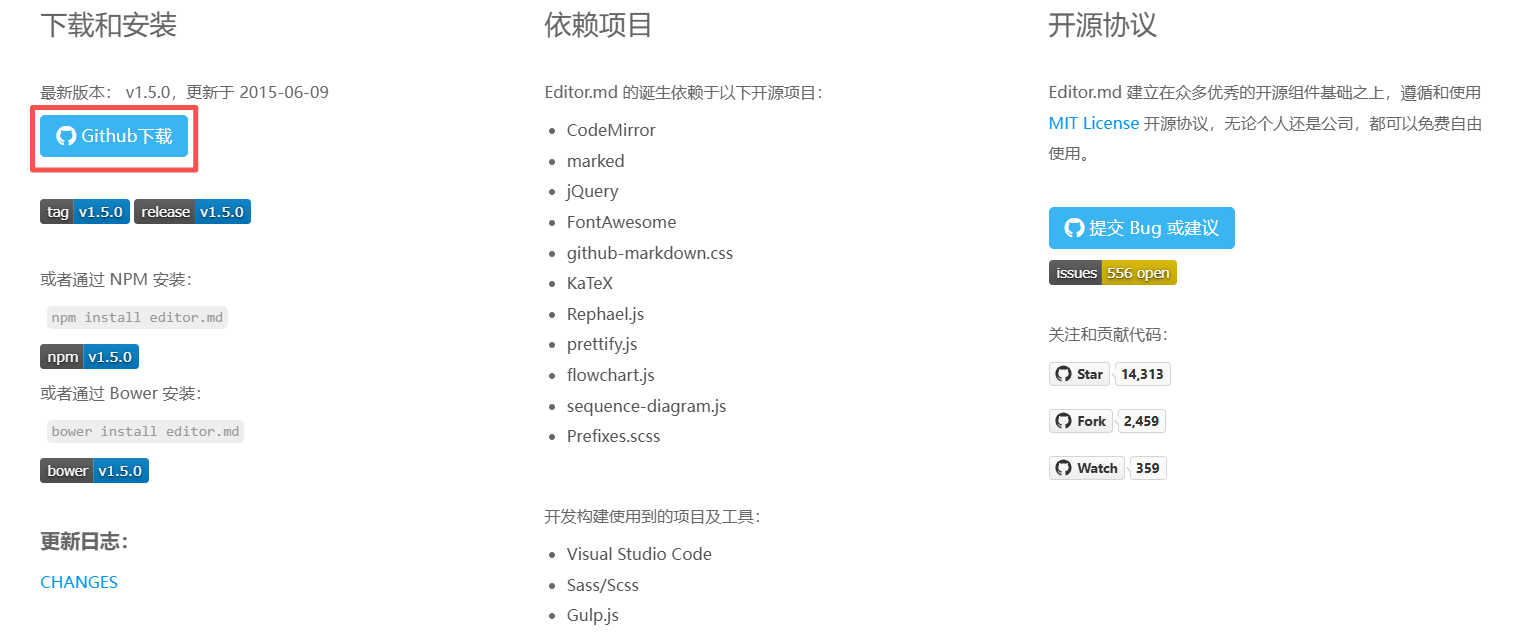
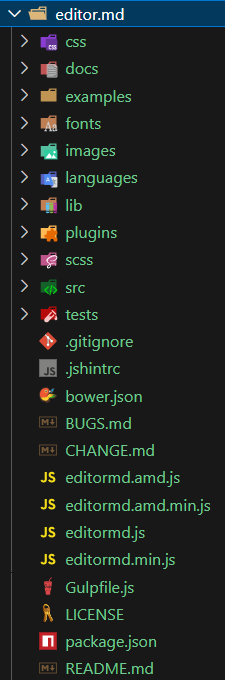
从官网上下载到压缩包,放到目录中。目录结构如下:
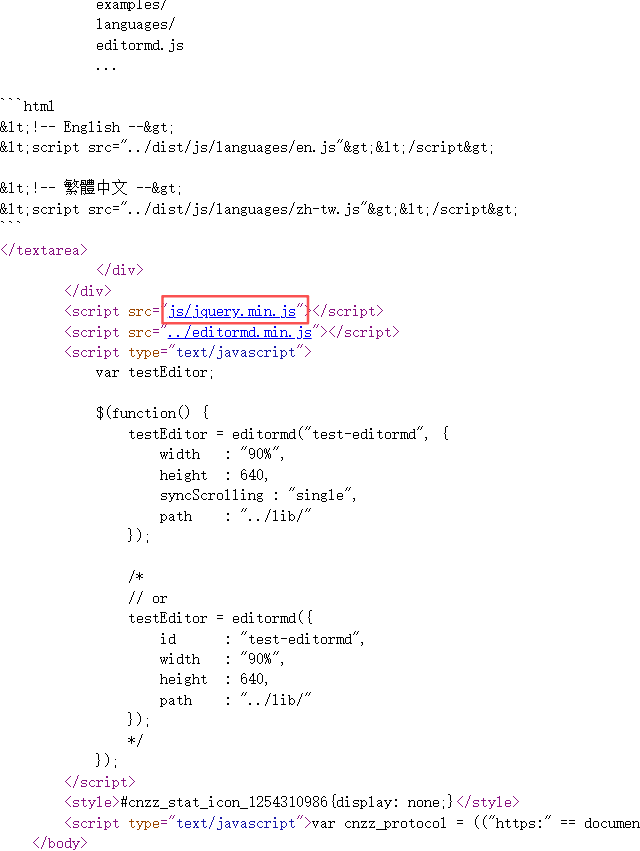


B. 引入 editor.md
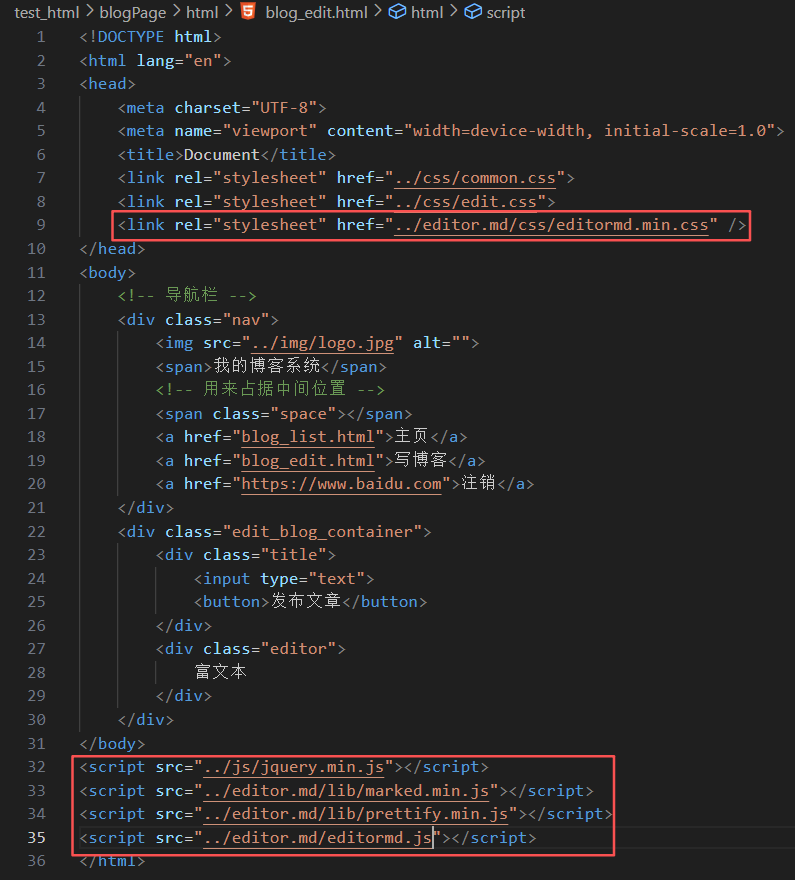
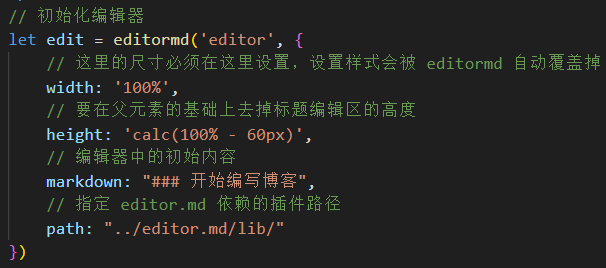
C. 初始化 editor.md
编辑 blog_edit.html: