在实际开发中,有上传文件的需求,除了可以使用上传到本地服务器,也可以选中上传到阿里OSS进行存储,这里将从阿里云控制台创建桶开始进行实现
阿里oss部分
获取key+secret
首页右上角我的-选中"AccessKey"

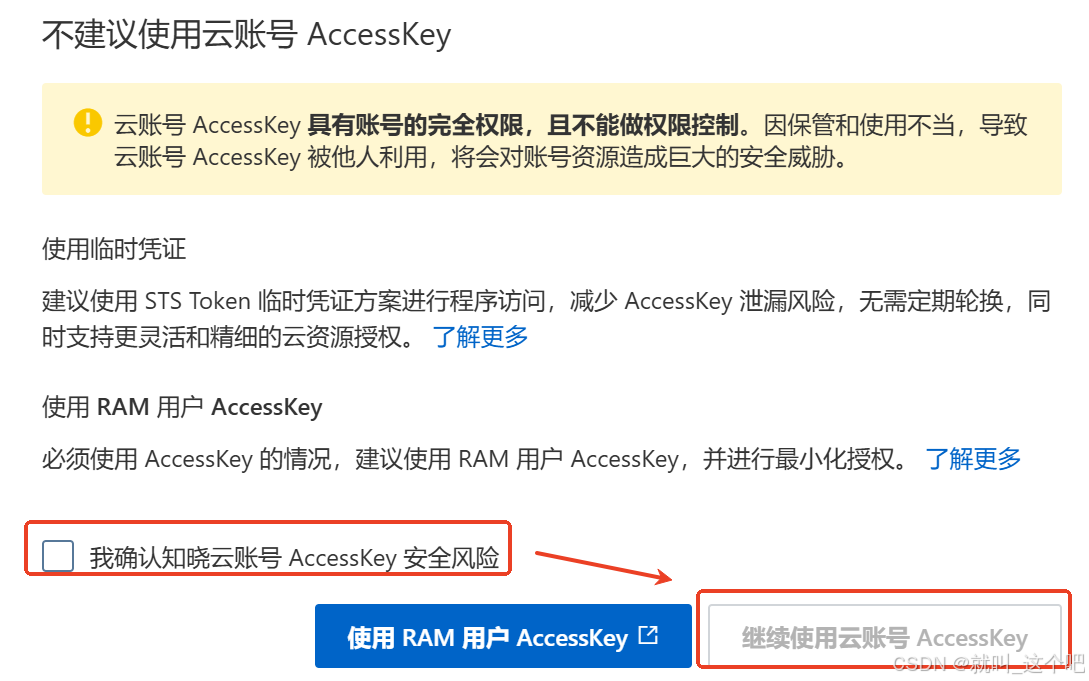
会有如下弹框,选择继续
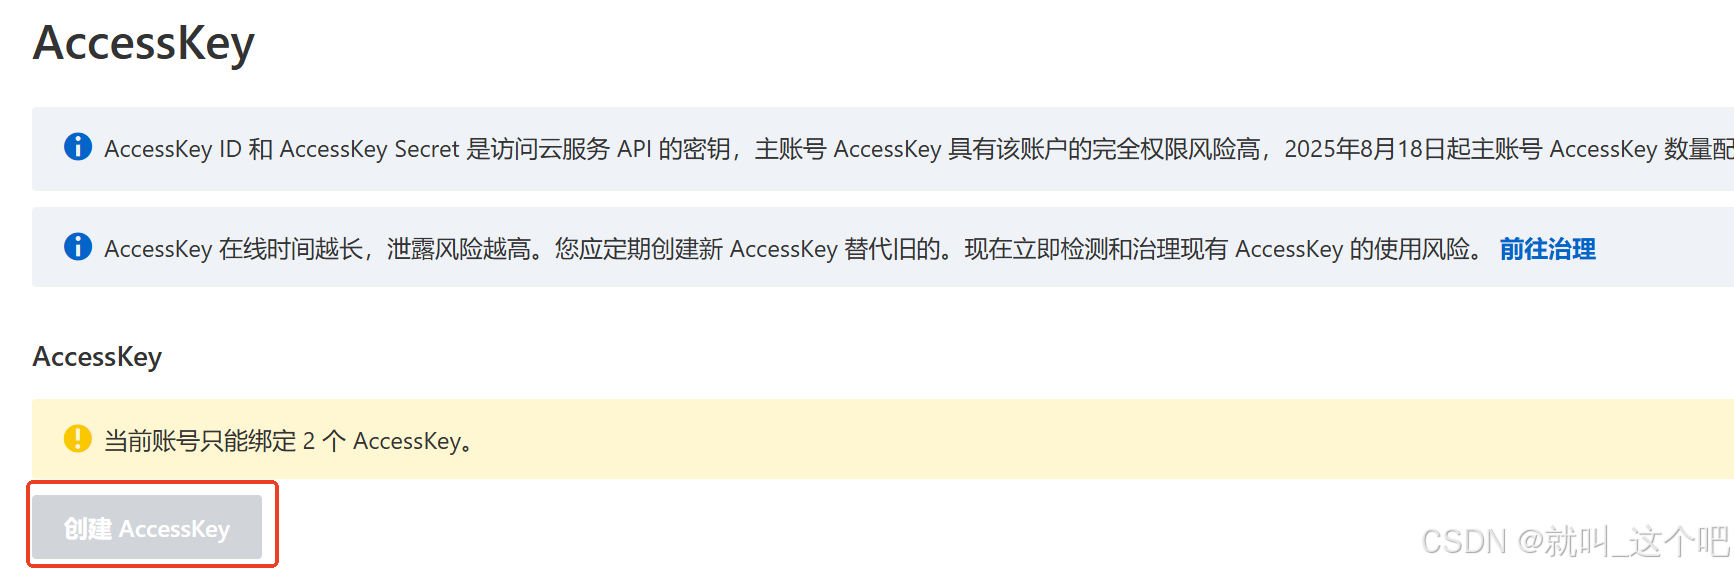
选择创建(有上限,有2个key会置灰),拿到key+secret后需要自己保存好,连接OSS是必须要用到的,只显示这一次,丢失无法找回
创建桶
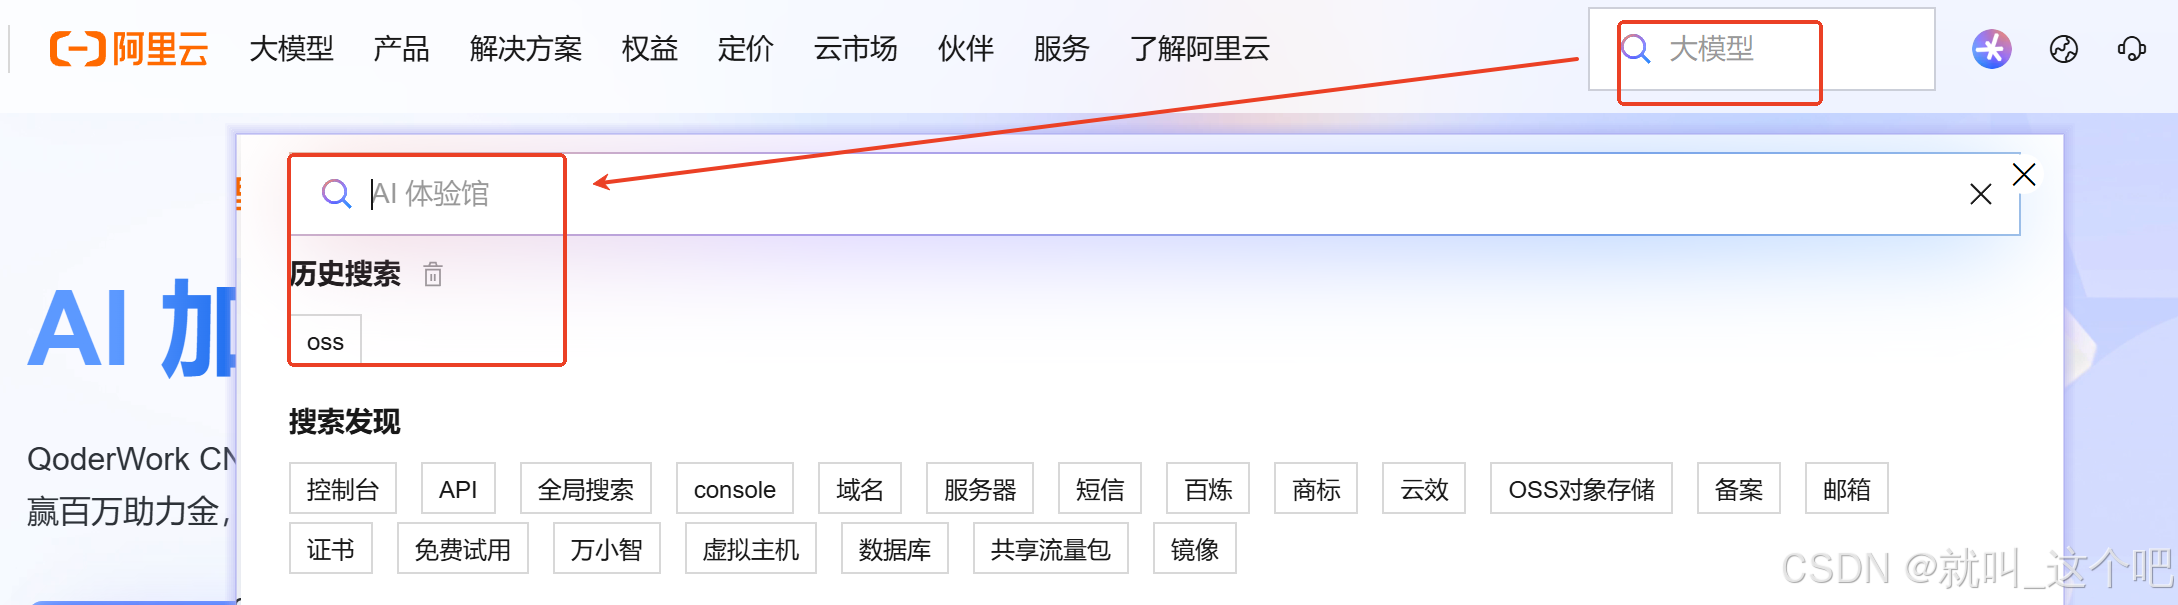
搜索"OSS对象存储"
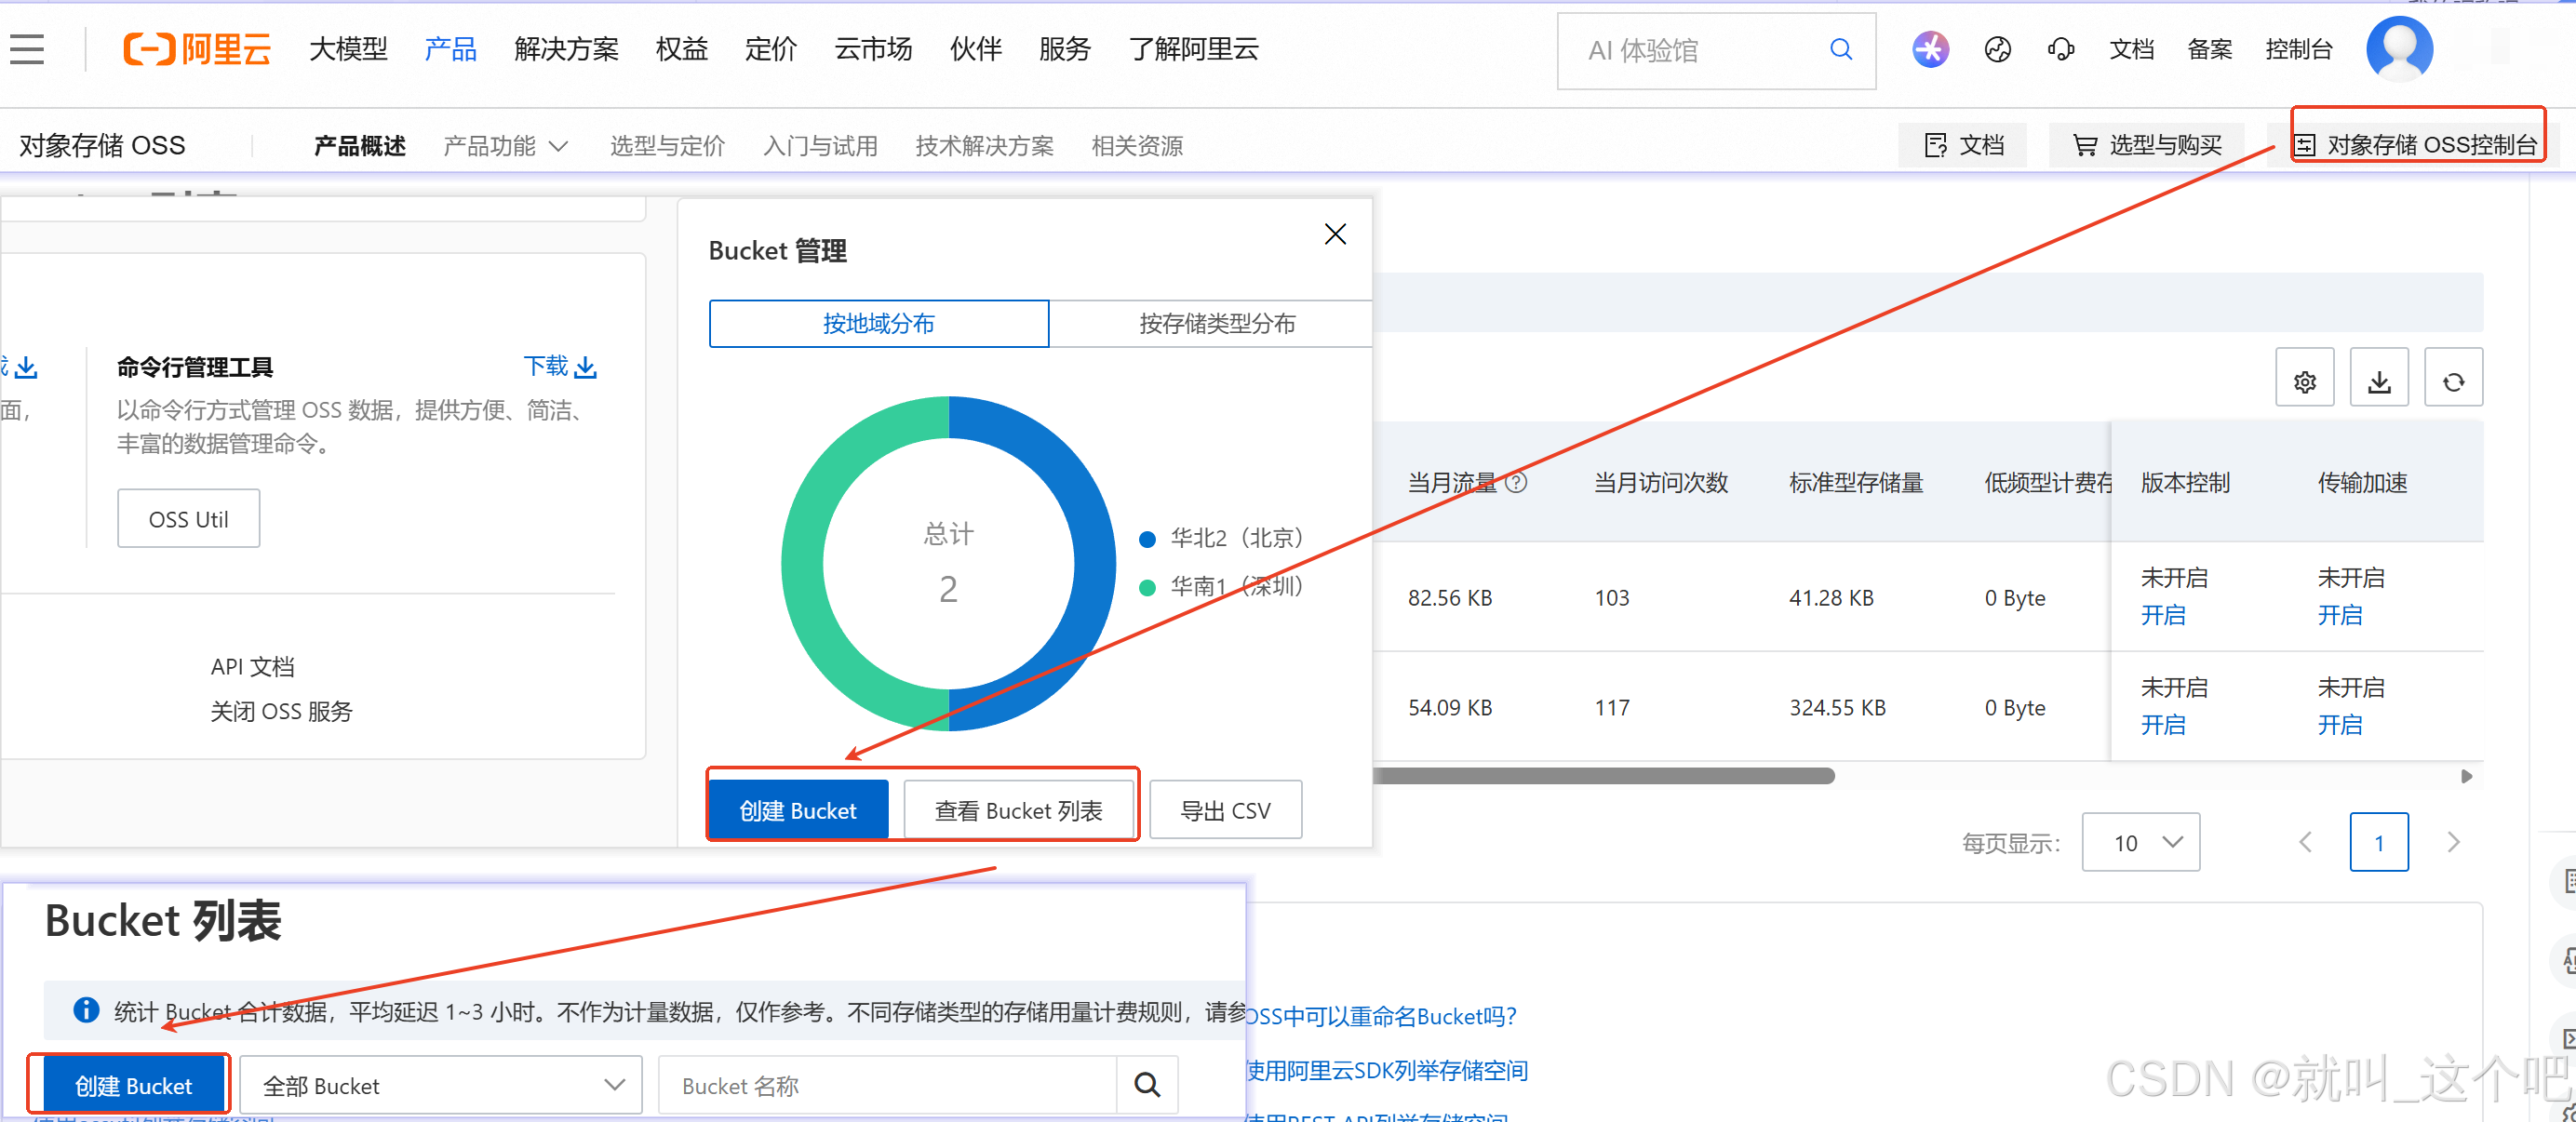
选择控制台,创建,可以直接创建,或是进入列表再创建
快捷创建输入bucket名,(名称不可重复)
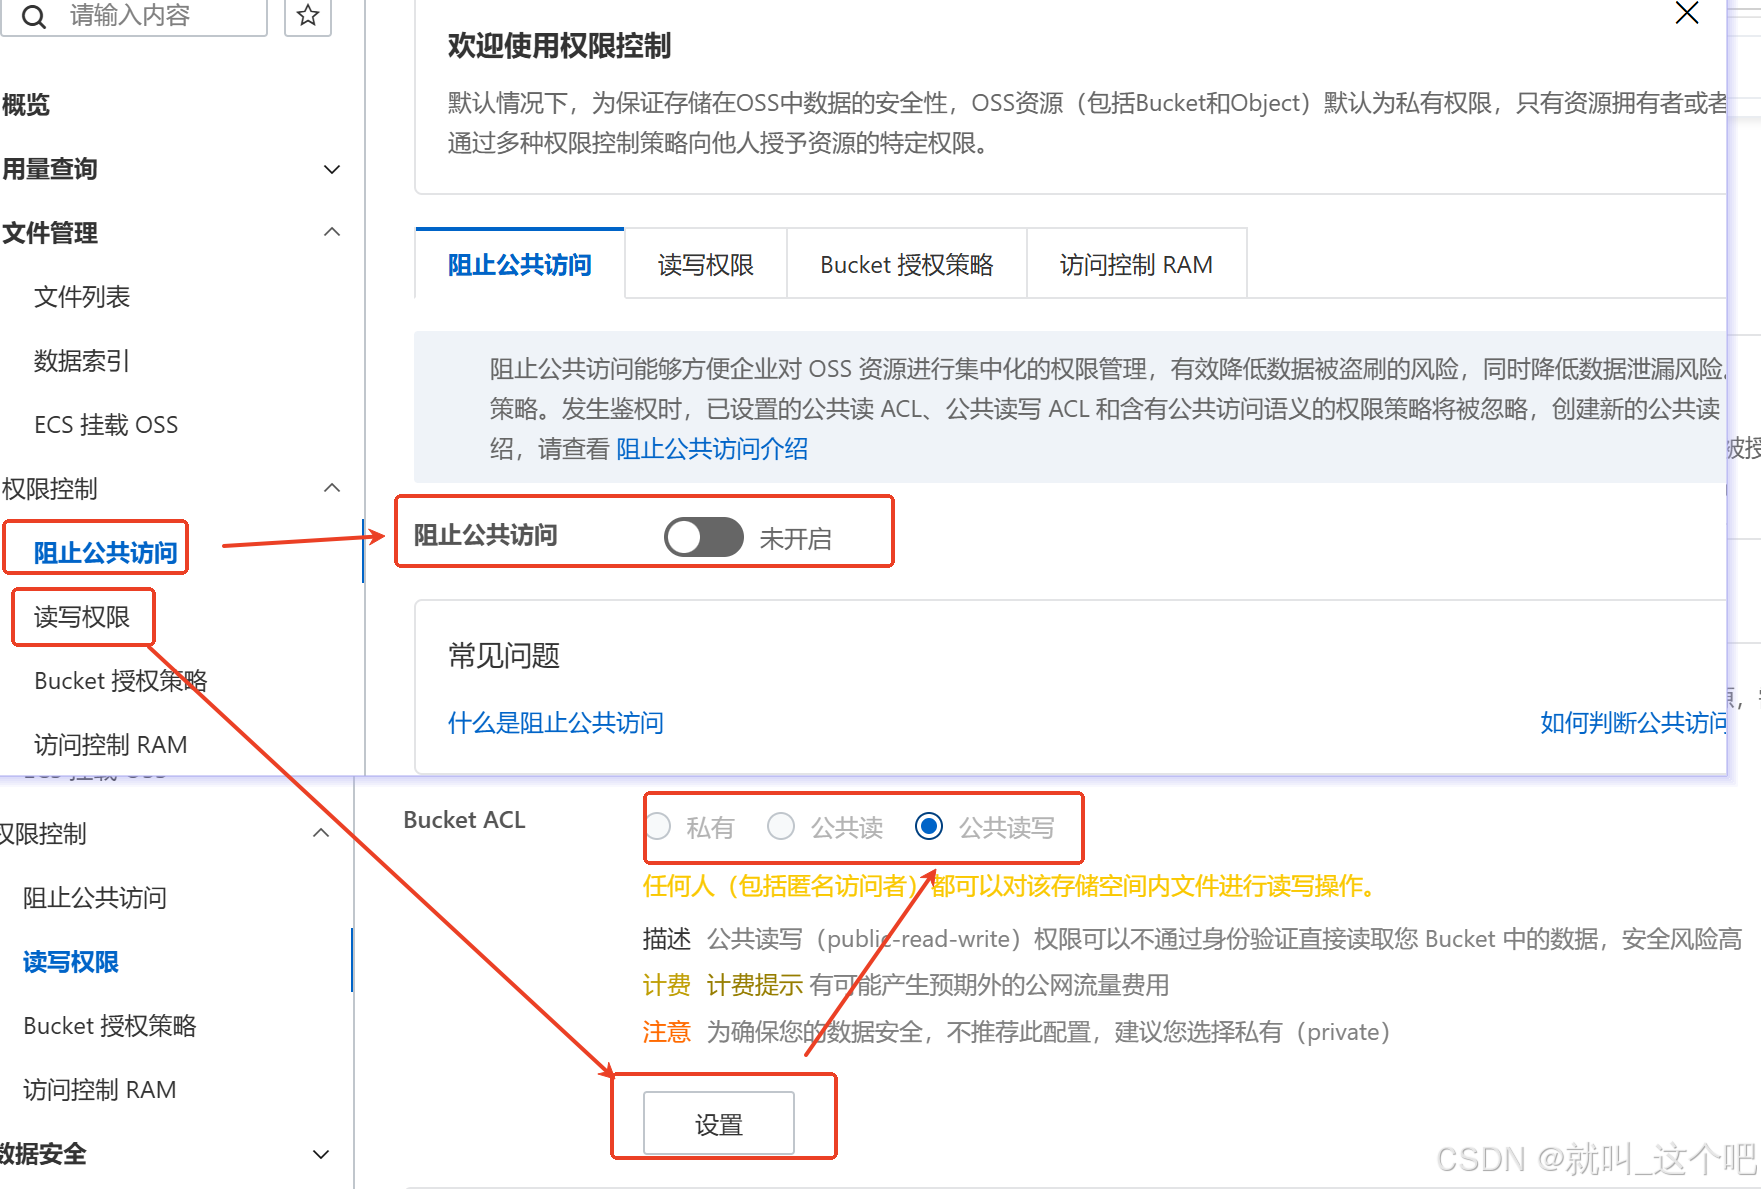
创建好后需要设置下阻止公共访问和读写权限,都打开
Java工具类
数据源
- 这里需要四项数据endpoint、accessKeyId、accessKeySecret、bucketName,可以直接在工具类中编写,为了后续便于修改,可以写在配置文件中
bash
# 名称可以进行自定义
aliyun.oss.endpoint=https://oss-cn-beijing.aliyuncs.com
aliyun.oss.accessKeyId=
aliyun.oss.accessKeySecret=
aliyun.oss.bucketName=- 可以将四项数据抽取到一个类中,通过注解实现调用配置文件中的数据
java
import lombok.Data;
import org.springframework.boot.context.properties.ConfigurationProperties;
import org.springframework.stereotype.Component;

@Component
@ConfigurationProperties(prefix = "aliyun.oss")
@Data
public class AliOSSProperties {
    //直接通过属性去properties文件中匹配值,调用时使用get方法
    //oss终端地址
    private String endpoint;
    //key-id
    private String accessKeyId;
    //key-secret
    private String accessKeySecret;
    //创建的桶名
    private String bucketName;
}- 工具类
java
import com.aliyun.oss.OSS;
import com.aliyun.oss.OSSClientBuilder;
import org.springframework.beans.factory.annotation.Autowired;
import org.springframework.beans.factory.annotation.Value;
import org.springframework.stereotype.Component;
import org.springframework.web.multipart.MultipartFile;

import java.io.IOException;
import java.io.InputStream;
import java.util.UUID;

//添加容器控制 进行properties读值
@Component
public class OSSUtils {
    /*@Value("${aliyun.oss.endpoint}")
    //可以通过@value注解,直接获取到配置文件中的数据
    private String endpoint = "";*/

	//通过实体类进行数据的获取,通过get方法
    @Autowired
    private AliOSSProperties properties;

	//将上传的文件,作为参数进行传递
    public  String upload(MultipartFile file) throws IOException {
    	//获取文件输入流
        InputStream inputStream = file.getInputStream();
        //生成新的文件名,通过uuid避免文件名重复,并拼接源文件的后缀名
        String newFileName = UUID.randomUUID() + file.getOriginalFilename().substring(file.getOriginalFilename().lastIndexOf("."));
        //上传图片到客户端,先创建客户端
        OSS ossClient = new OSSClientBuilder().build(properties.getEndpoint(), properties.getAccessKeyId(), properties.getAccessKeySecret());
        //进行上传
        ossClient.putObject(properties.getBucketName(),newFileName,inputStream);

		//生成可以访问上传文件的地址
        StringBuffer stringBuffer = new StringBuffer(properties.getEndpoint());
        stringBuffer.insert(8, properties.getBucketName() + ".").append("/").append(newFileName);
        ossClient.shutdown();
        return stringBuffer.toString();
    }

}工具类创建好后,直接调用使用就可以了,String upload = ossUtils.upload(上传的文件参数名);
"upload"是返回的文件可访问地址