文章目录
- [1. 安装](#1. 安装)
- [2. 介绍](#2. 介绍)
- [3. 数据类型](#3. 数据类型)
- [4. 最大最小值](#4. 最大最小值)
- [5. 字符串特殊校验](#5. 字符串特殊校验)
- [6. 数组约束](#6. 数组约束)
- [7. 对象约束](#7. 对象约束)
- [8. 必需属性](#8. 必需属性)
- [9. 依赖关系](#9. 依赖关系)
1. 安装
JSON Schema 是一个用来定义和校验 JSON 的 web 规范,简而言之,JSON Schema 是用来校验 json 是否符合预期。
根据 json 创建 JSON Schema后,可以使用你选择的语言中的验证器将示例数据与你的模式进行验证。
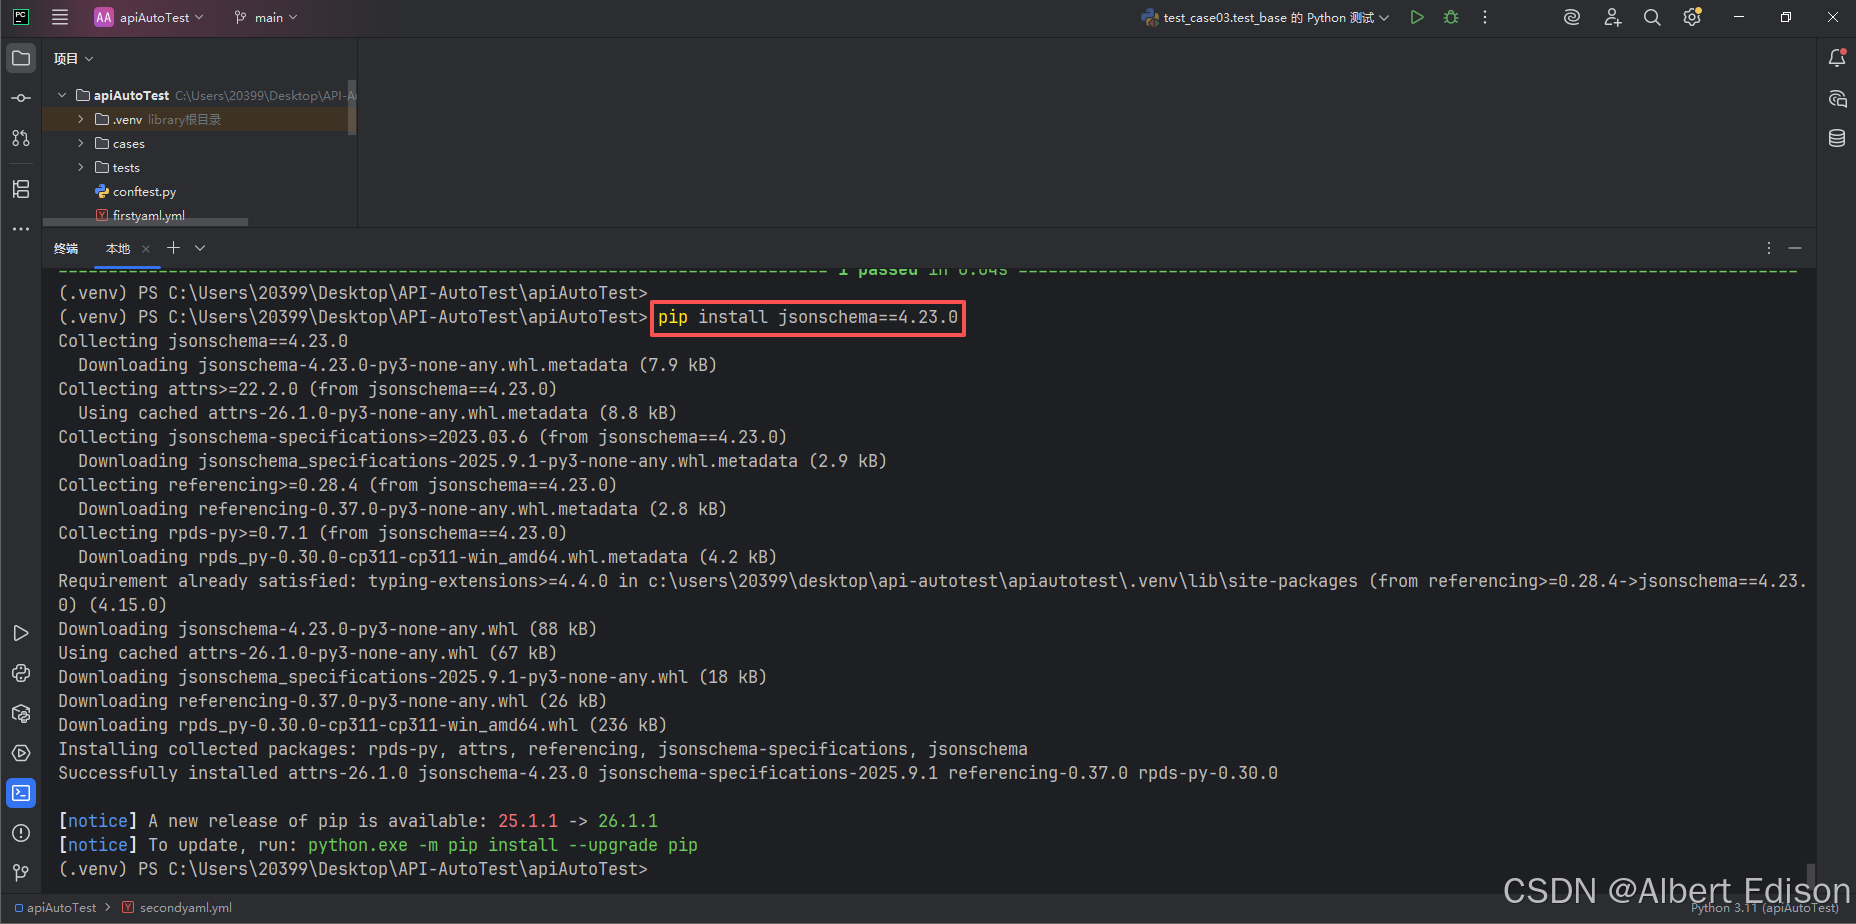
在命令行运行:
shell
# 建议跟这里统一版本,避免因版本不同造成的使用差异
pip install jsonschema==4.23.0
结果如下所示:
2. 介绍
Json 和 JSON Schema 代码如下:
json
from jsonschema.validators import validate

def test_01():
    json_data = {
        "code": "SUCCESS",
        "errMsg": "",
        "data": False
    }

    json_schema = {
        "type": "object",
        "required": [],
        "properties": {
            "code": {
                "type": "string"
            },
            "errMsg": {
                "type": "string"
            },
            "data": {
                "type": "boolean"
            }
        }
    }
结果如下所示:
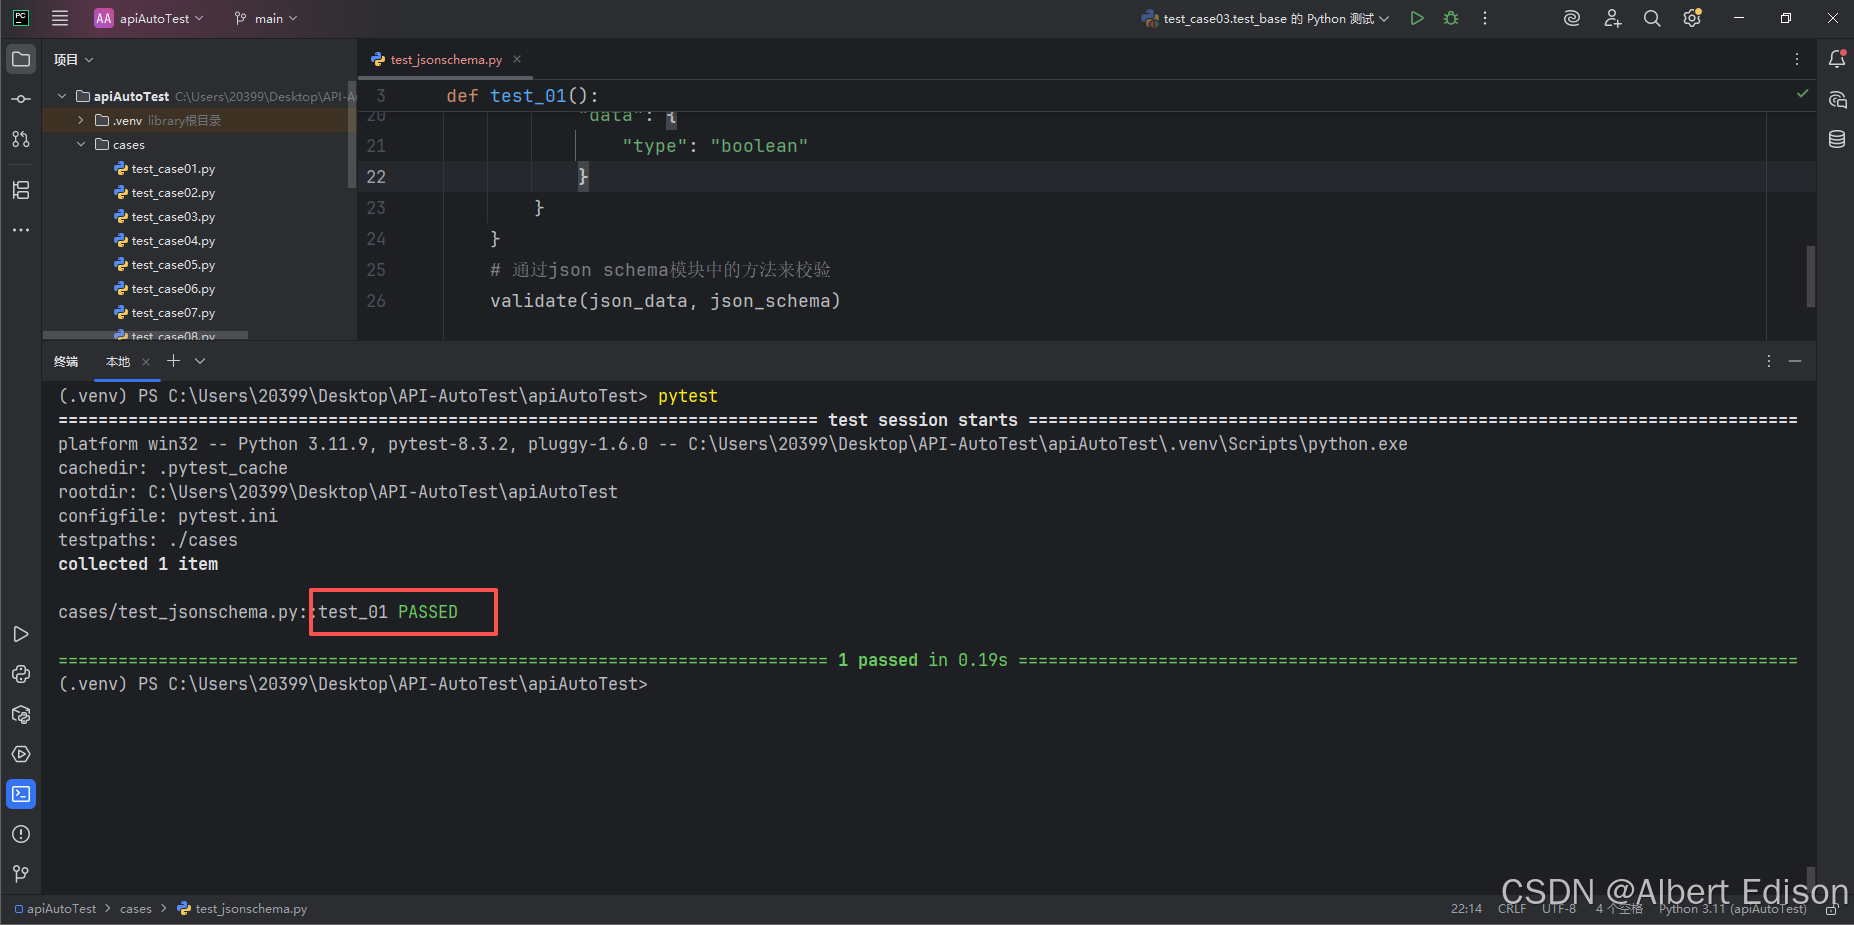
通过上面的对比可见,JSON Schema 从多个方面对 JSON 数据进行校验。如 "type"、"required"、"properties" 等以确保其正确性和一致性。接下来我们来了解 JSON Schema 中的关键词以及作用。
💡 json 转 JSON Schema太麻烦?使用现有工具自动转换:在线JSON转Schema工具
注意:工具不是万能的,结果可能存在错误,要对自动生成的结果进行二次检查。
示例:校验博客列表页返回的 json 数据。
原生 json 如下所示:
json
{
    "code": "SUCCESS",
    "errMsg": "",
    "data": [
        {
            "id": 1,
            "title": "第一篇博客",
            "content": "111我是博客正文我是博客正文我是博客正文",
            "userId": 1,
            "isLoginUser": null,
            "deleteFlag": 0,
            "createTime": "2026-04-28 11:31",
            "updateTime": "2026-04-28T03:31:05.000+00:00"
        },
        {
            "id": 2,
            "title": "第二篇博客",
            "content": "222我是博客正文我是博客正文我是博客正文",
            "userId": 2,
            "isLoginUser": null,
            "deleteFlag": 0,
            "createTime": "2026-04-28 11:31",
            "updateTime": "2026-04-28T03:31:10.000+00:00"
        },
        {
            "id": 3,
            "title": "测试服务器",
            "content": "服务器嘻嘻哈哈部署到服务器",
            "userId": 1,
            "isLoginUser": null,
            "deleteFlag": 0,
            "createTime": "2026-04-28 11:33",
            "updateTime": "2026-04-28T03:33:54.000+00:00"
        },
        {
            "id": 4,
            "title": "李四登录",
            "content": "我是李四,部署到服务器嘻嘻哈哈",
            "userId": 2,
            "isLoginUser": null,
            "deleteFlag": 0,
            "createTime": "2026-04-28 11:35",
            "updateTime": "2026-04-28T03:35:35.000+00:00"
        }
    ]
}
然后通过在线转换工具转成 json Schema:
json
{
"type": "object",
"required": [],
"properties": {
"code": {
"type": "string"
},
"errMsg": {
"type": "string"
},
"data": {
"type": "array",
"items": {
"type": "object",
"required": [],
"properties": {
"id": {
"type": "number"
},
"title": {
"type": "string"
},
"content": {
"type": "string"
},
"userId": {
"type": "number"
},
"isLoginUser": {
"type": ["boolean", "null"]
},
"deleteFlag": {
"type": "number"
},
"createTime": {
"type": "string"
},
"updateTime": {
"type": "string"
}
}
}
}
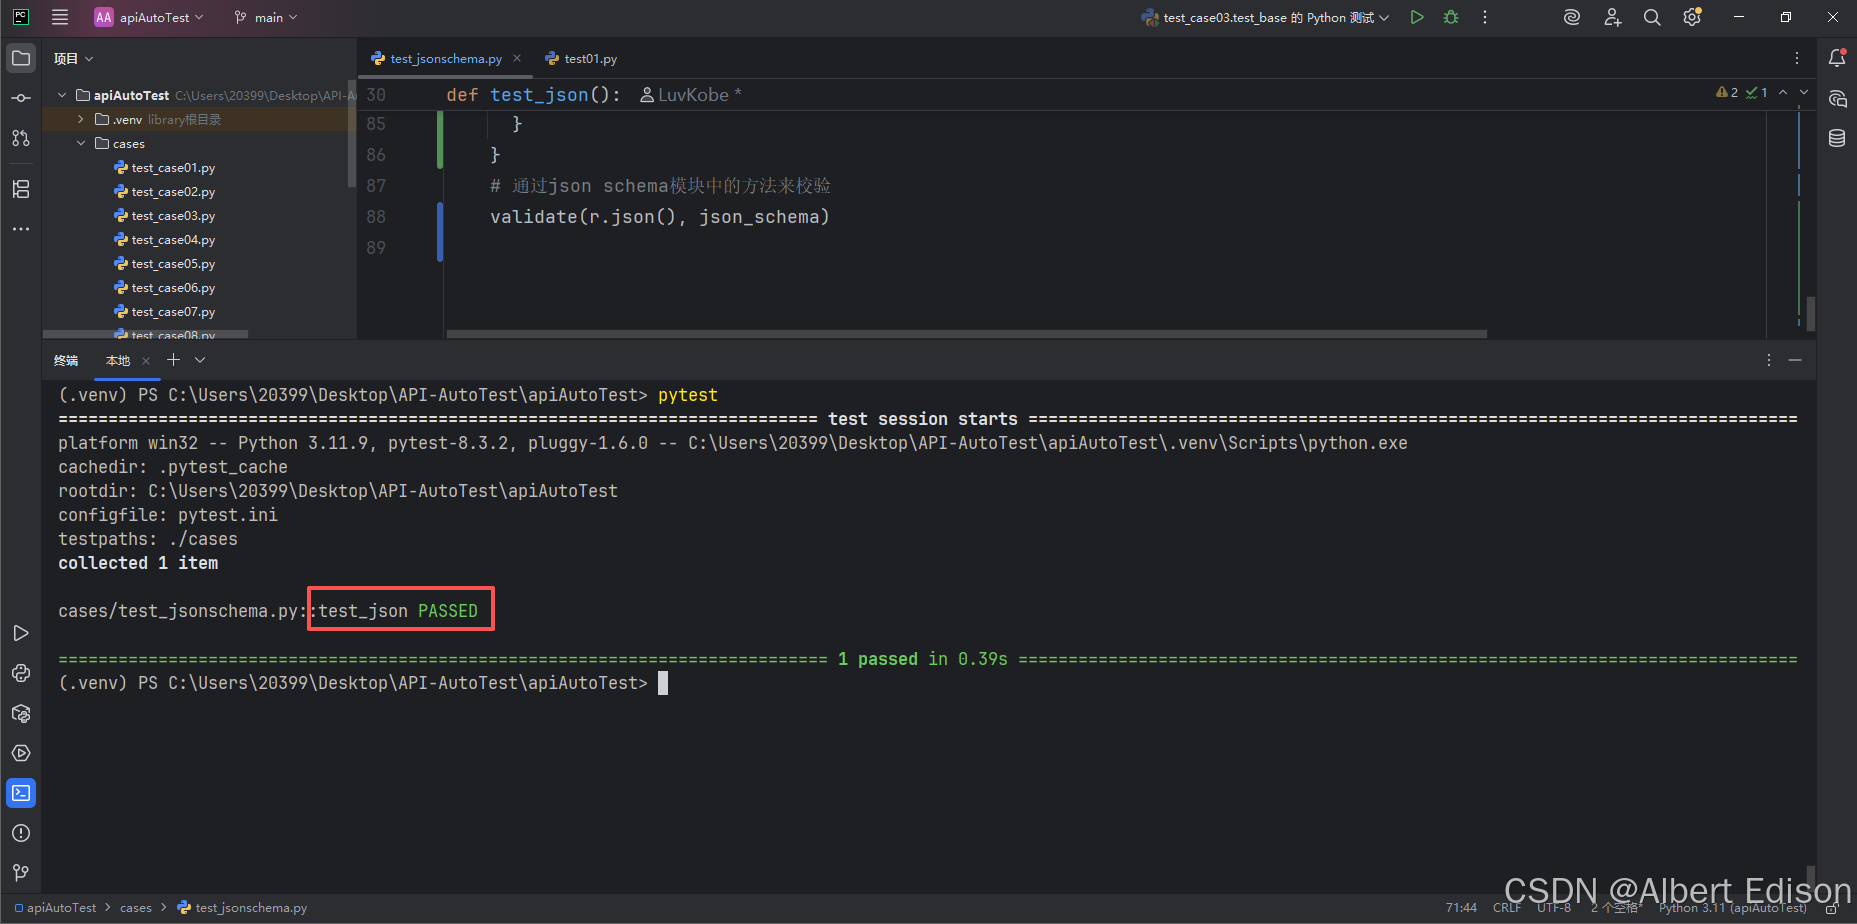
}
}运行结果如下所示:
3. 数据类型
type 关键字指定了数据类型。
可以验证 JSON 数据中每个属性的数据类型是否符合预期。
常用的数据类型包括:
| type | 解释 |
|---|---|
string |
字符串类型,用于文本数据。 |
number |
数字类型,用于表示浮点数。 |
integer |
整数类型,用于表示整数。 |
boolean |
布尔类型,值为 true 或 false。 |
object |
对象类型,用于嵌套的 JSON 对象。 |
array |
数组类型,用于列表或集合。 |
null |
空值类型。 |
示例如下:
json
{
  "type": "object",
  "properties": {
    "name": { "type": "string" },
    "age": { "type": "integer" }
  }
}注意:properties 是一个验证关键字。当你定义 properties 时,你创建了一个对象,其中每个属性代表正在验证的 JSON 数据中的一个键。
4. 最大最小值
minimum 和 maximum:指定数值的最小值和最大值。
exclusiveMinimum 和 exclusiveMaximum:指定数值必须严格大于或小于某个值(不包含等于)。
示例如下:
json
{
  "type": "object",
  "properties": {
    "age": {
      "type": "integer",
      "minimum": 0,
      "maximum": 120
    }
  }
}
5. 字符串特殊校验
pattern:使用正则表达式来验证字符串是否符合特定的模式。
示例如下:
json
{
  "type": "object",
  "properties": {
    "email": {
      "type": "string"
    },
    "username": {
      "type": "string",
      "pattern": "\\S+"
    }
  }
}
6. 数组约束
minItems 和 maxItems:指定数组的最小和最大长度。
uniqueItems:确保数组中的元素是唯一的。
items:定义数组中每个元素的类型和约束。
示例如下:
json
{
  "type": "object",
  "properties": {
    "tags": {
      "type": "array",
      "items": { "type": "string" },
      "minItems": 1,
      "uniqueItems": true
    }
  }
}
7. 对象约束
minProperties 和 maxProperties:指定对象的最小和最大属性数量。
additionalProperties:控制是否允许对象中存在未在 properties 中定义的额外属性,默认为 true。
示例如下:
json
{
  "type": "object",
  "properties": {
    "name": { "type": "string" }
  },
  "minProperties": 1,
  "additionalProperties": false
}
8. 必需属性
通过 required 关键字,JSON Schema 可以指定哪些属性是必需的。如果 JSON 实例中缺少这些必需属性,验证将失败。
示例如下:
json
{
  "type": "object",
  "properties": {
    "name": { "type": "string" },
    "email": { "type": "string" }
  },
  "required": ["name", "email"]
}
9. 依赖关系
dependentRequired 可以定义属性之间的依赖关系。例如,如果某个属性存在,则必须存在另一个属性。
示例如下:
json
{
  "type": "object",
  "properties": {
    "creditCard": { "type": "string" },
    "billingAddress": { "type": "string" }
  },
  "dependentRequired": {
    "creditCard": ["billingAddress"]
  }
}