allure介绍以及环境
- allure是一个生成HTML测试报告的工具包。
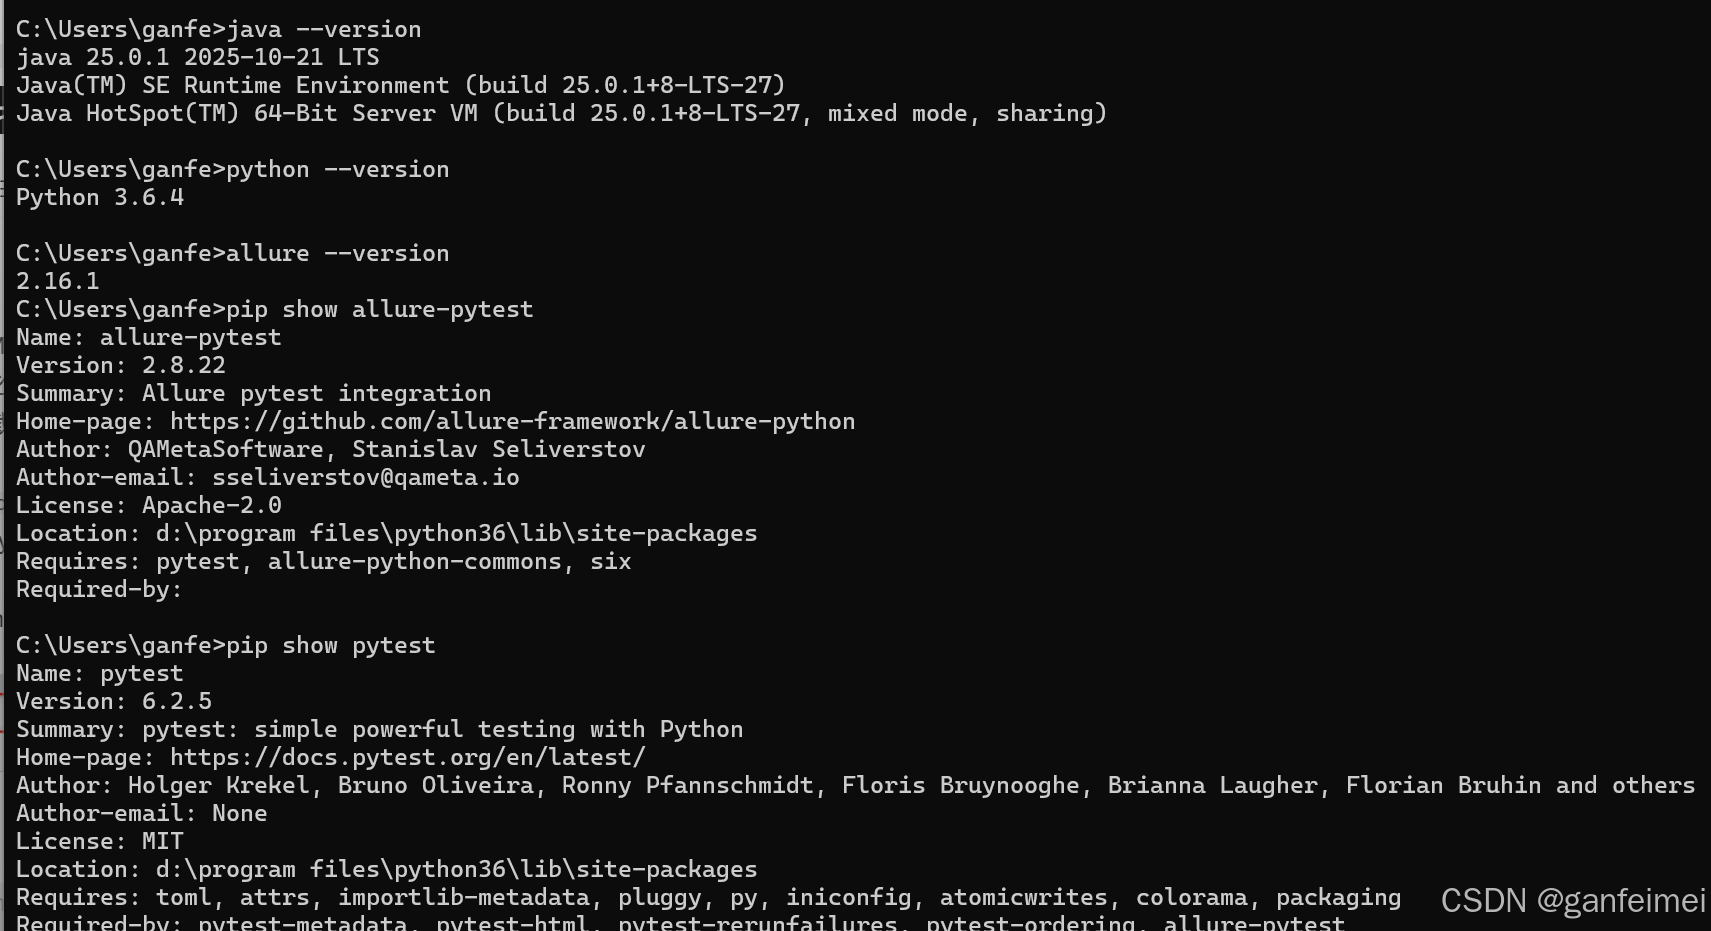
- 依赖java环境,所以必须安装jdk和配置环境变量
- 生成html报告需要下载allure,解压即可不需要安装,但是需要配置环境变量
- 下载地址:
https://repo.maven.apache.org/maven2/io/qameta/allure/allure-commandline/,需要匹配python中的allure-pytest版本 - 下载后不需要安装,直接解压放到相应目录
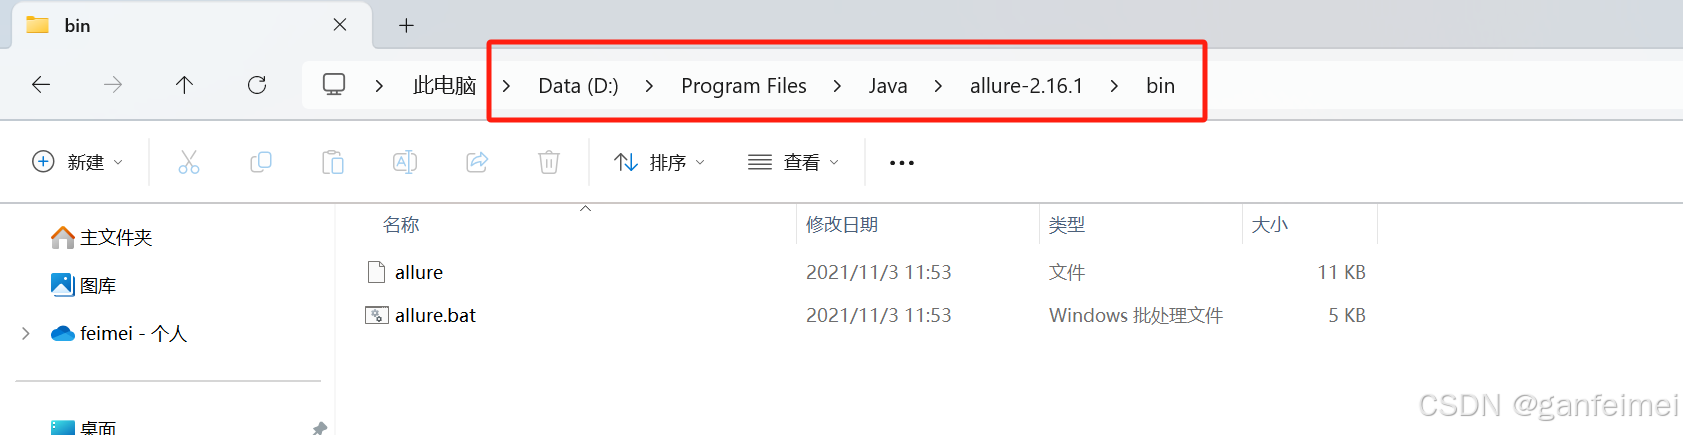
- 环境变量配置:path中新增变量,把allure的bin目录放到path中。
- 下载地址:
- python环境:需要安装
pip install allure-pytest - python环境中,安装pytest
使用总结
- 配置文件修改,使用过allure生成测试报告
- 运行时依然执行pytest命令,但是执行后生成json文件
- 使用命令生成html报告:allure generate report -o report/html --clean
- -o 指代output输出报告的路径
- --clean,指代清除以前生成报告,如果不想清楚需要留存历史数据,此命令可不加
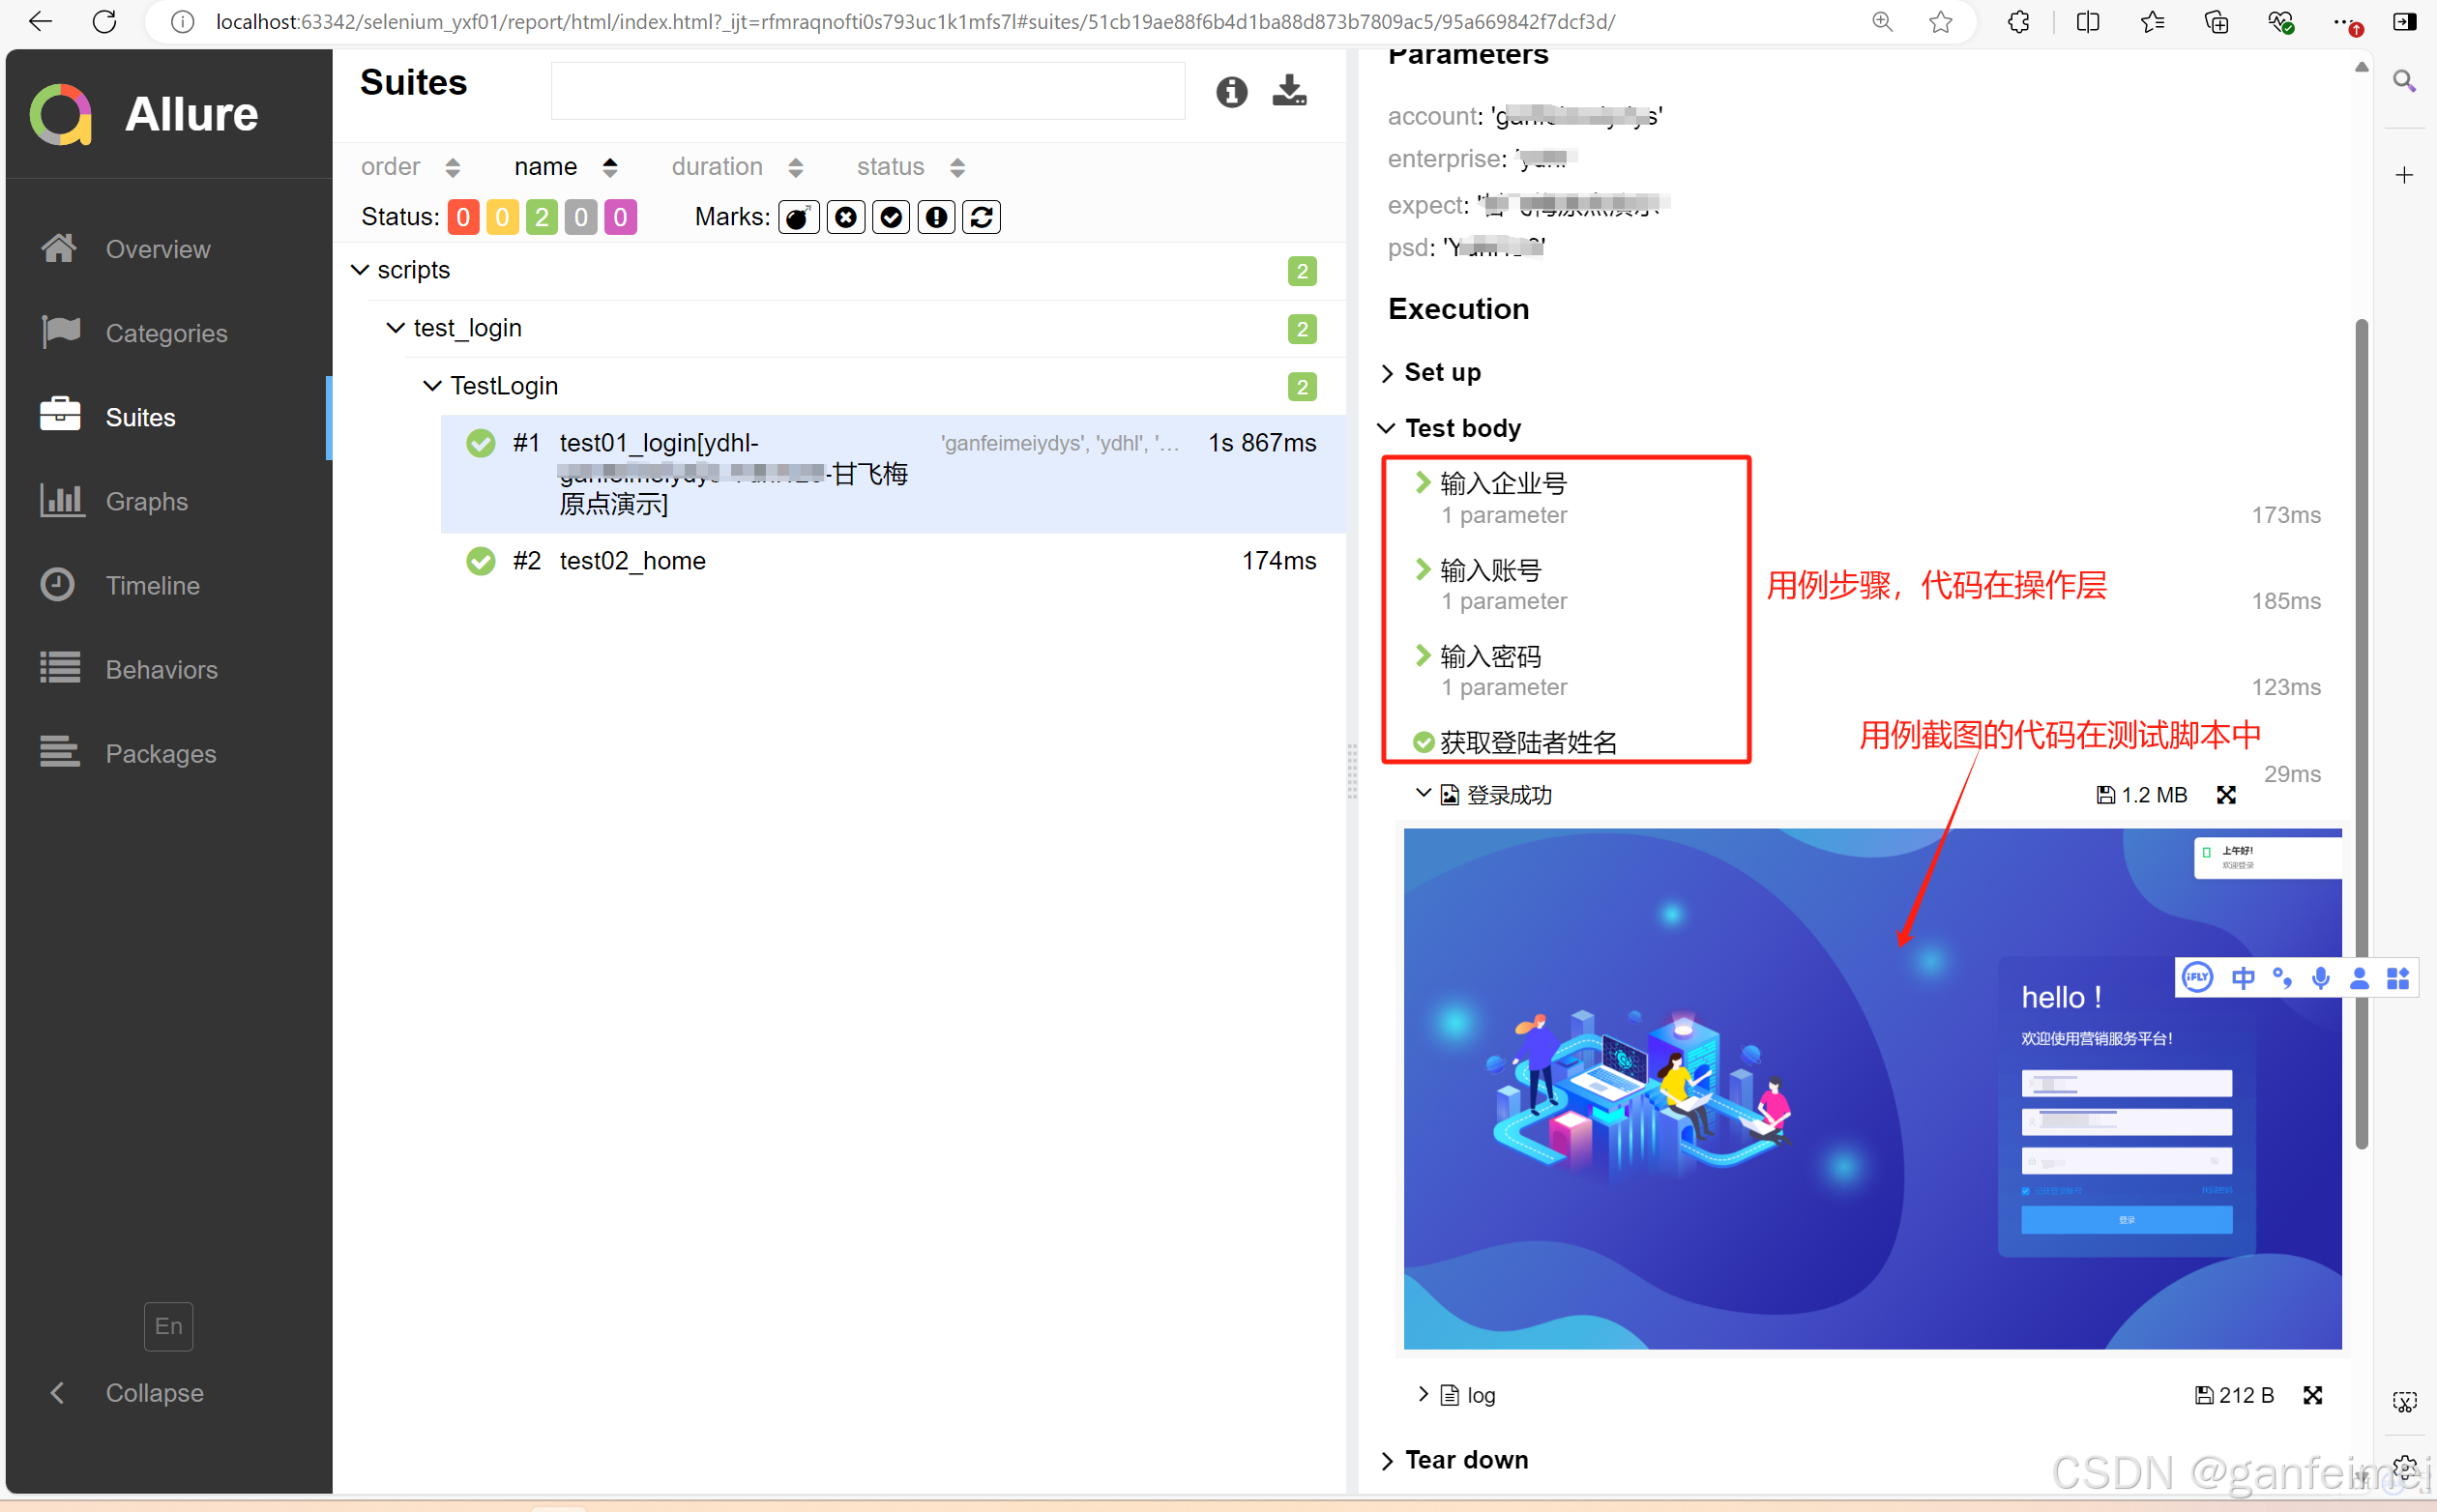
- 添加测试步骤:@allure.step(title="输入企业号")---此代码在操作层方法上。所以需要修改page类
python
#操作层增加测试步骤
class LoginHandle(BaseHandle):
    def __init__(self):
        self.login_page=LoginPage() #实例化元素对象类
    #定义账号密码输入框
    @allure.step(title="输入企业号")
    def input_enterprise(self,enterprise):
        #调用基类方法input_text(element,text),两个变量元素和输入文本
        self.input_text(self.login_page.find_enterprise(),enterprise)
    @allure.step(title="输入账号")
    def input_account(self, account):
        self.input_text(self.login_page.find_account(),account)
    @allure.step(title="输入密码")
    def input_psd(self, psd):
        self.input_text(self.login_page.find_psd(),psd)
    # @allure.step(title="点击登录")
    def click_login_btn(self):
self.login_page.find_login_btn().click()- 添加测试截图:此代码一般都在测试用例中,如
allure.attach(UtilsDriver.get_driver().get_screenshot_as_png(),"登录成功",allure.attachment_type.PNG),需要先获取driver再使用driver调用截图方法,截图描述、获得png图片; - 添加测试用例级别:此代码一般在用例上方标记:如
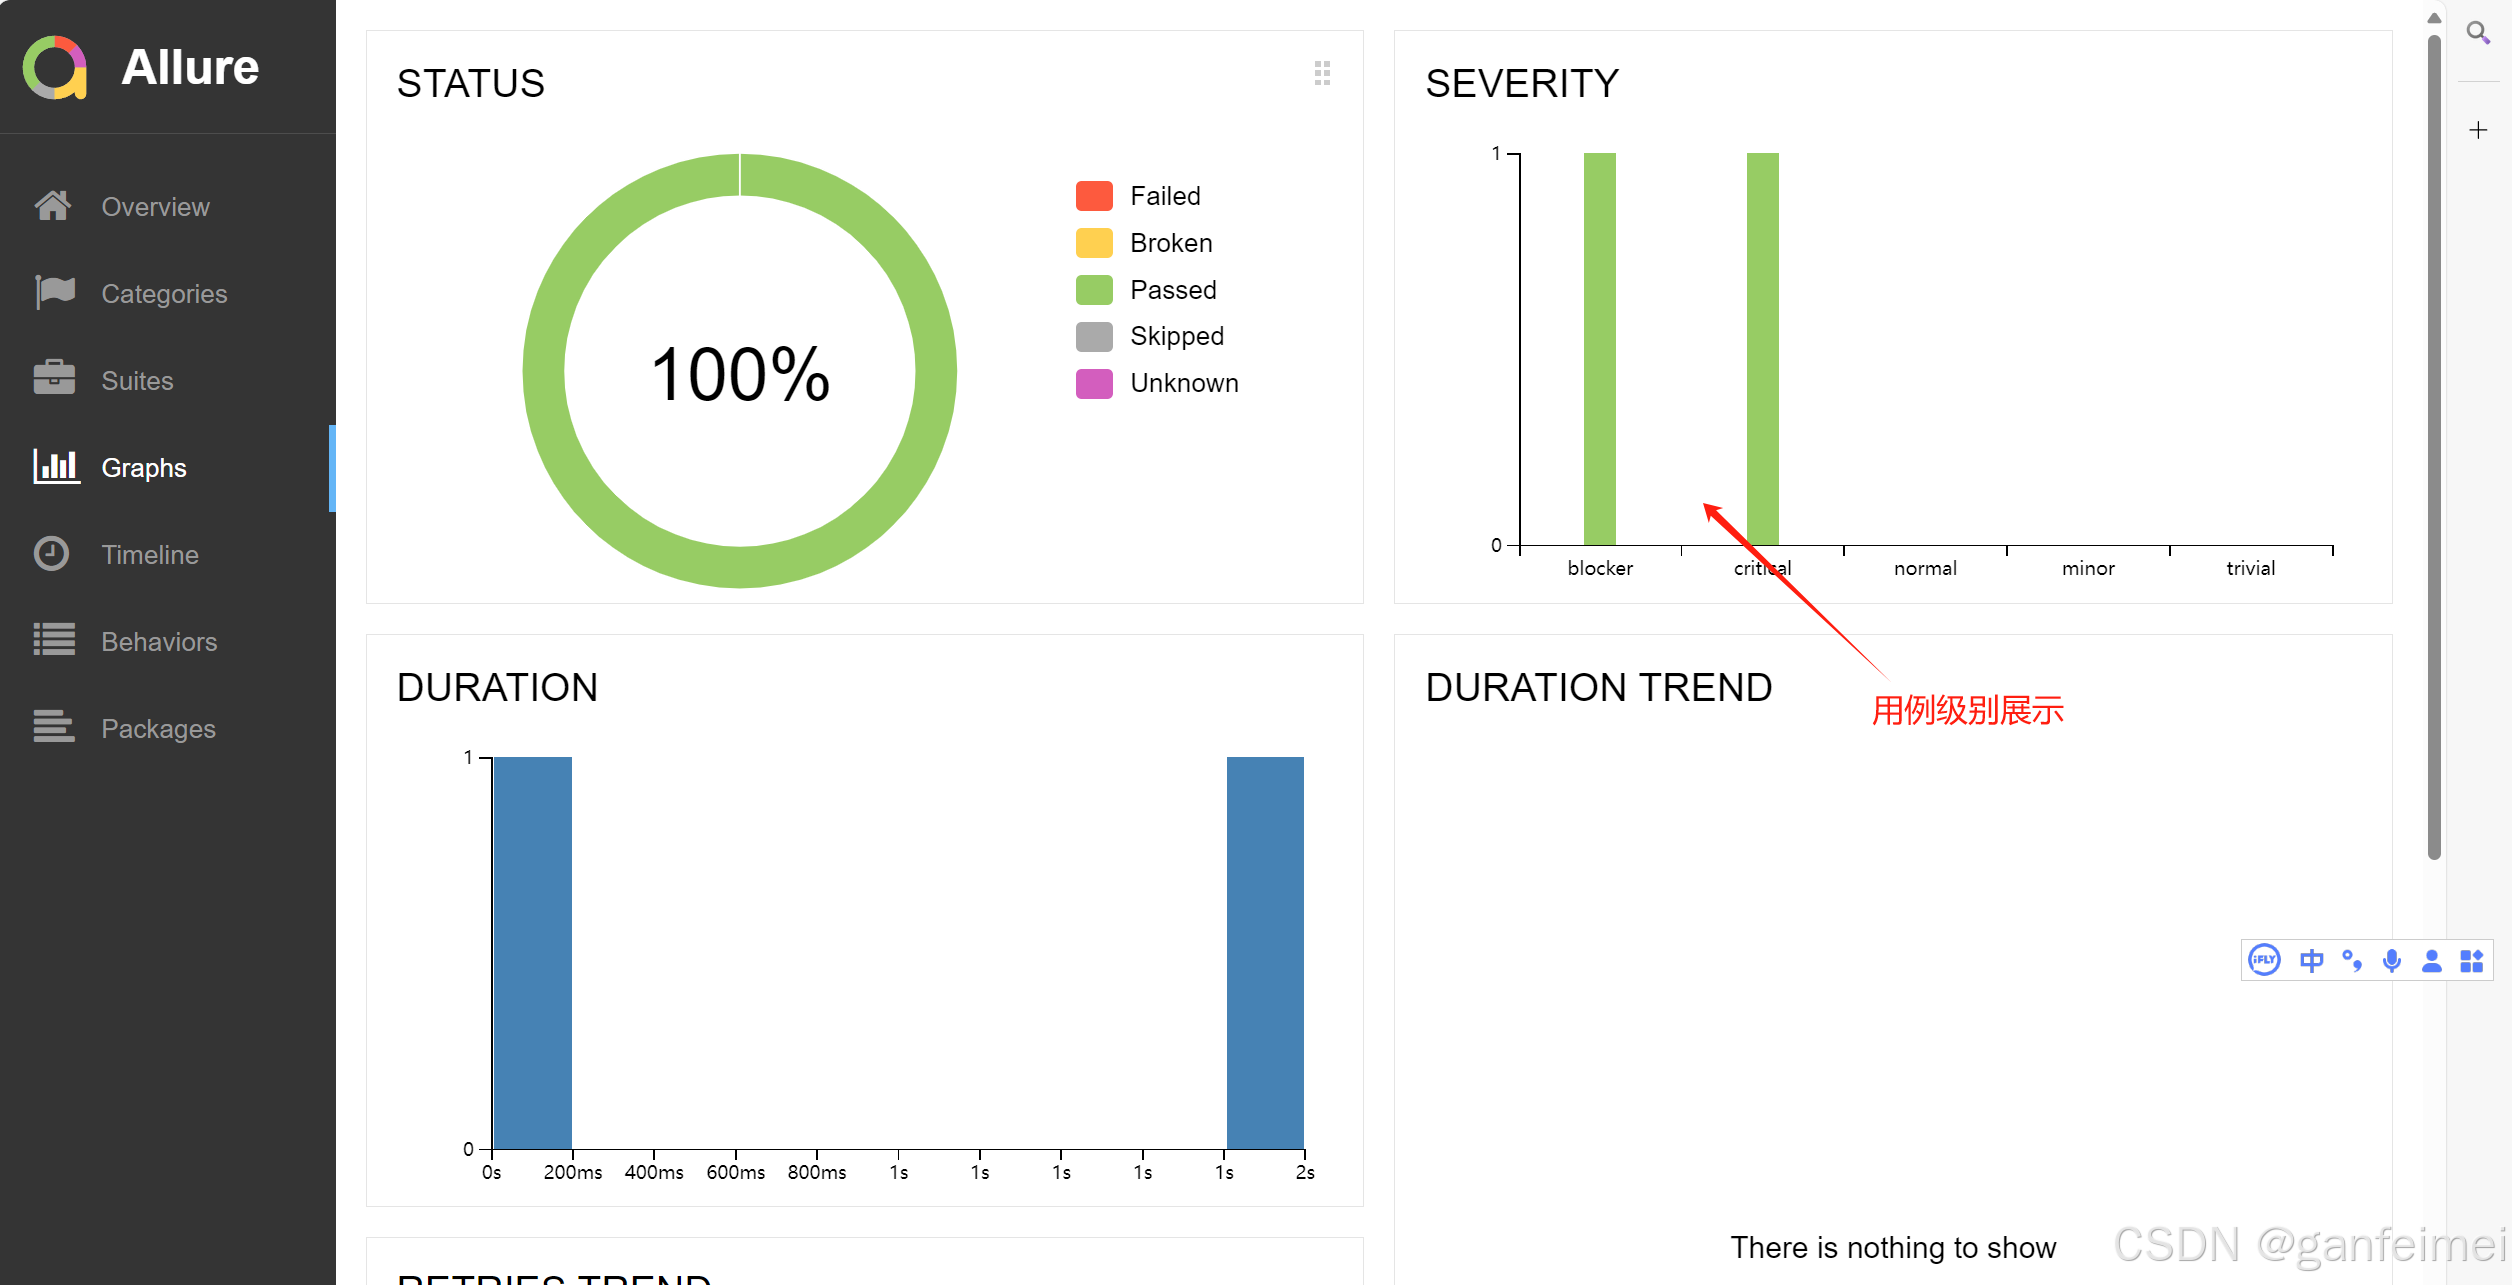
@allure.severity(allure.severity_level.BLOCKER)
python
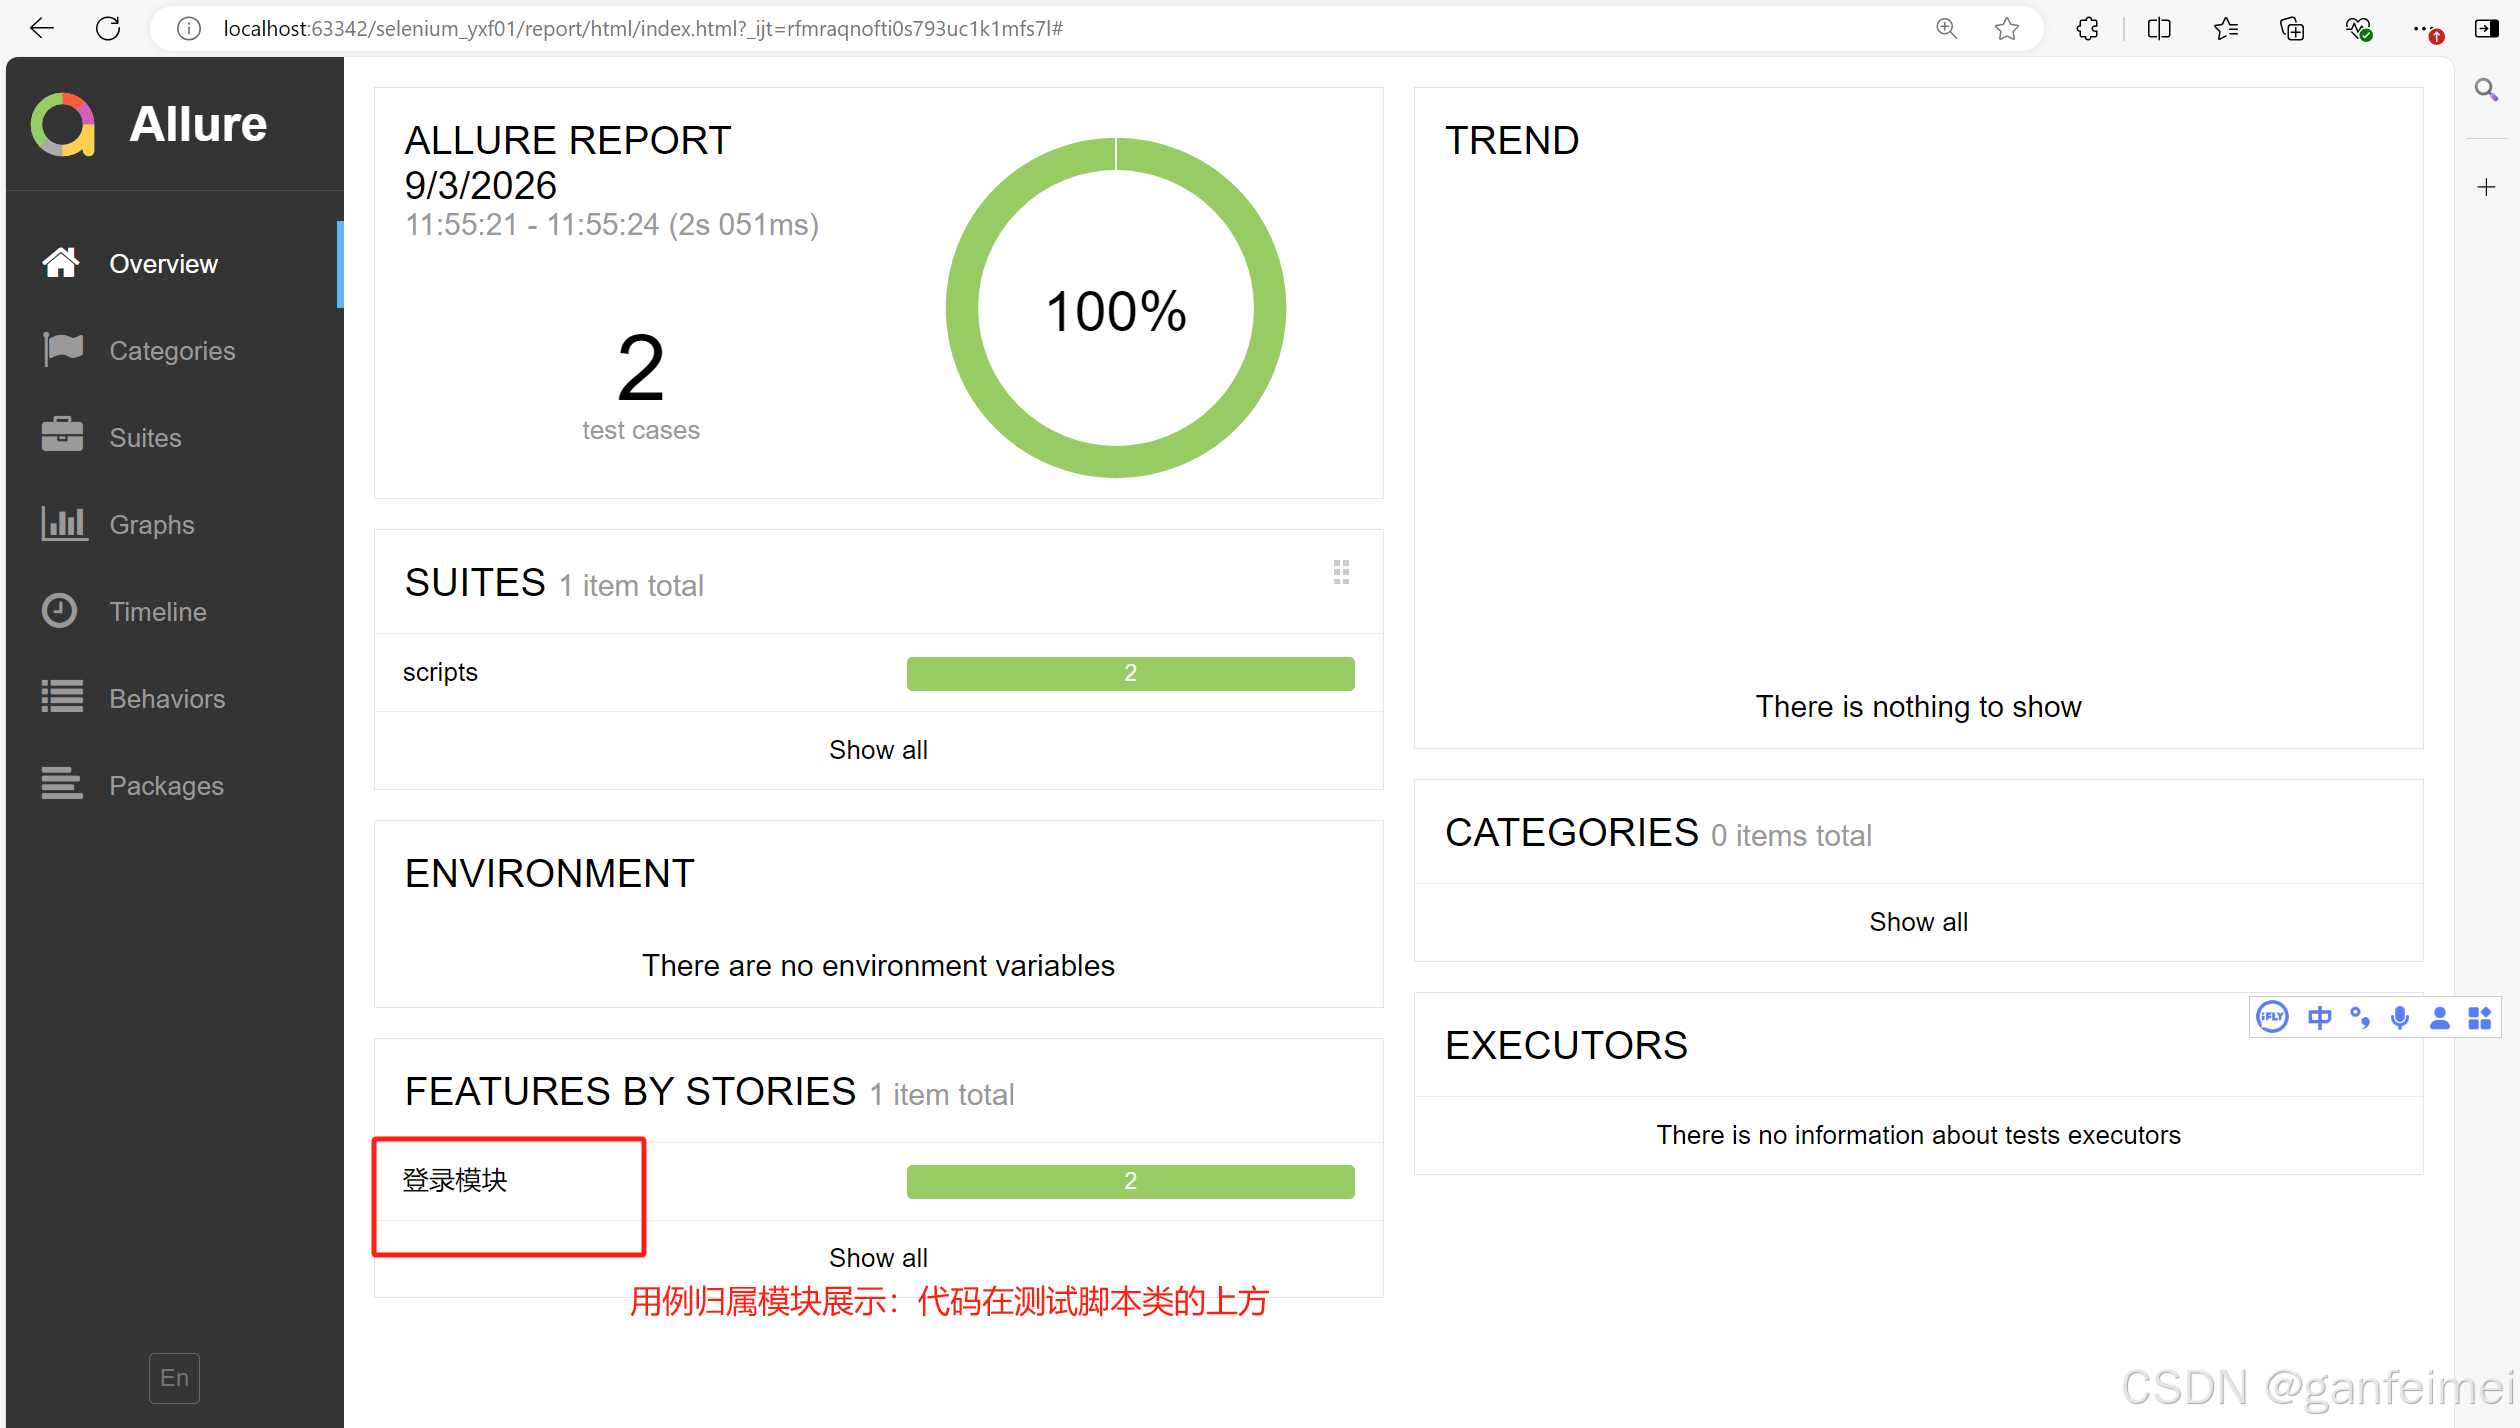
@allure.story("登录模块")  #增加用例模块归属,使用story方法
class TestLogin:
    #初始化。类级别的
    def setup_class(self):
        self.login_proxy=LoginProxy()
        self.home_proxy=HomeProxy()
        self.dig_proxy=DigitalProxy()
    #结束销毁,类级别,统一销毁
    def teardown_class(self):
        UtilsDriver.quit_driver()  #调用工具类中的关闭webdriver对象
    #方法三:参数化使用函数
    @pytest.mark.parametrize("enterprise,account,psd,expect",read_params_data("login_data.json", "login_success", "enterprise,account,psd,expect"))
    #增加用例级别
    @allure.severity(allure.severity_level.BLOCKER)
    def test01_login(self,enterprise,account,psd,expect):
        # 调用登陆业务进入首页,参数有账号密码
        self.login_proxy.go_home_page(enterprise,account,psd)
        #登录业务完成后,使用allure截图,须先获取driver使用driver调用截图方法,截图描述、获得png图片
        allure.attach(UtilsDriver.get_driver().get_screenshot_as_png(),"登录成功",allure.attachment_type.PNG)
        username = self.home_proxy.get_username_msg() #获取登陆者姓名
        #断言
        assert expect == username
        logging.info("登陆者姓名:{}".format(username))
        #日志记录测试用例数据
logging.info("测试用例数据:企业:{},账号:{},预期结果:{}".format(enterprise,account,expect))- 测试结果如下: