目录
- [0. 前言](#0. 前言)
- [1. 宇宙最强编辑器(暂定)vscode的安装与配置](#1. 宇宙最强编辑器(暂定)vscode的安装与配置)
-
- [1.1 下载安装](#1.1 下载安装)
- [1.2 用户配置和常用插件](#1.2 用户配置和常用插件)
- [2. C/C++环境配置](#2. C/C++环境配置)
- [3. git配置](#3. git配置)
- [4. MySQL配置](#4. MySQL配置)
- [5. Java环境配置](#5. Java环境配置)
0. 前言
本篇博客主要介绍Ubuntu24.04中的开发环境等配置。
1. 宇宙最强编辑器(暂定)vscode的安装与配置
1.1 下载安装
访问官网https://code.visualstudio.com/Download,下载.deb文件。
 切换到下载目录,运行
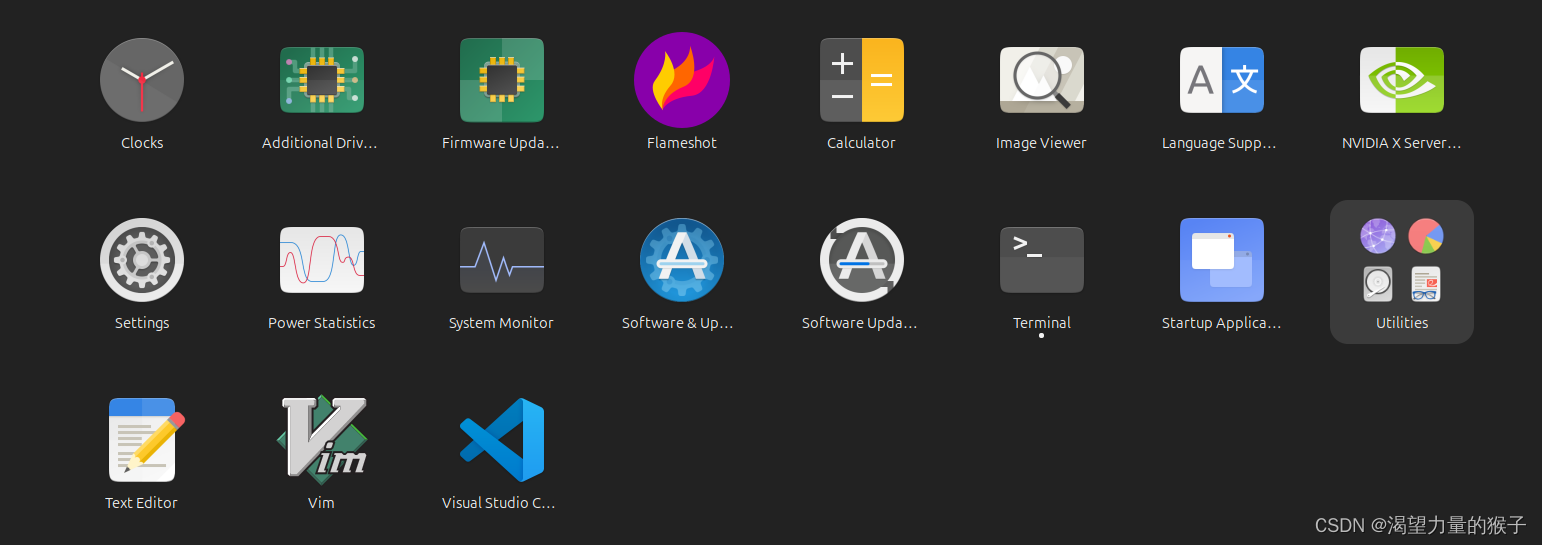
sudo dpkg -i code_xxxx.deb,注意将文件名替换为自己的。等待命令执行完后就安装完成了。可以看到有图标:
1.2 用户配置和常用插件
可以通过点击图标的方式运行,类似于Windows,不过既然是Linux系统,使用命令显得更专业一些。
运行code dir即可打开相应的目录,如果只输入code则只打开软件而不打开文件或文件夹。
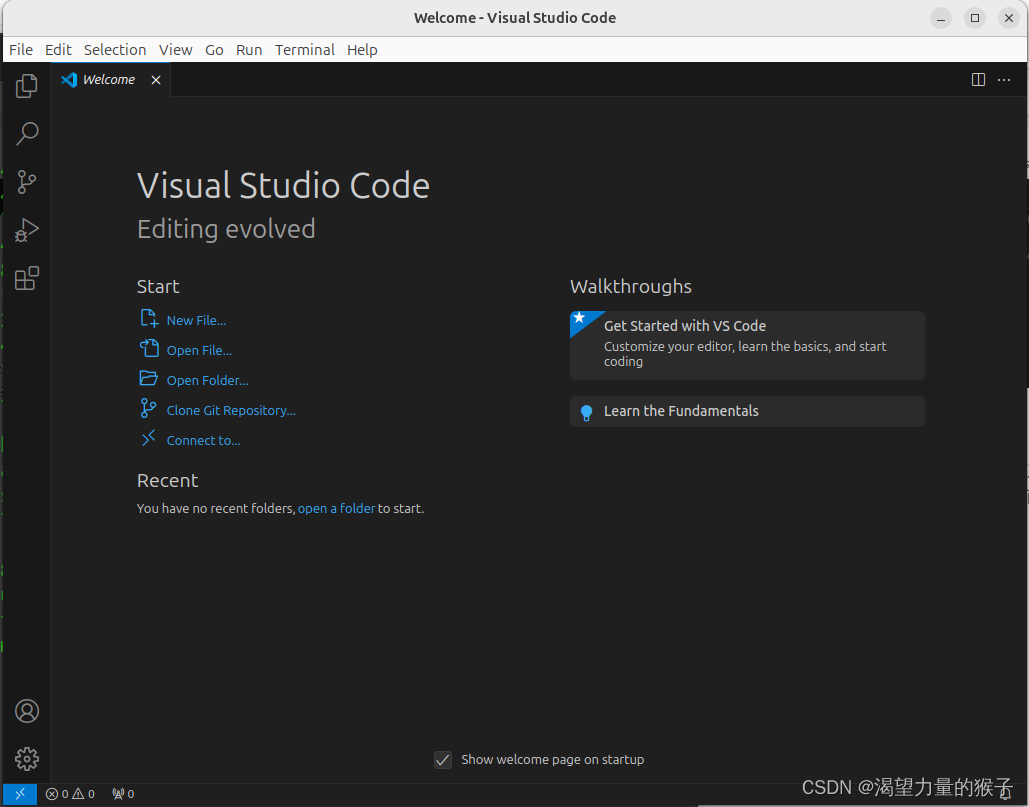 然后我们稍作配置,这里话不多说,直接上配置文件,将下面的内容粘贴到
settings.json文件中保存即可。
json
{
    // C/C++代码风格,最好看的一种风格
    "C_Cpp.clang_format_fallbackStyle": "{ BasedOnStyle: Google, UseTab: Never, IndentWidth: 4, TabWidth: 4}",
    // 编辑器界面
    "editor.fontSize": 20,
    "editor.fontFamily": "'Consolas', 'Courier New', monospace, 'Microsoft YaHei'",
    "editor.formatOnPaste": true,
    "editor.formatOnSave": true,
    "terminal.integrated.fontSize": 20,
    "terminal.integrated.lineHeight": 1.2,
    "explorer.confirmDelete": false,
    "workbench.colorTheme": "Default Dark+",
    "git.enableSmartCommit": true,
    "git.confirmSync": false,
    "workbench.iconTheme": "vscode-icons",
    "workbench.colorCustomizations": {
        // "terminal.background": "#292A44",
        "terminal.foreground": "#5ad734",
        "terminalCursor.background": "#F1EFF8",
        "terminalCursor.foreground": "#f4f26d",
        // "terminal.ansiBlack": "#292A44",
        // "terminal.ansiBlue": "#365eb4",
        // "terminal.ansiBrightBlack": "#666699",
        "terminal.ansiBrightBlue": "#7d0833",
        // "terminal.ansiBrightCyan": "#8EAEE0",
        "terminal.ansiBrightGreen": "#d0e230",
        // "terminal.ansiBrightMagenta": "#7AA5FF",
        // "terminal.ansiBrightRed": "#A0A0C5",
        // "terminal.ansiBrightWhite": "#53495D",
        // "terminal.ansiBrightYellow": "#AE81FF",
        // "terminal.ansiCyan": "#8EAEE0",
        // "terminal.ansiGreen": "#6DFEDF",
        // "terminal.ansiMagenta": "#7AA5FF",
        // "terminal.ansiRed": "#A0A0C5",
        // "terminal.ansiWhite": "#F1EFF8",
        // "terminal.ansiYellow": "#AE81FF"
    },
    "explorer.confirmDragAndDrop": false,
    "files.associations": {
        "*.html": "html"
    },
    "editor.minimap.size": "fit",
    "javascript.updateImportsOnFileMove.enabled": "always",
    "security.workspace.trust.untrustedFiles": "open",
    "editor.wordWrap": "on",
    "editor.accessibilitySupport": "off",
    "terminal.integrated.enableMultiLinePasteWarning": false,
    "window.zoomLevel": 1,
    "window.titleBarStyle": "custom",
    "editor.codeActionsOnSave": {
        "source.organizeImports": "explicit"
    },
    "terminal.integrated.cursorBlinking": true,
    "terminal.integrated.cursorStyle": "underline",
    "terminal.integrated.cursorStyleInactive": "underline",
    "terminal.integrated.fontFamily": "'ubuntu mono', 'Dajevu Sans Mono', 'Courier New',  'Microsoft YaHei'",
    "open-in-browser.default": "chrome"
}
其中没有的则不管。
这一下至少界面变得好看了些,字的大小大了些,最上面白色的一栏也和主体匹配了。
下面介绍常用插件:
-
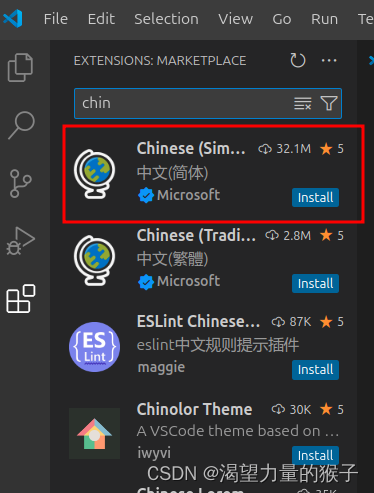
可能每篇讲解vscode配置的文章都会介绍中文翻译插件,不过我个人觉得没什么用。
-
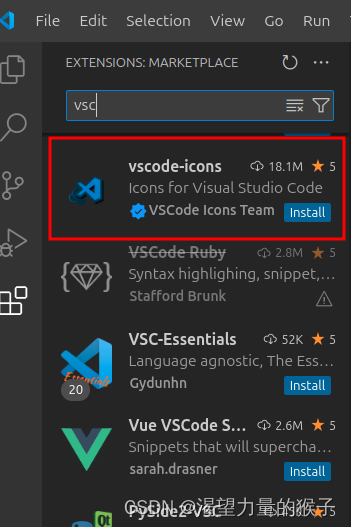
图标插件,让你的文件夹和文件的图标变得更好看;
-
C/C++插件
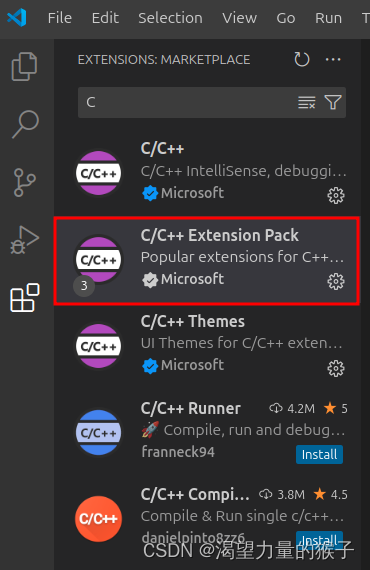
只需要安装框中的一个就可以了,它会自动安装全套工具:
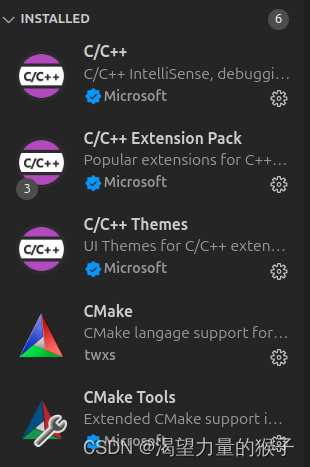
-
Markdown插件
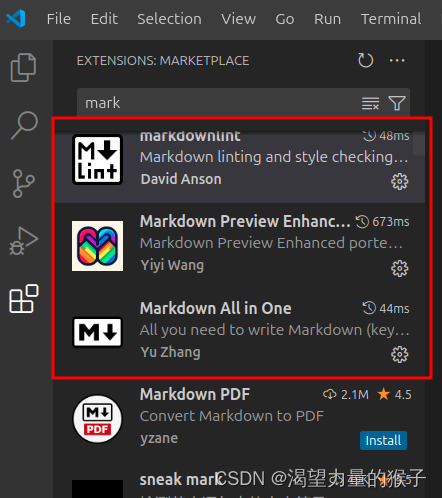
这三个插件中:第一个用于语法检查和格式化,第二个用于在侧边显示markdown渲染后的样子,第三个可以将markdown转为HTML文件,一般用前两个就行了。第二个是很有必要的。
-
Java插件
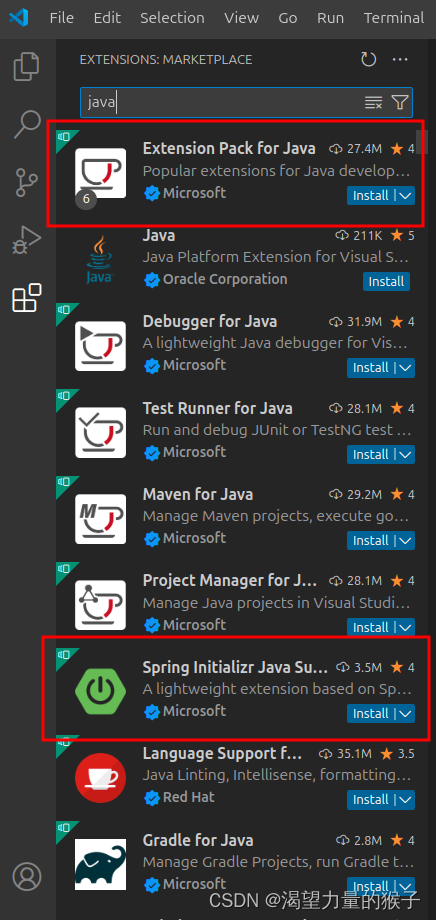
一般不在
Linux中写Java源代码,而且开发Java的话最好使用IDEA,更方便。上面的两个插件第一个是全套Java基本插件,第二个是SpringBoot插件。 -
Python插件
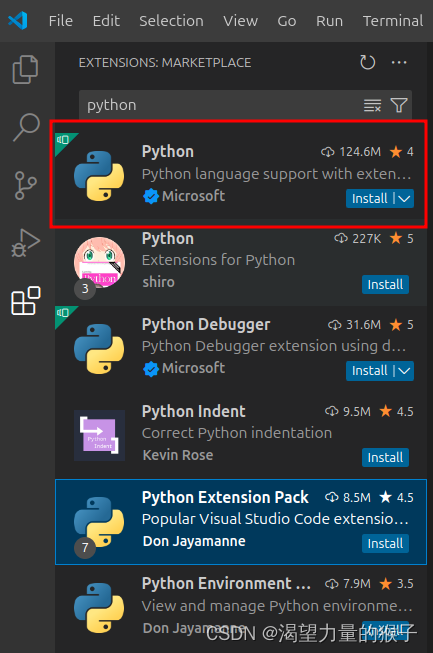
因为
Ubuntu自带Python环境,Ubuntu24.04自带Python3.12。所以基本不需要什么插件,只需要安装些语法检查和代码格式化的插件即可。
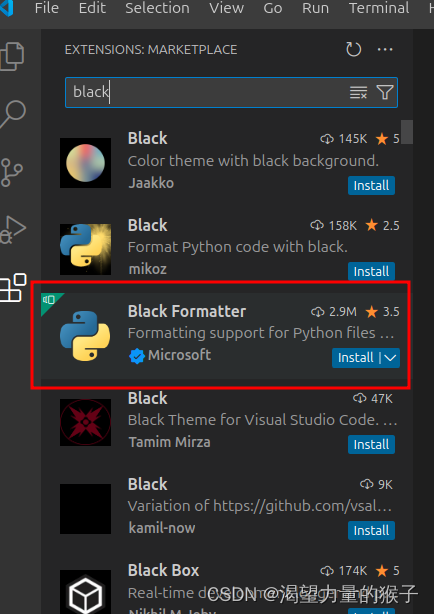
如果你想舒服的写
Python代码尽管你不是学人工智能的,那可以试一下jupyter notebook

-
前端插件
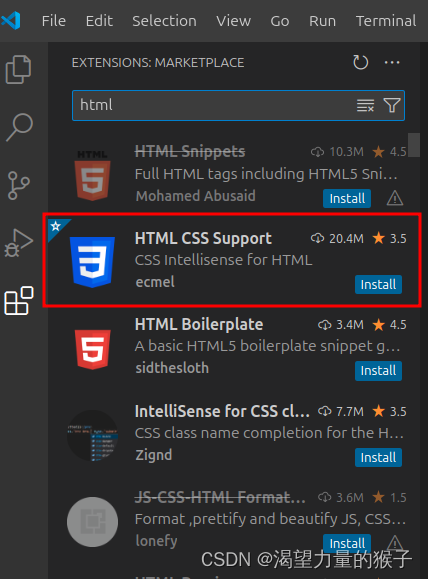
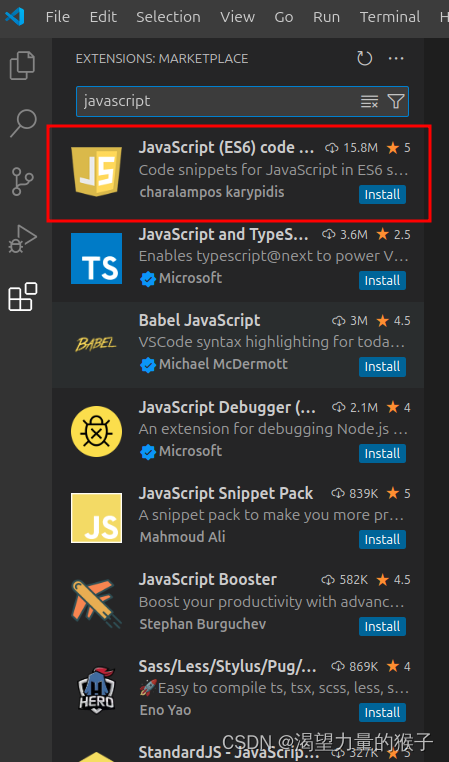
其实
vscode最常用来写前端,因为其它语言都有其自己强大的IDE。
-
其它实用插件
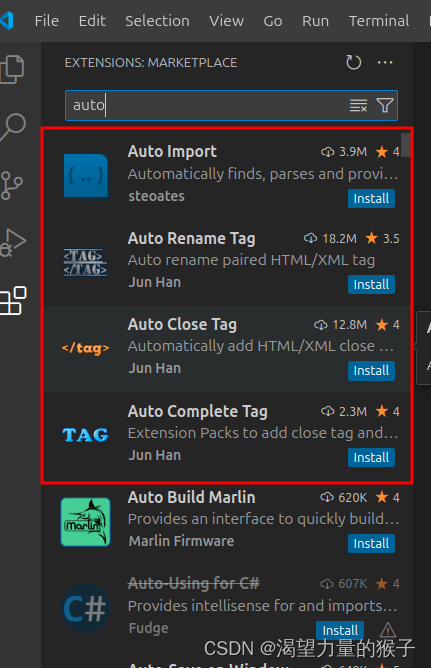
几个auto可以让你的编码效率提升一些
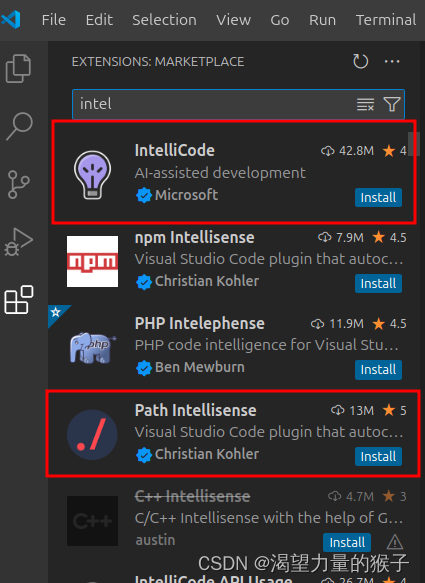
代码错误提示和路径补全
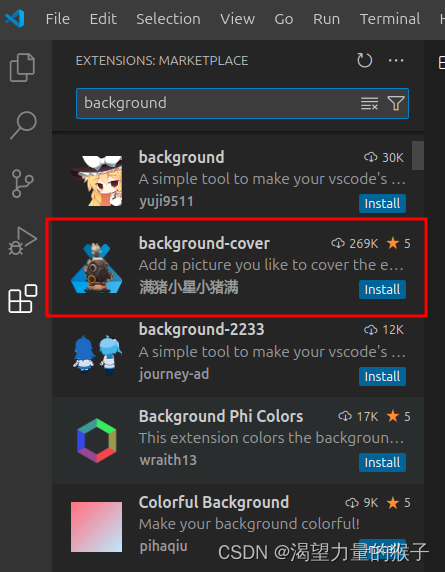
背景图。这个简单易用。
还有什么好用的插件的话,也可以在评论区分享。
2. C/C++环境配置
光有插件还不够,得有实际的编译运行环境才行。Ubuntu24.04没有自带gcc g++,需要手动安装:
shell
sudo apt install gcc g++3. git配置
首先下载安装git
shell
sudo apt install git然后配置用户名和邮箱
shell
# 加不加引号都行
git config --global user.name yourname
git config --global user.email youremail然后配置ssh:
shell
# 生成
ssh-keygen -t rsa -C youremail
# 查看
cat ~/.ssh/id_rsa.pub # 将输出的内容复制打开浏览器,访问github.com,登录进去之后点击用户头像,进入设置
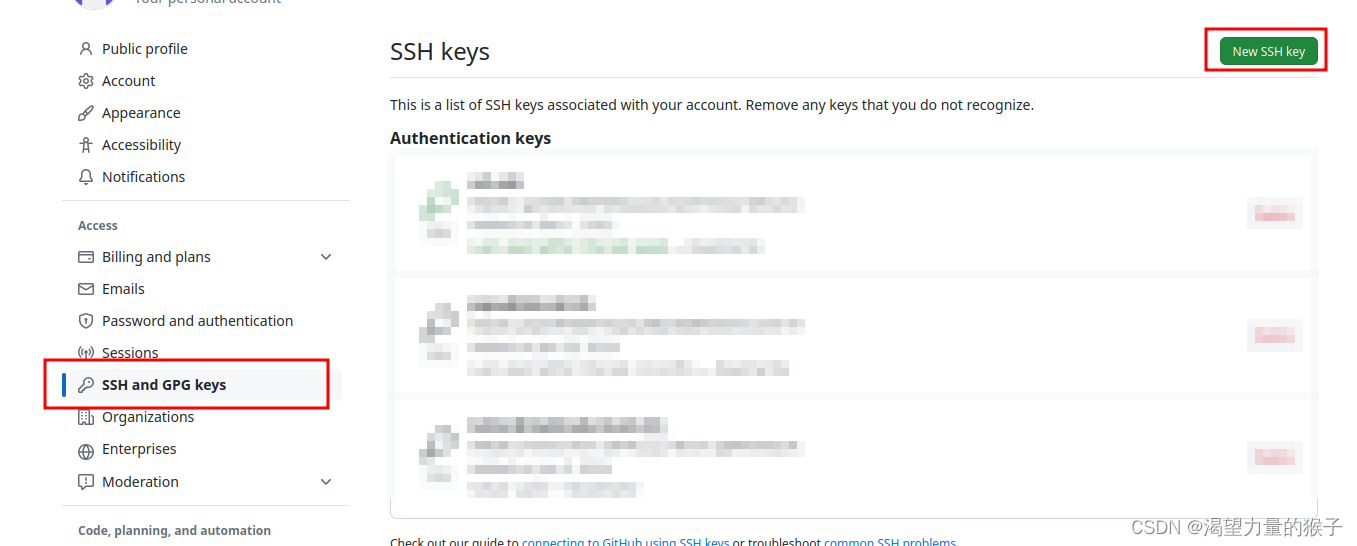 选择
选择New SSH key
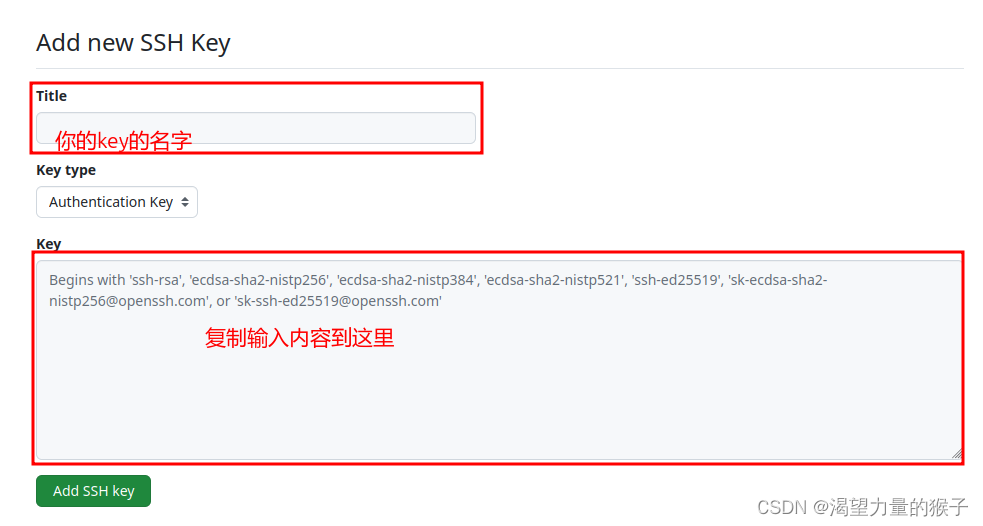 这样就算完成了。
4. MySQL配置
最新版的MySQL是8.4.0,不过这里并不安装它。依然安装8.0。
shell
# 1. 首先查询可使用的安装包
sudo apt search mysql-server
# 2. 安装最新版,这里实际安装的是8.0.36
sudo apt install -y mysql-server
# 4. 启动mysql
sudo systemctl start mysql
# 4. 查看状态
sudo systemctl status mysql
# 5. 设置开机自启动
sudo systemctl enable mysql如果此时直接使用mysql -uroot -p试图登入的话,可能会有如下错误:
ERROR 1698 (28000): Access denied for user 'root'@'localhost'这个时候使用sudo mysql即可登入,登入之后使用
sql
ALTER USER 'root'@'localhost' IDENTIFIED WITH mysql_native_password BY 'your_password';来修改密码,修改之后刷新缓存:
sql
flush privileges;然后MySQL就配置好了。
5. Java环境配置
Java环境配置主要指的是JDK的安装配置。这里安装的是JDK17
依然是访问官网下载https://www.oracle.com/java/technologies/downloads/,使用压缩包和.deb安装都可以
 这里使用压缩包安装,非常简单,只需要解压缩然后配置环境变量就可以了。
shell
tar zxvf jdk_xxxx.tar.gz # 注意文件名换成自己的
vim ~/.profile在~/.profile文件中添加下面的代码:
shell
export JAVA_HOME=/path/to/jdk17/jdk-17.0.11 ## 注意改成你自己的路径
export CLASSPATH=.:${JAVA_HOME}/jre/lib/rt.jar:${JAVA_HOME}/lib/dt.jar:${JAVA_HOME}/lib/tools.jar
export PATH=${PATH}:${JAVA_HOME}/bin然后source ~/.profile让其生效。
使用java --version 测试一下看其是否配置成功。不出意外应该是
 至此
至此JDK17就配置完成了,不过需要注意的是,这里的JDK只针对该用户一个人,如果在其他用户下,可能就没有了(没试过,只是推理)。
开发环境配置就到这里,当然还有很多没写,不过
Ubuntu主要用来开发C/C++以及Python,而Python的环境是自带的,不需要配置。Java环境也只是配置了基础中的基础,主要是考虑到Java还是在Windows中的IDEA中写起来更舒服些(没必要在Ubuntu中安装那种大型IDE,比如IDEA,VS等),而在Linux中主要是运行,安装一个JDK就够用了。