一、 前言
芯驰 X9H 芯片,搭载多个操作系统协同运行,系统实现了仪表、空调、中控、副驾多媒体的四屏驱动控制,在人车智能交互上可以通过显示屏、屏幕触摸控制、语音控制、物理按键控制、车身协议的完美融合,使汽车更智能。让车主及乘客有更好的体验乐趣。在仪表的应用中很可能会用到 QT,本文介绍 QT 静态编译的方法,这种方法优势在于不依赖外部库文件,方便移植。
二、 软件环境搭建
1. 软件基线下载
本文使用 PTG4.1 版本基线,使用 X9HP_Ref_Isolation_AndroidUser_Linux_Serdes_8G_emmc_3200.json 配置文件。
- 配置 key
- 下载 buildsystem 文件夹
- source lunch_sd.sh -c X9HP_Ref_Isolation_AndroidUser_Linux_Serdes_8G_emmc_3200.json -b X9_3.0.0_PTG4.1 -u customer_c
- make sync_all 同步代码
- make build_all 编译
- make genpac 生成 pac 包
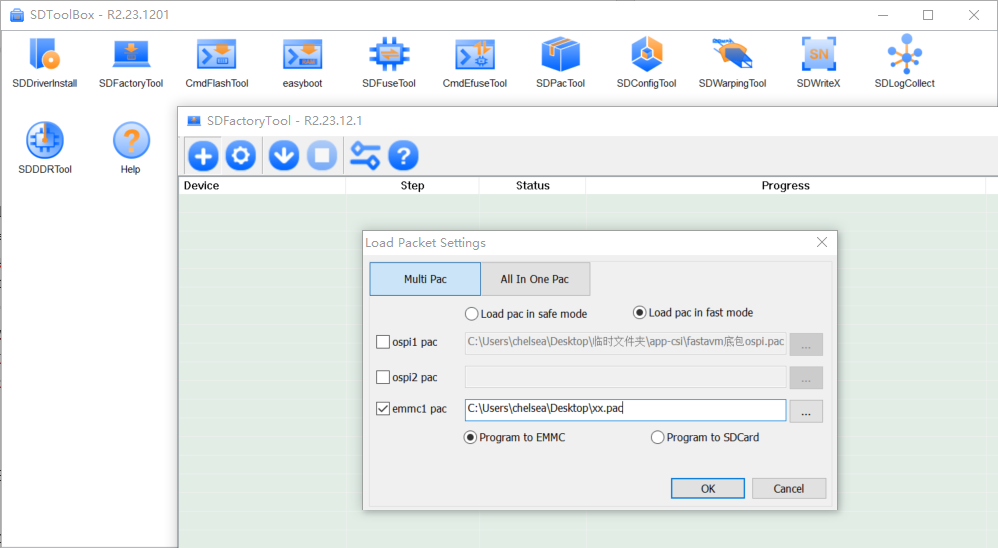
2. 软件烧录
使用提供的 SdToolsBox 工具进行下载,验证基础功能完好。
3. 安装工具链
下载并安装芯驰提供的工具链 cluster-qt-glibc-x86_64-semidrive-qt-sdk-aarch64-toolchain-2.5.3.sh。
查看交叉编译工具链

三、 QT 软件安装
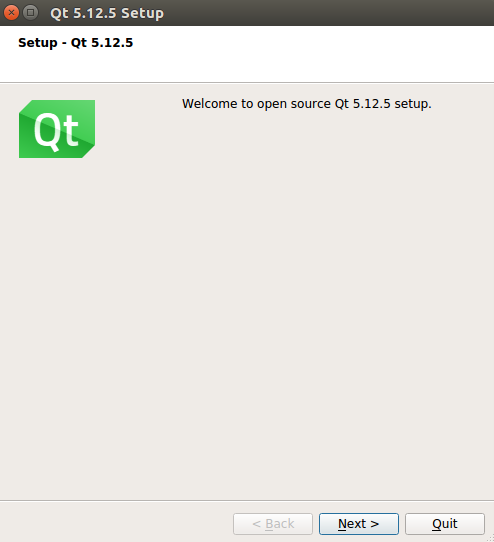
1. 从官网下载 QT Linux 5.12.5
3.1.1 安装 QT
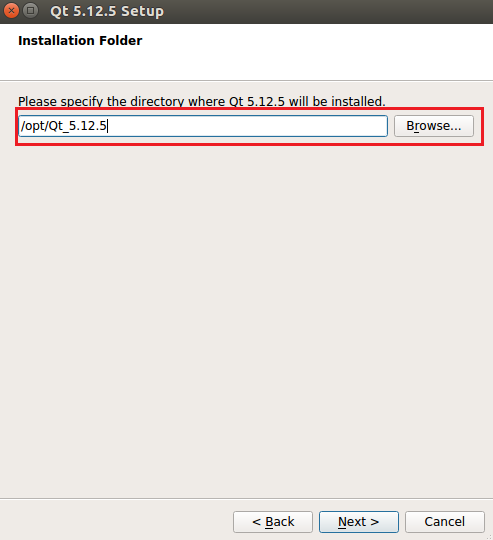
3.1.2 选择工程路径
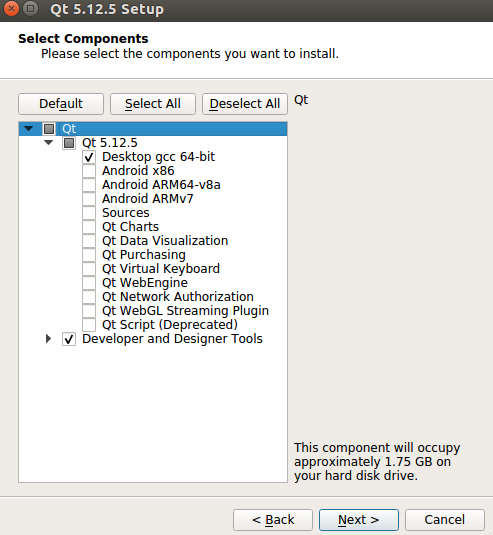
3.1.3 选择安装选项
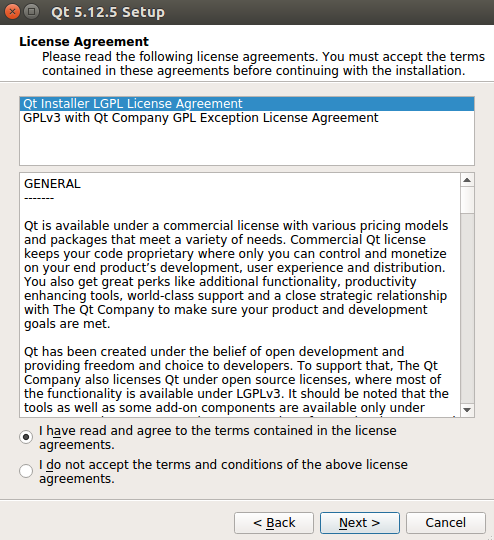
3.1.4 协议选择
3.1.5 开始安装

2. QT 静态编译
3.2.1 解压 static_5.12.5_qt_env.7z 文件
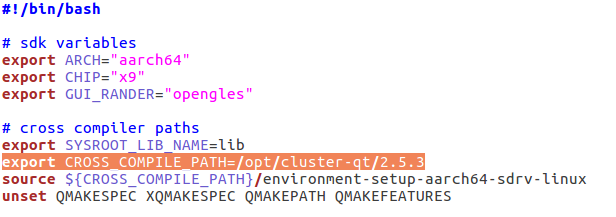
3.2.2 修改 compiler-config.sh 中路径为 export CROSS_COMPILE_PATH=/opt/cluster-qt/2.5.3
3.2.3 设置环境变量
source /opt/cluster-qt/2.5.3/environment-setup-aarch64-sdrv-linux
3.2.4 编译核心库
sudo ./qtbase-make.sh static 开始编译

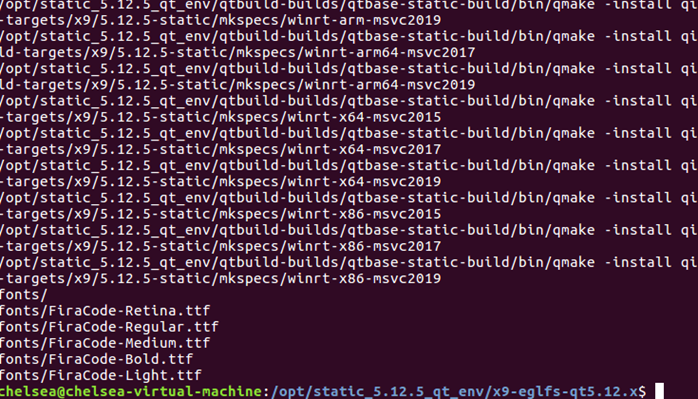
3.2.5 编译其他库
sudo ./qtsubmodules-make.sh static


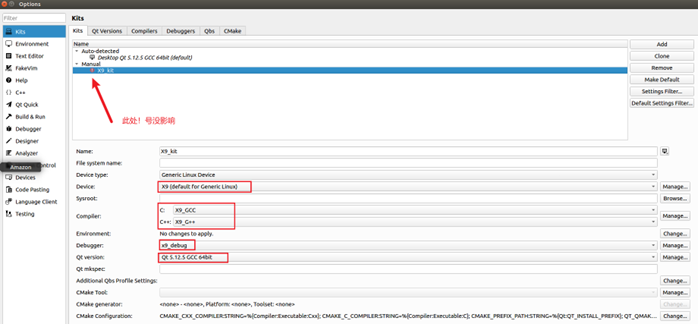
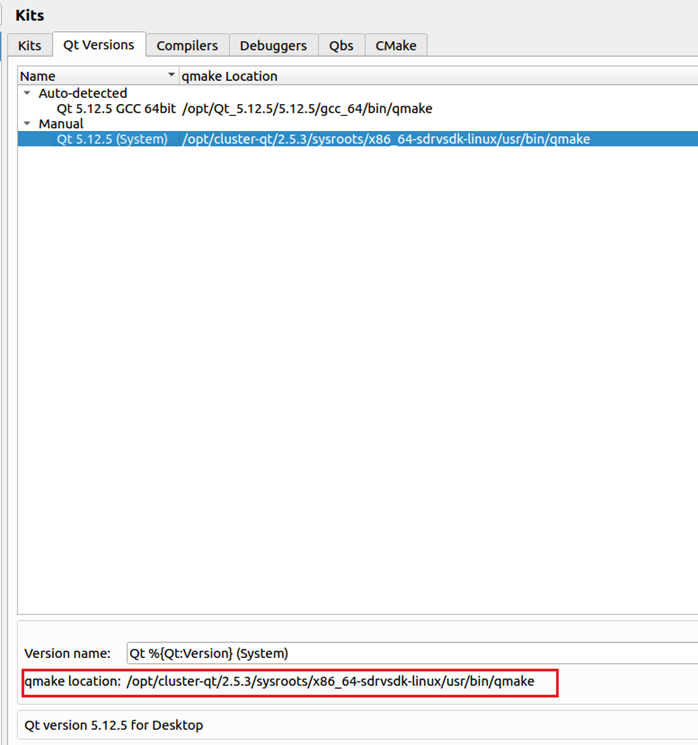
3. 配置 QT
参考 《qt_window应用远程部署调试环境搭建》文档,配置 QT。
四、 测试验证
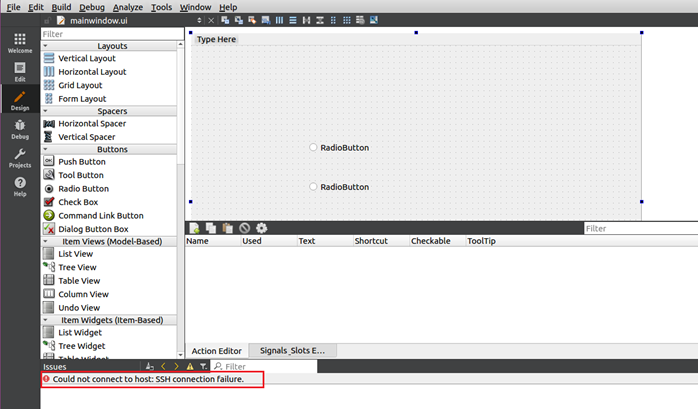
1. 建立 QT 测试工程
2. 编译工程
- 执行 source /opt/cluster-qt/2.5.3/environment-setup-aarch64-sdrv-linux
- 执行 source my.sh
- 执行 export QTDIR PATH MANPATH LD_LIBRARY_PATH
- 执行 qmake xxx.pro
- 执行 make
3. 执行应用程序
- 使用 adb 工具 push 进板子
- 板端输入 export QT_QPA_EGLFS_INTEGRATION=none
- 执行应用程序,可显示出画面
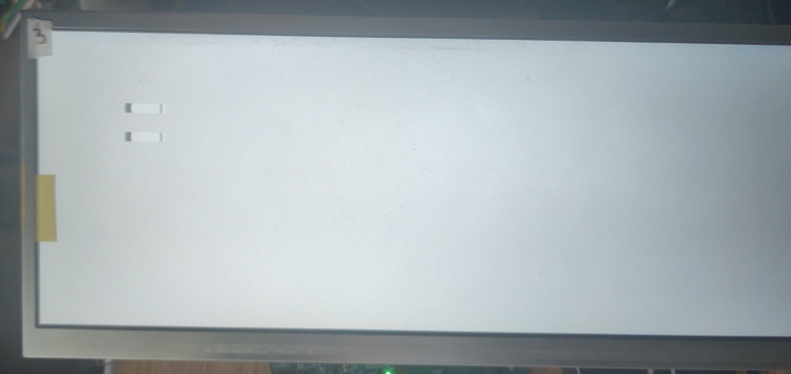
五、 总结
经过以上几步,可以编译出 QT 应用程序,最基本的程序 12M 左右,在板子上执行后可以显示出界面,与工程中放置的 2 个 Button 一样,这样可以不依赖外部库独立移植。
六、 参考文档
- 《SD_X9_SDK_User_Manual》
- 《qt_window应用远程部署调试环境搭建.pdf》
欢迎关注大大通博主:汽车大牛,了解更多汽车相关应用知识!
有任何问题,欢迎登录大大通,在原博文下方留言评论,我们会及时回复您的问题。