一、
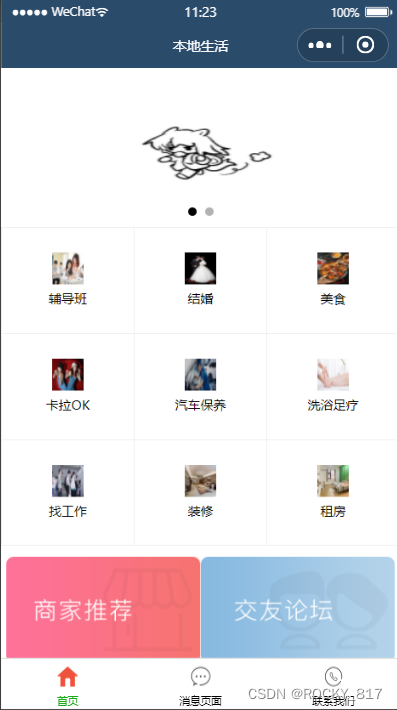
1.页面效果:
二、
1.新建项目并添加页面
在app.json文件中:
"pages": [
    "pages/home/home",
    "pages/message/message",
    "pages/contact/contact"
  ]
2.配置导航栏效果
在app.json文件中:
"window": {
    "backgroundTextStyle": "light",
    "navigationBarTitleText": "本地生活",
    "navigationBarBackgroundColor": "#2b4b6b",
    "navigationBarTextStyle": "white"
  }
如图:

3.配置tabBar效果
在app.json文件中:
"tabBar": {
    "list": [{
      "pagePath": "pages/home/home",
      "text": "首页",
      "iconPath": "/image/home.png",
      "selectedIconPath": "/image/home-active.png"
    },{
      "pagePath": "pages/message/message",
      "text": "消息页面",
      "iconPath": "/image/message.png",
      "selectedIconPath": "/image/message-active.png"
    },{
      "pagePath": "pages/contact/contact",
      "text": "联系我们",
      "iconPath": "/image/contact.png",
      "selectedIconPath": "/image/contact-active.png"
    }]
 }
效果如下:

4.实现轮播图效果
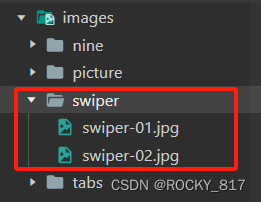
将所需的轮播图图片放入images文件夹中的swiper文件夹中
在home.js文件中:
  data: {
    swiperList:[
      '/images/swiper/swiper-01.jpg',
      '/images/swiper/swiper-02.jpg'
    ]
  }
在home.wxml文件中:
XML
<!-- 轮播图区域 -->
<swiper indicator-dots circular>
  <swiper-item wx:for="{{swiperList}}">
    <image src="{{item}}"></image>
  </swiper-item>
</swiper>
美化图片:
在home.wxss文件中:
css
swiper {
  height: 350rpx;
}

swiper image {
  width: 100%;
  height: 100%;
}
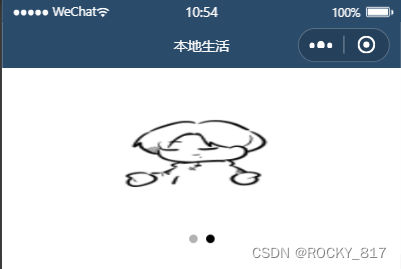
效果如图:
5.实现九宫格效果
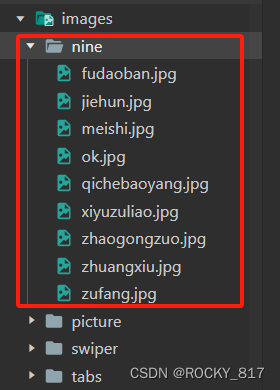
将所需的九宫格图片放入images文件夹中的nine文件夹中
在home.js文件中:
css
  data: {
    swiperList:[
      '/images/swiper/swiper-01.jpg',
      '/images/swiper/swiper-02.jpg'
    ],
    gridList:[
      {'name':'辅导班','icon':'/images/nine/fudaoban.jpg'},
      {'name':'结婚','icon':'/images/nine/jiehun.jpg'},
      {'name':'美食','icon':'/images/nine/meishi.jpg'},
      {'name':'卡拉OK','icon':'/images/nine/ok.jpg'},
      {'name':'汽车保养','icon':'/images/nine/qichebaoyang.jpg'},
      {'name':'洗浴足疗','icon':'/images/nine/xiyuzuliao.jpg'},
      {'name':'找工作','icon':'/images/nine/zhaogongzuo.jpg'},
      {'name':'装修','icon':'/images/nine/zhuangxiu.jpg'},
      {'name':'租房','icon':'/images/nine/zufang.jpg'},

    ]
  }
在home.wxml文件中:
XML
<!-- 九宫格区域 -->
<view class="grid-list">
  <view class="grid-item" wx:for="{{gridList}}">
    <image src="{{item.icon}}"></image>
    <text>{{item.name}}</text>
  </view>
</view>
哦对九宫格这里grid不要打错成gird了!!!
美化图片:
在home.wxss文件中:
css
.grid-list {
  /* flex布局 */
  display: flex;
  /* 允许换行 */
  flex-wrap: wrap;
  /* 添加右侧边框 */
  border-right: 1rpx solid #efefef;
  /* 添加底部边框 */
  border-bottom: 1rpx solid #efefef;
}

.grid-item {
  width: 33.33%;
  height: 200rpx;
  display: flex;
  /* 纵向布局 */
  flex-direction: column;
  align-items: center;
  justify-content: center;
  /* 添加左侧边框 */
  border-left: 1rpx solid #efefef;
  /* 添加顶部边框 */
  border-top: 1rpx solid #efefef;
  /* 改变box方式 */
  box-sizing: border-box;
}

.grid-item image {
  width: 60rpx;
  height: 60rpx;
}

.grid-item text {
  font-size: 24rpx;
  /* 设置文本和图片之间距离 */
  margin-top: 10rpx;
}
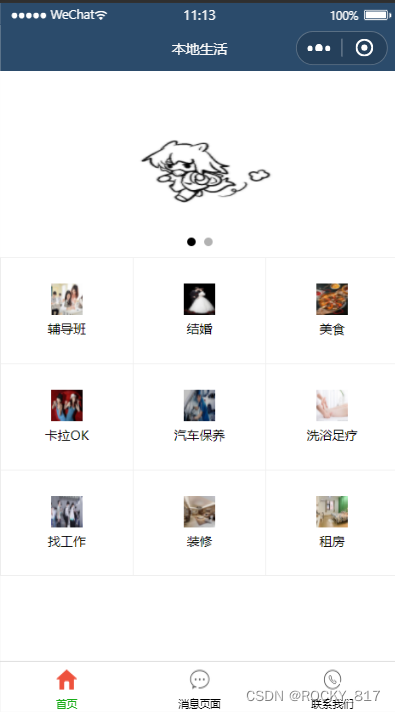
效果如下:
6.实现底部图片效果
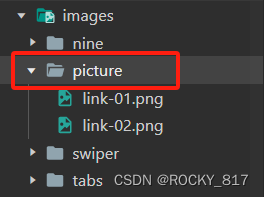
将所需的图片放入images文件夹中的picture文件夹中
在home.wxml文件中:
XML
<!-- 底部图片区域 -->
<view class="img-box">
  <image src="/images/picture/link-01.png"></image>
  <image src="/images/picture/link-02.png"></image>
</view>
美化图片:
在home.wxss文件中:
css
.img-box {
  display: flex;
  padding: 20rpx 10rpx;
  justify-content: space-around;
}

.img-box image {
  height: 100px;
}
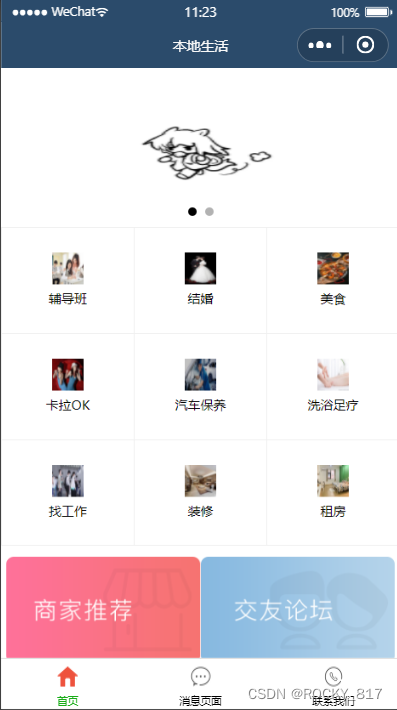
效果如下:
over