1、图片预测(CPU)
关于DETR模型训练自己的数据集参考上篇文章:
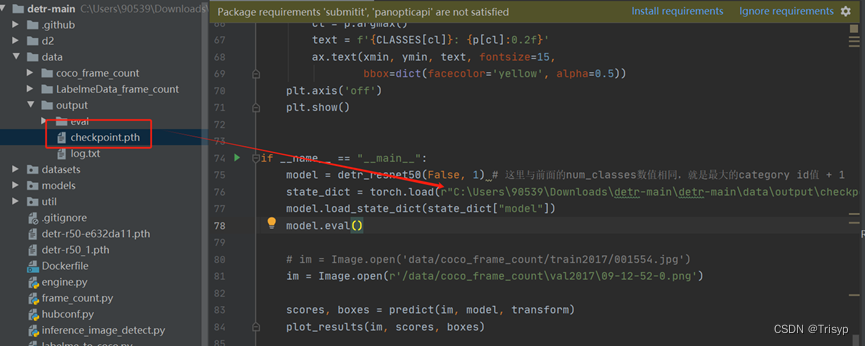
训练完成后的模型文件保存位置如下:
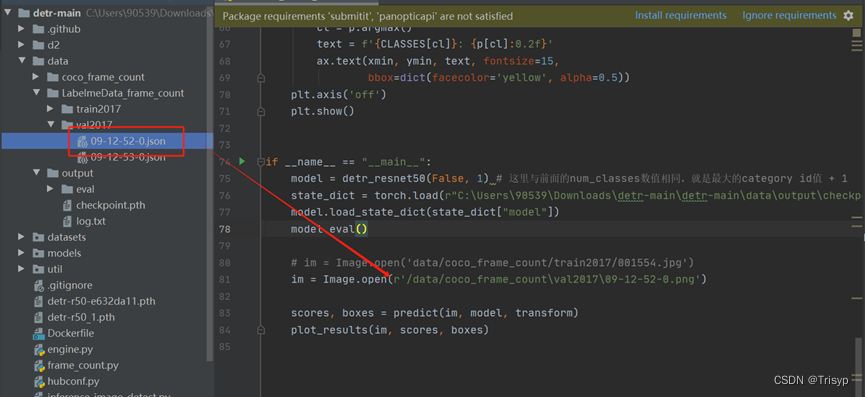
准备好要预测的图片:
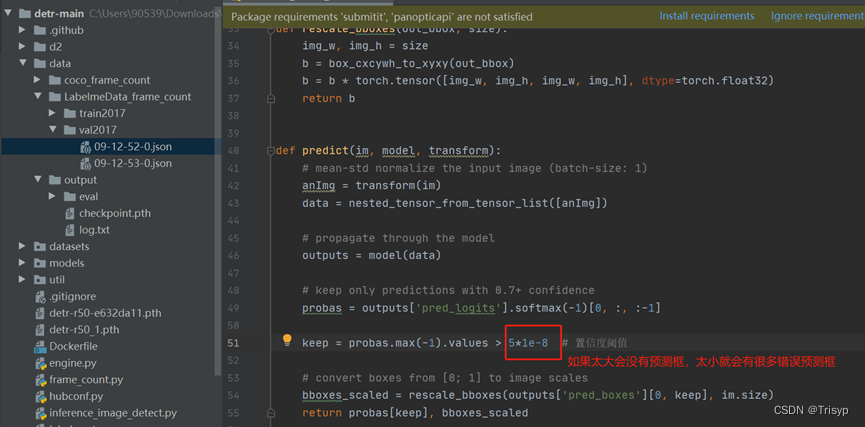
然后直接调用模型进行预测,并设置置信度阈值来输出检测框:
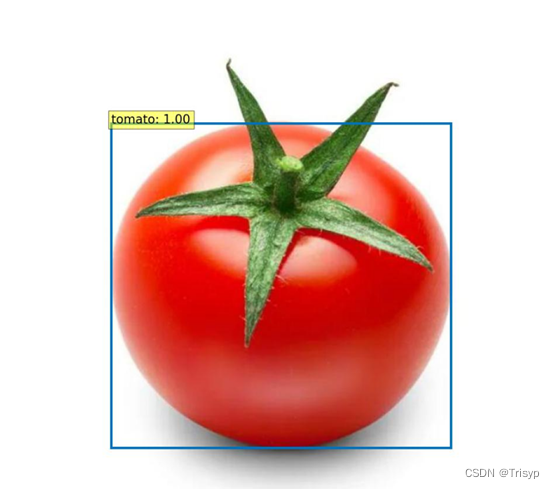
最后用plot函数来画出图片及预测框,效果如下:

最后附上完整代码:
python
from PIL import Image
import matplotlib.pyplot as plt
import torchvision.transforms as T
from hubconf import *
from util.misc import nested_tensor_from_tensor_list

torch.set_grad_enabled(False)

# COCO classes
CLASSES = [
    '1'
]

# colors for visualization
COLORS = [[0.000, 0.447, 0.741], [0.850, 0.325, 0.098]]

# standard PyTorch mean-std input image normalization
transform = T.Compose([
    T.Resize(800),
    T.ToTensor(),
    T.Normalize([0.485, 0.456, 0.406], [0.229, 0.224, 0.225])
])


# for output bounding box post-processing
def box_cxcywh_to_xyxy(x):
    x_c, y_c, w, h = x.unbind(1)
    b = [(x_c - 0.5 * w), (y_c - 0.5 * h),
         (x_c + 0.5 * w), (y_c + 0.5 * h)]
    return torch.stack(b, dim=1)


def rescale_bboxes(out_bbox, size):
    img_w, img_h = size
    b = box_cxcywh_to_xyxy(out_bbox)
    b = b * torch.tensor([img_w, img_h, img_w, img_h], dtype=torch.float32)
    return b


def predict(im, model, transform):
    # mean-std normalize the input image (batch-size: 1)
    anImg = transform(im)
    data = nested_tensor_from_tensor_list([anImg])

    # propagate through the model
    outputs = model(data)

    # keep only predictions with 0.7+ confidence
    probas = outputs['pred_logits'].softmax(-1)[0, :, :-1]

    keep = probas.max(-1).values > 5*1e-8  # 置信度阈值

    # convert boxes from [0; 1] to image scales
    bboxes_scaled = rescale_bboxes(outputs['pred_boxes'][0, keep], im.size)
    return probas[keep], bboxes_scaled


def plot_results(pil_img, prob, boxes):
    plt.figure(figsize=(16, 10))
    plt.imshow(pil_img)
    ax = plt.gca()
    colors = COLORS * 100
    for p, (xmin, ymin, xmax, ymax), c in zip(prob, boxes.tolist(), colors):
        ax.add_patch(plt.Rectangle((xmin, ymin), xmax - xmin, ymax - ymin,
                                   fill=False, color=c, linewidth=3))
        cl = p.argmax()
        text = f'{CLASSES[cl]}: {p[cl]:0.2f}'
        ax.text(xmin, ymin, text, fontsize=15,
                bbox=dict(facecolor='yellow', alpha=0.5))
    plt.axis('off')
    plt.show()


if __name__ == "__main__":
    model = detr_resnet50(False, 1) # 这里与前面的num_classes数值相同,就是最大的category id值 + 1
    state_dict = torch.load(r"C:\Users\90539\Downloads\detr-main\detr-main\data\output\checkpoint.pth", map_location='cpu')
    model.load_state_dict(state_dict["model"])
    model.eval()

    # im = Image.open('data/coco_frame_count/train2017/001554.jpg')
    im = Image.open(r'C:\Users\90539\Downloads\detr-main\detr-main\data/coco_frame_count/val2017/09-12-52-0.png')

    scores, boxes = predict(im, model, transform)
    plot_results(im, scores, boxes)