###1.PHP源码编译###
解压PHP压缩包,切入PHP目录,进行configure-->make-->make installd三部曲
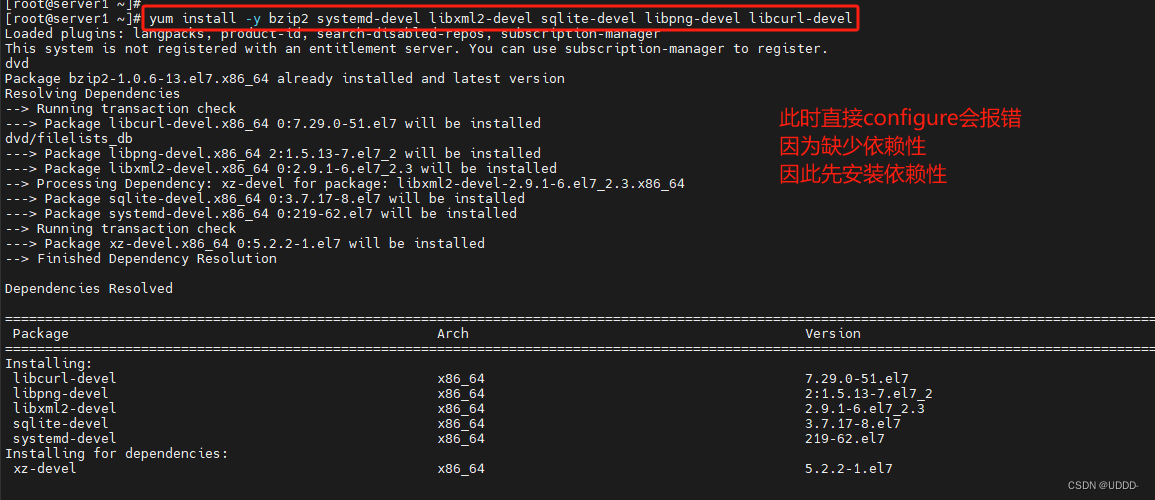
[root@server1 ~]# yum install -y bzip2 systemd-devel libxml2-devel sqlite-devel libpng-devel libcurl-devel ##依赖性
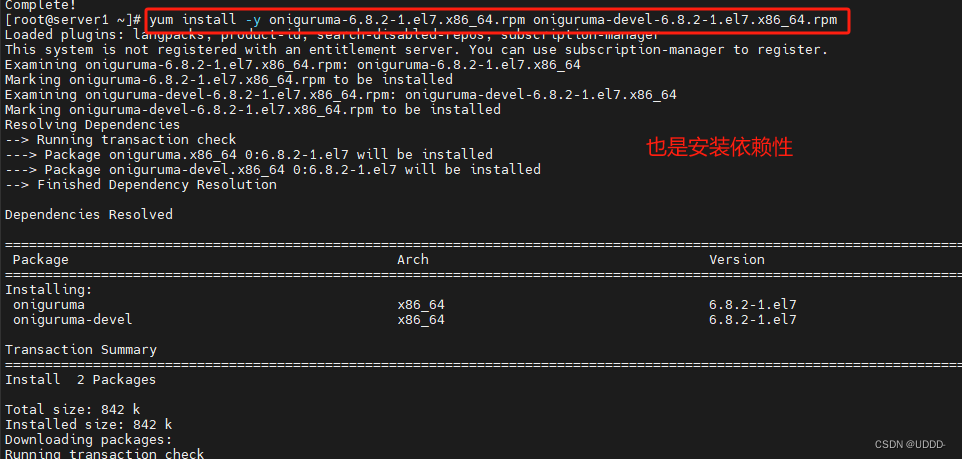
[root@server1 ~]# yum install -y oniguruma-6.8.2-1.el7.x86_64.rpm oniguruma-devel-6.8.2-1.el7.x86_64.rpm ##依赖性
解压php压缩包
[root@server1 ~]# tar xf php-7.4.12.tar.bz2
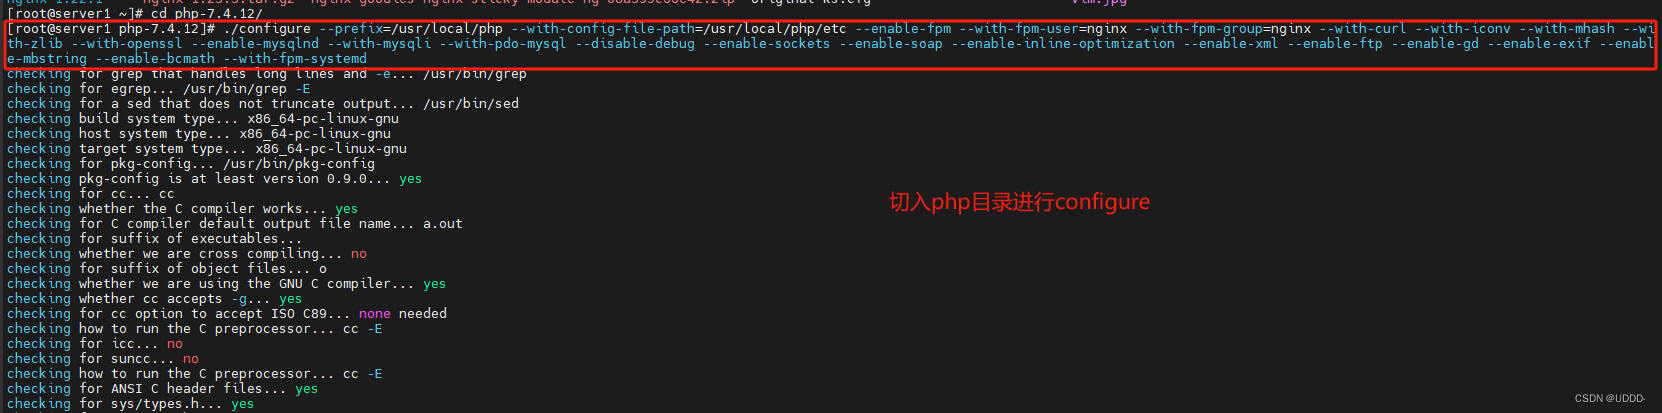
[root@server1 ~]# cd php-7.4.12/
三部曲
[root@server1 php-7.4.12]# ./configure --prefix=/usr/local/php --with-config-file-path=/usr/local/php/etc --enable-fpm --with-fpm-user=nginx --with-fpm-group=nginx --with-curl --with-iconv --with-mhash --with-zlib --with-openssl --enable-mysqlnd --with-mysqli --with-pdo-mysql --disable-debug --enable-sockets --enable-soap --enable-inline-optimization --enable-xml --enable-ftp --enable-gd --enable-exif --enable-mbstring --enable-bcmath --with-fpm-systemd
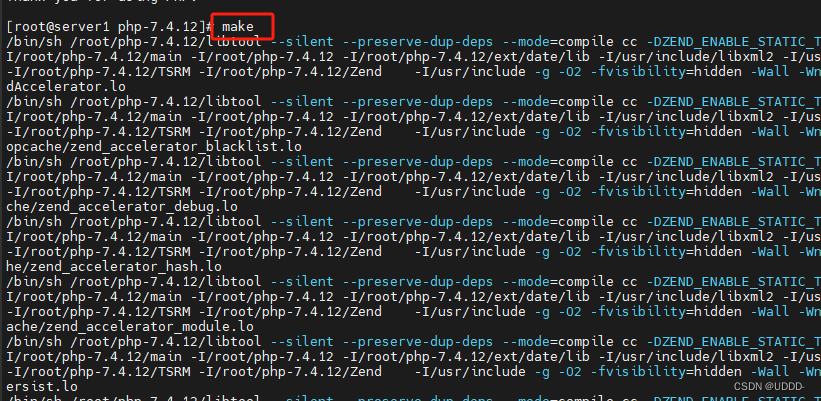
[root@server1 php-7.4.12]# make
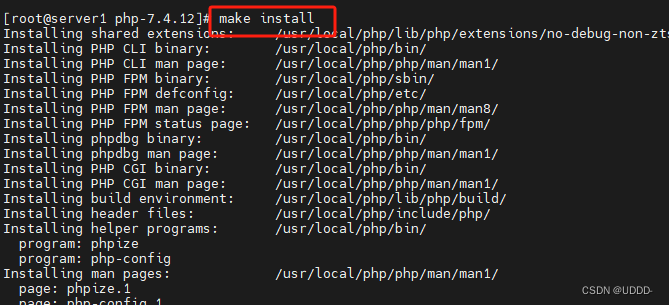
[root@server1 php-7.4.12]# make install
###2.PHP初始化配置###
(1)php-fpm.conf
[root@server1 php-7.4.12]# cd /usr/local/php/etc
[root@server1 etc]# cp php-fpm.conf.default php-fpm.conf
[root@server1 etc]# vim php-fpm.conf
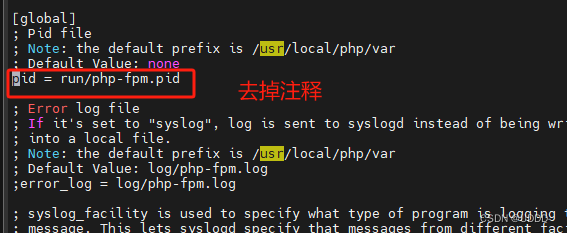
去掉注释
pid = run/php-fpm.pid
(2)fpm.conf
[root@server1 etc]# cd php-fpm.d/
[root@server1 php-fpm.d]# cp www.conf.default www.conf
(3)php.ini
[root@server1 ~]# cd php-7.4.12/
[root@server1 php-7.4.12]# cp php.ini-production /usr/local/php/etc/php.ini
[root@server1 php-7.4.12]# vim /usr/local/php/etc/php.ini
[Date]
; Defines the default timezone used by the date functions
; http://php.net/date.timezone
date.timezone = Aisa/Shanghai			#修改时区

(4)php-fpm.service
[root@server1 php-7.4.12]# cd sapi/fpm
[root@server1 fpm]# cp php-fpm.service /usr/lib/systemd/system
[root@server1 fpm]# vim /usr/lib/systemd/system/php-fpm.service ##php-fpm启动文件
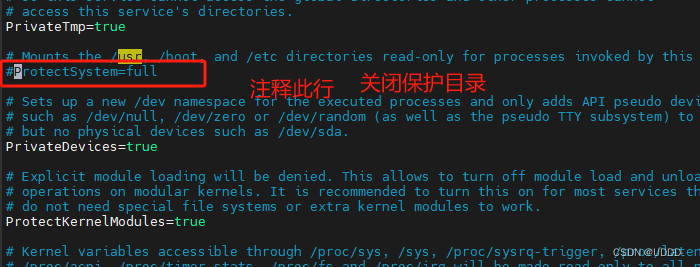
注释此行
#ProtectSystem=full
(5)启动服务
[root@server1 fpm]# systemctl  daemon-reload
[root@server1 fpm]# systemctl start php-fpm.service
[root@server1 fpm]# netstat -antlp|grep :9000
tcp        0      0 127.0.0.1:9000          0.0.0.0:*               LISTEN      24709/php-fpm: mast
[root@server1 fpm]# systemctl enable php-fpm
###3.nginx结合php-fpm###
(1)修改nginx配置文件
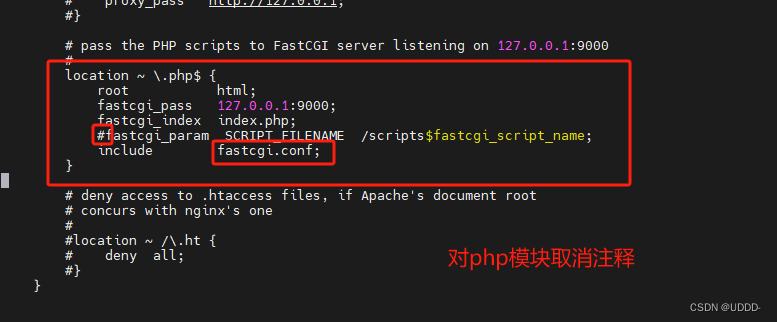
切入配置目录,编辑配置文件,注释之前的设定,取消php的注释。
[root@server1 sapi]# cd /usr/local/nginx/conf/
[root@server1 conf]# vim nginx.conf
...
location ~ \.php$ {
            root           html;
            fastcgi_pass   127.0.0.1:9000;
            fastcgi_index  index.php;
            #fastcgi_param  SCRIPT_FILENAME  /scripts$fastcgi_script_name;
            include        fastcgi.conf;
        }
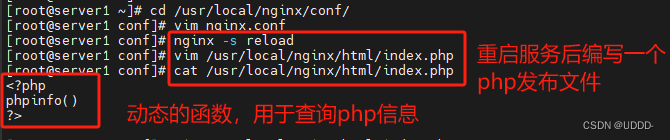
编写一个php发布文件,重启服务
[root@server1 conf]# vim /usr/local/nginx/html/index.php
<?php
phpinfo()
?>
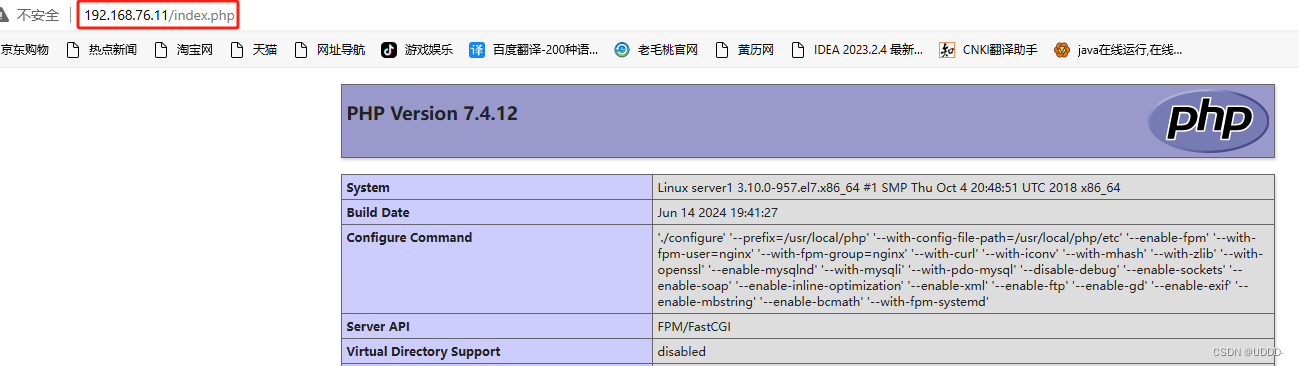
测试:
浏览器中访问
http://192.168.56.11/index.php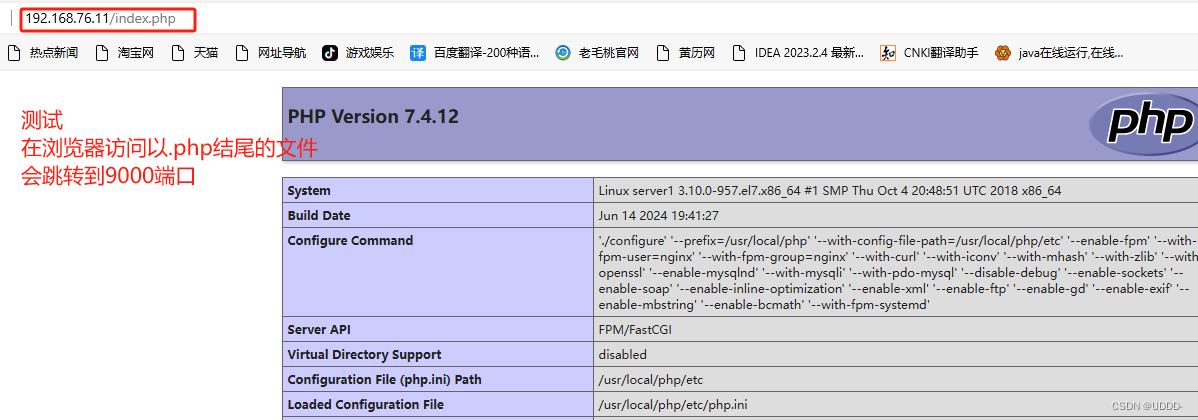
(2)添加php环境变量
[root@server1 ~]# vim .bash_profile
# .bash_profile

# Get the aliases and functions
if [ -f ~/.bashrc ]; then
        . ~/.bashrc
fi

# User specific environment and startup programs

PATH=$PATH:$HOME/bin:/usr/local/php/bin   ##添加路径

export PATH

[root@server1 ~]# source .bash_profile

[root@server1 ~]# which php
/usr/local/php/bin/php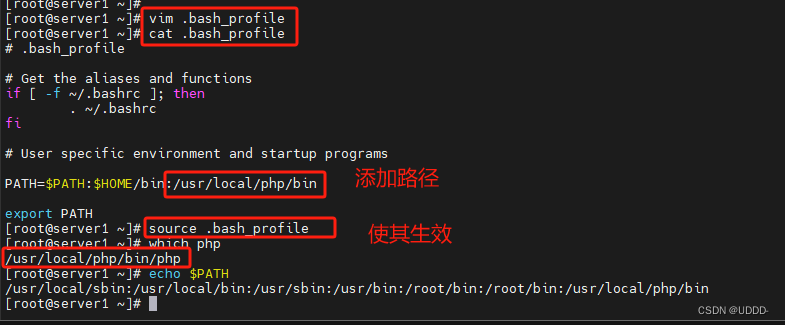
###4.php动态扩展模块###
(1)软件安装
解压软件包,切入目录,执行phpize,提醒缺少依赖。phpize是用来扩展php扩展模块的,通过phpize可以建立php的外挂模块。
[root@server1 ~]# tar xf memcache-4.0.5.2.tgz
[root@server1 ~]# cd memcache-4.0.5.2/
[root@server1 memcache-4.0.5.2]# phpize   ##phpize是用来扩展php扩展模块的,通过phpize可以建立php的外挂模块,提醒缺少依赖autoconf
[root@server1 memcache-4.0.5.2]# yum install -y autoconf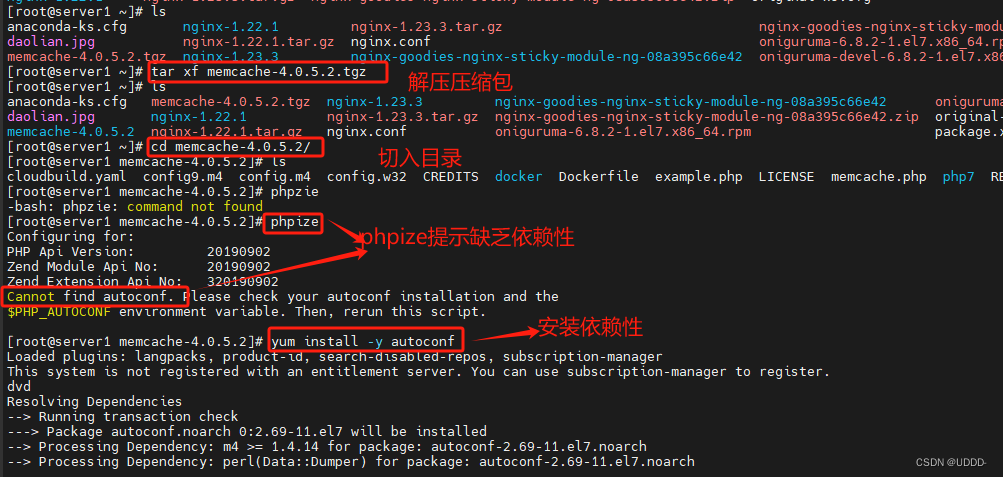
安装依赖,重新执行phpize。
[root@server1 memcache-4.0.5.2]# phpize  ##扩展成功
Configuring for:
PHP Api Version:         20190902
Zend Module Api No:      20190902
Zend Extension Api No:   320190902
对memcache进行源码编译,confugure--make--make install三步曲。
[root@server1 memcache-4.0.5.2]# ./configure
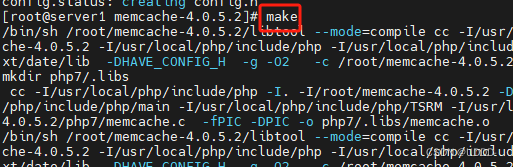
[root@server1 memcache-4.0.5.2]# make
[root@server1 memcache-4.0.5.2]# make install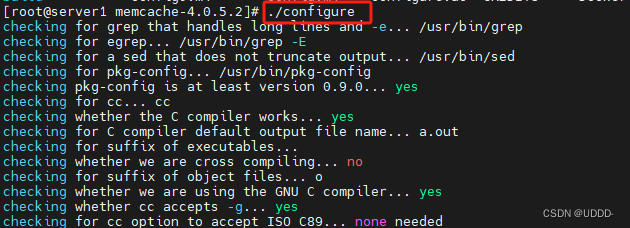

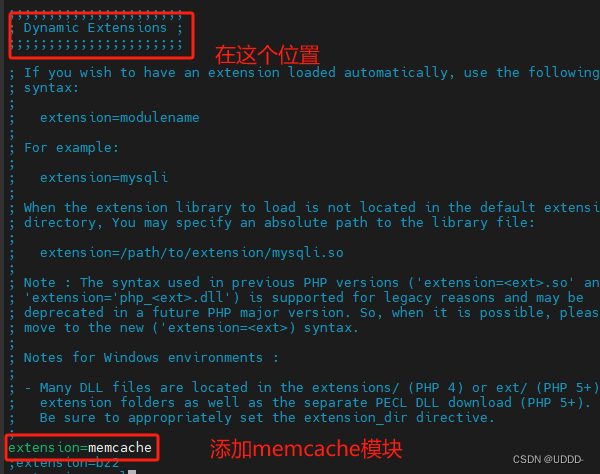
(2)添加memcache功能模块
编辑php.ini,然后重启服务,执行php -m可以看到memcache。
[root@server1 memcache-4.0.5.2]# php -m  |grep memcache

[root@server1 memcache-4.0.5.2]# cd /usr/local/php/etc
[root@server1 etc]# vim php.ini
extension=memcache		#添加memcache模块

[root@server1 etc]# systemctl  reload php-fpm
[root@server1 etc]# php -m |grep memcache
memcache

安装memcached,并开启服务,查看端口。
切入memcache目录,拷贝文件并编译,最后重启服务。
[root@server1 memcache-4.0.5.2]# cp example.php memcache.php /usr/local/nginx/html/
[root@server1 html]# yum install -y memcached
[root@server1 html]# systemctl enable --now memcached
[root@server1 html]# netstat -antlp|grep :11211
tcp 0 0 0.0.0.0:11211 0.0.0.0:* LISTEN 27984/memcached
tcp6 0 0 :::11211 :::* LISTEN 27984/memcached
[root@server1 memcache-4.0.5.2]# cd /usr/local/nginx/html/
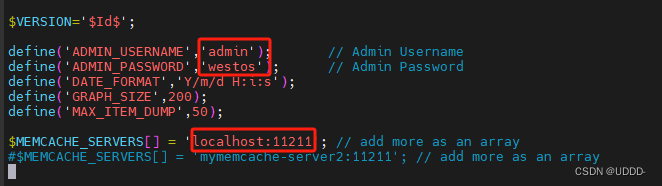
[root@server1 html]# vim memcache.php
$VERSION='$Id$';
define('ADMIN_USERNAME','admin'); // Admin Username
define('ADMIN_PASSWORD','westos'); // Admin Password
define('DATE_FORMAT','Y/m/d H:i:s');
define('GRAPH_SIZE',200);
define('MAX_ITEM_DUMP',50);
$MEMCACHE_SERVERS[] = 'localhost:11211'; // add more as an array
#$MEMCACHE_SERVERS[] = 'mymemcache-server2:11211'; // add more as an array


(3)测试
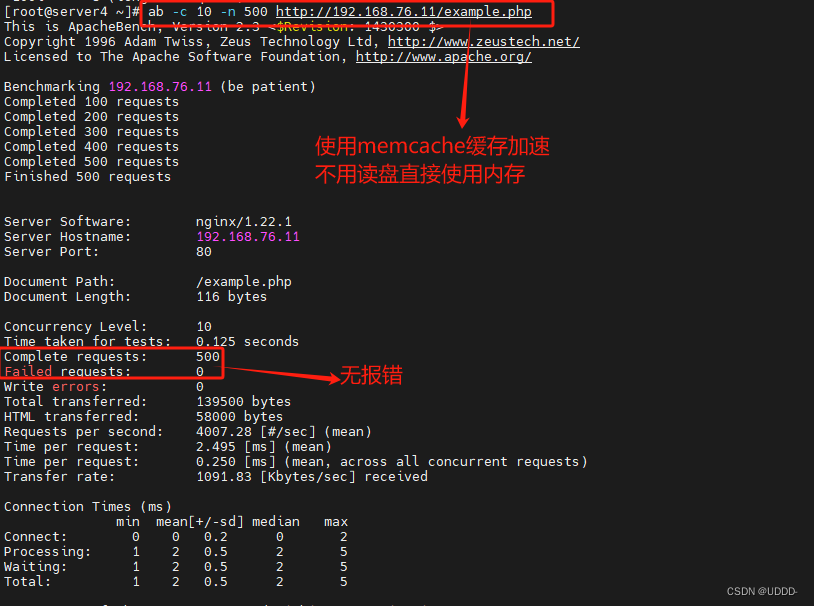
访问http://192.168.76.11/example.php,多刷新几次页面
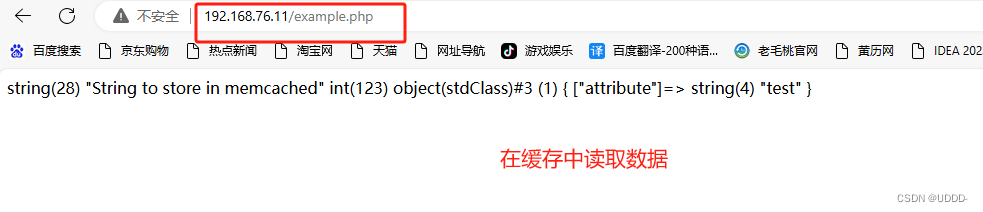
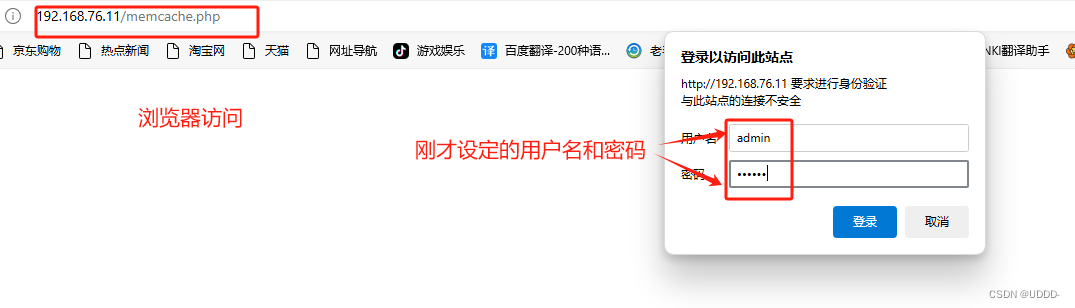
查看缓存命中状态
http://192.168.56.11/memcache.php

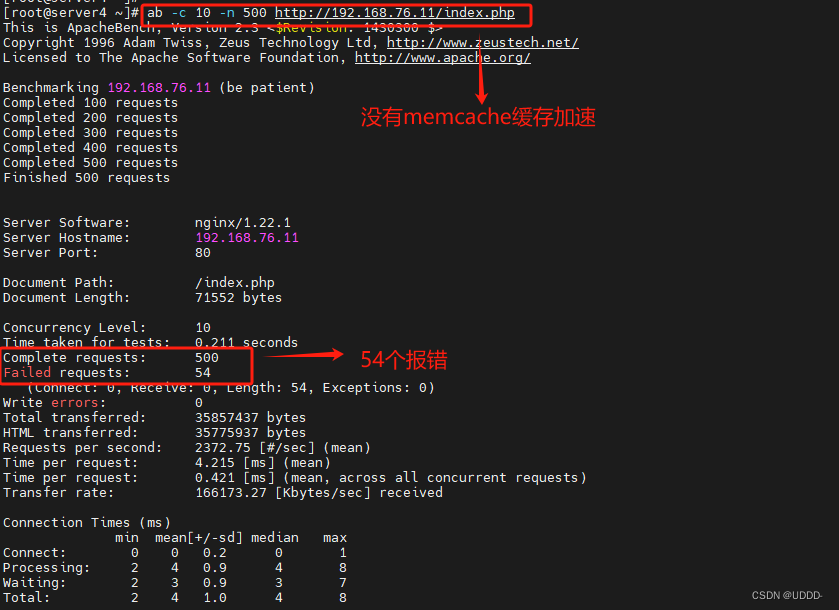
在测试端用压力测试工具观察有没有memcache缓存加速的区别
###5.配置php加载模块openresty,构建nginx高速缓存###
基于openresty(构建高效透明的缓存机制) 访问,能将缓存放在nginx中,速度更快。
使用memc-nginx和srcache-nginx模块构建高效透明的缓存机制。
如果需要做到高速缓存,nginx可以跳过php直接向memcache存储,但是只能做静态存储 ,如果需要动态存储,还是要调用php,因此两种缓存策略时同时在进行的。
 (1)安装软件
首先停止nginx服务,避免端口冲突
[root@server1 ~]# nginx -s stop
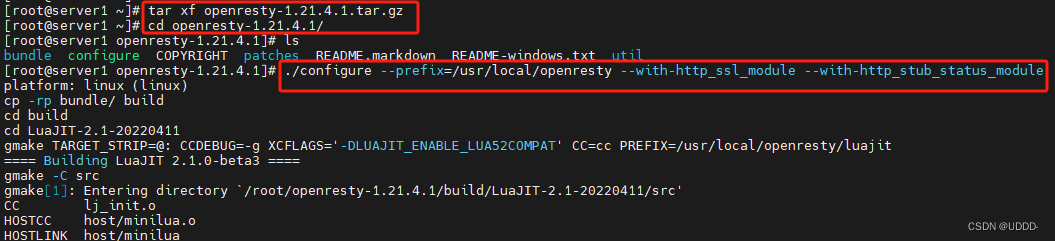
[root@server1 ~]# tar xf openresty-1.21.4.1.tar.gz
[root@server1 ~]# cd openresty-1.21.4.1/
三部曲
[root@server1 openresty-1.21.4.1]# ./configure --prefix=/usr/local/openresty --with-http_ssl_module --with-http_stub_status_module
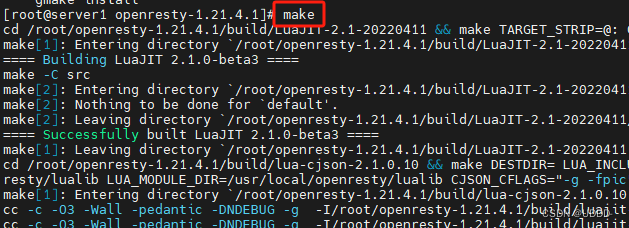
[root@server1 openresty-1.21.4.1]# make
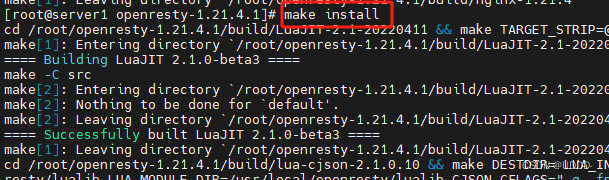
[root@server1 openresty-1.21.4.1]# make install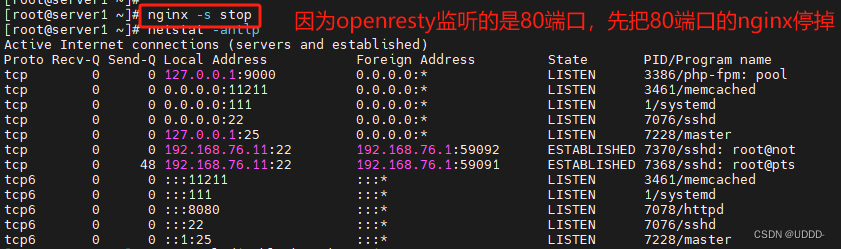
(2)软件配置
[root@server1 openresty-1.21.4.1]# cd /usr/local/openresty/nginx
[root@server1 nginx]# ls
conf  html  logs  sbin
[root@server1 nginx]# cd conf/
[root@server1 conf]# cp /usr/local/nginx/conf/nginx.conf .
[root@server1 conf]# cp /usr/local/nginx/conf/cert.pem .
检测语法
[root@server1 conf]# /usr/local/openresty/nginx/sbin/nginx  -t
nginx: the configuration file /usr/local/openresty/nginx/conf/nginx.conf syntax is ok
nginx: configuration file /usr/local/openresty/nginx/conf/nginx.conf test is successful
启动openresty
[root@server1 conf]# /usr/local/openresty/nginx/sbin/nginx

测试
访问:http://192.168.76.11/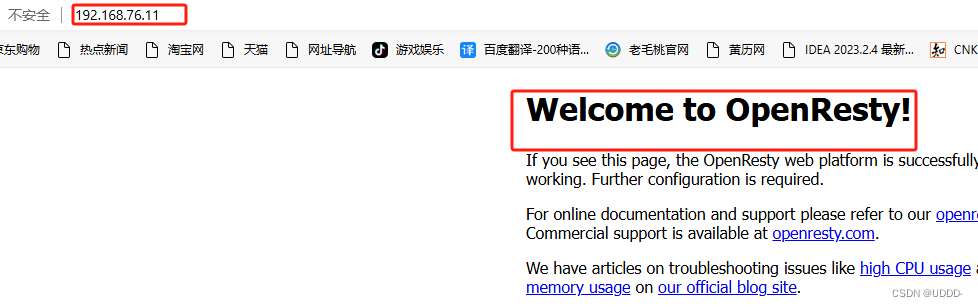
(3)nginx配置高速缓存
拷贝测试页面
[root@server1 html]# pwd
/usr/local/openresty/nginx/html
[root@server1 html]# cp /usr/local/nginx/html/index.php .
[root@server1 html]# cp /usr/local/nginx/html/example.php .
修改openresty的nginx配置文件
[root@server1 conf]# pwd
/usr/local/openresty/nginx/conf
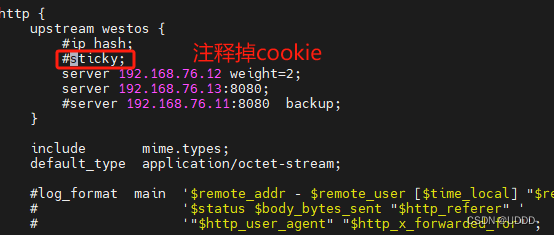
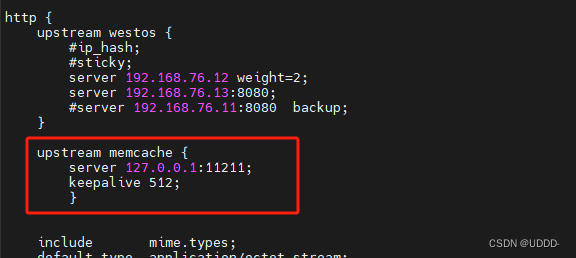
[root@server1 conf]# vim nginx.conf
upstream memcache {
server 127.0.0.1:11211;
keepalive 512;
} ##加上新的负载均衡器,告诉nginx你的memcache缓存在什么位置
...
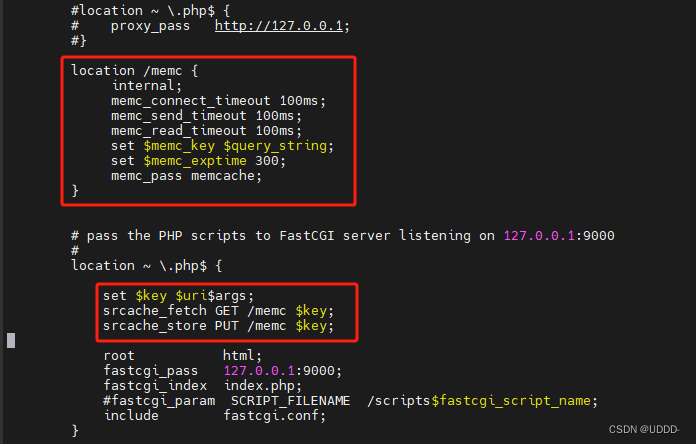
location /memc {
internal; ##表示只接受内部访问
memc_connect_timeout 100ms;
memc_send_timeout 100ms;
memc_read_timeout 100ms;
set $memc_key $query_string; ##表示内部的$query_string来作为key
set $memc_exptime 300; ##表示缓存失效时间
memc_pass memcache;
}
location ~ \.php$ {
set $key $uri$args;
srcache_fetch GET /memc $key;
srcache_store PUT /memc $key;
root html;
fastcgi_pass 127.0.0.1:9000;
fastcgi_index index.php;
#fastcgi_param SCRIPT_FILENAME /scripts$fastcgi_script_name;
include fastcgi.conf;
}
检测语法并重启
[root@server1 conf]# /usr/local/openresty/nginx/sbin/nginx  -t
nginx: the configuration file /usr/local/openresty/nginx/conf/nginx.conf syntax is ok
nginx: configuration file /usr/local/openresty/nginx/conf/nginx.conf test is successful
[root@server1 conf]# /usr/local/openresty/nginx/sbin/nginx  -s reload
(4)测试
(4)测试
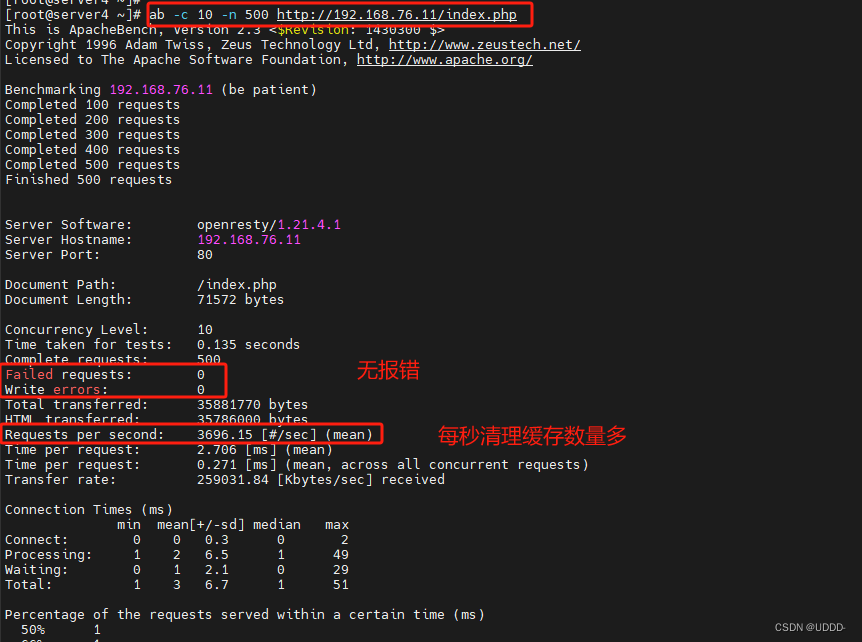
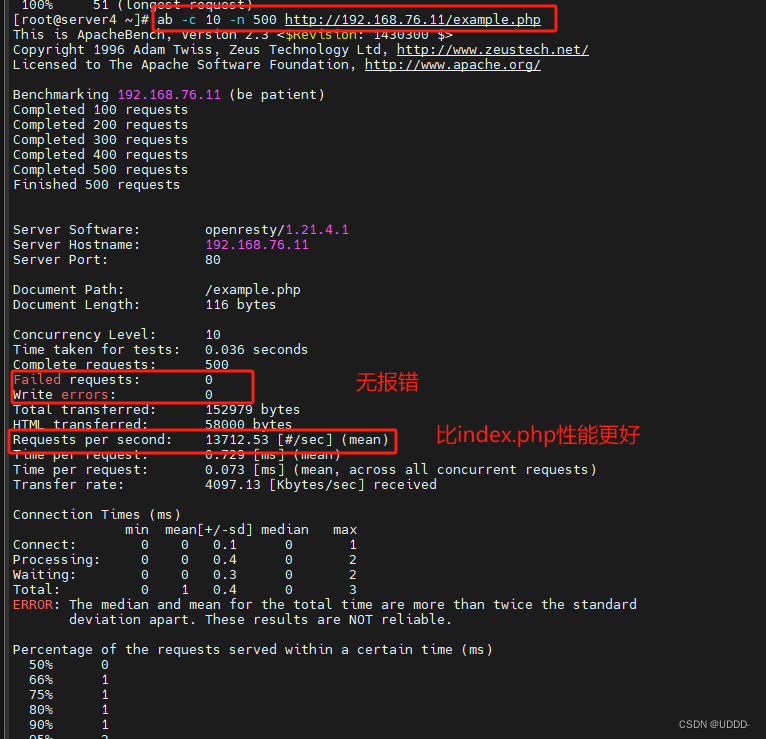
在测试端用压力测试工具观察用openresty构建nginx高速缓存的效果
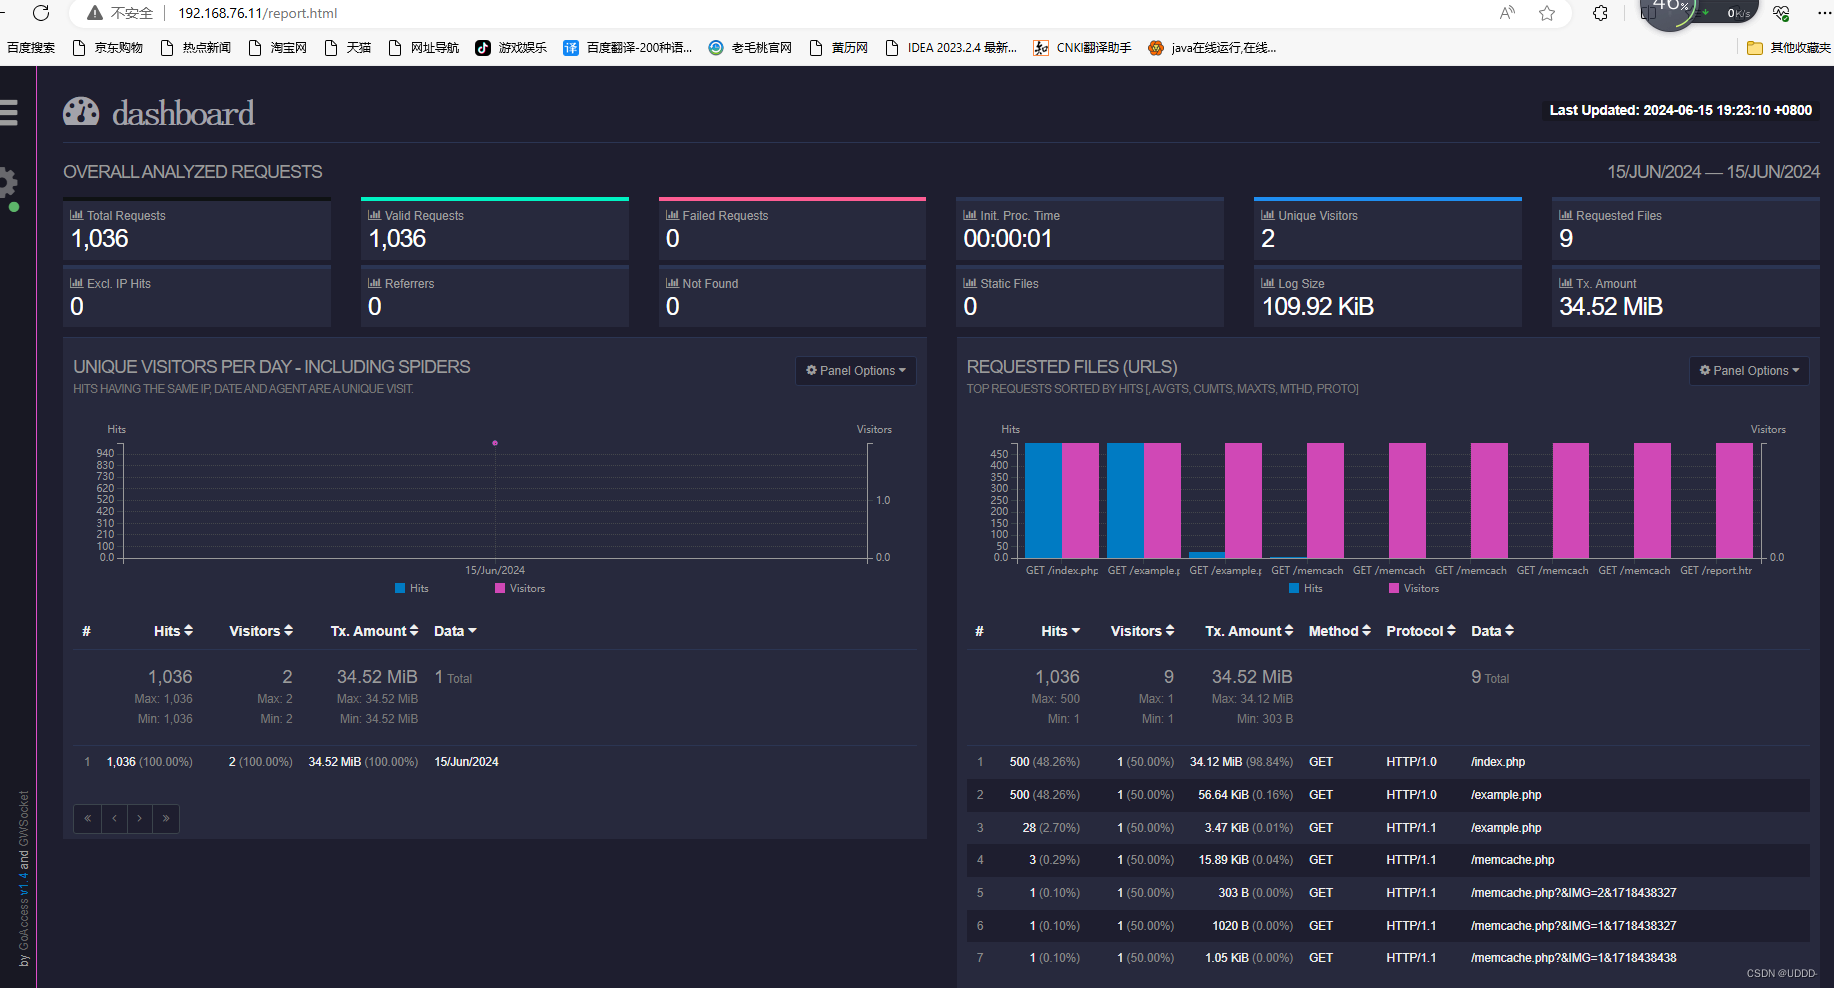
###6.goaccess日志可视化###
(1)软件安装
做实验前关闭openresty服务,切回nginx
安装依赖性
[root@server1 ~]# yum install -y GeoIP-devel-1.5.0-13.el7.x86_64.rpm
[root@server1 goaccess-1.4]# yum install ncurses-devel
[root@server1 ~]# tar xf goaccess-1.4.tar.gz
[root@server1 ~]# cd goaccess-1.4/
三部曲
[root@server1 goaccess-1.4]# ./configure --enable-utf8 --enable-geoip=legacy
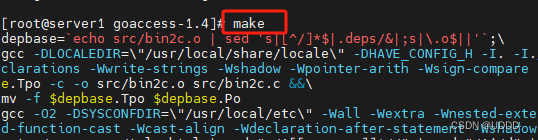
[root@server1 goaccess-1.4]# make
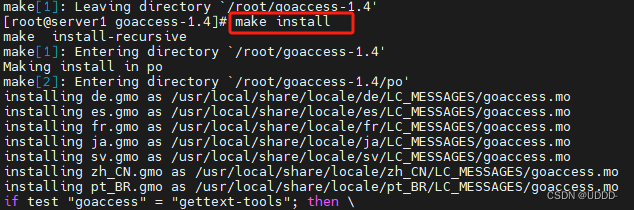
[root@server1 goaccess-1.4]# make install


(2)可视化日志监控
[root@server1 ~]# goaccess /usr/local/nginx/logs/access.log -o /usr/local/nginx/html/report.html --log-format=COMBINED --real-time-html & (3)测试
(3)测试
浏览器访问:
http://192.168.76.11/report.html