概述
代理:外卖,中介,中间商,用户无法直接做事情,通过中介进行处理
用户--》代理--》节点,后面只有一个节点,一般使用的是nginx代理功能即可,如果是集群就需要使用nginx负载均衡
代理分类
本质:根据用户位置(定是否那个为正反向代理)
正向代理:用户(服务器)-》代理-》外部(网站)服务器通过代理实现共享上网/某一个网站
反向代理:用户(app/浏览器)-》代理-》网站服务器(WEB) 给网站设置一个统一的入口,可以进行使用负载均衡的功能进行使用
环境概述
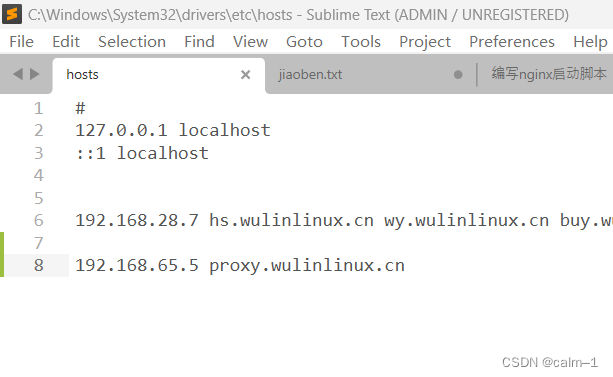
代理:web lb01 10.0.0.5/172.16.1.5
web web01 10.0.0.7/172.16.1.7
站点目录:/app/code/proxy/index.html
建议开启db01和nfs01
bash
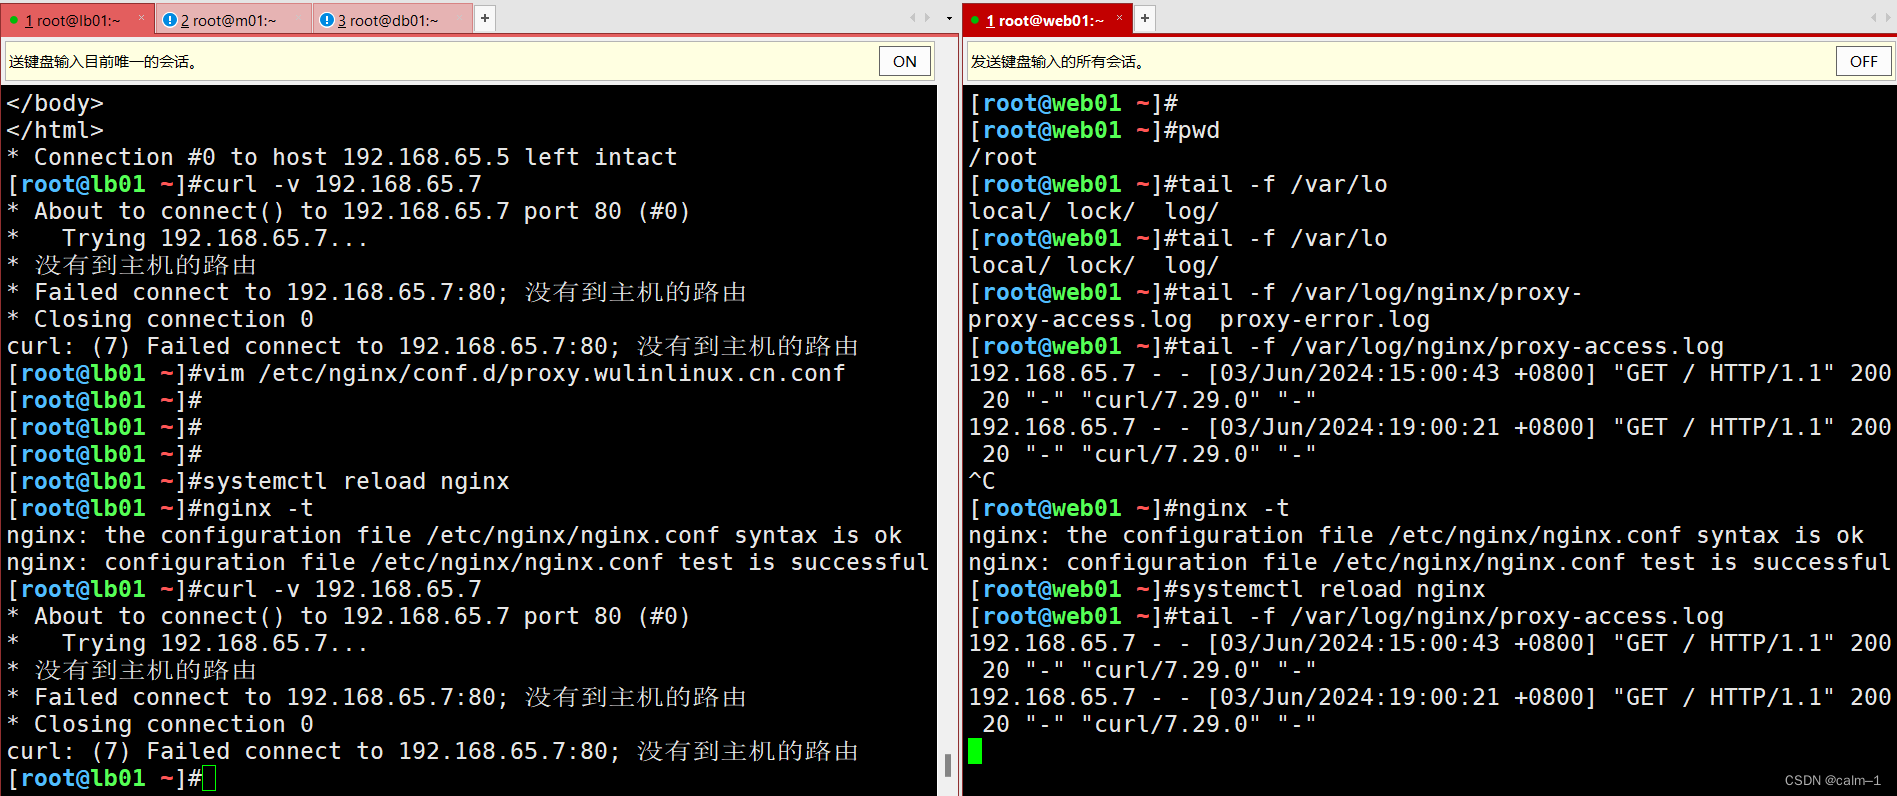
[root@web01 ~]#vim /etc/nginx/conf.d/proxy.wulinlinux.cn.conf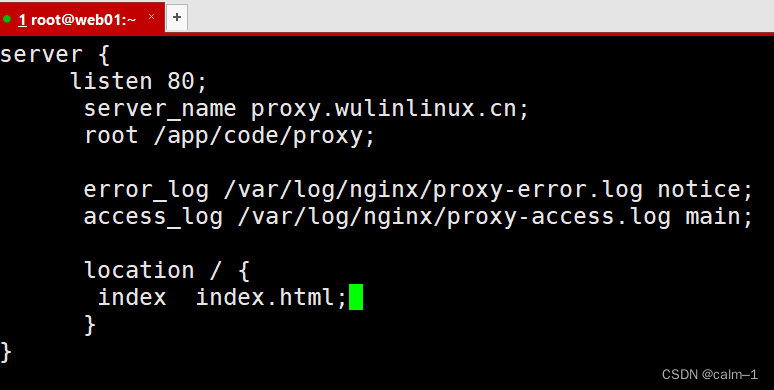
检查语法:

root@web01 \~#nginx -t
nginx: the configuration file /etc/nginx/nginx.conf syntax is ok
nginx: configuration file /etc/nginx/nginx.conf test is successful
systemctl reload nginx
root@web01 \~#mkdir -p /app/code/proxy/
root@web01 \~#echo proxy.wulinlinux.cn >/app/code/proxy/index.html
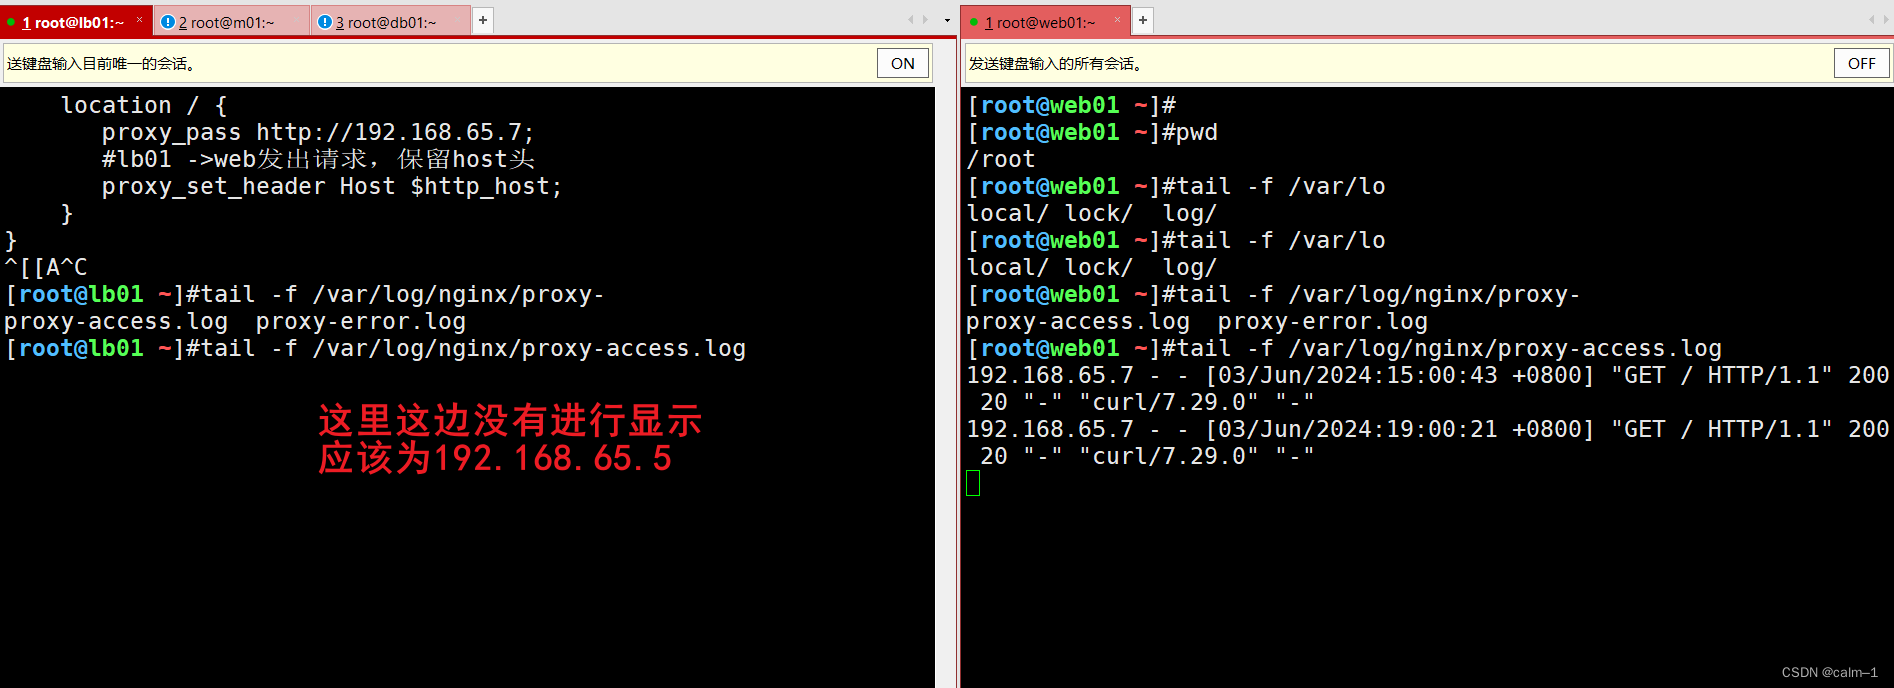
测试:

bash
[root@lb01 ~]#vim /etc/nginx/conf.d/proxy.wulinlinux.cn.conf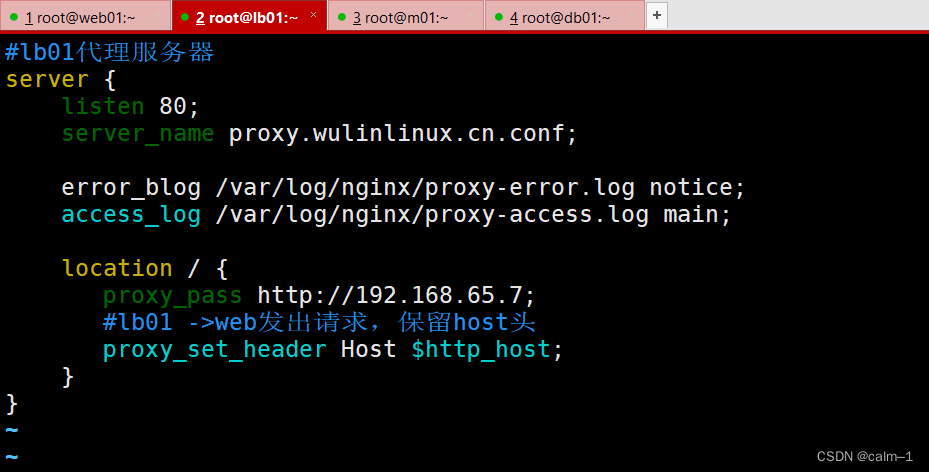


测试负载:

保存
web集群-nginx-负载均衡
案例:部署nginxconf站点并进行访问
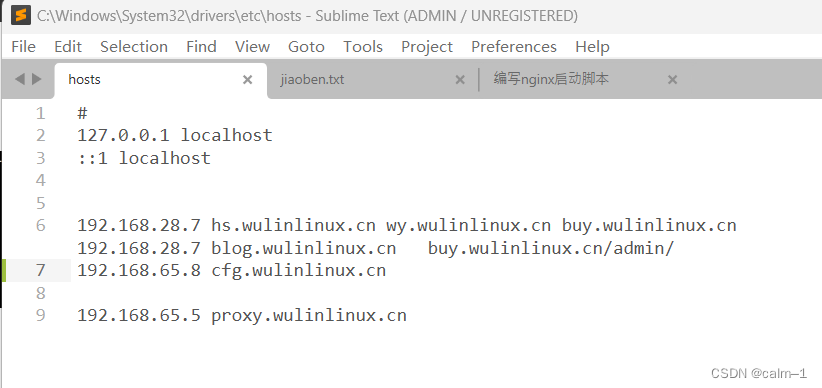
| lb01 192.168.65.5/172.16.1.5 | |
|---|---|
| 环境要求 说明 | |
| web01 192.168.65.7/172.16.1.7 | |
| web02 192.168.65.8/172.16.1.8 | |
| 域名:conf.wulinlinux.cn | |
| 站点目录:/app/code/cfg/ |
web服务器准备
go
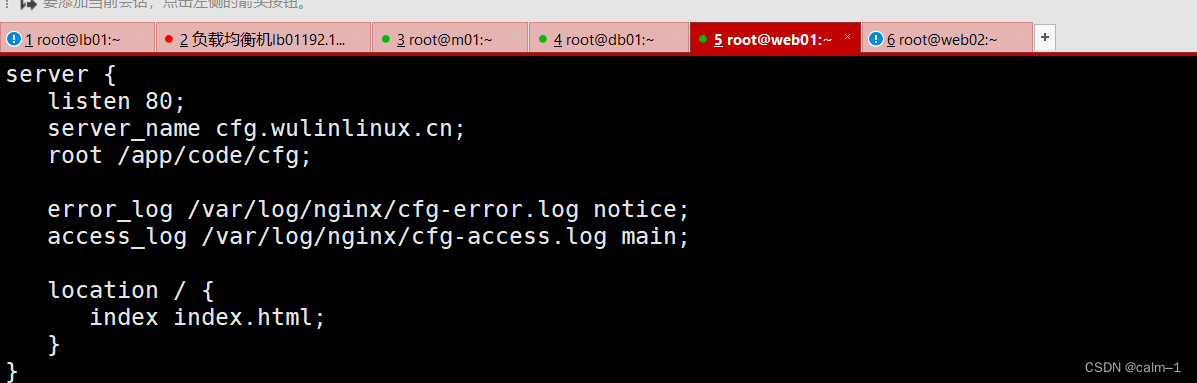
[root@web01 ~]#vim /etc/nginx/conf.d/cfg.wulinlinux.cn.conf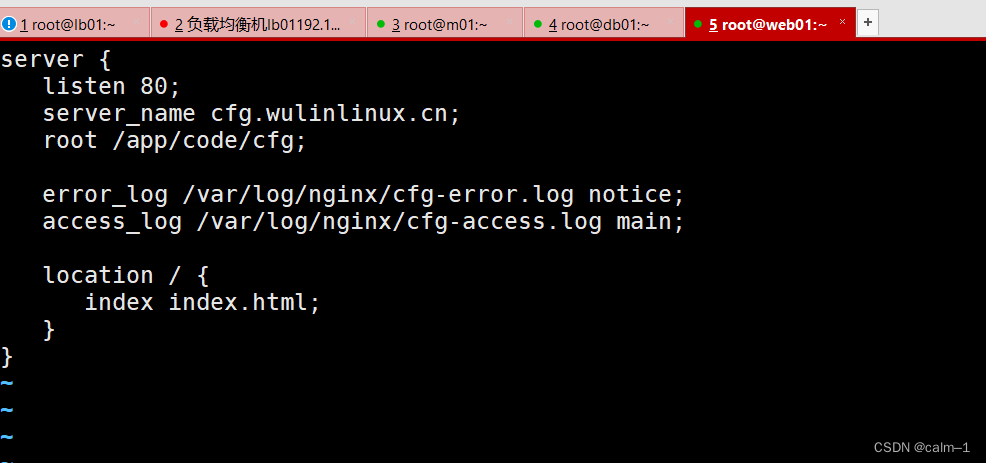
创建站点目录:
bash
[root@web01 ~]#mkdir -p /app/code/cfg/传输部署网站的代码
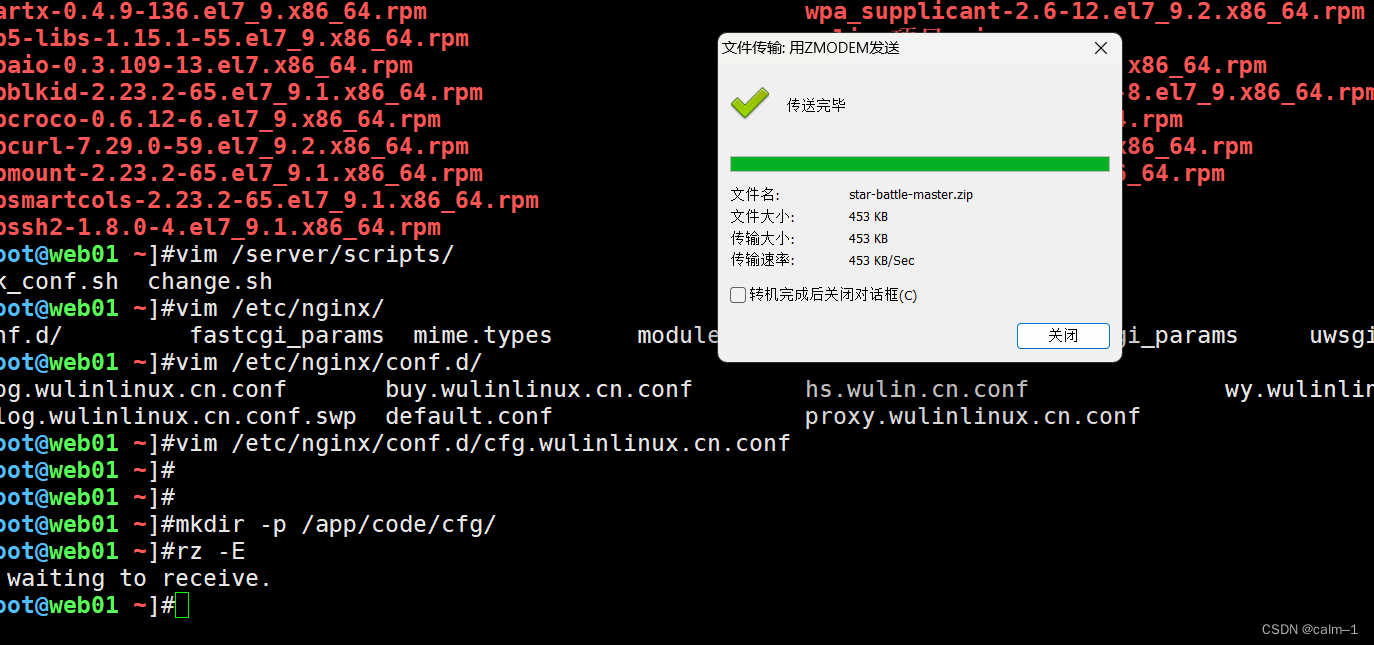
解压传输的部署网站代码(解压进行查看是否有嵌套的代码文件目录)
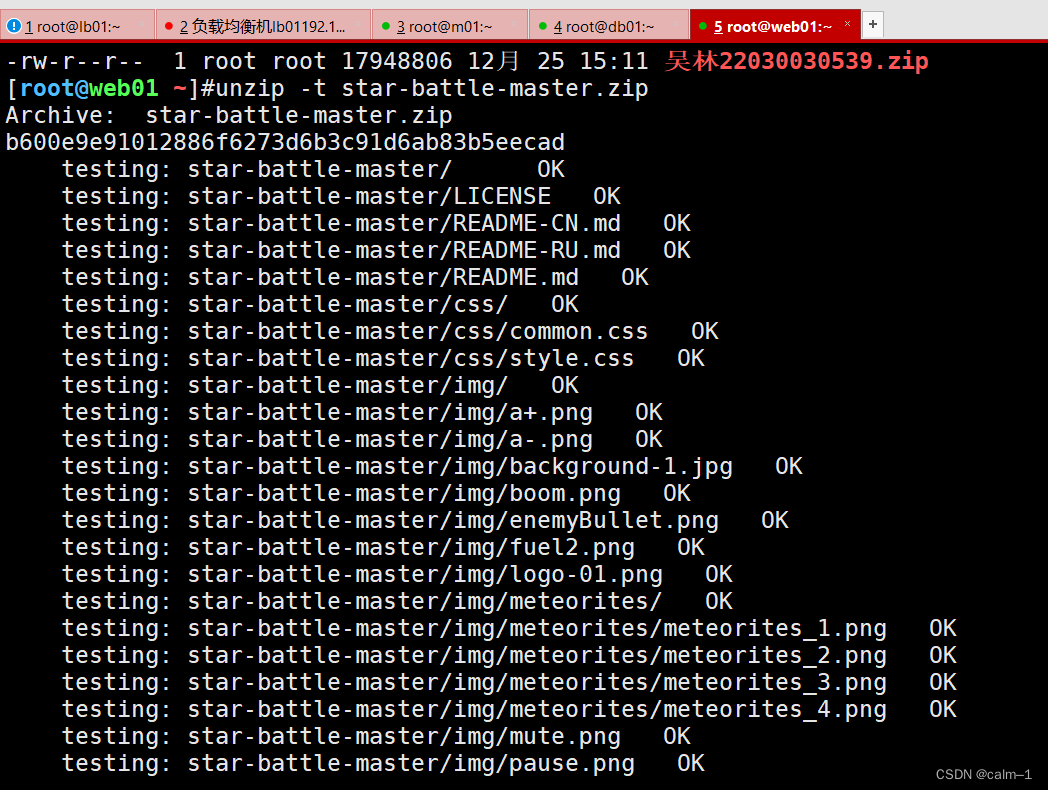
解压到站点目录
bash
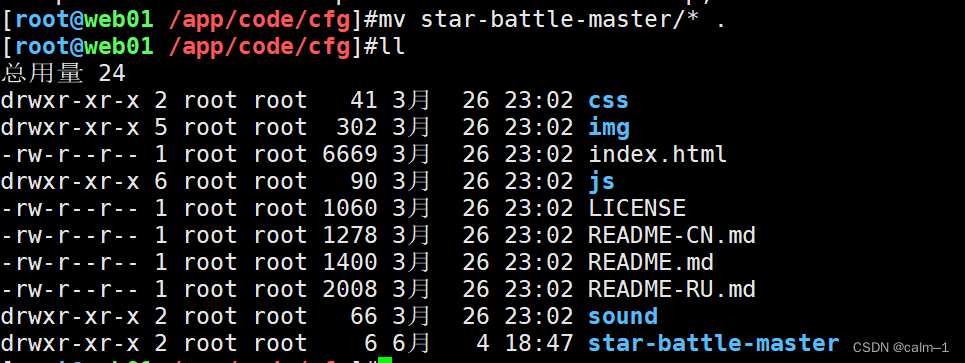
[root@web01 ~]#unzip star-battle-master.zip -d /app/code/cfg/把下面所有的东西移动到相对应的站点目录里面
bash#检查语法并且进行重启nginx服务
[root@web01 /app/code/cfg]#nginx -t
nginx: the configuration file /etc/nginx/nginx.conf syntax is ok
nginx: configuration file /etc/nginx/nginx.conf test is successful
[root@web01 /app/code/cfg]#systemctl reload nginx
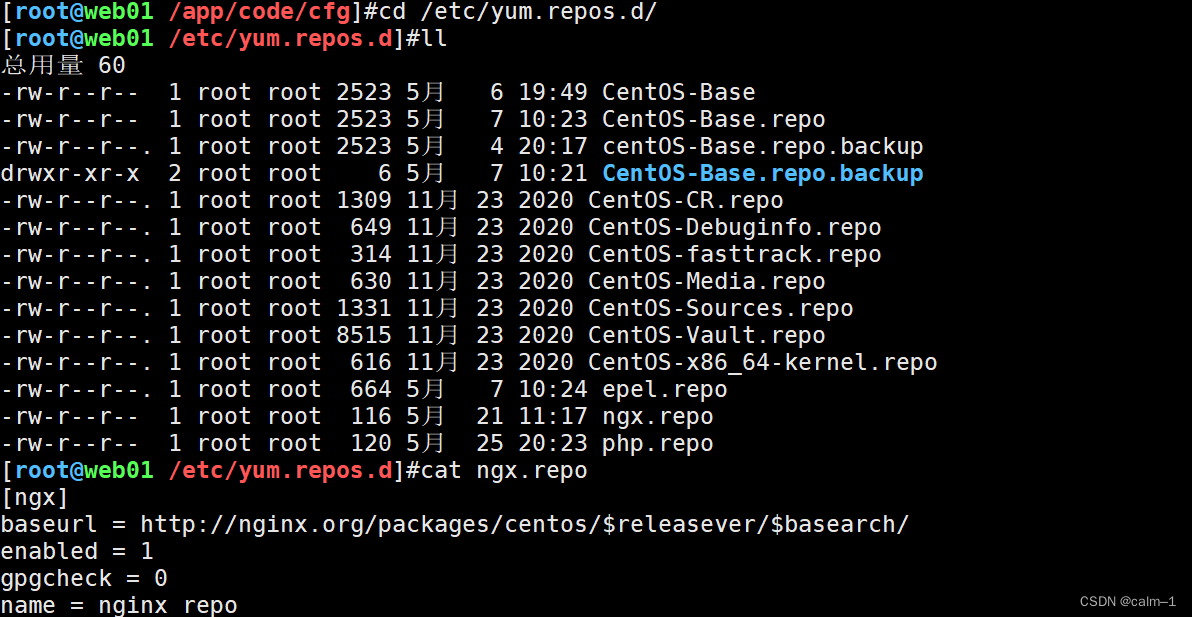
在这里插入代码片打开web02发现没有nginx等源
进入web01服务器进行传输到web02服务器上


root@web01 /etc/nginx/conf.d#cd /app/
root@web01 /app#scp -r /app/ web02:/
ssh: connect to host web02 port 22: Connection timed out
lost connection
root@web01 /app#scp -r /app/ 192.168.65.8:/
root@web02 \~#systemctl enable nginx
Created symlink from /etc/systemd/system/multi-user.target.wants/nginx.service to /usr/lib/systemd/system/nginx.service.
root@web02 \~#systemctl start nginx
负载均衡配置
- load balance(lb)
- 创建池塘进行分组,存放主机
- upstream 与server是并列的
- 名字要进行保持一致
- upstream创建池塘,proxy_pass将数据传给池塘
bash
[root@lb01 /etc/nginx/conf.d]#cat cfg.wulinlinux.cn
upstream cfg_pols {
   server 192.168.65.7:80;
   server 192.168.65.8:80;
}
server {
   listen 80;
   server_name cfg.wulinlinux.cn;

   error_blog /var/log/nginx/cfg-error.blog notice;
   access_blog /var/log/nginx/cfg-access.log main;

   location / {
     # proxy_pass http://?????;
      proxy_pass http://cfg_pols;
      proxy_set_header Host $http_host;
      proxy_set_header X-Real-Ip $remote_addr;
      proxy_set_header X-Forwarded-For $proxy_add_x_forwarded_for;
   }
}
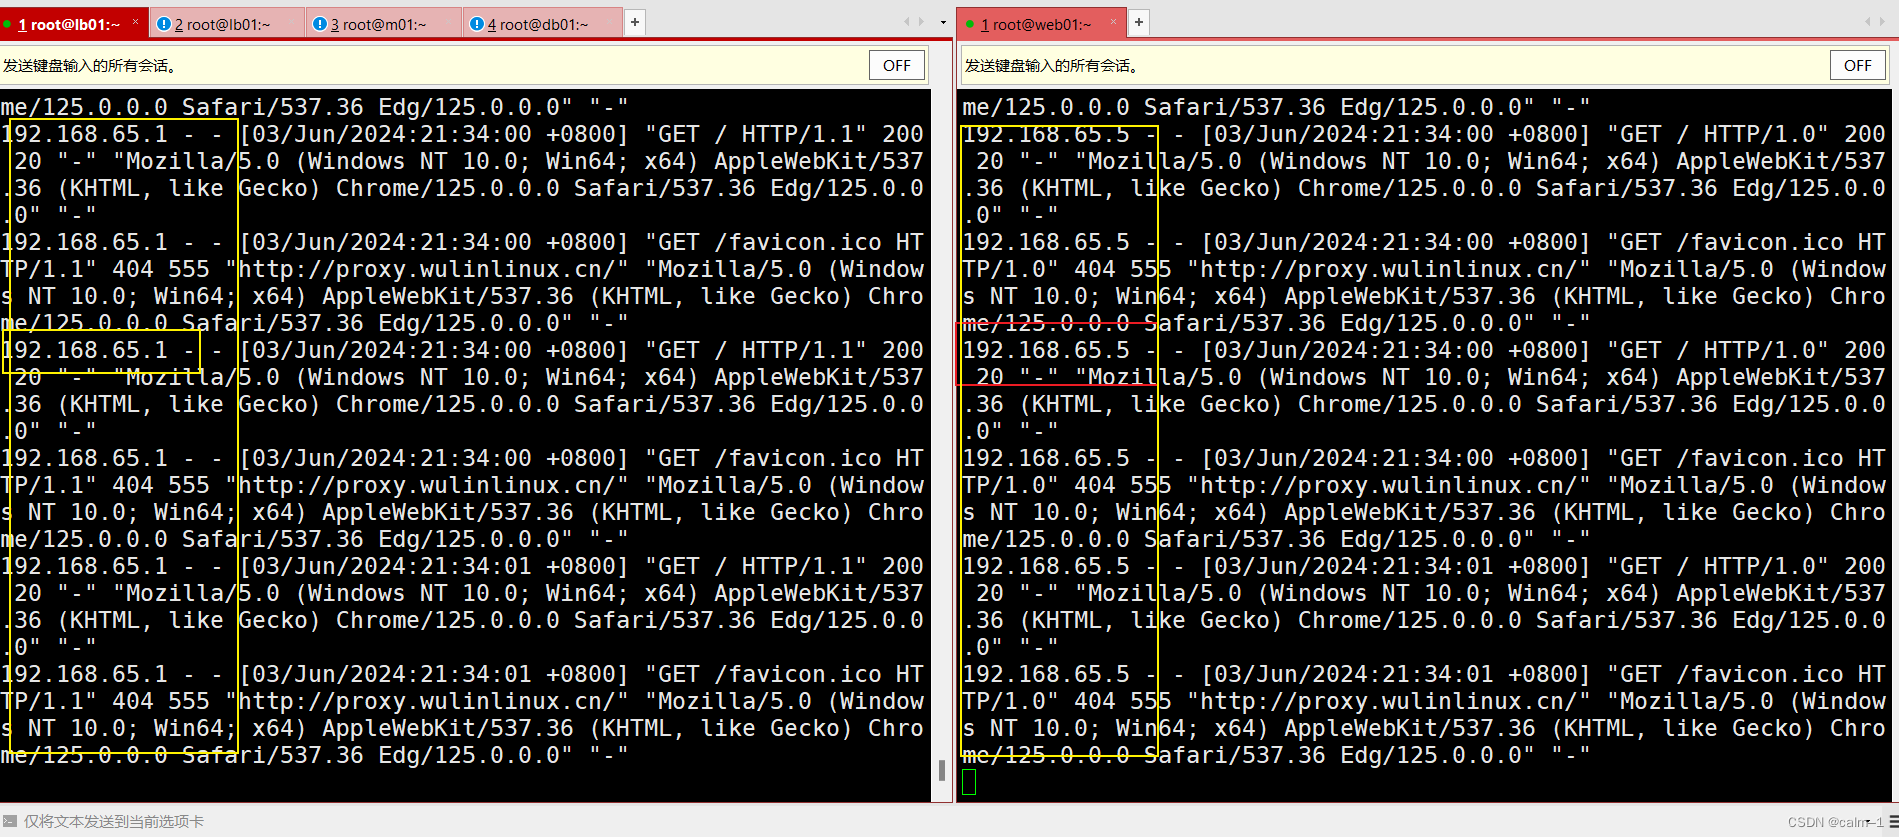
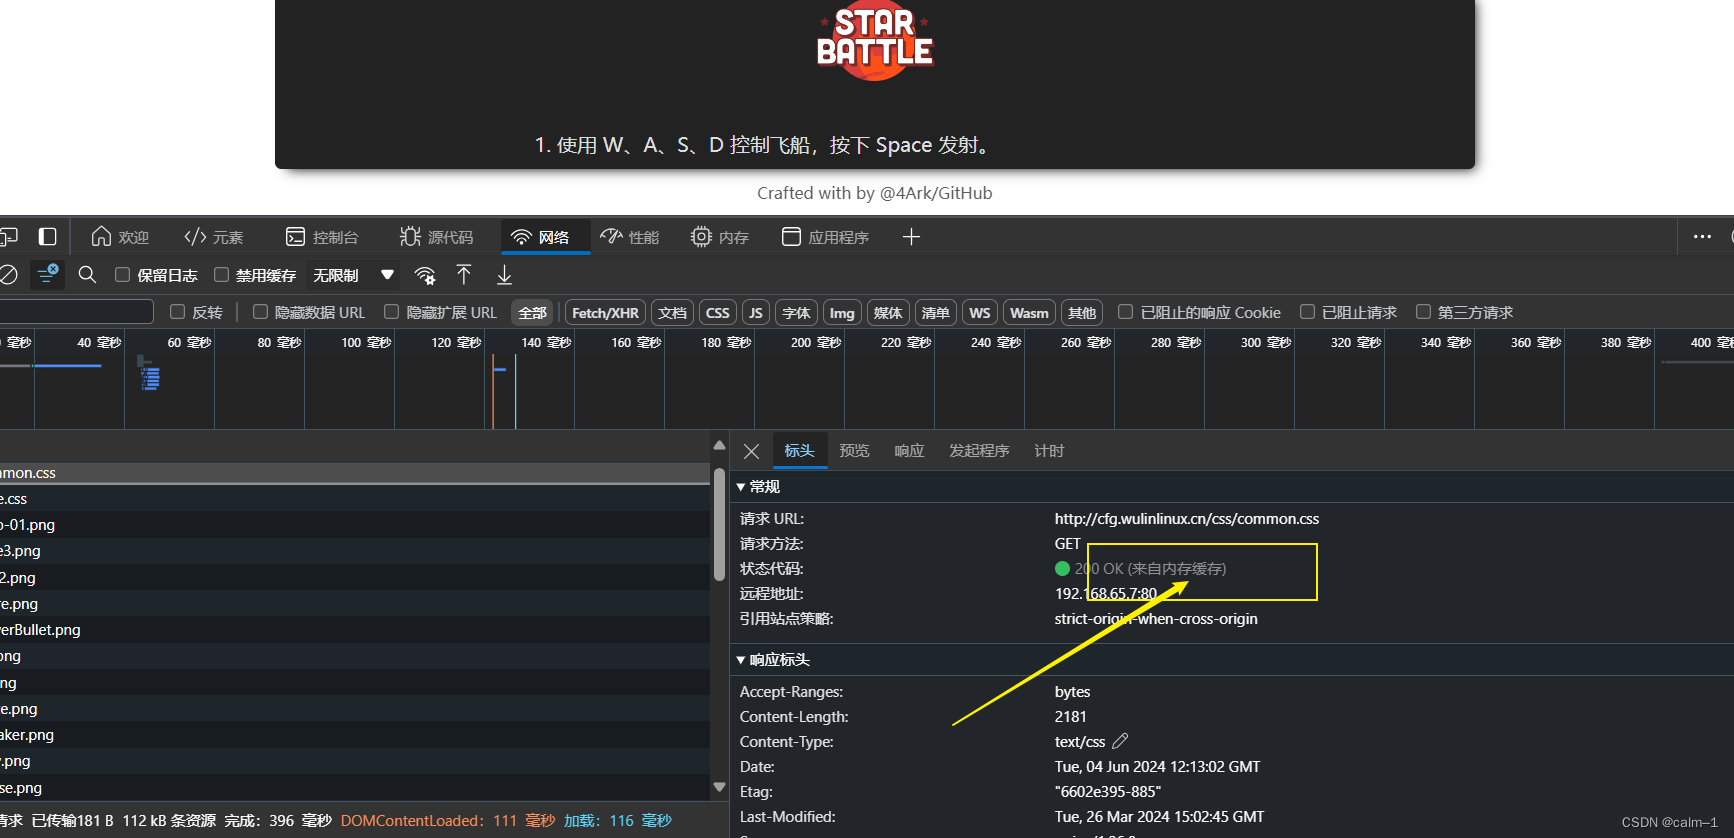
root@lb01 /etc/nginx/conf.d#curl -H Host:cfg.wulinlinux.cn http://192.168.65.5/
会发现这里返回的结果是web01与web02服务器交换进行:(负载均衡---平均分配)
总结
-
upstream模块的upstream指令;
-
root@lb01 /etc/nginx/conf.d#cat cfg.wulinlinux.cn
upstream cfg_pols {
server 192.168.65.7:80;
server 192.168.65.8:80;
}
server {
listen 80;
server_name cfg.wulinlinux.cn;
error_blog /var/log/nginx/cfg-error.blog notice;
access_blog /var/log/nginx/cfg-access.log main;
location / {
proxy_pass http://???;
proxy_pass http://cfg_pols;
proxy_set_header Host $http_host;
proxy_set_header X-Real-Ip $remote_addr;
proxy_set_header X-Forwarded-For $proxy_add_x_forwarded_for;
}
}
-
lnmp深入原理及排查故障
-
1.代理基础功能把请求通过代理转发到某一台web节点上
-
2.转发的时候记录真实的ip
-
3.负载均衡基本使用