一、前言
springBoot框架项目,有时候有预加载数据需求------提前加载到缓存中或类的属性中,并且希望执行操作的时间是在容器启动末尾时间执行操作。比如笔者工作中遇到了一个预加载redis中的缓存数据,加载为java对象。针对这种场景,SpringBoot提供了两个接口,分别是CommandLineRunner和ApplicationRunner。两个接口都在spring-boot的jar包中(spring-boot的jar包依附关系:spring-boot<-spring-boot-starter<-spring-boot-starter-web),项目只需要依赖spring-boot-starter-web的jar便可使用。
当程序启动时,我们传给 main() 方法的参数可以被实现 CommandLineRunner 和 ApplicationRunner 接口的类的 run() 方法访问,即可接收启动服务时传过来的参数,自动执行各自接口中的run方法,完成一些初始化动作。我们可以创建多个实现 CommandLineRunner 和 ApplicationRunner 接口的类。为了使他们按一定顺序执行,可以使用 @Order 注解或实现 Ordered 接口。
二、ApplicationRunner和CommandLineRunner的比较
共同点
-
自动执行: 只需实现相应的接口并将其作为一个Bean注册到Spring容器中(通常是通过@Component注解),Spring Boot在应用启动后会自动调用这些接口的run方法。
-
访问命令行参数: 两个接口的run方法都接收一个ApplicationArguments对象,该对象提供了访问启动时传递给应用的命令行参数的方法。
ApplicationRunner
-
更细粒度的参数处理: 相比于CommandLineRunner,ApplicationRunner提供了更详细的参数处理API,如区分非选项参数(nonOptionArgs)和选项参数(getOptionNames、getOptionValues),这使得在处理复杂命令行参数时更加灵活方便。
-
用途: 当你需要根据不同的命令行参数执行不同的初始化逻辑时,ApplicationRunner提供了更丰富的功能来解析和处理这些参数。
CommandLineRunner
-
简单直接: 如果你的需求只是简单地执行一些初始化逻辑,且不需要对命令行参数做精细处理,CommandLineRunner是一个更简洁的选择。它的run方法直接接受ApplicationArguments,但通常用于较为基本的参数检查或打印帮助信息。
-
用途: 对于那些只需要知道是否有参数被传入,或者参数数量,而不需要详细解析每个参数的应用场景,使用CommandLineRunner会更加直接。
选择ApplicationRunner还是CommandLineRunner取决于你的具体需求:如果你需要对命令行参数进行更细致的操作和解析,选择ApplicationRunner。如果你的需求简单,仅需执行一些基础的启动任务,且对命令行参数的处理不复杂,则CommandLineRunner足矣。两者都非常适用于执行应用程序启动初期的初始化或设置任务。下面对这两个接口做详细解析和案例分析。
三、CommandLineRunner接口
源码如下:
java
@FunctionalInterface
public interface CommandLineRunner {

	/**
	 * Callback used to run the bean.
	 * @param args incoming main method arguments
	 * @throws Exception on error
	 */
	void run(String... args) throws Exception;

}
从源码看到参数为String数组,即可以传多个参数,以数组形式接收。
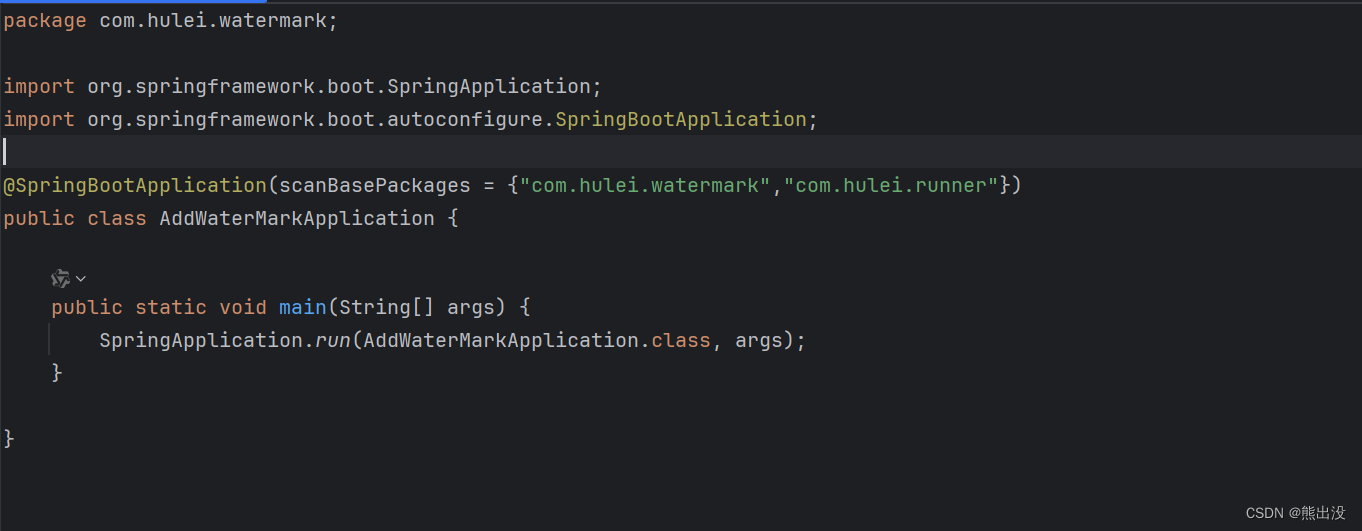
自定义一个类实现 CommandLineRunner 接口:
java
package com.hulei.runner;
import org.slf4j.Logger;
import org.slf4j.LoggerFactory;
import org.springframework.boot.CommandLineRunner;
import org.springframework.stereotype.Component;
@Component
public class MyCommandLineRunner implements CommandLineRunner {
private static final Logger logger = LoggerFactory.getLogger(MyCommandLineRunner.class);
@Override
public void run(String... args) {
String strArgs = String.join("|", args);
logger.info("Application started with arguments:{}", strArgs);
}
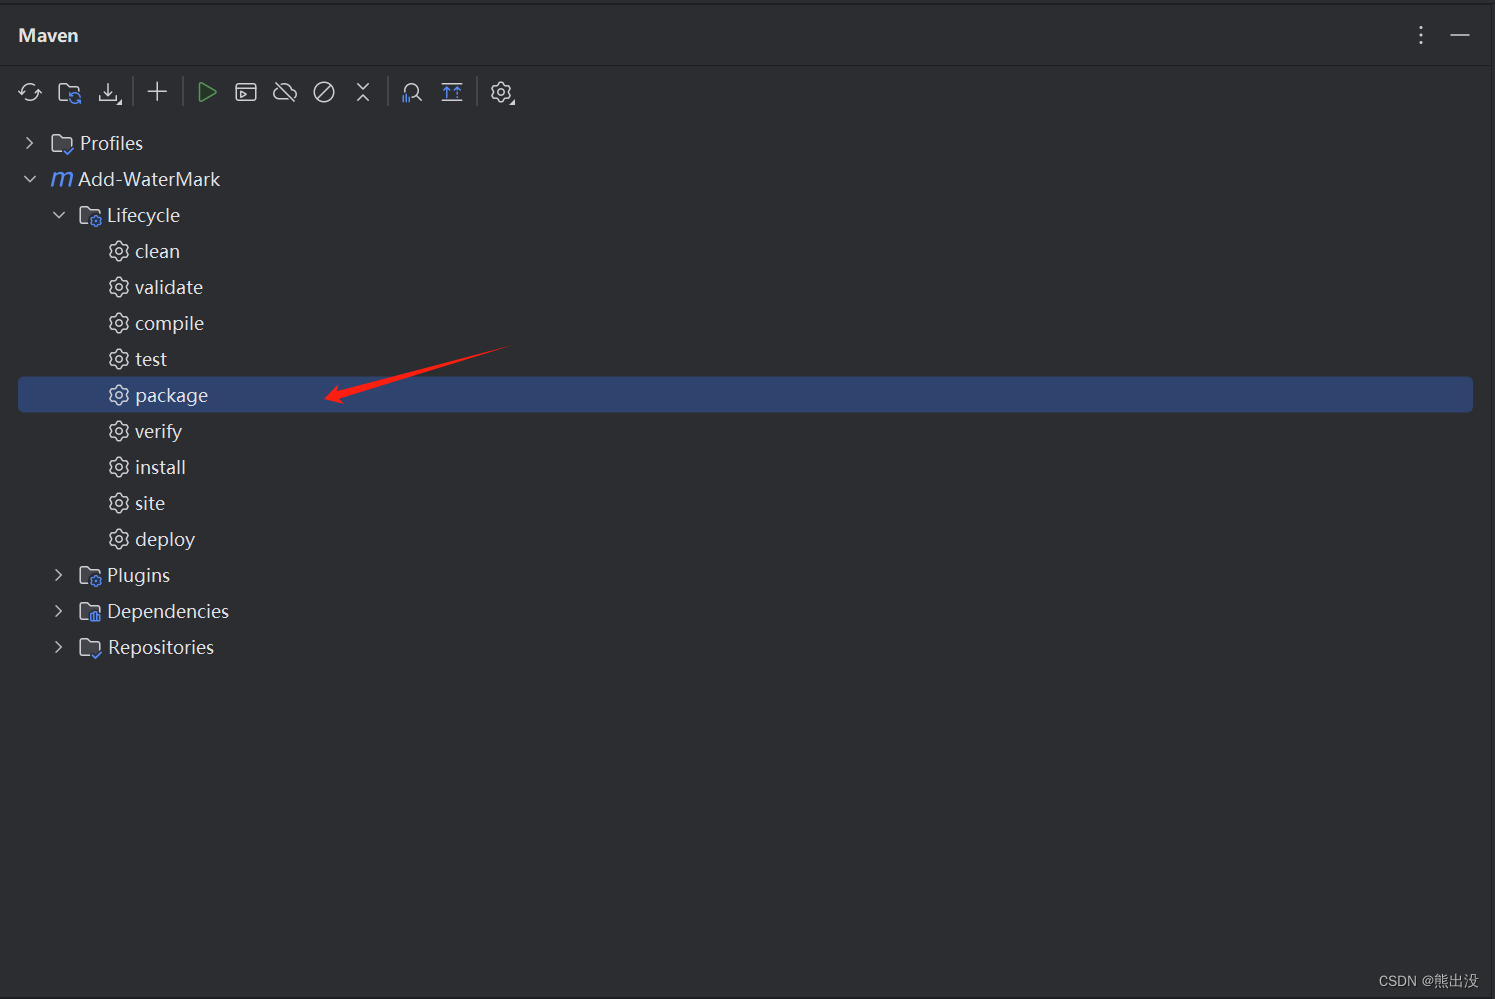
}笔者使用的是IDEA工具(IDEA必须要学会使用,如果不会,我认为是极其不专业的java开发),直接右击package打包

现在选择使用命令java -jar的方式启动这个jar包,可以找到项目所在目录,直接cmd进入这个target下执行命令:
java
java -jar Add-WaterMark-0.0.1-SNAPSHOT.jar data1 data2 data2其中data1、data2、data3就是启动时输入的参数,笔者这里直接使用IDEA的teminal控制台启动了,但是要先把Terminal的Shell path设置成cmd.exe路径。
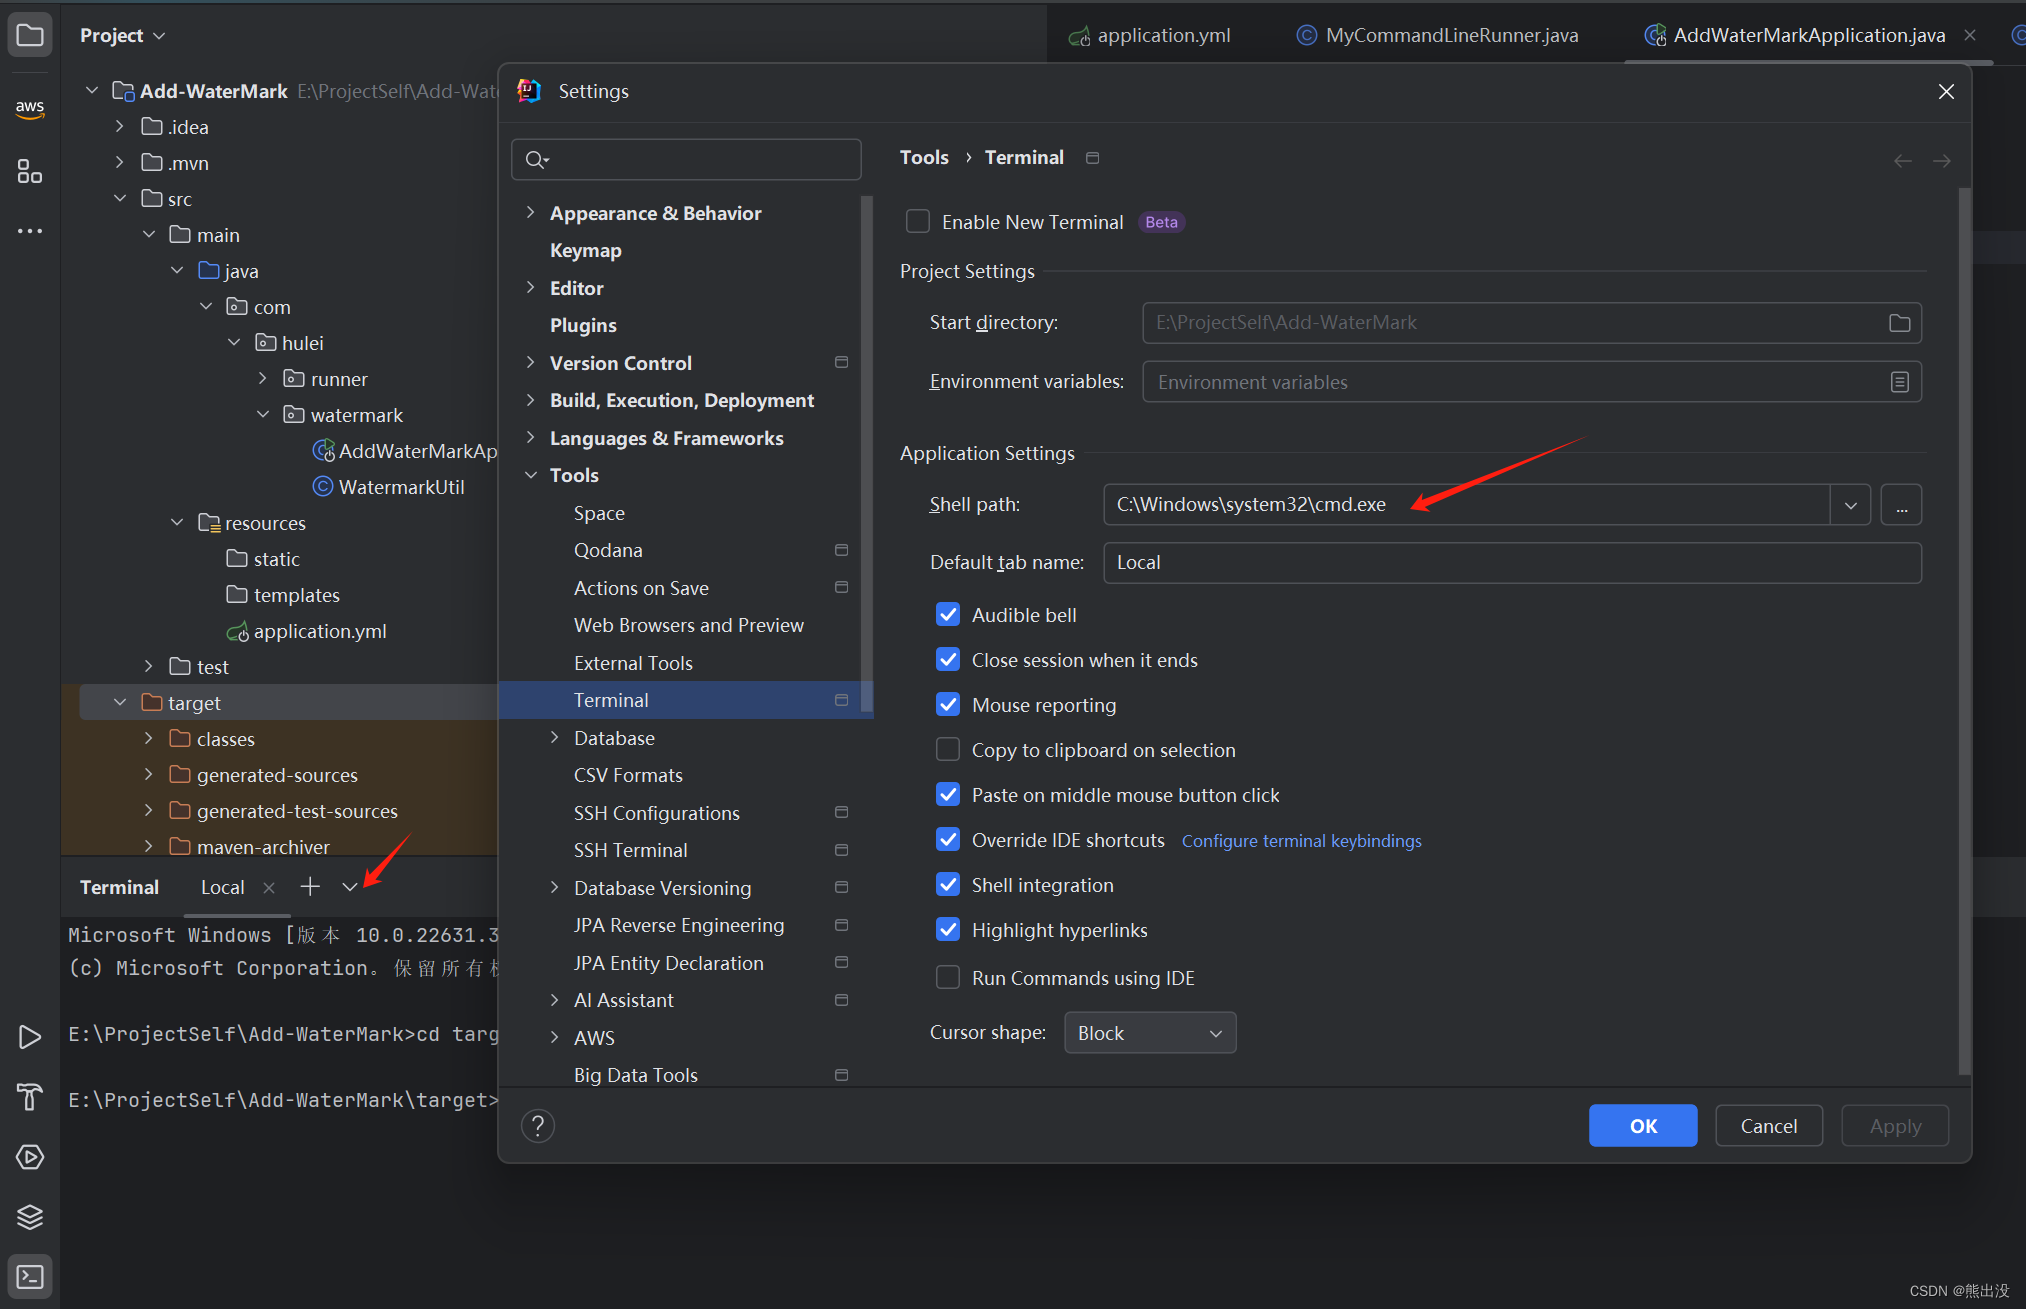
在上面package打包后,打开一个terminal终端,输入以下命令
java
cd target
java -jar Add-WaterMark-0.0.1-SNAPSHOT.jar data1 data2 data3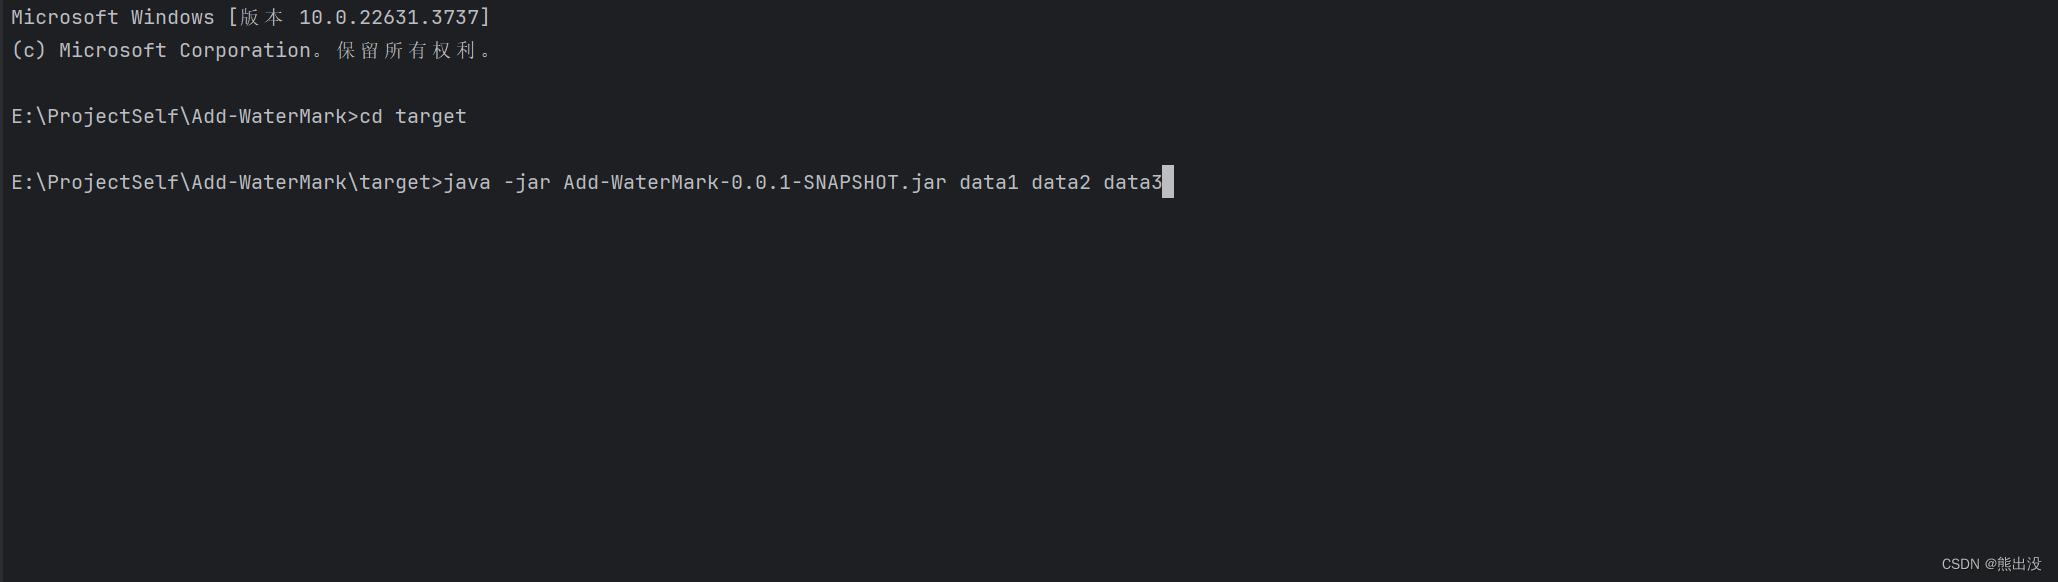
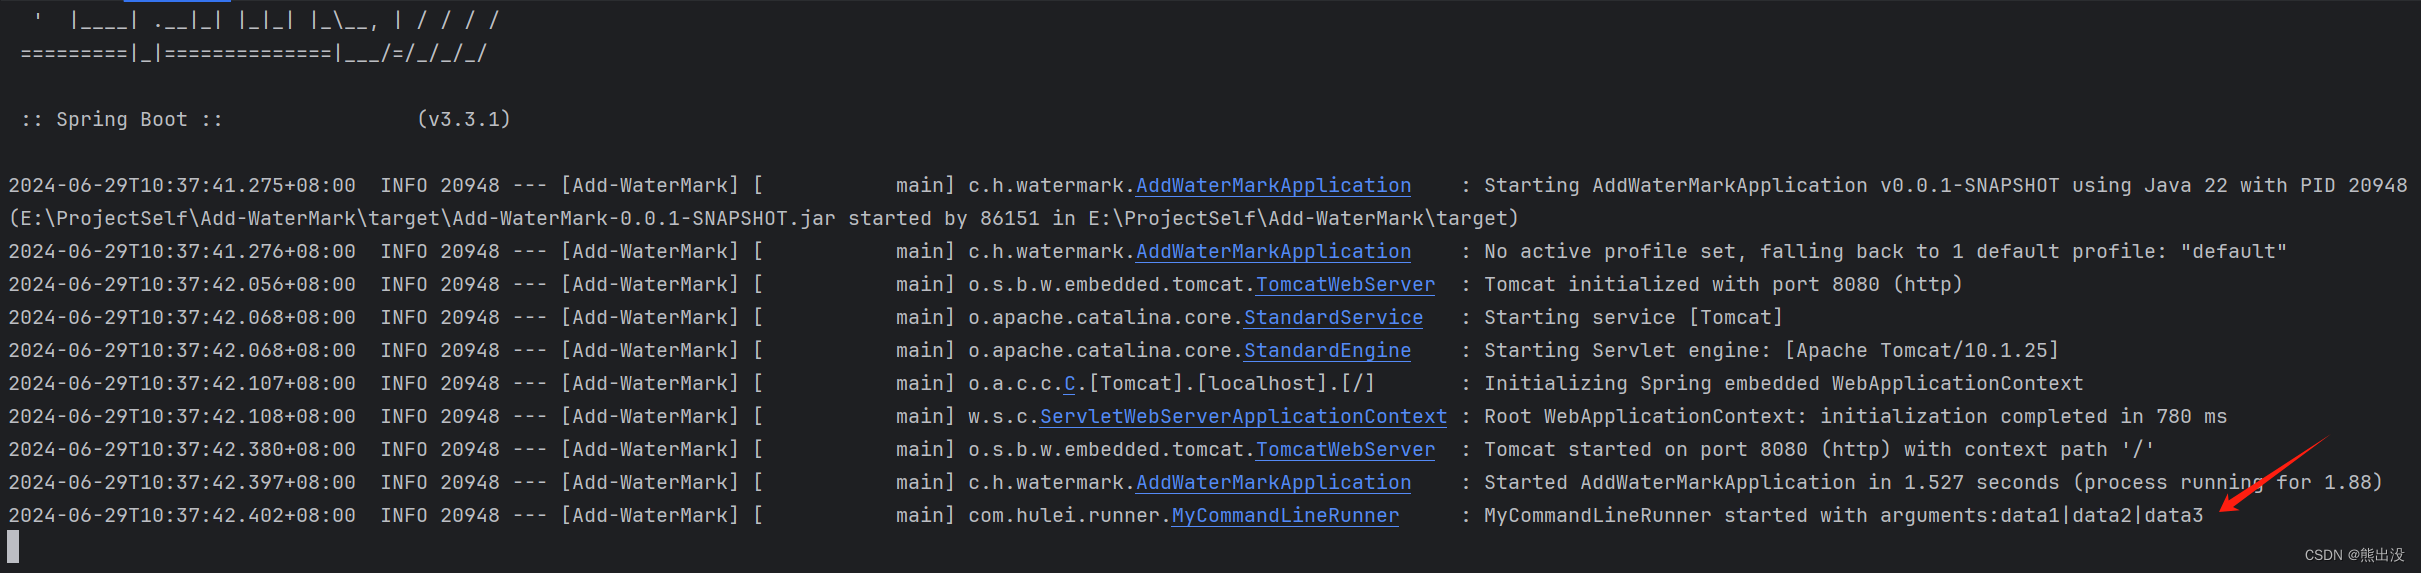
按下Enter回车执行,执行结果如下:
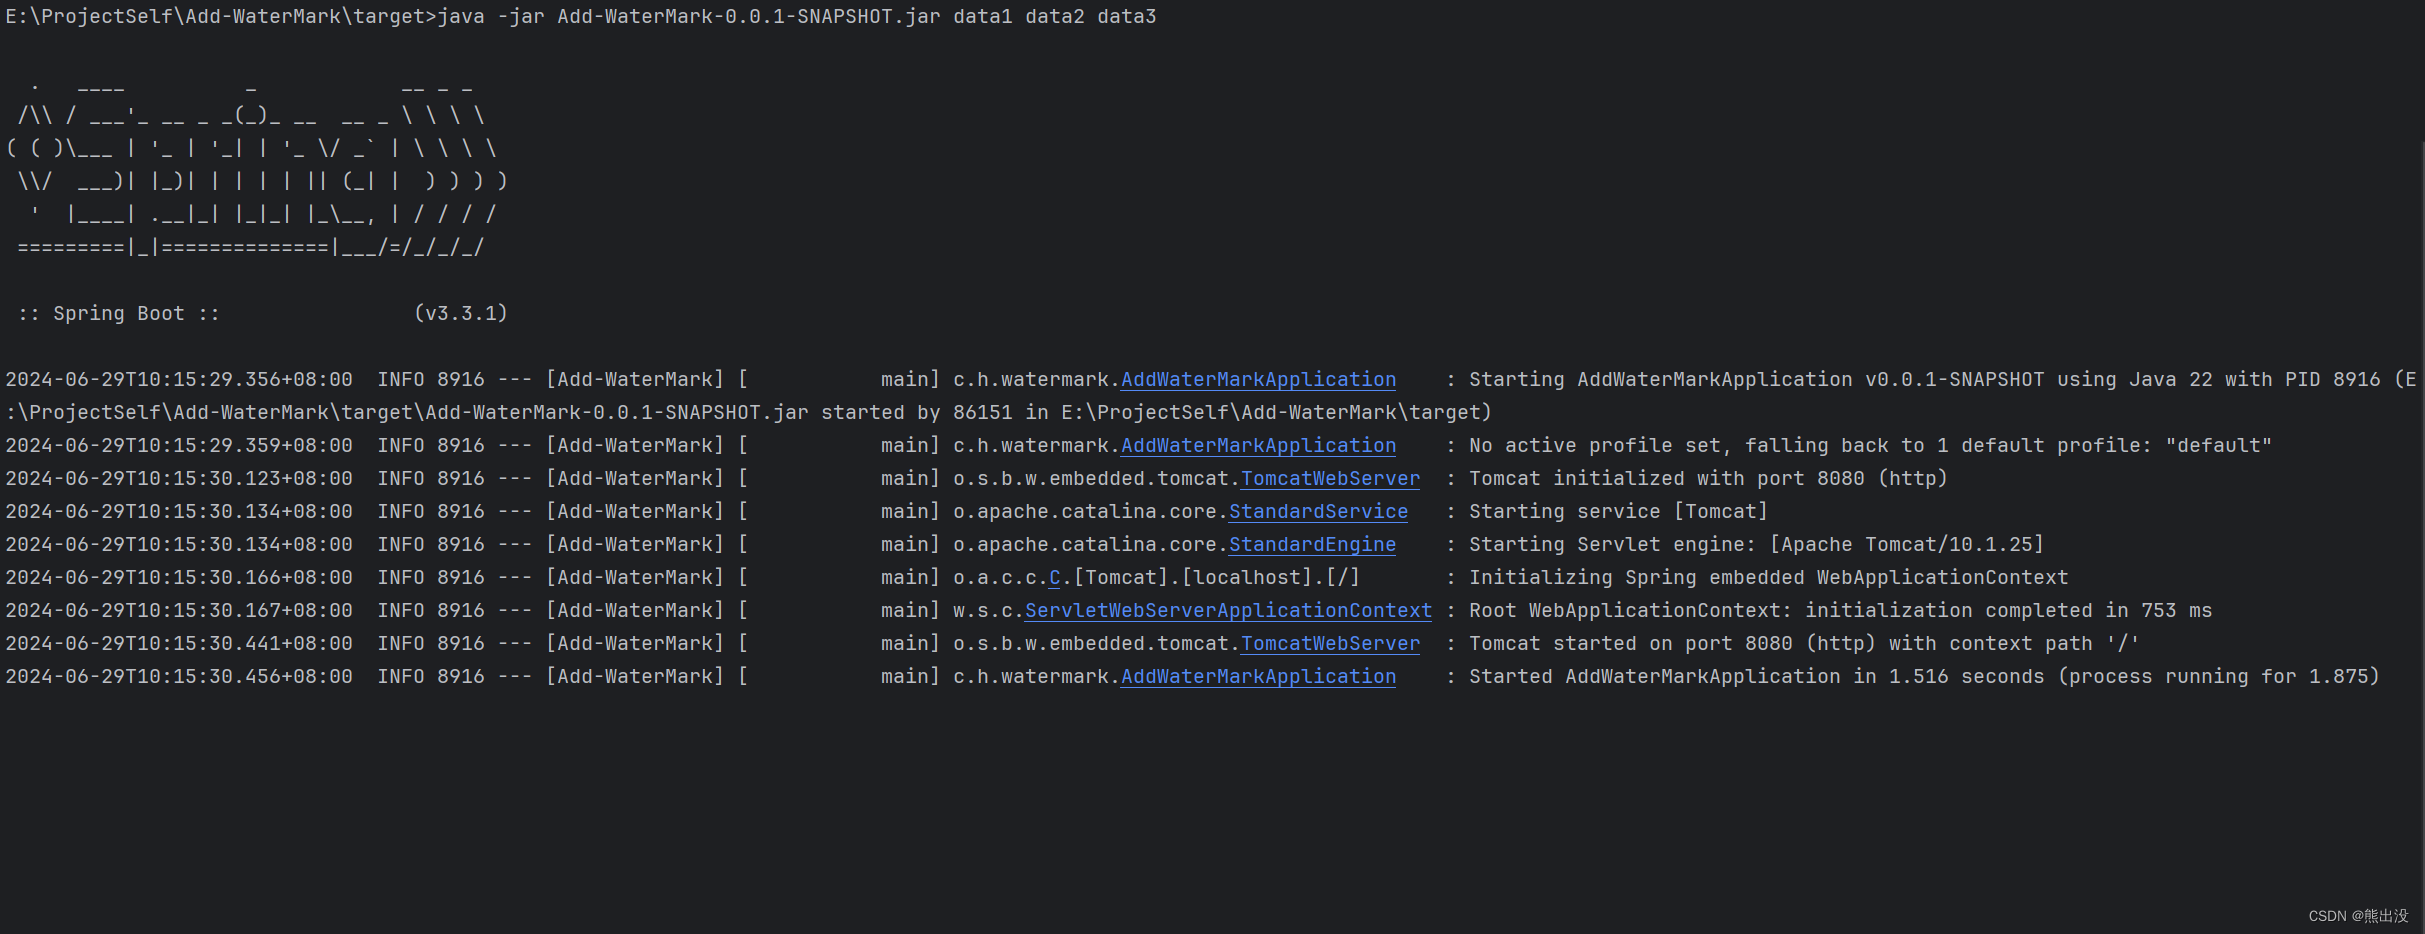
控制台并没有出现 MyCommandLineRunner类中打印参数的信息
java
logger.info("MyCommandLineRunner started with arguments:{}", strArgs);经过排查发现笔者把目录建错了,没有建在启动类 AddWaterMarkApplication 所在的直接根目录watermark下,导致无法扫描到 MyCommandLineRunner 类,因为**@SpringBootApplication**默认只扫描定义了该注解的类所在的包及其所有子包下的组件。
做法一是把runner文件目录转移到watermark下,做法二如下:
在@SpringBootApplication注解中加入基础包扫描,手动写入需要扫描的包路径
此时再关闭terminal终端,重新package打包,重新打开terminal终端执行启动命令
看到MyCommandLineRunner中的run方法成功执行了,打印出我们启动时添加的启动参数
四、ApplicationRunner接口
源码如下
java
@FunctionalInterface
public interface ApplicationRunner extends Runner {

	/**
	 * Callback used to run the bean.
	 * @param args incoming application arguments
	 * @throws Exception on error
	 */
	void run(ApplicationArguments args) throws Exception;

}```

自定义一个类MyApplicationRunner实现ApplicationRunner接口

```java
package com.hulei.runner;

import org.slf4j.Logger;
import org.slf4j.LoggerFactory;
import org.springframework.boot.ApplicationArguments;
import org.springframework.boot.ApplicationRunner;
import org.springframework.stereotype.Component;


@Component
public class MyApplicationRunner implements ApplicationRunner {

    private static final Logger logger = LoggerFactory.getLogger(MyApplicationRunner.class);

    @Override
    public void run(ApplicationArguments args) {
        String strArgs = String.join("|", args.getSourceArgs());
        logger.info("MyApplicationRunner started with arguments:{}", strArgs);

    }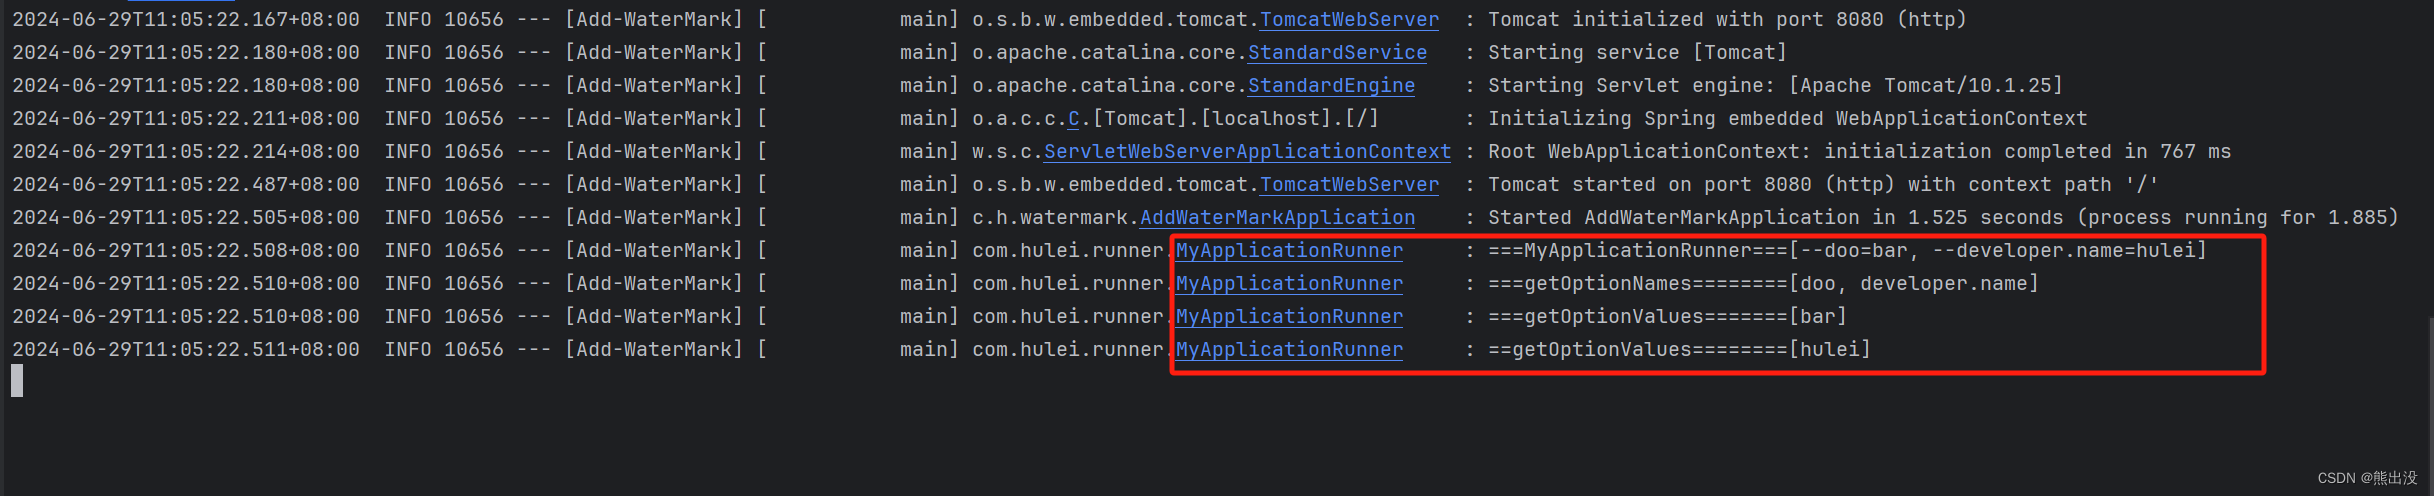
}按照之前的做法执行相同的命令,可以看到MyApplicationRunner 中run方法也成功执行

ApplicationArguments是对参数(main方法)做了进一步的处理,可以解析--name=value的,我们就可以通过name来获取value(而CommandLineRunner只是获取--name=value,获取的是一个整体字符串,并不能解析参数,如果想对参数做精细化处理,ApplicationRunner 更为合适),可以接收--foo=bar这样的参数。
--getOptionNames()方法可以得到foo这样的key的集合。
--getOptionValues(String name)方法可以得到bar这样的集合的value。
比如输入的参数命令如下
java
java -jar Add-WaterMark-0.0.1-SNAPSHOT.jar --doo=bar --developer.name=huleiApplicationRunner 就可以根据doo和developer.name这两个key获取后面的值bar 和hulei
下面对MyApplicationRunner改造下:
java
@Component
public class MyApplicationRunner implements ApplicationRunner {

    private static final Logger logger = LoggerFactory.getLogger(MyApplicationRunner.class);

    @Override
    public void run(ApplicationArguments args) {
        logger.info("===MyApplicationRunner==={}", Arrays.asList(args.getSourceArgs()));
        logger.info("===getOptionNames========{}",args.getOptionNames());
        logger.info("===getOptionValues======={}",args.getOptionValues("doo"));
        logger.info("==getOptionValues========{}",args.getOptionValues("developer.name"));

    }
}
可以看到成功按照键值对的形式解析了我们启动时输入的参数
而CommandLineRunner做不到精细解析,只能打印一个字符串参数

五、Order控制执行顺序
在 spring boot 程序中,我们可以使用不止一个实现 CommandLineRunner 和 ApplicationRunner 的 bean。为了有序执行这些 bean 的 run() 方法,可以使用 @Order 注解或 Ordered 接口。例子中我们创建了两个实现 CommandLineRunner 接口的 bean 和两个实现 ApplicationRunner 接口的 bean。可以使用 @Order 注解按顺序执行这四个 bean。
- CommandLineRunnerBean1.java
java
@Component
@Order(1)
public class CommandLineRunnerBean1 implements CommandLineRunner {
    @Override
    public void run(String... args) {
        System.out.println("CommandLineRunnerBean 1");
    }
}- ApplicationRunnerBean1.java
java
@Component
@Order(2)
public class ApplicationRunnerBean1 implements ApplicationRunner {
    @Override
    public void run(ApplicationArguments arg0) throws Exception {
        System.out.println("ApplicationRunnerBean 1");
    }
}- CommandLineRunnerBean2.java
java
@Component
@Order(3)
public class CommandLineRunnerBean2 implements CommandLineRunner {
    @Override
    public void run(String... args) {
        System.out.println("CommandLineRunnerBean 2");
    }
}- ApplicationRunnerBean2.java
java
@Component
@Order(4)
public class ApplicationRunnerBean2 implements ApplicationRunner {
    @Override
    public void run(ApplicationArguments arg0) throws Exception {
        System.out.println("ApplicationRunnerBean 2");
    }
}
这几个类上都有注解@Order,并且按照1,2,3,4的顺序规定了启动顺序,启动结果如下:

六、总结
本篇文章详细介绍了ApplicationRunner 和CommandLineRunner两个接口的用法和区别,掌握这两个强大的接口可以为我们的日常开发带来很大便利,比如笔者开发中有个获取字典值的操作,从redis中获取,需要转为java对象Map,才能使用。而从redis中获取转为java对象这个过程长达十秒(可能redis是分布式的,对象本身也比较大,再加上带宽限制这个主要原因)我无法忍受,所以笔者在启动服务的时候就从分布式缓存redis中获取到这个大对象,转成java对象,后续就能在应用中直接使用了。