1.创建一个vue3的项目。
npm create vue@latest2.引入Elementplus组件库
npm install element-plus --save在main.js中引入
import ElementPlus from "element-plus";

import "element-plus/dist/index.css";

app.use(ElementPlus);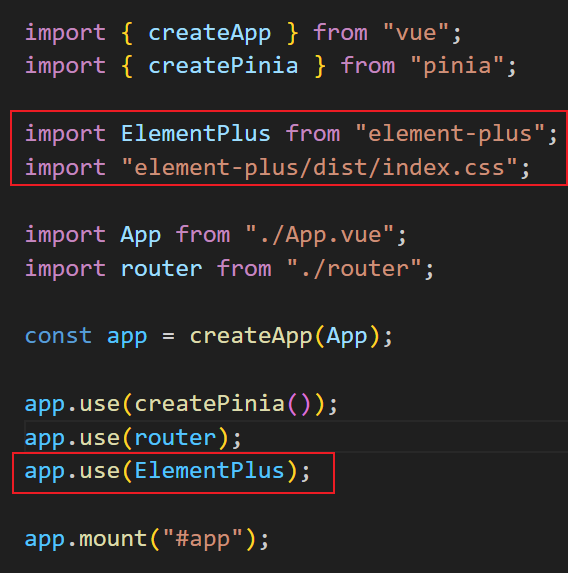
3.开始渲染页面
引入axios
链接:POST 请求 | Axios中文文档 | Axios中文网
引入步骤:
1.导入
import axios from "axios";2.调用axios.post
const SubmitEvent = async () => {
  const { data } = await axios.post(
    "https://v5.crmeb.net/api/login",
    {
      account: acc.value,
      password: pwd.value,
    },
    {
      headers: {
        "Content-Type": "application/json",
      },
    }
  );
具体实现代码如下:
<template>
<div>
<div class="box">
<br />
<el-input
v-model="acc"
style="width: 240px"
placeholder="Please input"
clearable
/>
<br />
<br />
<el-input
v-model="pwd"
style="width: 240px"
type="password"
placeholder="Please input password"
show-password
/>
<br /><br />
<el-button @click="SubmitEvent" type="primary" style="width: 240px"
>login</el-button
>
</div>
</div>
</template>
<style>
.box {
width: 300px;
height: 300px;
background-color: antiquewhite;
display: flex;
flex-direction: column;
justify-content: center;
align-items: center;
}
</style>
<script setup>
import { ref } from "vue";
import { ElMessage } from "element-plus";
import axios from "axios";
import { useRouter } from "vue-router";
const router = useRouter();
const acc = ref("");
const pwd = ref("");
const SubmitEvent = async () => {
const { data } = await axios.post(
"https://v5.crmeb.net/api/login",
{
account: acc.value,
password: pwd.value,
},
{
headers: {
"Content-Type": "application/json",
},
}
);
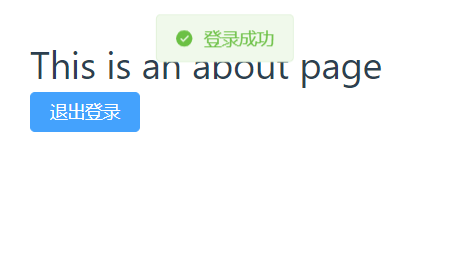
if (data.status == 200) {
ElMessage({
message: "登录成功",
type: "success",
});
// 保存到本地
localStorage.setItem("token", data.data.token);
// 跳转
router.replace({
name: "about",
});
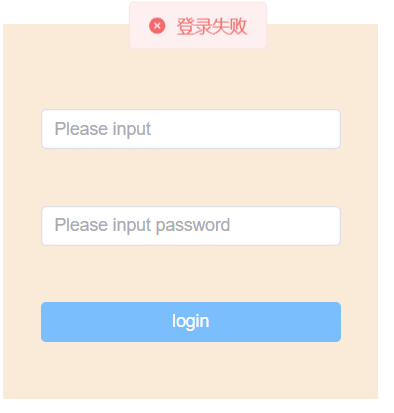
} else {
ElMessage.error("登录失败");
acc.value = "";
pwd.value = "";
}
};
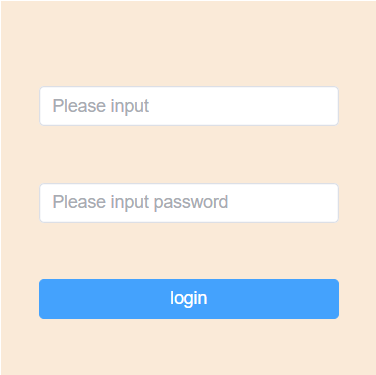
</script>效果图:
输入信息错误会清空数据并提示登录失败:
输入信息正确会跳转到另外一个页面并提示登录成功: