本文参考FastAPI教程https://fastapi.tiangolo.com/zh/tutorial
这部分暂无需求的没有记录,仅放置标题。
依赖项
安全性
中间件
你可以向FastAPI应用添加中间件。
"中间件"是一个函数,它在每个请求 被特定的路径操作处理之前,以及在每个响应返回之前工作。
- 它接收你的应用程序的每一个请求。
- 然后它可以对这个请求做一些事情或者执行任何需要的代码。
- 然后它将请求传递给应用程序的其他部分(通过某种路径操作)。
- 然后它获取应用程序生产的响应(通过某种路径操作)。
- 它可以对该响应做些什么或者执行任何需要的代码。
- 然后它返回这个响应。
创建中间件
要创建中间件你可以在函数的顶部使用装饰器@app.middleware("http")。
中间件参数接收如下参数:
request。- 一个函数
call_next,它将接收request作为参数。 - 这个函数将
request传递给相应的路径操作。 - 然后它将返回由相应的路径操作生成的
response。 - 然后你可以在返回
response前进一步修改它。
python
import time

from fastapi import FastAPI, Request

app = FastAPI()


@app.middleware("http")
async def add_process_time_header(request: Request, call_next):
    start_time = time.time()
    response = await call_next(request)
    process_time = time.time() - start_time
    response.headers["X-Process-Time"] = str(process_time)
    return response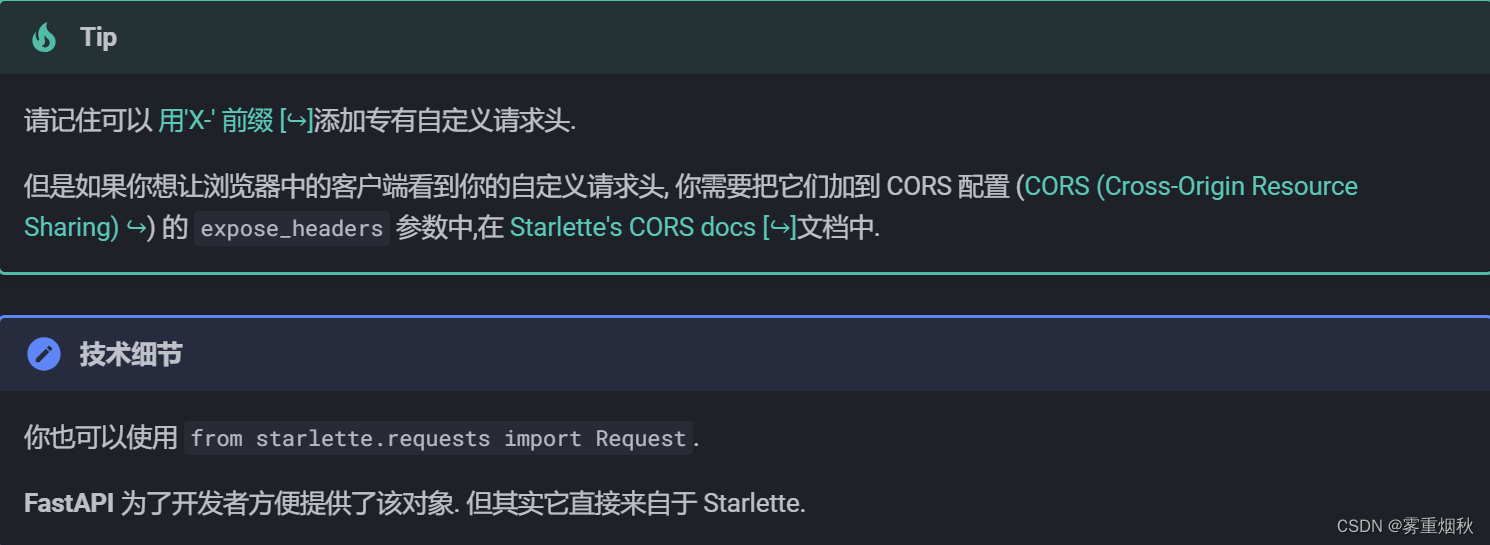
在response的前和后
在任何路径操作收到request前,可以添加要和请求一起运行的代码。
也可以在响应生成但是返回之前添加代码。
例如你可以添加自定义请求头X-Process-Time包含以秒为单位的接收请求和生成响应的时间。
python
import time

from fastapi import FastAPI, Request

app = FastAPI()


@app.middleware("http")
async def add_process_time_header(request: Request, call_next):
    start_time = time.time()
    response = await call_next(request)
    process_time = time.time() - start_time
    response.headers["X-Process-Time"] = str(process_time)
    return response
其他中间件
可以在Advanced User Guide: Advanced Middleware阅读更多关于中间件的教程。
下一节中会学习如何使用中间件处理CORS。
CORS(跨域资源共享)
CORS或者跨域资源共享指浏览器中运行的前端拥有与后端通信的JavaScript代码,而后端处于与前端不同的【源】的情况。
源
源是协议(http,https)、域(myapp.com,localhost,localhost.tiangolo.com)以及端口(80、443、8080)的组合。
因此,这些都是不同的源:
http://localhosthttps://localhosthttp://localhost:8000
即使它们都在localhost中,但是它们使用不同的协议或者端口,所以它们都是不同的源。
步骤
假设你的浏览器中有一个前端运行在http://localhost:8080,并且它的JavaScript正在尝试与运行在http://localhost的后端通信(因为我们没有指定端口,浏览器会采用默认的端口80)。
然后,浏览器会向后端发送一个HTTPOPTIONS请求,如果后端发送适当的headers来授权来自这个不同源(http://localhost:8080)的通信,浏览器将允许前端的JavaScript向后端发送请求。
为此,后端必须有一个【允许的源】列表。
在这种情况下,它必须包含http://localhost:8080,前端才能正常工作。
通配符
也可以使用"*"声明这个列表,表示全部都是允许的。
但这仅允许某些类型的通信,不包括所有涉及凭据的内容:像Cookies以及那些使用Bearer令牌的授权headers等。
因此,为了一切都能正常工作,最好显式地指定允许的源。
使用CORSMiddleware
你可以在FastAPI应用中使用CORSMiddleware来配置它。
- 导入
CORSMiddleware。 - 创建一个允许的源列表(由字符串组成)。
- 将其作为【中间件】添加到你的FastAPI应用中。
你也可以指定后端是否允许:
- 凭证(授权headers,Cookies)等
- 特定的HTTP方法(
POST,PUT)或者使用通配符"*"允许所有方法。 - 特定的HTTP headers或者使用通配符
"*"允许所有headers。
python
from fastapi import FastAPI
from fastapi.middleware.cors import CORSMiddleware

app = FastAPI()

origins = [
    "http://localhost.tiangolo.com",
    "https://localhost.tiangolo.com",
    "http://localhost",
    "http://localhost:8080",
]

app.add_middleware(
    CORSMiddleware,
    allow_origins=origins,
    allow_credentials=True,
    allow_methods=["*"],
    allow_headers=["*"],
)


@app.get("/")
async def main():
return {"message": "Hello World"}默认情况下,这个CORSMiddleware实现所使用地默认参数较为保守,所以你需要显式地启用特定的源、方法或者headers,以便浏览器能够在跨域上下文中使用它们。
支持一下参数:
allow_origins-一个允许跨域请求的源列表。例如['https://example.org', 'https://www.example.org']。你可以使用['*']允许任何源。allow_origin_regex- 一个正则表达式字符串,匹配的源允许跨域请求。例如'https://.*\.example\.org'。allow_methods- 一个允许跨域请求的 HTTP 方法列表。默认为['GET']。你可以使用['*']来允许所有标准方法。allow_headers- 一个允许跨域请求的 HTTP 请求头列表。默认为[]。你可以使用['*']允许所有的请求头。Accept、Accept-Language、Content-Language以及Content-Type请求头总是允许 CORS 请求。allow_credentials- 指示跨域请求支持 cookies。默认是False。另外,允许凭证时allow_origins不能设定为['*'],必须指定源。expose_headers- 指示可以被浏览器访问的响应头。默认为[]。max_age- 设定浏览器缓存 CORS 响应的最长时间,单位是秒。默认为 600。
中间件响应两种特定类型的 HTTP 请求......
CORS 预检请求
这是些带有 Origin 和 Access-Control-Request-Method 请求头的 OPTIONS 请求。
在这种情况下,中间件将拦截传入的请求并进行响应,出于提供信息的目的返回一个使用了适当的 CORS headers 的 200 或 400 响应。
简单请求
任何带有 Origin 请求头的请求。在这种情况下,中间件将像平常一样传递请求,但是在响应中包含适当的 CORS headers。
更多信息
更多关于CORS的信息,请查看Mozilla CORS文档。
SQL(关系型)数据库
更大的应用-多个文件
后台任务
你可以定义在返回响应后运行的后台任务。
这对需要在请求之后执行的操作很有用,但客户端不必在接收响应之前等待操作完成。
包括这些例子:
- 执行操作后发送的电子邮件通知:
-
- 由于连接到电子邮件服务器并发送电子邮件往往很"慢"(几秒钟),您可以立即返回响应并在后台发送电子邮件通知。
- 处理数据:
-
- 例如,假设您收到的文件必须经过一个缓慢的过程,您可以返回一个"Accepted"(HTTP 202)响应并在后台处理它。
使用BackgroundTasks
首先导入BackgroundTasks并在路径操作函数中使用类型声明BackgroundTasks定义一个参数,FastAPI会创建一个BackgroundTasks类型的对象并作为该参数传入。
创建一个任务函数,创建要作为后台任务运行的函数。它只是一个可以接收参数的标准函数。它可以是async def或普通的def函数,FastAPI知道如何正确处理。在这种情况下,任务函数将写入一个文件(模拟发送电子邮件)。由于写操作不使用async和await,我们用普通的def定义函数。
添加后台任务,在你的路径操作函数里,用.add_task()方法将任务函数传到后台任务对象中。
.add_task()接收以下参数:
- 在后台运行的任务函数(
write_notification)。 - 应按顺序传递给任务函数的任意参数序列(
email)。 - 应传递给任务函数的任意关键字参数(
message="some notification")。
python
from fastapi import BackgroundTasks, FastAPI

app = FastAPI()


def write_notification(email: str, message=""):
    with open("log.txt", mode="w") as email_file:
        content = f"notification for {email}: {message}"
        email_file.write(content)


@app.post("/send-notification/{email}")
async def send_notification(email: str, background_tasks: BackgroundTasks):
    background_tasks.add_task(write_notification, email, message="some notification")
    return {"message": "Notification sent in the background"}
依赖注入
使用BackgroundTasks也适用于依赖注入系统,你可以在多个级别声明BackgroundTasks类型的参数:在路径操作函数里,在依赖中(可依赖),在子依赖中,等等。
FastAPI知道在每种情况下该做什么以及如何复用同一对象,因此所有后台任务被合并在一起并且随后在后台运行。
python
from typing import Annotated, Union

from fastapi import BackgroundTasks, Depends, FastAPI

app = FastAPI()


def write_log(message: str):
    with open("log.txt", mode="a") as log:
        log.write(message)


def get_query(background_tasks: BackgroundTasks, q: Union[str, None] = None):
    if q:
        message = f"found query: {q}\n"
        background_tasks.add_task(write_log, message)
    return q


@app.post("/send-notification/{email}")
async def send_notification(
    email: str, background_tasks: BackgroundTasks, q: Annotated[str, Depends(get_query)]
):
    message = f"message to {email}\n"
    background_tasks.add_task(write_log, message)
return {"message": "Message sent"}该示例中,信息会在响应发出之后被写到log.txt文件。
如果请求中有查询,它将在后台任务中写入日志。
然后另一个在路径操作函数生成的后台任务会使用路径参数email写入一条信息。
元数据和文档URL
静态文件
测试
感谢 Starlette,测试FastAPI 应用轻松又愉快。
它基于 HTTPX, 而HTTPX又是基于Requests设计的,所以很相似且易懂。
有了它,你可以直接与FastAPI一起使用 pytest。
使用TestClient
要使用TestClient,先要安装httpx(例pip install httpx)
- 导入
TestClient - 通过传入你的FastAPI应用创建一个
TestClient。 - 创建名字以
test_开头的函数(这是标准的pytest约定)。 - 像使用
httpx那样使用TestClient对象。 - 为你需要检查的地方用标准的Python表达式写个简单的
assert语句(重申,标准的pytest)。
python
from fastapi import FastAPI
from fastapi.testclient import TestClient

app = FastAPI()


@app.get("/")
async def read_main():
    return {"msg": "Hello World"}


client = TestClient(app)


def test_read_main():
    response = client.get("/")
    assert response.status_code == 200
    assert response.json() == {"msg": "Hello World"}
分离测试
在实际应用中,你可能会把你的测试放在另一个文件里。
您的FastAPI应用程序也可能由一些文件/模块组成等等。
FastAPI app文件
假设你有一个像更大的应用中所描述的文件结构:
python
.
├── app
│   ├── __init__.py
│ └── main.py在main.py文件中你有一个FastAPI app:
python
from fastapi import FastAPI

app = FastAPI()


@app.get("/")
async def read_main():
    return {"msg": "Hello World"}
测试文件
然后你会有一个包含测试的文件test_main.py。app可以像Python包那样存在(一样是目录,但有个__init__.py文件):
python
.
├── app
│   ├── __init__.py
│   ├── main.py
│ └── test_main.py因为这文件在同一个包中,所以你可以通过相对导入从main模块(main.py)导入app对象:
python
from fastapi.testclient import TestClient

from .main import app

client = TestClient(app)


def test_read_main():
    response = client.get("/")
    assert response.status_code == 200
    assert response.json() == {"msg": "Hello World"}
然后测试代码和之前一样的。
测试:扩展示例
现在让我们扩展这个例子,并添加更多细节,看下如何测试不同部分。
扩展后的FastAPI app文件
让我们继续之前的文件结构:
python
.
├── app
│   ├── __init__.py
│   ├── main.py
│   └── test_main.py
假设现在包含FastAPI app的文件main.py有些其他路径操作。
有个GET操作会返回错误。
有个POST操作会返回一些错误。
所有路径操作都需要一个X-Token头。
python
from typing import Annotated

from fastapi import FastAPI, Header, HTTPException
from pydantic import BaseModel

fake_secret_token = "coneofsilence"

fake_db = {
    "foo": {"id": "foo", "title": "Foo", "description": "There goes my hero"},
    "bar": {"id": "bar", "title": "Bar", "description": "The bartenders"},
}

app = FastAPI()


class Item(BaseModel):
    id: str
    title: str
    description: str | None = None


@app.get("/items/{item_id}", response_model=Item)
async def read_main(item_id: str, x_token: Annotated[str, Header()]):
    if x_token != fake_secret_token:
        raise HTTPException(status_code=400, detail="Invalid X-Token header")
    if item_id not in fake_db:
        raise HTTPException(status_code=404, detail="Item not found")
    return fake_db[item_id]


@app.post("/items/", response_model=Item)
async def create_item(item: Item, x_token: Annotated[str, Header()]):
    if x_token != fake_secret_token:
        raise HTTPException(status_code=400, detail="Invalid X-Token header")
    if item.id in fake_db:
        raise HTTPException(status_code=400, detail="Item already exists")
    fake_db[item.id] = item
    return item
扩展后的测试文件
然后您可以使用扩展后的测试更新test_main.py:
python
from fastapi.testclient import TestClient

from .main import app

client = TestClient(app)


def test_read_item():
    response = client.get("/items/foo", headers={"X-Token": "coneofsilence"})
    assert response.status_code == 200
    assert response.json() == {
        "id": "foo",
        "title": "Foo",
        "description": "There goes my hero",
    }


def test_read_item_bad_token():
    response = client.get("/items/foo", headers={"X-Token": "hailhydra"})
    assert response.status_code == 400
    assert response.json() == {"detail": "Invalid X-Token header"}


def test_read_nonexistent_item():
    response = client.get("/items/baz", headers={"X-Token": "coneofsilence"})
    assert response.status_code == 404
    assert response.json() == {"detail": "Item not found"}


def test_create_item():
    response = client.post(
        "/items/",
        headers={"X-Token": "coneofsilence"},
        json={"id": "foobar", "title": "Foo Bar", "description": "The Foo Barters"},
    )
    assert response.status_code == 200
    assert response.json() == {
        "id": "foobar",
        "title": "Foo Bar",
        "description": "The Foo Barters",
    }


def test_create_item_bad_token():
    response = client.post(
        "/items/",
        headers={"X-Token": "hailhydra"},
        json={"id": "bazz", "title": "Bazz", "description": "Drop the bazz"},
    )
    assert response.status_code == 400
    assert response.json() == {"detail": "Invalid X-Token header"}


def test_create_existing_item():
    response = client.post(
        "/items/",
        headers={"X-Token": "coneofsilence"},
        json={
            "id": "foo",
            "title": "The Foo ID Stealers",
            "description": "There goes my stealer",
        },
    )
    assert response.status_code == 409
assert response.json() == {"detail": "Item already exists"}每当你需要客户端在请求中传递信息,但你不知道如何传递时,你可以通过搜索(谷歌)如何用httpx做,或者是用requests做,毕竟HTTPX的设计是基于Requests的设计的。
接着只需在测试中同样操作。
示例:
- 传一个路径或查询参数,添加到URL上。
- 传一个JSON体,传一个Python对象(例如一个
dict)到参数json。 - 如果你需要发送Form Data而不是JSON,使用
data参数。 - 要发送headers,传
dict给headers参数。 - 对于cookies,传
dict给cookies参数。
关于如何传数据给后端的更多信息(使用httpx或TestClient),请查阅HTTPX文档。
运行起来
之后,你只需要安装pytest,他会自动检测文件和测试,执行测试,然后向你报告结果。
调试
你可以在编辑器中连接调试器,例如使用Visual Studio Code或PyCharm。
调用uvicorn
在你的FastAPI应用中直接导入uvicorn并运行:
python
import uvicorn
from fastapi import FastAPI

app = FastAPI()


@app.get("/")
def root():
    a = "a"
    b = "b" + a
    return {"hello world": b}


if __name__ == "__main__":
    uvicorn.run(app, host="0.0.0.0", port=8000)