1、全局模块
worker_processes 1;
工作进程数,一般设置成服务器内核数的2倍(一般不超过8个,超过8个反而会降低性能,一般是4个,1-2个也可以)
处理进程的过程必然涉及配置文件和展示页面,也就是涉及打开文件的数量
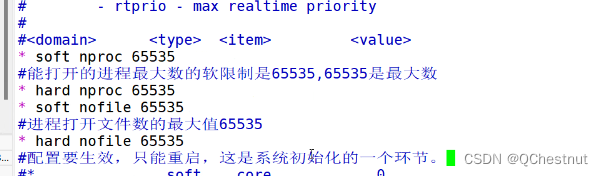
linux默认打开的文件数是1024个
修改最大文件数 /etc/security/limits.conf
alias和root之间匹配工作目录的区别:
root的匹配模式是拼接
root的工作目录/opt/test1,访问的uri /xy102
location /xy102
工作目录/opt/test1
访问的是/opt/test1/xy102
alias匹配nginx的工作目录,路径是绝对路径
location /xy102
alias /opt/test1/xy102/;
alias只能写在http模块当中server模块的location模块当中
root可以写在server模块,也可以在http,也可以在location
使用alias匹配工作目录不能够使用重定向功能
2、events模块
events {
workers_connections 1024;
}
决定了nginx能够处理的连接数,连接数和worker_processes的数值相乘
3、stream四层代理模块
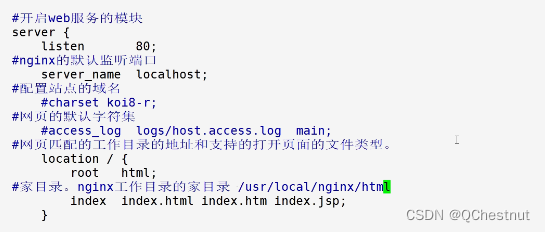
4、http模块
转发和处理http请求,设置代理(正向代理,反向代理),缓存,定义日志格式,重定向配置 
在http模块当中,包含:
server模块,http里面可以有多个server模块
在server模块当中包含:location模块
在server当中可以有多个location
5、实验
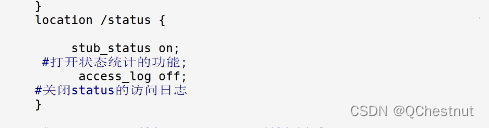
5.1统计访问状态
修改配置文件
各行的含义:
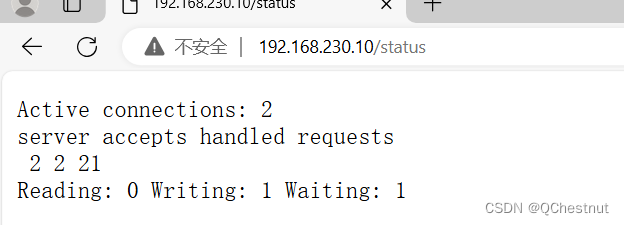
Active connections 当前活动的连接数
server accepts handled requests 表示已经处理的连接数
2 2 21
从左往右表示已经处理的连接数,成功建立连接的次数,已经处理的请求数
Reading:0 writing:1 waiting:1
reading:表示服务端正在从客户端读取请求的数据
writing:表示服务端正在把响应数据发送给客户端
waiting:表示有连接处于空闲状态,等待新的请求
5.2基于密码的授权进行访问控制
先安装httpd-tools,htpasswd的工具

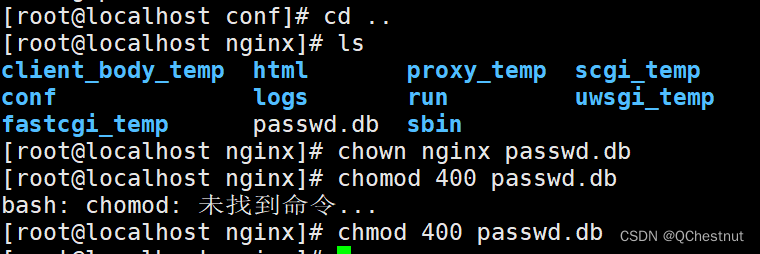
生成一个passwd.db的文件,用户abc可以对这个文件进行处理,设置密码为123

将passwd.db的所有者改为nginx,并修改权限为400
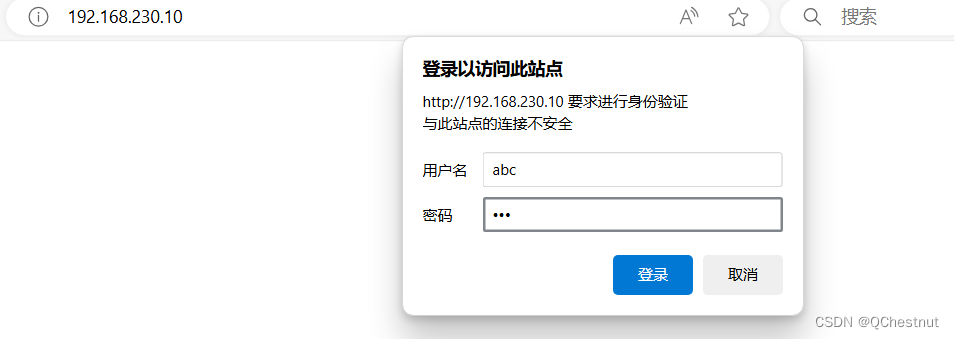
修改配置文件
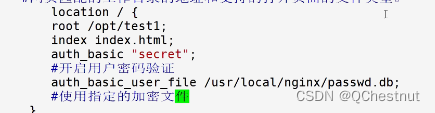
加密用户才可以访问
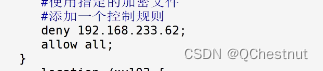
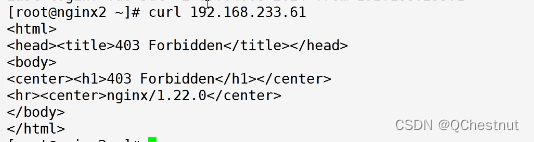
5.3基于客户端的访问控制
根据ip地址进行控制
拒绝192.168.233.62访问,允许其他所有访问
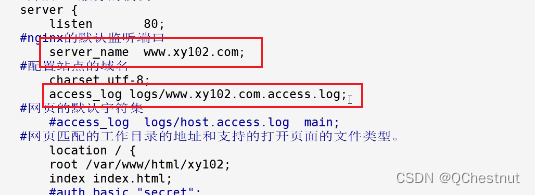
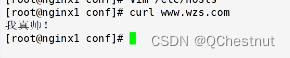
5.4基于域名的nginx的主机
修改配置文件

vim /etc/hosts做一个本地映射

访问成功

多个server,修改配置文件
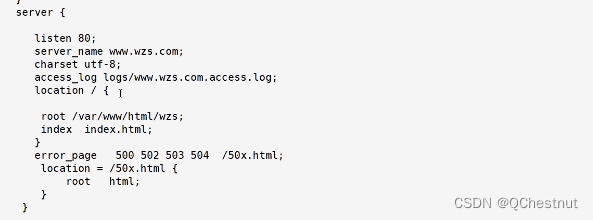

本地映射

访问成功
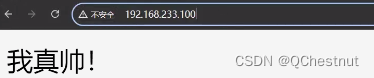
5.5基于ip地址的虚拟主机
创建虚拟网卡

更改监听地址


访问成功
5.6基于端口实现多个虚拟主机
更改端口号(范围1-65535)


访问8080端口

访问8888端口

5.7多个配置文件
进入配置文件,添加一个include

创建conf.d目录
mkdir conf.d
创建新的文件test1.conf,添加server作为独立的配置文件
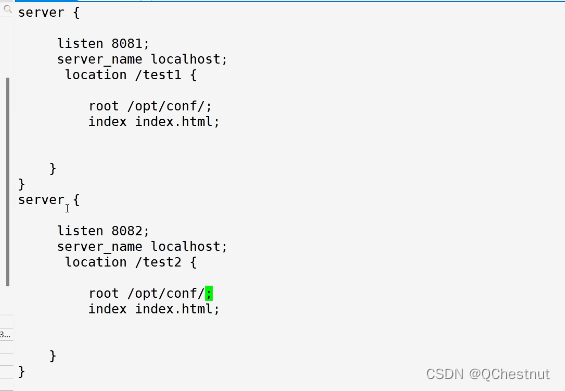
创建目录test1、test2
root@localhost opt# mkdir -p conf/test1
root@localhost opt# mkdir -p conf/test2
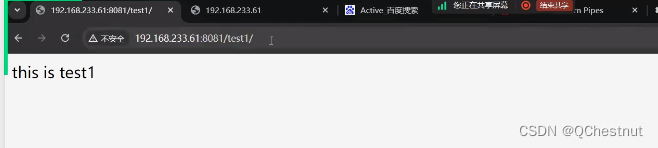
分别在test1、test2输入内容
root@localhost conf# echo "this is test1" > test1/index.html
root@localhost conf# echo "this is test2" > test2/index.html
访问成功

6、nginx的优化与防盗链
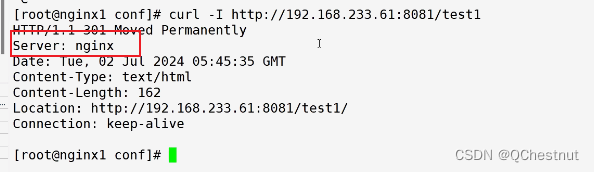
6.1隐藏版本号
vim nginx.conf

无版本号
6.2修改用户与组 
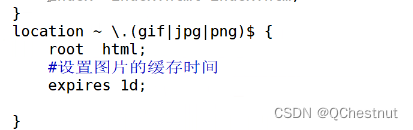
6.3设置页面的缓存时间,主要是针对动态页面
设置图片的缓存
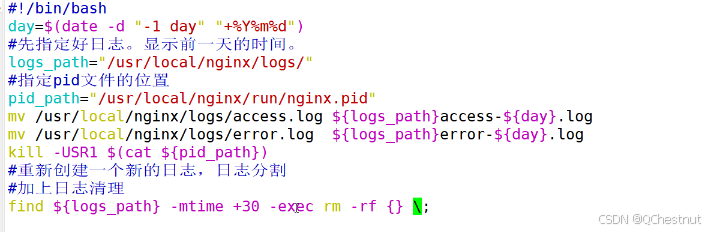
6.4日志分割
apache是自带日志分割的,按天来进行收集日志
apache的日志access.log error.log
nginx没有自动分割的功能,借助脚本来实现分割
6.5更改进程数以及设置cpu绑定

6.6连接超时

6.7配置页面压缩
gzip on
gzip_min_length 1k;
#最小的压缩文件,小于等于1k的文件就不压缩了
gzip_buffers 4 64k;
#设置压缩的缓冲区,4个,每个缓冲区的大小为64k
gzip_comp_level 6;
#压缩比例为1-9,数字越小,压缩的比例越小,速度越快;数字越大,压缩的比例就越高,速度越慢
gzip_types text/plain text/javascript application/x-javascript text/css text/xml application/xml application/xml+rss image/jpg image/jpeg image/png image/gif application/x-httpd-php application/javascript application/json;
#支持压缩的类型
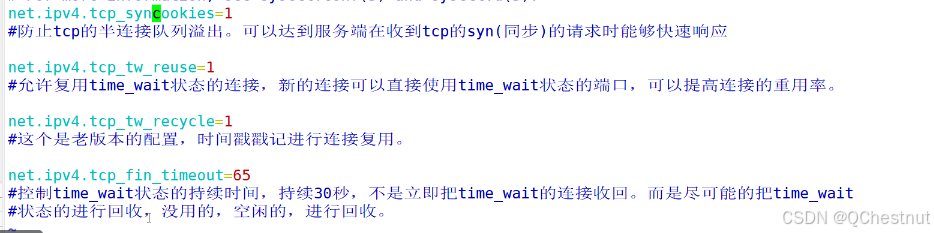
6.8回收TIME_WAIT
time_wait是tcp连接当做的一种状态,出现在四次挥手之后,处于等待状态,双方不再发送数据
time_wait所占用的系统资源很小,数量比较少,完全可以忽略不计,但是太多了就有一定的影响。
连接断开(四次挥手)之后,尽快的把time_wait状态的连接进行回收
netstat -n | awk '/^tcp/ {++s$NF} END {for (a in s) print a sa}
#统计当前系统的连接状态
修改内核文件
sysctl -p
#立即生效
6.9防盗链
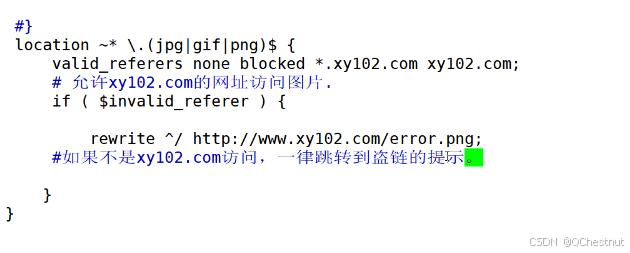
vim index.html
echo "192.168.230.10 <www.xy102.com>" >> /etc/hosts
echo "192.168.230.20 <www.xy103.com>" >> /etc/hosts
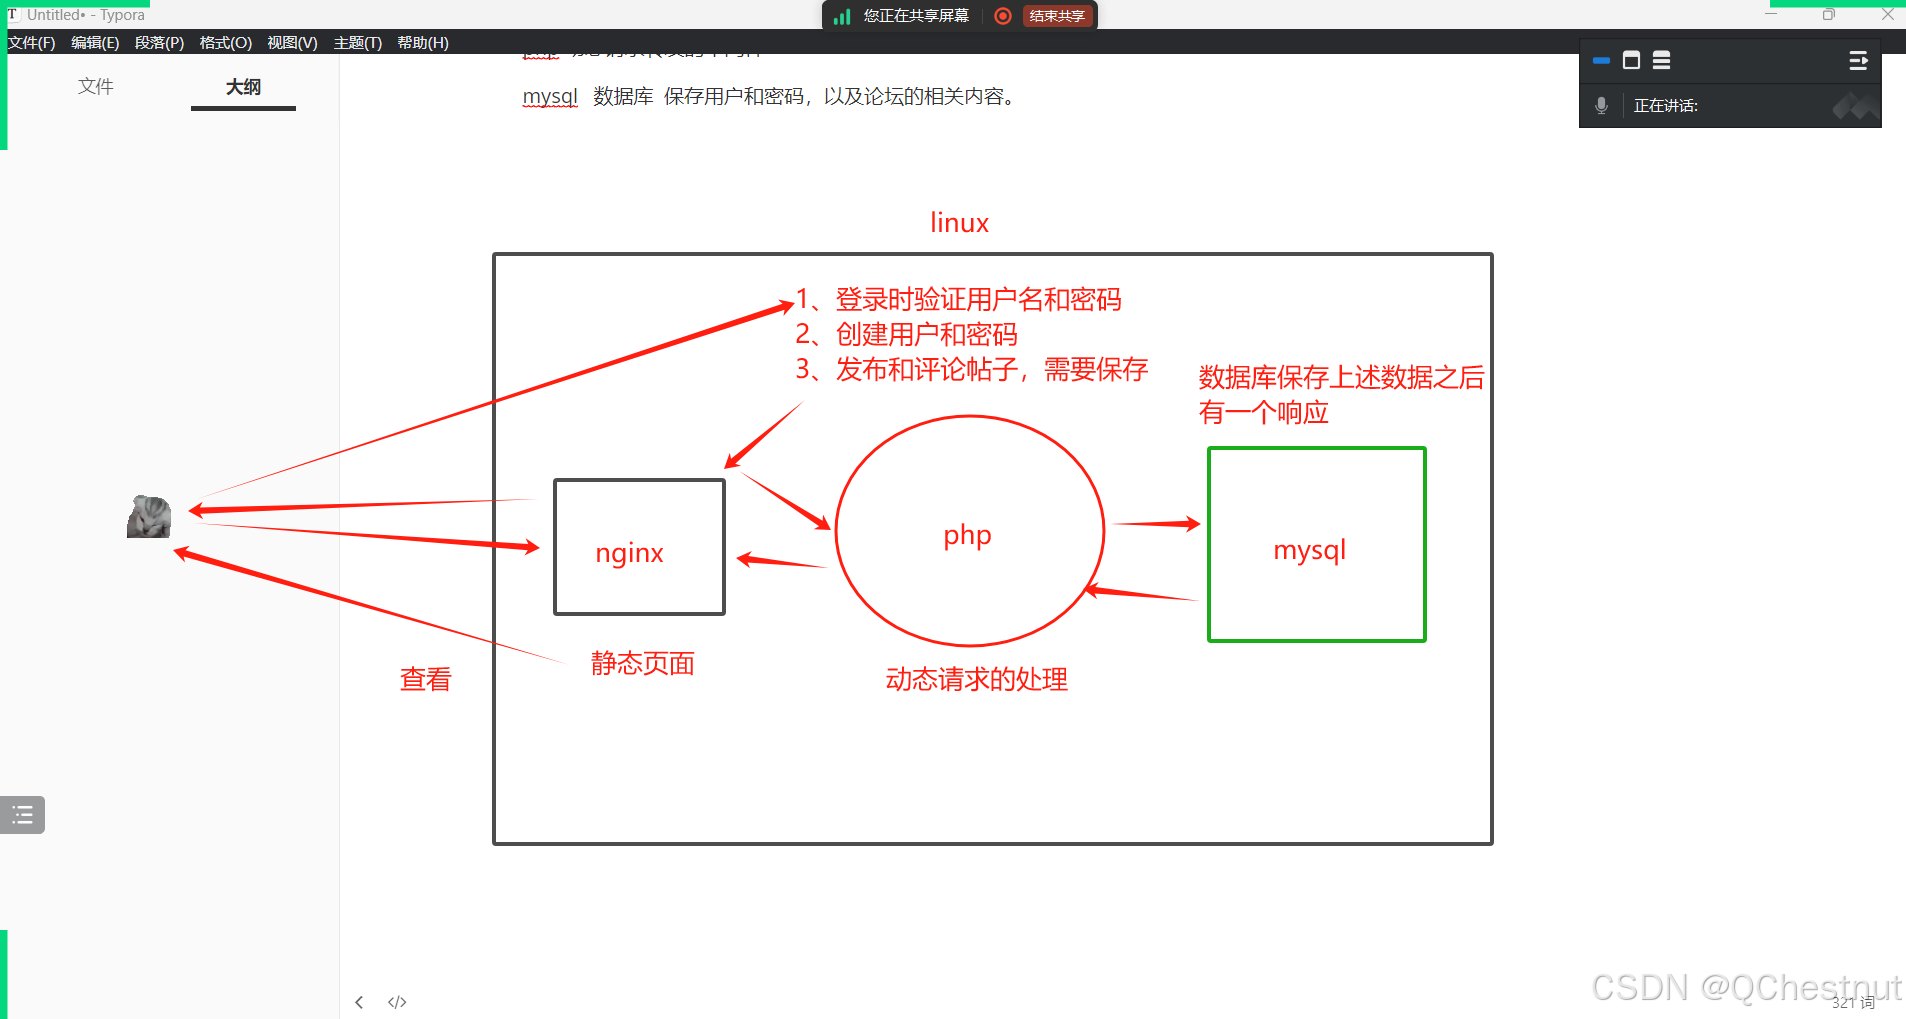
7、lnmp+DIS架构
是论坛的一个服务
l:linux 操作系统
n:nginx 前端页面的web服务
php:动态请求转发的中间件
m:mysql 数据库,保存用户和密码以及论坛的相关内容
7.1安装数据库
将mysql的包拖进去,并且解压

将包改名为mysql,移动到/usr/local

创建mysql的程序用户
root@localhost opt# useradd -M -s /sbin/nologin mysql
修改所有者和所在组
root@localhost opt# chown -R mysql.mysql /usr/local/mysql
修改mysql主配置文件的所有者和所在组
root@localhost opt# chown mysql.mysql /etc/my.cnf
修改主配置文件
vim /etc/my.cnf
port = 3306client
port = 3306
#客户端访问的端口
socket=/usr/local/mysql/mysql.sock
#指定mysql的通信套接字文件
mysqld
#mysql的安装目录
datadir=/usr/local/mysql/data
#mysql数据保存的目录
port = 3306
character-set-server=utf8
#字符集的编码
pid-file = /usr/local/mysql/mysqld.pid
socket=/usr/local/mysql/mysql.sock
bind-address = 0.0.0.0
#任意地址都可以访问数据库
skip-name-resolve
max_connections=2048
default-storage-engine=INNODB
#mysql默认的存储引擎
max_allowed_packet=16M
server-id = 1
sql_mode = STRICT_TRANS_TABLES,NO_ZERO_IN_DATE,NO_ZERO_DATE,ERROR_FOR_DIVISION_BY_ZERO,NO_ENGINE_SUBSTITUTION
#mysql支持的数据类型和相关的模块
将文件放到/etc/profile里,让系统可以识别
echo "PATH=$PATH:/usr/local/mysql/bin" >> /etc/profile
source /etc/profile
初始化数据库
./mysqld \
--initialize-insecure \
--user=mysql \
--basedir=/usr/local/mysql \
--datadir=/usr/local/mysql/data
将文件复制到mysqld


给一个执行权限
chmod +x /etc/init.d/mysqld
读取配置文件,重启mysqld
systemctl daemon-reload
systemctl restart mysqld
查看是否有3306这个端口

初始化数据库的密码
 数据库安装完毕


在数据库中创建用户
mysql> create user 'root'@"%" identified by '123456';
Query OK, 0 rows affected (0.01 sec)
赋权
mysql> grant all privileges on *.* to 'root'@'%';
Query OK, 0 rows affected (0.00 sec)
刷新权限
mysql> flush privileges;
Query OK, 0 rows affected (0.00 sec)
navicat远程登录,修改加密方式,刷新
mysql> alter user 'root'@'%' identified with mysql_native_password by "123456";
Query OK, 0 rows affected (0.00 sec)
mysql> flush privileges;
Query OK, 0 rows affected (0.00 sec)
 安装php的依赖环境
yum -y install gd \
libjpeg libjpeg-devel \
libpng libpng-devel \
freetype freetype-devel \
libxml2 libxml2-devel \
zlib zlib-devel \
curl curl-devel \
openssl openssl-devel \
oniguruma-devel \
sqlite-devel
将php的安装包拖进来并解压
 编译安装,开始配置
./configure \
--prefix=/usr/local/php \
--with-mysql-sock=/usr/local/mysql/mysql.sock \
--with-mysqli \
--with-zlib \
--with-curl \
--with-gd \
--with-jpeg-dir \
--with-png-dir \
--with-freetype-dir \
--with-pdo-mysql \
--with-openssl \
--with-sqlite-devel \
--with-oniguruma-devel \
--enable-fpm \
--enable-mbstring \
--enable-xml \
--enable-session \
--enable-ftp \
--enable-pdo \
--enable-tokenizer \
--enable-zip
配置成功
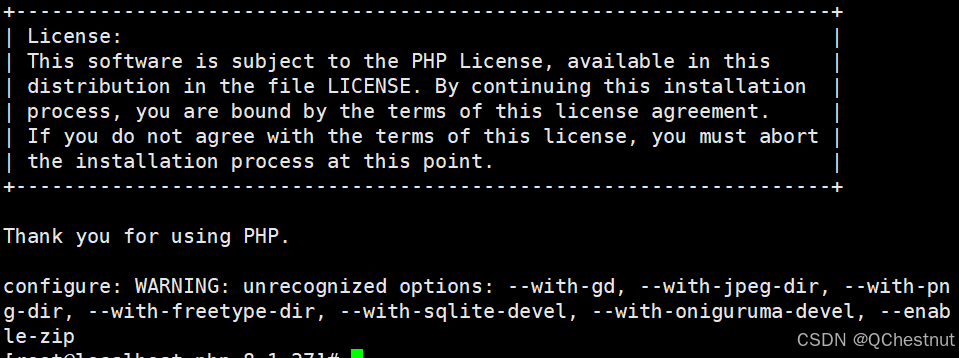
安装
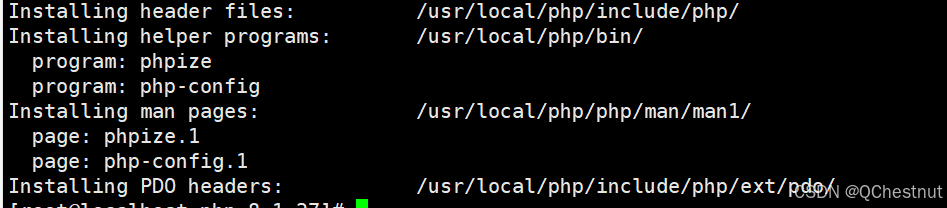
make -j 4 && make install
安装完成
优化两个线路,让系统识别到
root@nginx1 php-8.1.27# ln -s /usr/local/php/bin/* /usr/local/bin/
root@nginx1 php-8.1.27# ln -s /usr/local/php/sbin/* /usr/local/sbin/
将主配置文件php.ini-development复制到/usr/local/php/lib,改名为php.ini
cp php.ini-development /usr/local/php/lib/php.ini
打开/usr/local/php/lib/php.ini,修改976和1181行的内容


修改进程服务的配置文件
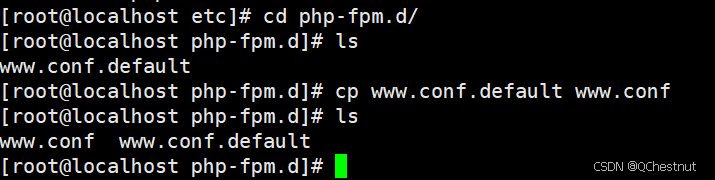
复制php-fpm.conf.default

打开php-fpm.conf,取消17行的注释

调整扩展配置文件
复制<www.conf.default>
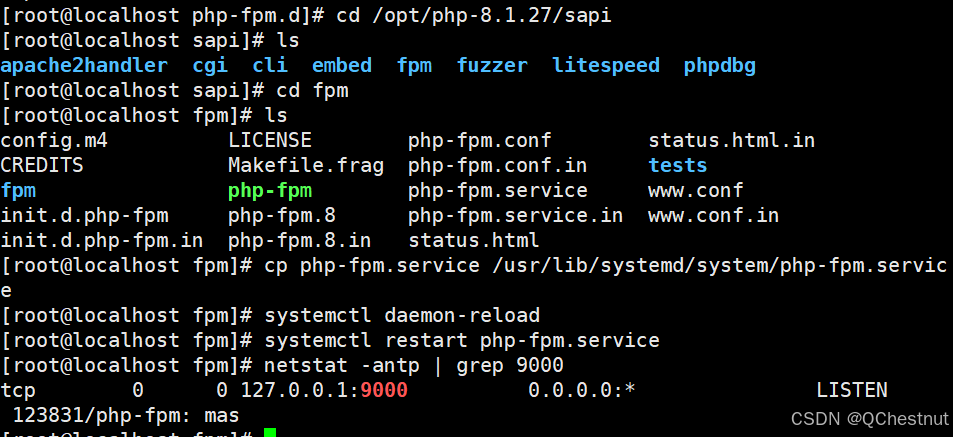
启动php
/usr/local/php/sbin/php-fpm -c
/usr/local/php/lib/php.ini
查看端口号

添加系统配置
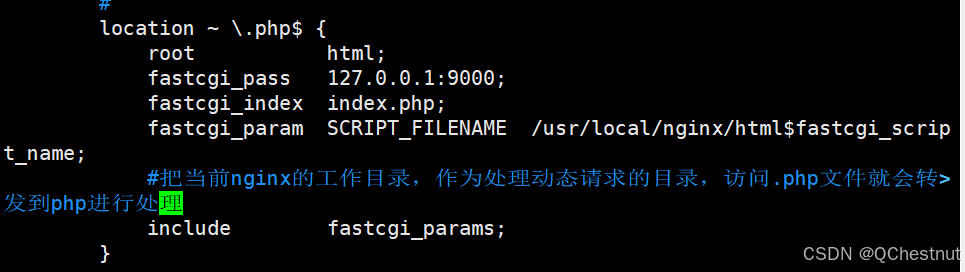
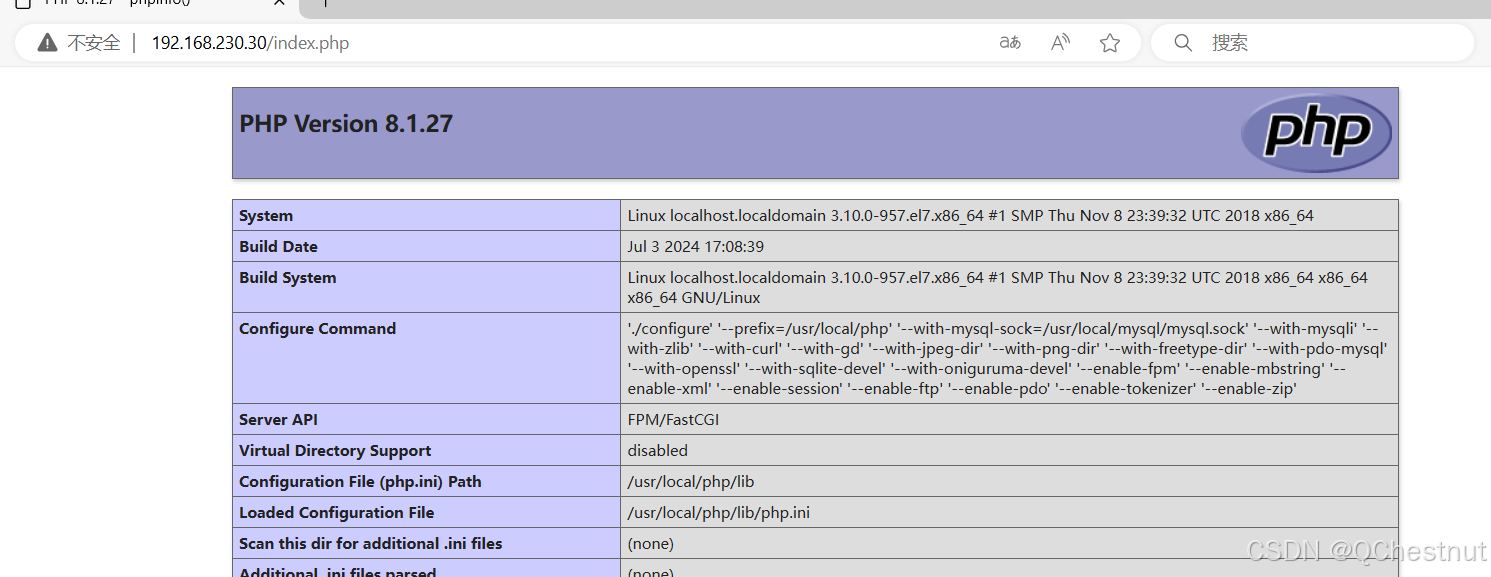
配置nginx的动态转发
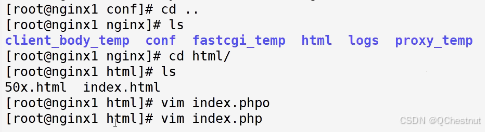
<?php
phpinfo();
?>
浏览器访问成功
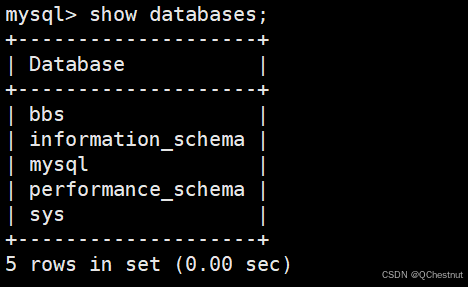
进入数据库,创建专门用来保存论坛信息的用户和库
mysql -u root -p123456
创建库,名为bbs
create database bbs;
创建用户bbsuser,任意地址都可以连接,密码为admin123
create user 'bbsuser'@'%' identified by 'admin123'
赋权,刷新
mysql> grant all privileges on bbs.* to 'bbsuser'@'%';
Query OK, 0 rows affected (0.01 sec)
mysql> flush privileges;
Query OK, 0 rows affected (0.00 sec)
创建本地连接用户
create user 'bbsuser'@'localhost' identified by 'admin123';
赋权,刷新
mysql> grant all privileges on bbs.* to 'bbsuser'@'localhost';
Query OK, 0 rows affected, 1 warning (0.01 sec)
mysql> flush privileges;
Query OK, 0 rows affected (0.00 sec)
指定用户登录

连接数据库成功
7.2安装discuz论坛
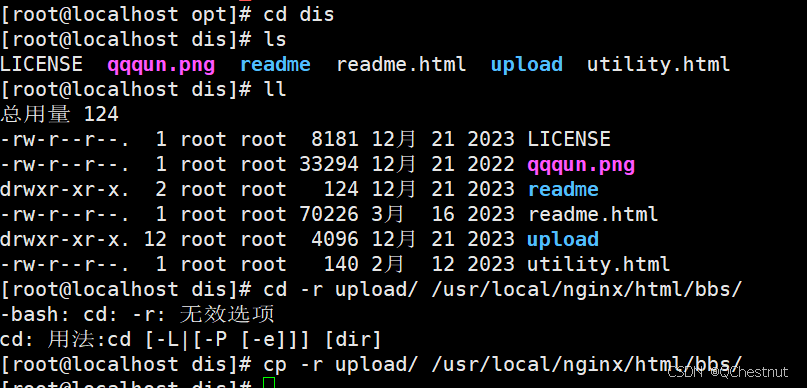
将discuz安装包拖进去,解压
unzip Discuz_X3.5_SC_UTF8.zip -d /opt/dis
复制upload
修改所有者所在组和权限
root@localhost html# chown -R nginx.nginx bbs/
root@localhost html# chmod -R 777 bbs/
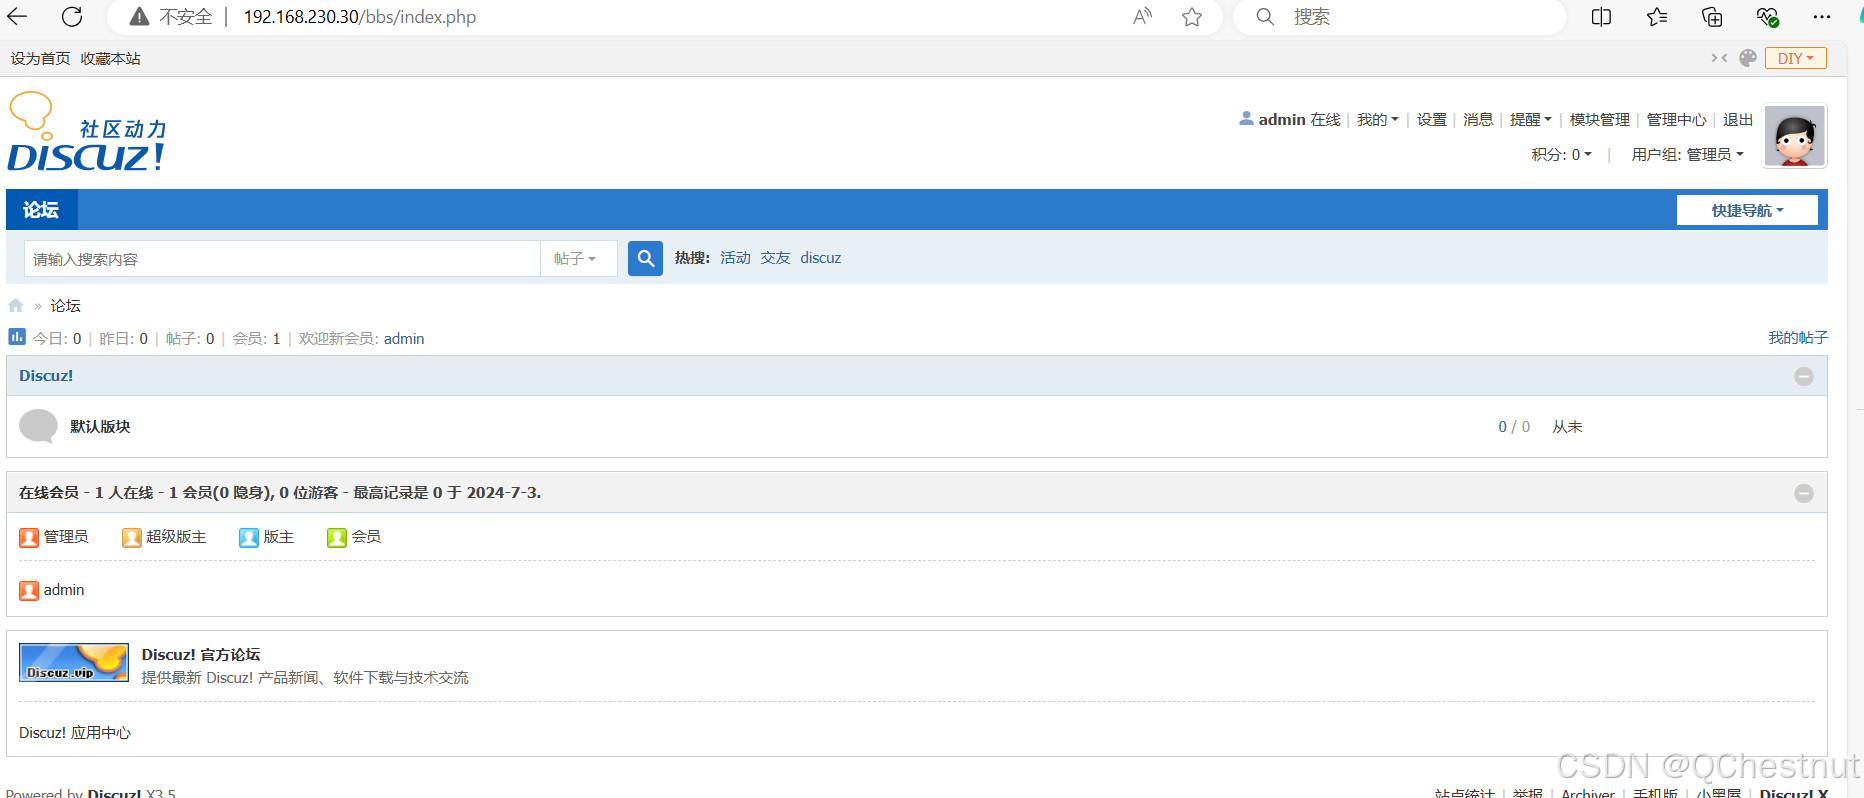
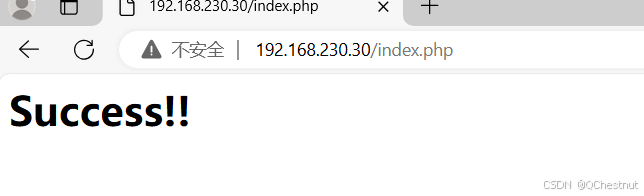
开始访问

 安装成功
安装成功
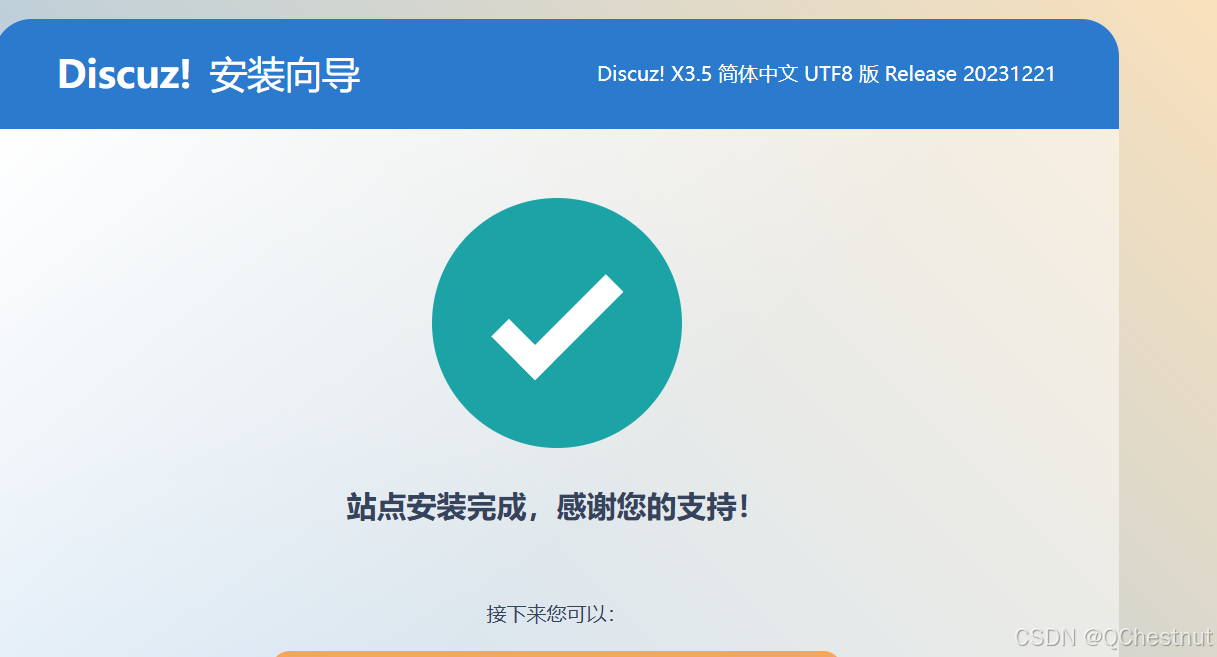
论坛搭建成功