一、报错
1.报错内容如下
在使用 yum makecache 命令时报错,在 yum install -y xxx 的时候报错等等
bash
[root@hcss-ecs-a901 yum.repos.d]# yum makecache
Loaded plugins: fastestmirror
Determining fastest mirrors
Could not retrieve mirrorlist http://mirrorlist.centos.org?arch=x86_64&release=7&repo=sclo-rh error was
14: curl#6 - "Could not resolve host: mirrorlist.centos.org; Unknown error"
One of the configured repositories failed (Unknown),
and yum doesn't have enough cached data to continue. At this point the only
safe thing yum can do is fail. There are a few ways to work "fix" this:
1. Contact the upstream for the repository and get them to fix the problem.
2. Reconfigure the baseurl/etc. for the repository, to point to a working
upstream. This is most often useful if you are using a newer
distribution release than is supported by the repository (and the
packages for the previous distribution release still work).
3. Run the command with the repository temporarily disabled
yum --disablerepo=<repoid> ...
4. Disable the repository permanently, so yum won't use it by default. Yum
will then just ignore the repository until you permanently enable it
again or use --enablerepo for temporary usage:
yum-config-manager --disable <repoid>
or
subscription-manager repos --disable=<repoid>
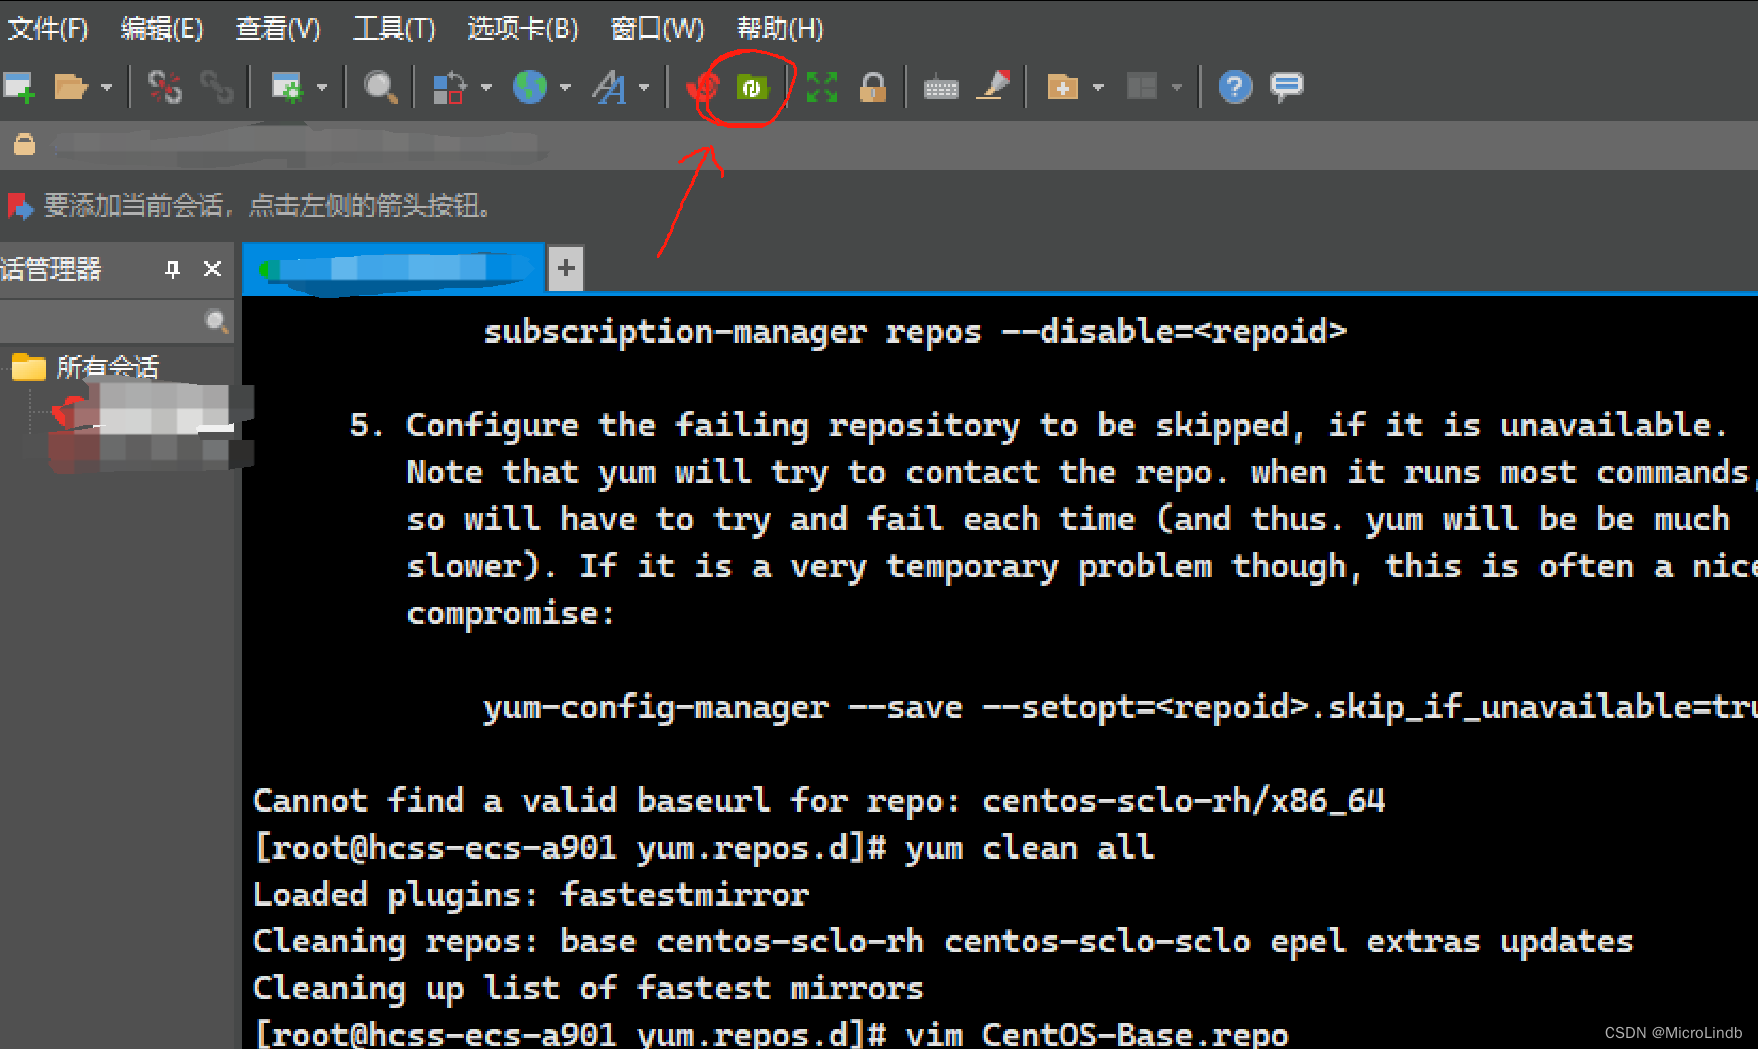
5. Configure the failing repository to be skipped, if it is unavailable.
Note that yum will try to contact the repo. when it runs most commands,
so will have to try and fail each time (and thus. yum will be be much
slower). If it is a very temporary problem though, this is often a nice
compromise:
yum-config-manager --save --setopt=<repoid>.skip_if_unavailable=true
Cannot find a valid baseurl for repo: centos-sclo-rh/x86_642.原因分析
我们的服务器没法访问外面的网络,所以我们需要配置镜像源
二、解决
1.进入目录
先进入目录 /etc/yum.repos.d
bash
cd /etc/yum.repos.d2.打开 xftp
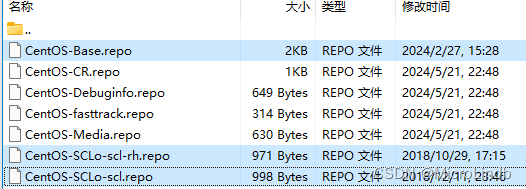
3.备份文件
备份这三个文件就行了
(注意!!很多人只有 CentOS-Base.repo 文件,没有后两个,这也没问题,有几个备份几个,不用额外创建!)
4.编辑 CentOS-Base.repo 文件(必选)
!!! 警告,在编辑文件的时候,你肯定是复制黏贴下面的内容的。但是,vim 编辑器会有个黏贴反应时间,所以大概率你在黏贴了内容之后,最开头的内容会缺少 1-5 个字符,你需要手动补全,下面的编辑也是一样 !!!
编辑 CentOS-Base.repo 文件:
bash
vi /etc/yum.repos.d/CentOS-Base.repo替换内容为:
bash
[base]
name=CentOS-$releasever - Base
baseurl=https://mirrors.aliyun.com/centos/$releasever/os/$basearch/
gpgcheck=1
gpgkey=https://mirrors.aliyun.com/centos/RPM-GPG-KEY-CentOS-7

[updates]
name=CentOS-$releasever - Updates
baseurl=https://mirrors.aliyun.com/centos/$releasever/updates/$basearch/
gpgcheck=1
gpgkey=https://mirrors.aliyun.com/centos/RPM-GPG-KEY-CentOS-7

[extras]
name=CentOS-$releasever - Extras
baseurl=https://mirrors.aliyun.com/centos/$releasever/extras/$basearch/
gpgcheck=1
gpgkey=https://mirrors.aliyun.com/centos/RPM-GPG-KEY-CentOS-7

[centosplus]
name=CentOS-$releasever - Plus
baseurl=https://mirrors.aliyun.com/centos/$releasever/centosplus/$basearch/
gpgcheck=1
enabled=0
gpgkey=https://mirrors.aliyun.com/centos/RPM-GPG-KEY-CentOS-7
5.编辑 CentOS-SCLo-scl-rh.repo 文件(如果没有这个文件,不用管)
编辑 CentOS-SCLo-scl-rh.repo 文件:
bash
vi /etc/yum.repos.d/CentOS-SCLo-scl-rh.repo替换内容为:
bash
[centos-sclo-rh]
name=CentOS-$releasever - SCLo rh
baseurl=https://mirrors.aliyun.com/centos/$releasever/sclo/$basearch/rh/
gpgcheck=1
enabled=1
gpgkey=https://mirrors.aliyun.com/centos/RPM-GPG-KEY-CentOS-7
6.编辑 CentOS-SCLo-scl.repo 文件(如果没有这个文件,不用管)
编辑 CentOS-SCLo-scl.repo 文件:
bash
vi /etc/yum.repos.d/CentOS-SCLo-scl.repo替换内容为:
bash
[centos-sclo-sclo]
name=CentOS-$releasever - SCLo sclo
baseurl=https://mirrors.aliyun.com/centos/$releasever/sclo/$basearch/sclo/
gpgcheck=1
enabled=1
gpgkey=https://mirrors.aliyun.com/centos/RPM-GPG-KEY-CentOS-7
7.清理 yum 缓存
bash
yum clean all6.重新生成 yum 缓存
bash
yum makecache请注意!如果在你之后的 yum install 过程中发生了 GPGKEY 报错,请参考这篇博客:
请注意!如果在你之后的 yum install 过程中发生了 GPGKEY 报错,请参考这篇博客:
请注意!如果在你之后的 yum install 过程中发生了 GPGKEY 报错,请参考这篇博客:
https://blog.csdn.net/qq_43768851/article/details/140113001?spm=1001.2014.3001.5501
三、结果
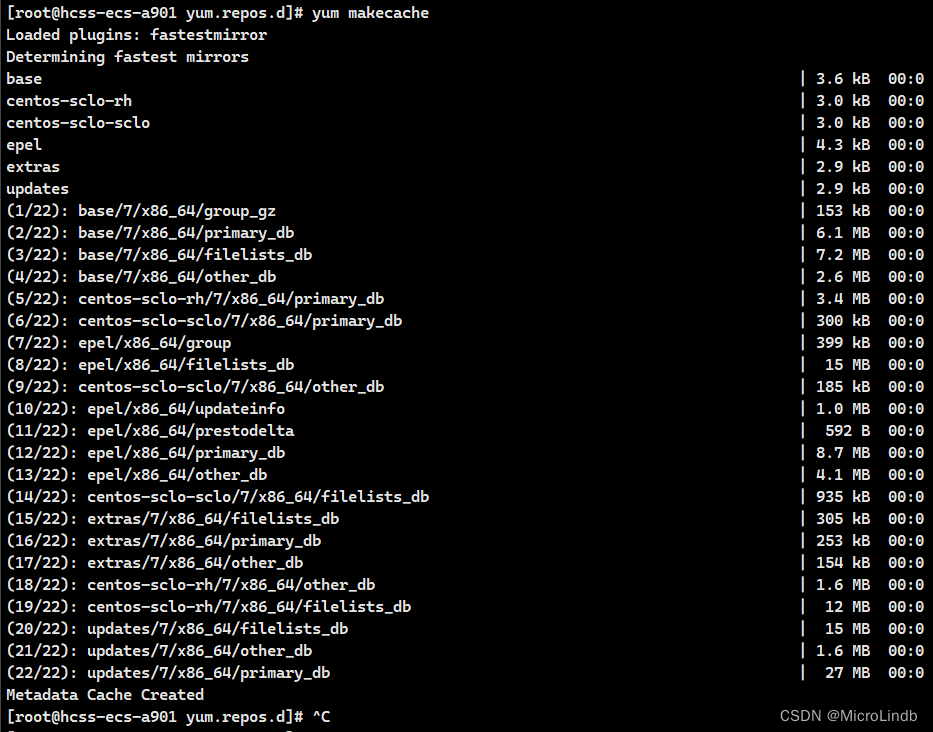
1.再次 yum makecache 的结果如下
圆满成功