我们在日常的工作过程中经常会遇到,家里和公司资料文件同步的问题,以及项目开发过程中的协作问题。Git就完美的解决了这些问题,但是由于 Git国外服务器的原因平时网络太慢了,不过还好有国内的托管平台Gitee(码云)可以供我们使用及学习。废话不多说,我们开始进入教程的正题。
一、准备:
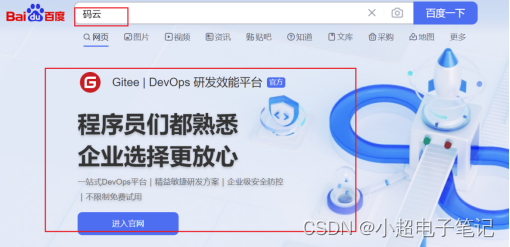
1、 注册gitee账号
搜索码云,或者直接输入官网进入注册。(注册时最好用邮箱注册,不是邮箱注册的要在设置里添加自己的邮箱)

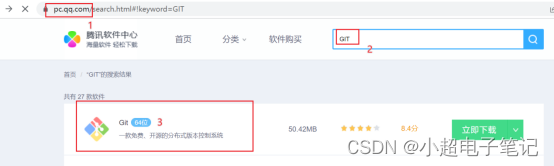
2、安装Git,可以直接进入官网下载Git,如果感觉下载的太慢可以进入下图所示网址搜索下载。下载好之后直接安装就行。
二、创建版本库
版本库作用:存放你的项目,项目的删除更改,版本库都能够监控。
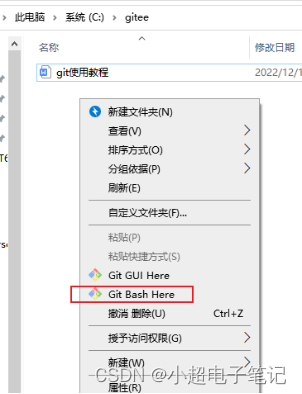
1、找到一个磁盘目录,并创建一个文件夹(不要包含中文路径)
2、右键选择Git Bash Here(打开Git终端)
3、打开之后输入初始化命令git init (此命令可以对文件夹进行版本库的初始化)
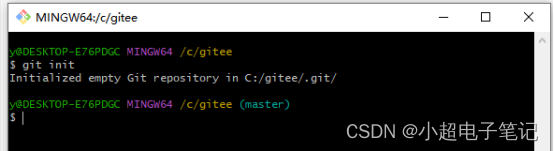
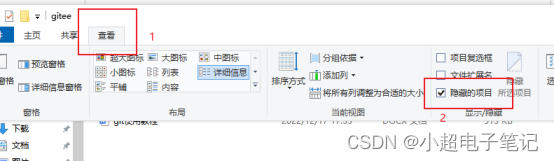
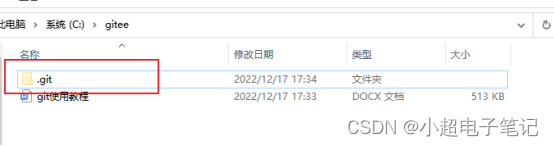
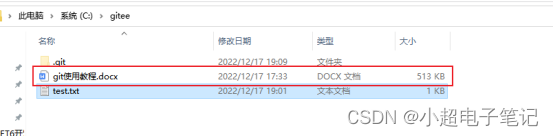
4 、这个时候文件夹里会多出一个.git文件,这个不要删除他的作用是用来记录项目改动的。(如果没有点击查看勾选上隐藏项目就可以看到了)
5、接下来需要我们做个基础配置,这个配置的目的是告诉Git你是谁,需要使用两条命令。第一条:git config --global user.name "你的名字或昵称" 第二条:git config --global user.email "你的邮箱"。

6、Git的使用可以分为两种,第一种是本地文件的版本管理,第二种是连接远程版本库,比如我们在GItee上创建的版本库(可以实现不同电脑直接的项目文件管理,以及不同人直接的协作)邮箱。
三、本地版本管理
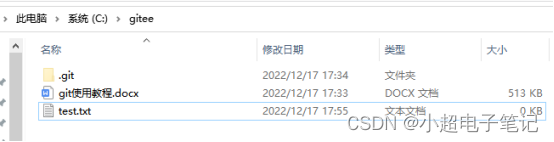
1、先我们先实现本地的版本管理,为了验证我们的版本库保存问题,先建一个测试文件(我命名的叫test.txt)
2、创建好之后打开Git Bash Here输入git add test.txt并回车(test.txt是你需要管理的文件)。

3、这里已经添加了文件,但是还没有提交,需要使用git commit -m "注释说明"命令进行提交,需要注意-m后面跟的是说明,就是你用来备注你上传的版本信息,便于你自己查看使用。
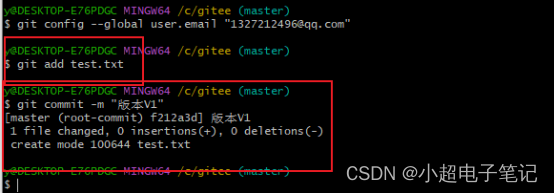
4、1 file changed表示1个文件,0 insertions 和0deletions表示0增加0删除。
5、我们对test.txt的文件内容进行修改然后再提交测试下。
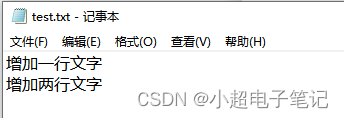
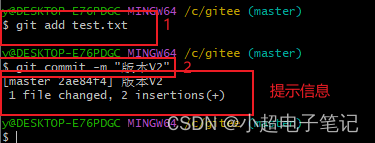
6、可以看到上面的步骤中提示信息,1 file changed(一个文件),2 insertions(+)(两行增加,因为我们在文件中增加了两行内容)。
7、这个时候我们基本的版本存储就会使用了,那么我们再验证几个常用的指令,第一个:git status(查询当前的项目状态)。
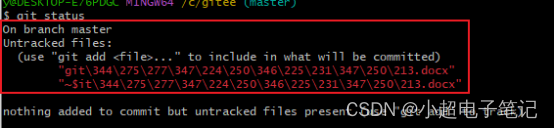
8、这里可以看到提示还有个.docx的文件没有添加,因为我的文件夹中有个word文档。这里正好我们使用另外一个命令git add .(全部添加命令),添加它。
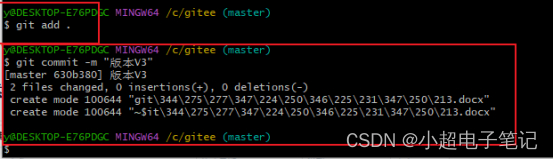
9、可以看到提示信息 2 files changed 表示两个文件。
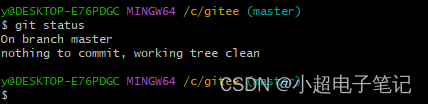
10、现在再使用git status命令,可以看到提示没有需要添加的了。
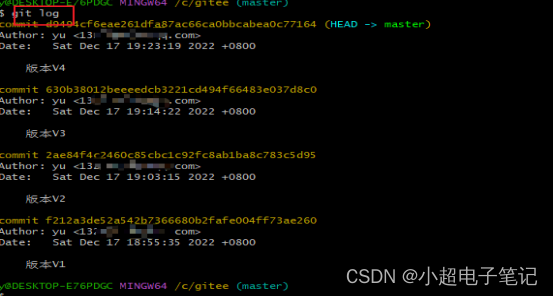
11、这里我们再使用 git log ,查看具体文件提交的版本信息。可以看到我一共提交了4个版本,都是我进行了文档的修改工作(文档里提交了前三个,我自己又提交了一次耍耍哈哈哈)。Commit是hash值,这里的hash叫做指纹,基本上2不会重复。Author表示提交的人信息Date表示修改的时间。
12、查看了版本信息,我们想回到已经的版本,需要使用git reser --hard id 命令(这里的id包含在每个版本的hash里)。执行完,查看本地文件可以看到已经回退了。

13、到这里本地的版本管理就结束了,后面我们进行远程的管理,这里我们使用了前面注册的gitee。下图为上文使用的git命令整理。
|---------------------------------------------------------------------------|--------------------------|
| 命令 | 功能 |
| git init | 初始化目录为项目库 |
| git config --global user.name " 你的名字或昵称 " | 基本配置时用到 |
| git config --global user.email " 你的邮箱 " | 基本配置时用到 |
| git add(rm) 文件名 | add添加文件到暂存区rm为删除 |
| git commit -m "信息" | 提交暂存区文件 |
| git log | 查看信息 |
| git add . | 添加项目中全部文件到暂存区 |
| git reset --hard id | 版本回退 |
| git diff | 查看比对文件 |
四、远程库
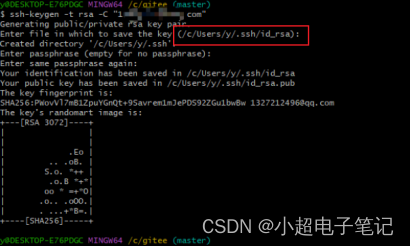
1、下面我们开始,远程库的连接使用,使用ssh--keygen -t rsa -C "你的邮箱地址",生成密钥(用于连接gitee使用,让你的gitee账户认识你),输入玩指令之后一路回车就可以了,中间的是密码什么的咱们也不需要。
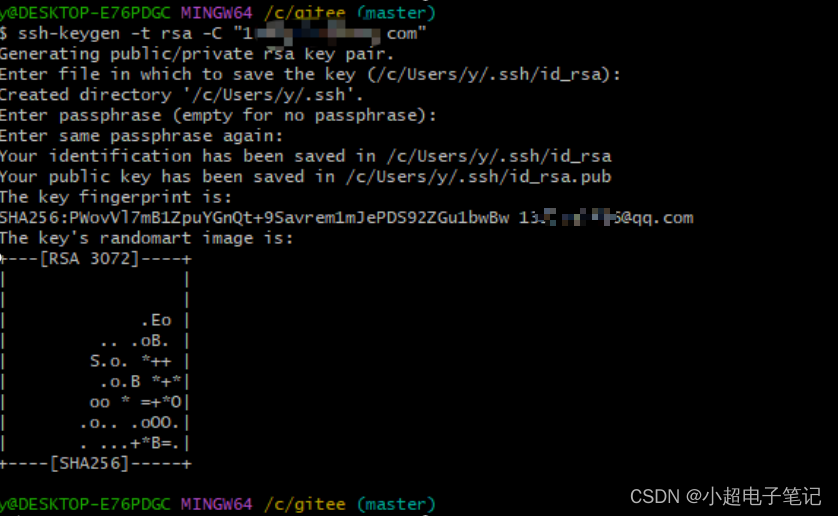
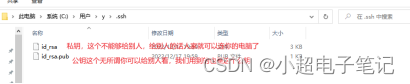
2、这时候已经生成了两个密钥文件,存在了下图我框选的位置。
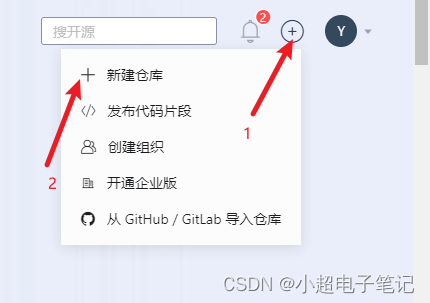
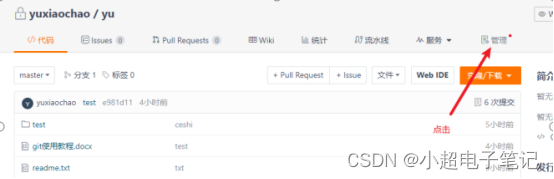
3、这个时候我们需要在gitee上创建个库,这个库就是我们需要远程访问存储文件的地方。

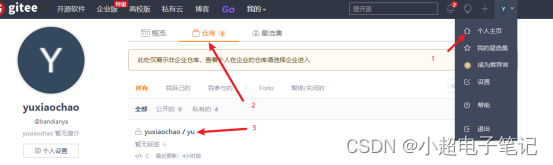
4、创建好之后就可以找到我们的仓库然后将之前生成的公钥添加了。


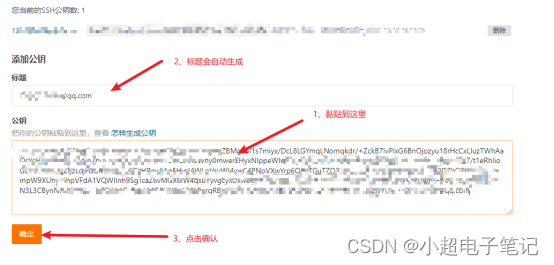
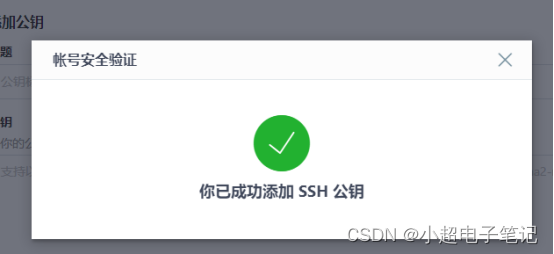
5、这里我们的公钥就添加完成了,接下来复制上远程库的ssh。
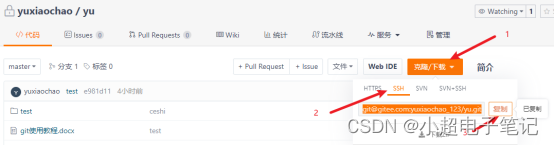
6、下面我们接着进行本地与远程库关联。打开Git Bash Here(注意在自己的项目文件夹里右键打开),使用 git remote add origin "你的SSH" ,这里的origin是github的默认名字,我们可以自己定义个名字使用,名字后面跟着的是我们上面复制的SSH。

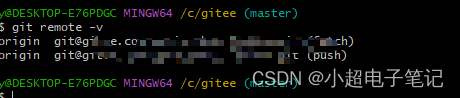
7、可以使用git remote -v 命令验证是否关联成功。(可以看到我们已经关联成功了)。
8、之后我们可以使用git push -u origin master (origin为自己前面设置的名字),提交本地内容到远程库了。
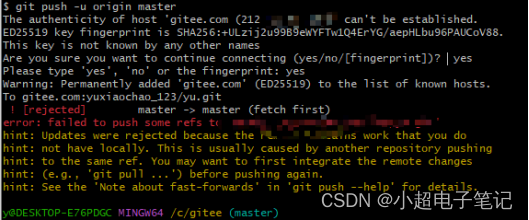
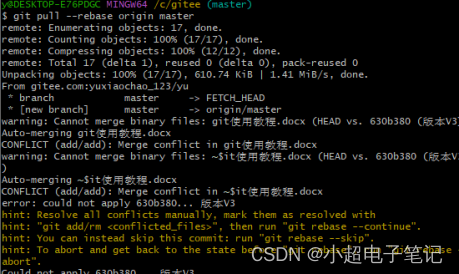
9、如果和我一样提示这样的错误,是因为远程库包含了本地没有的文件,这里两种方法第一种:使用git push -f origin master 这里就强行本地覆盖远程了,远程里多的东西也就被删除了。第二种:这种比较安全,使用git pull --rebase origin master,这个命令是将远程库的文件拉取到本地合并,这也是我们平时需要保存远程库到本地的方法,我们使用一下。
10、再次使用git push -u origin master之后可以看到远程库里有我们的文件了 。

11、这里我们的文章就到此结束了,主要提交不到远程库时记得使用git add 和git commit -m 本地提交完成后再使用git push -u origin master 。