一、私服仓库简介
在Java的世界中,我们通常使用Maven的依赖体系来管理构件(artifact,又称为二方库或三方库)的依赖,Maven仓库用于存储这些构件。一般的远程仓库(比如Maven Central)只提供下载功能,而我们想要管理自己的私有二方库,就只能搭建Maven私服。常用的Maven私服软件有Nexus和Artifactory等。
Nexus是一个强大的Maven仓库管理器,它极大地简化了自己内部仓库的维护和外部仓库的访问。利用Nexus你可以只在一个地方就能够完全控制访问和部署在你所维护仓库中的每个Artifact。Nexus是一套"开箱即用"的系统不需要数据库,它使用文件系统加Lucene来组织数据。
Maven私服应用场景:
1)缓存企业级jar;
2)微服务开发中,对微服务接口实现发布与调用;
3)正常在微服务开发中不会直接引用接口源码项目,一般是引用接口jar包进行调用;
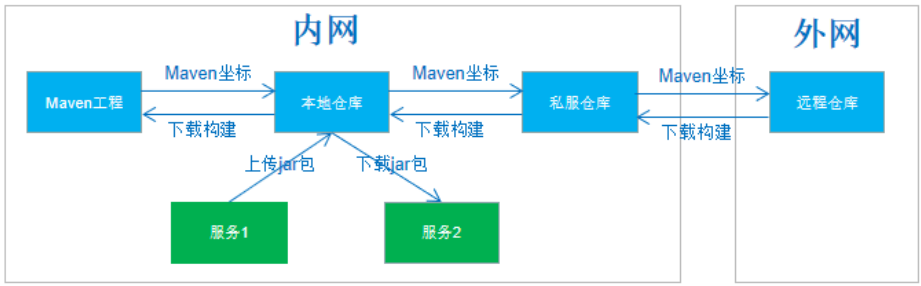
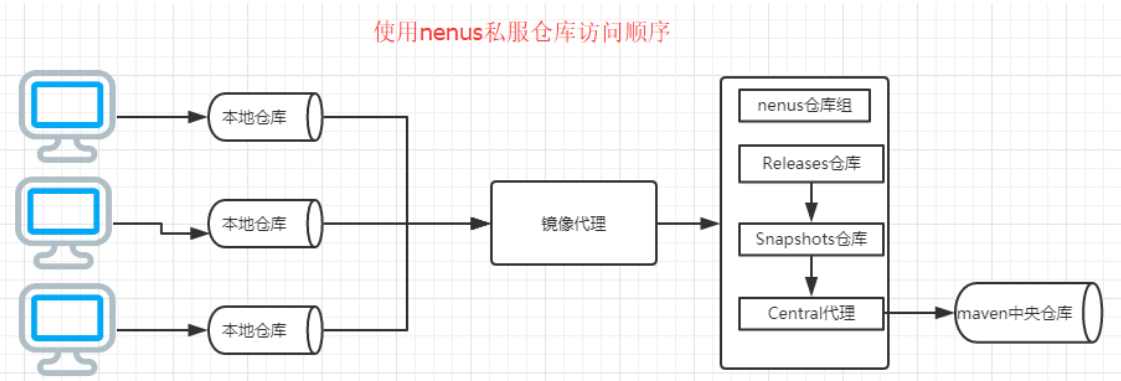
在微服务架构中采用的是分布式开发模式,生产者将服务接口发布到Maven私服仓库上,消费者 直接从Maven私服仓库中下载对应的服务接口即可,实现微服务中的消费者与生产者的通讯。
为什么使用:
1)节省外网带宽。 2)加速Maven构建。 3)部署第三方构件。
4)提高稳定性,增强控制。 5)降低中央仓库的负荷。 6)控制和审计。
7)建立本地内部公用仓库。
二、在Windows上安装Nexus
1、下载Nexus ,这里用 nexus-3.21.1-01-win64版本。
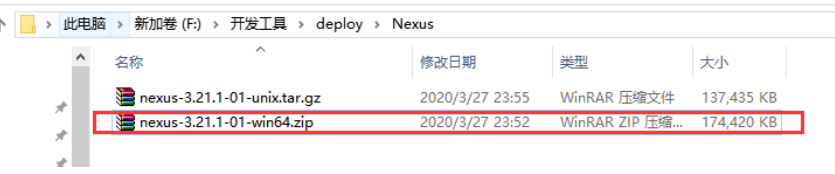
2、将压缩包解压,会得到两个文件,一个是安装目录一个Work工作目录
注意:解压文件所在的目录不能有中文,不然等会在安装的时候有可能会出现文件找不到的情况。

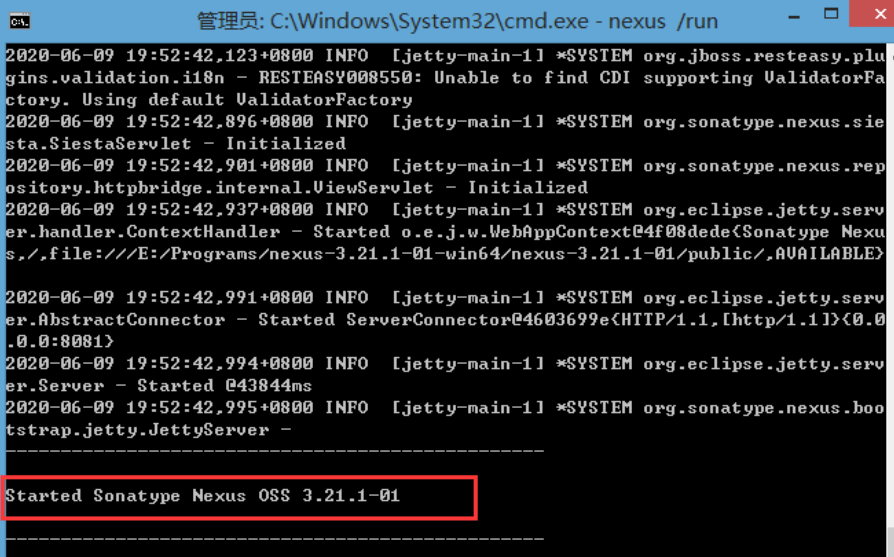
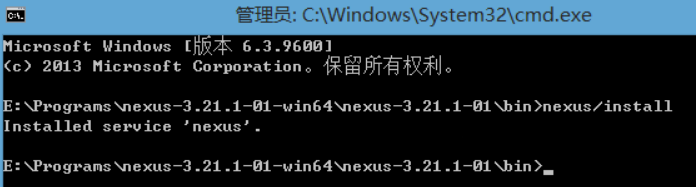
3、安装分两种方式:一种是直接命令行启动,一种是服务启动,第一种方式的不足就是服务器重启后就关闭了,所以还是推荐第二种: 进入\nexus-3.21.1-01-win64\nexus-3.21.1-01\bin,输入命令nexus.exe/run 或nexus.exe/install,前者是命令行式启动,后者是安装Nexus服务。
通过 nexus.exe/run 启动,需要加载一段时间,请耐心等待,当出现以下界面时说明已经启动成功了。
注意:这里推荐还是使用管理员身份打开命令行工具,避免出现权限不足的情况。
nexus /run

4、通过nexus.exe/install 注册服务,出现以下命令说明安装服务成功了,并且打开服务管理界面,可以看到一个名为nexus的服务,点击启动 或 使用 nexus /start启动:
nexus /install
nexus /start

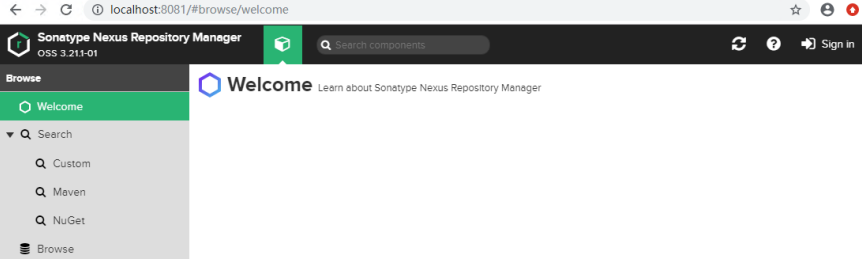
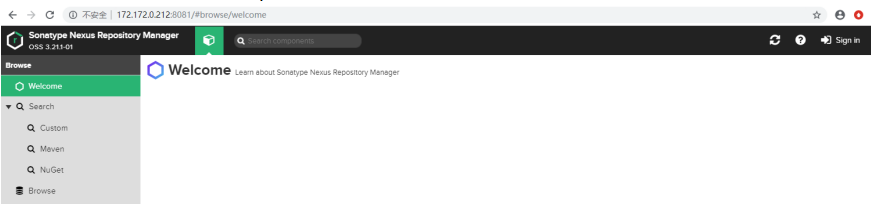
5、打开Nexus,确认启动后在浏览器中打开 http://localhost:8081,由于服务启动后还需要2-3分钟的时间才能访问,所以如果出现浏览器访问失败的情况不要急,等等就好了,正常打开后就是下面这个界面:
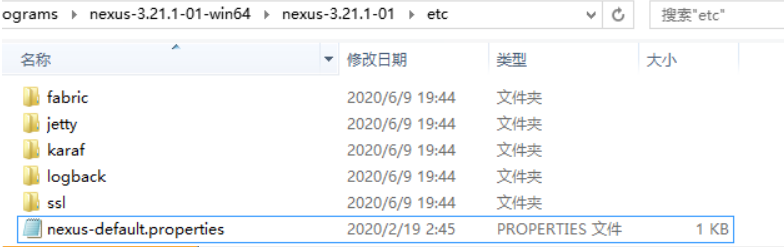
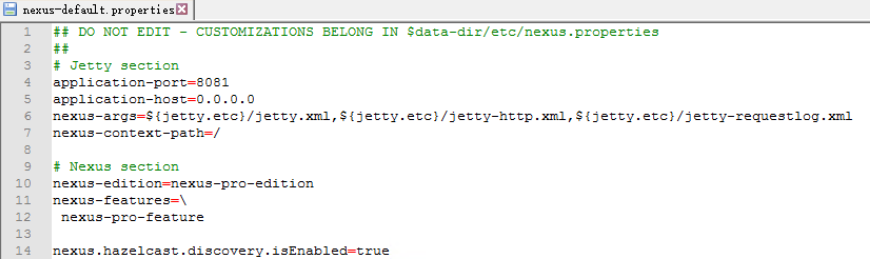
6、修改默认端口
Nexus的默认端口为8081,想修改默认端口可打开nexus-3.21.1-01\etc目录下的nexus-default.properties文件,修改为想要的端口号即可。
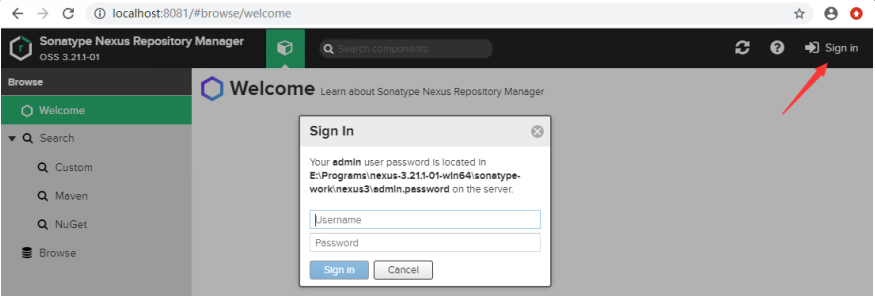
7、登录Nexus
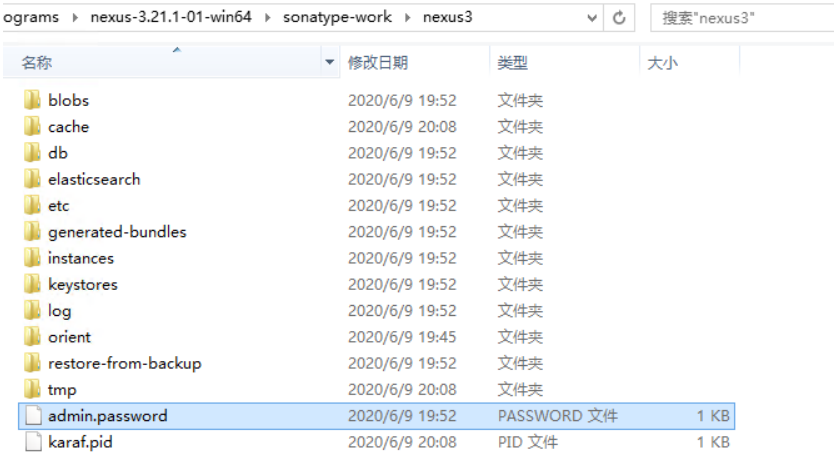
点击右上角Sign in登录按钮,输入用户密码,默认用户名:admin,默认密码:3.17以下的版本默认密码为 admin123,而3.17以上版本的密码则是存放在目录sonatype-work\nexus3下的admin.password文件里。

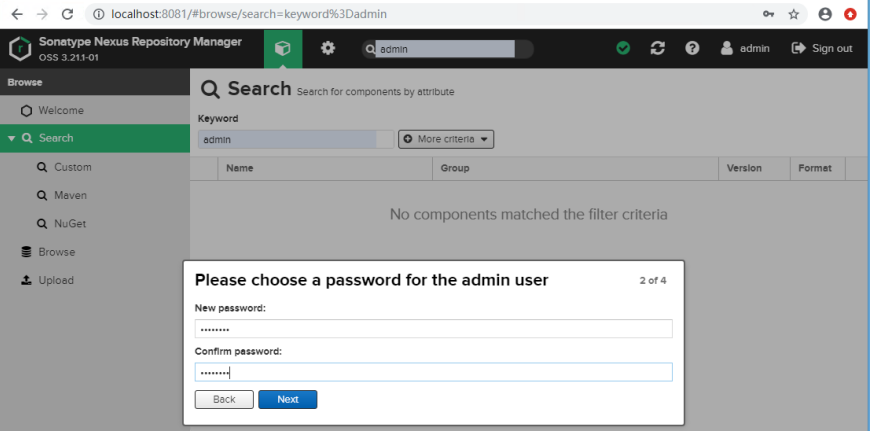
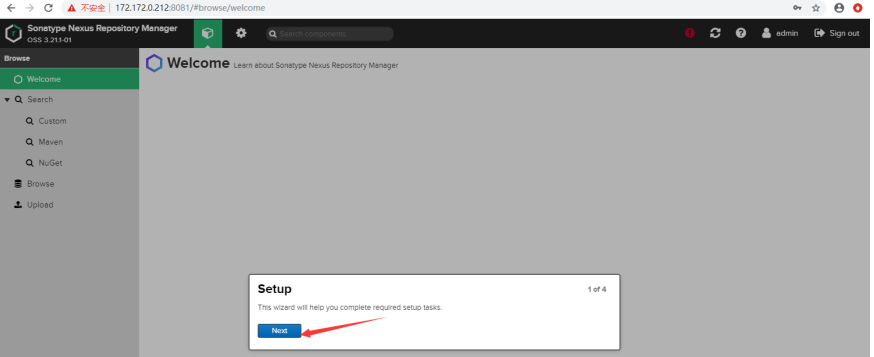
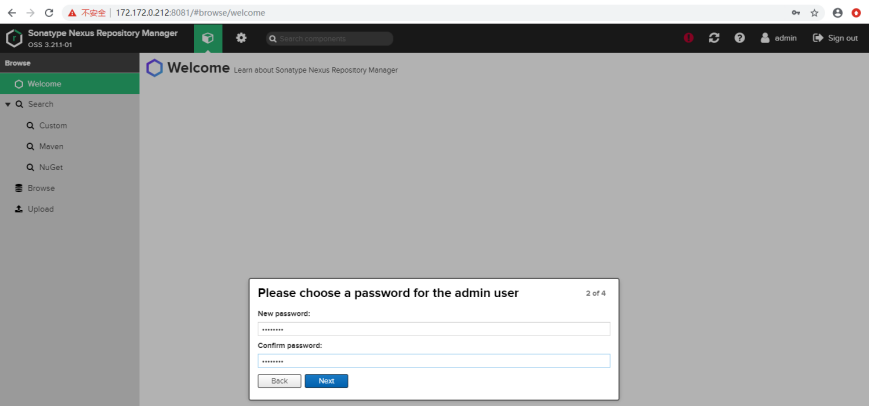
8、修改密码以及允许匿名访问
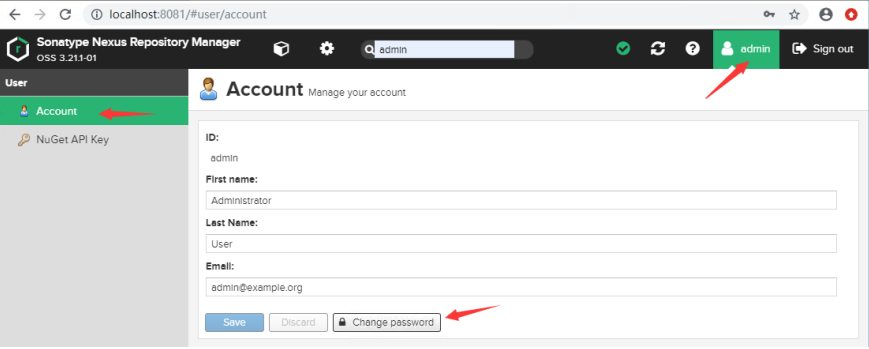
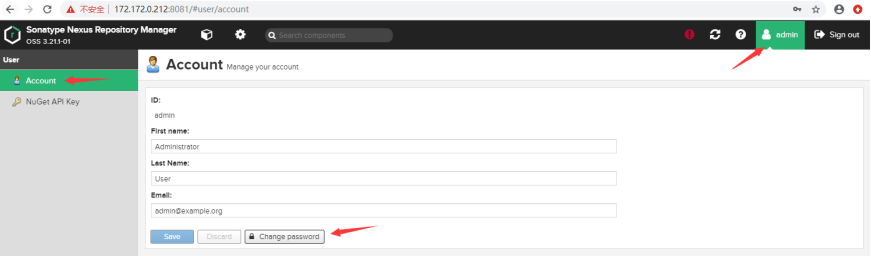
首次登录会提示你修改密码以及是否允许匿名访问,根据自身情况去设置即可。当你修改完密码后admin.password文件就会自动删除;允许匿名访问建议先勾上,因为创建nuget私库就需要匿名访问。后期如果需要修改密码,也可以点击右上角登录名,Account->Change password。

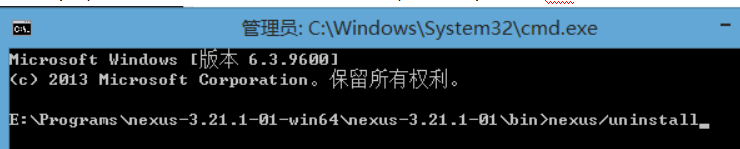
9、卸载Nexus
打开命令行,切换到安装目录nexus-3.21.1-01\bin,输入命令 nexus.exe/uninstall 即可。
三、在Linux上安装Nexus
这里使用的是CentOS7
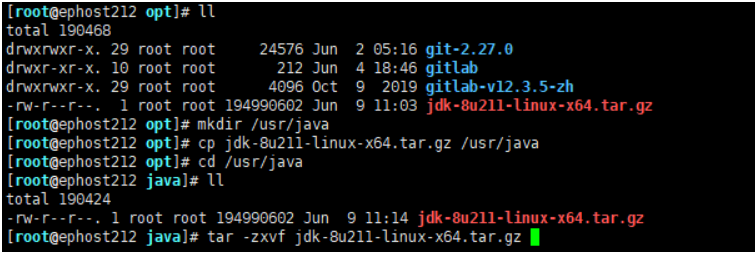
1、安装JDK(如果已安装,无需再安装)
jdk下载地址:Java Downloads | Oracle
cd /opt/
mkdir /usr/java
cp jdk-8u211-linux-x64.tar.gz /usr/java
cd /usr/java
tar -zxvf jdk-8u211-linux-x64.tar.gz
配置JDK环境变量
vim /etc/profile #编辑配置文件
在文件末尾加上:
export JAVA_HOME=/usr/java/jdk1.8.0_211
export PATH=JAVA_HOME/bin:PATH
source /etc/profile #重新加载
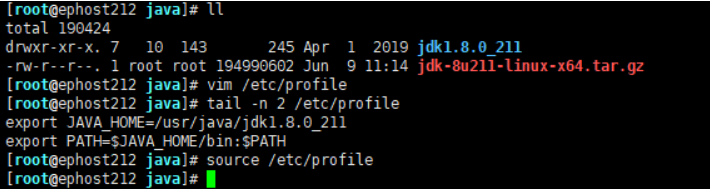
检查是否安装成功:
java -version #查看安装的jdk版本

2、 安装Nexus
1)拷贝Nexus:
cd /opt/
mkdir /usr/local/nexus
cp nexus-3.21.1-01-unix.tar.gz /usr/local/nexus
cd /usr/local/nexus
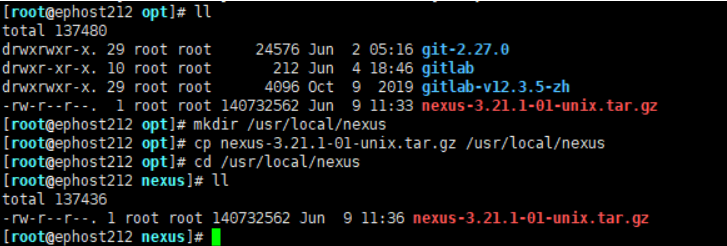
2)解压Nexus:
tar -zxvf nexus-3.21.1-01-unix.tar.gz #解压

解压之后就会看到两个目录:
nexus-3.21.3-01里面是nexus的运行环境和应用程序。
sonatype-work里面是我们后面要对nexus进行一些配置的地方,像索引和起始的仓库和端口等都可以在这里面配置。
rm -f nexus-3.21.1-01-unix.tar.gz #删除压缩包

3)添加环境变量:
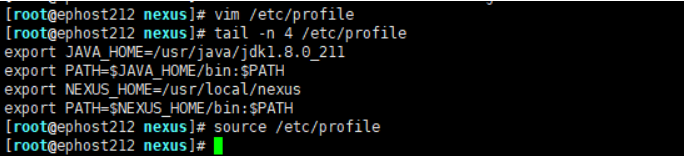
vim /etc/profile #编辑配置文件
在文件末尾加上:
export NEXUS_HOME=/usr/local/nexus
export PATH=NEXUS_HOME/bin:PATH
source /etc/profile #重新加载
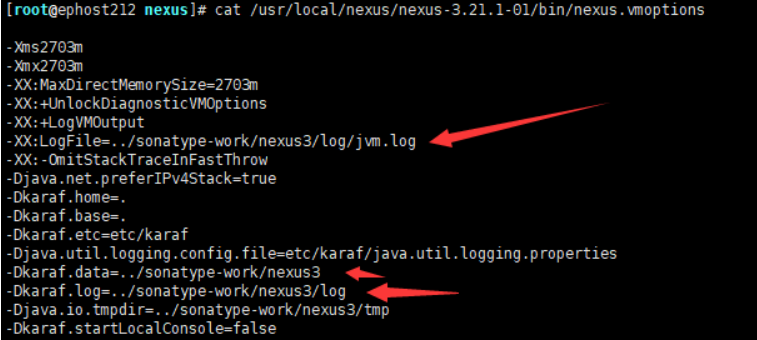
4)日志存放:
nexus启动时,会产生日志和临时文件等,默认情况下会放在与Nexus安装目录同级文件夹sonatype-work中(第一次启动会自动生成)。
cat /usr/local/nexus-3.21.1-01/bin/nexus.vmoptions
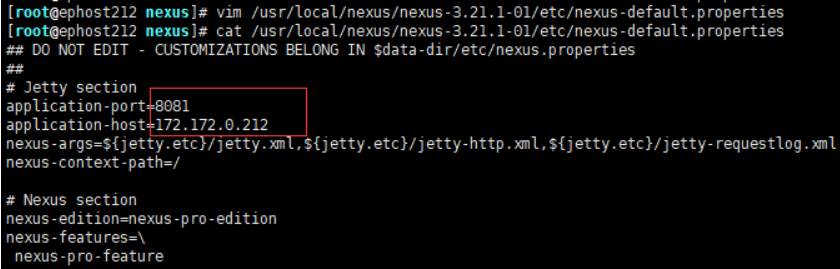
5)编辑nexus.properties,可以修改 端口号、host地址等:
vim /usr/local/nexus/nexus-3.21.1-01/etc/nexus-default.properties
Jetty section
application-port=8081
application-host=172.172.0.212
nexus-args={jetty.etc}/jetty.xml,{jetty.etc}/jetty-http.xml,${jetty.etc}/jetty-requestlog.xml
nexus-context-path=/ #页面访问路径,访问时直接输入172.172.0.212:8081即可
Nexus section
nexus-edition=nexus-pro-edition
nexus-features=\
nexus-pro-feature
nexus.hazelcast.discovery.isEnabled=true
修改ulimit:
vim /etc/security/limits.conf
新增:
* soft nofile 65536
* hard nofile 65536

6)添加https访问的形式涉及到端口设置,假如准备设置8082为https端口,那么需要修改两个地方(这一步有问题):
1)新增application-port-ssl=8082
2)在nexus-args属性上追加 ,${jetty.etc}/jetty-https.xml

如果需要将http导向https访问,则追加jetty-http-redirect-to-https.xml至nexus-args。
7)开放端口:
firewall-cmd --query-port= 8081 /tcp #查看8081是否开放
firewall-cmd --query-port= 8082 /tcp #查看8082是否开放

firewall-cmd --add-port= 8081 /tcp --permanent
firewall-cmd --add-port= 8082 /tcp --permanent
或
firewall-cmd --zone=public --add-port=8081/tcp --permanent
firewall-cmd --zone=public --add-port=8082/tcp --permanent


firewall-cmd --reload #重启防火墙
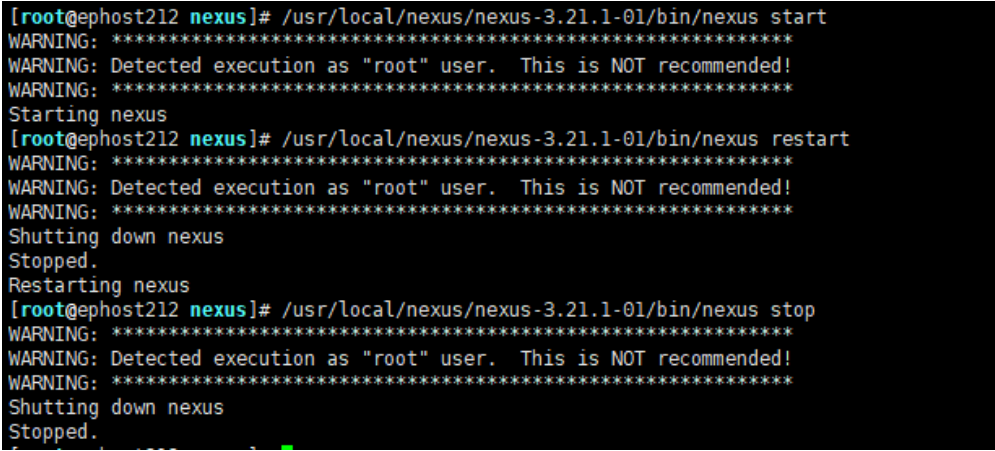
8)启动Nexus:
/usr/local/nexus/nexus-3.21.1-01/bin/nexus start #启动
/usr/local/nexus/nexus-3.21.1-01/bin/nexus restart #重启
/usr/local/nexus/nexus-3.21.1-01/bin/nexus stop #停止
lsof -i:80 81 #查看8081是否已经被占用

9)开机启动设置
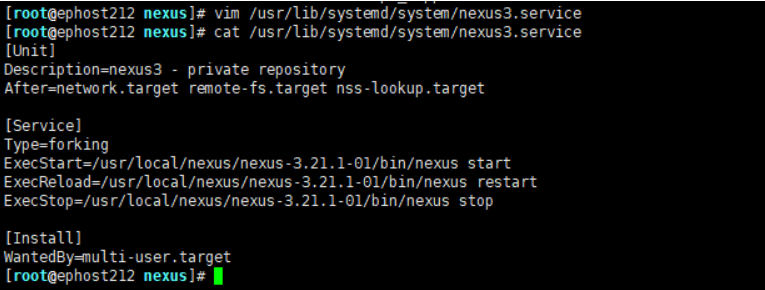
vim /usr/lib/systemd/system/nexus3.service
Unit
Description=nexus3 - private repository
After=network.target remote-fs.target nss-lookup.target
Service
Type=forking
ExecStart=/usr/local/nexus/nexus-3.21.1-01/bin/nexus start
ExecReload=/usr/local/nexus/nexus-3.21.1-01/bin/nexus restart
ExecStop=/usr/local/nexus/nexus-3.21.1-01/bin/nexus stop
Install
WantedBy=multi-user.target
使用ll /usr/lib/systemd/system/nexus3.service 查看操作权限:

需要以754的权限保存在目录:
chmod 754 /usr/lib/systemd/system/nexus3.service

此时使用systemctl enable nexus3使配置生效即可。

以后就可以直接使用以下命令操作了:
systemctl start nexus3.service #启动nexus3
systemctl stop nexus3.service #停止nexus3
systemctl restart nexus3.service #重启nexus3

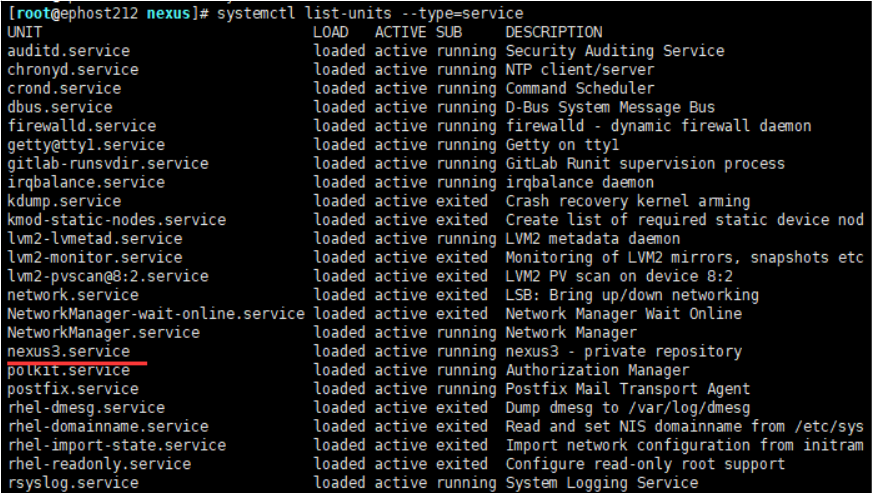
查看所有已启动的服务systemctl list -units --type=service
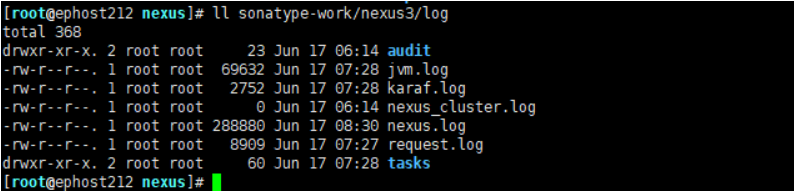
10)访问 http://172.172.0.212:8081/nexus是否可以进入导nexus管理界面,如果无法访问,可以查看日志:
ll /usr/local/nexus/sonatype-work/nexus3/log
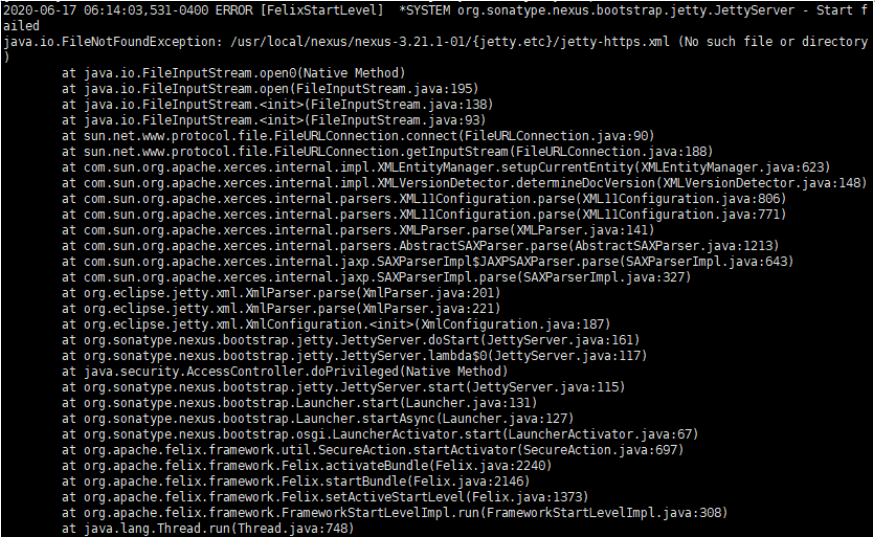

这个报错是由于 没有找到 ,${jetty.etc}/jetty-https.xml导致的。
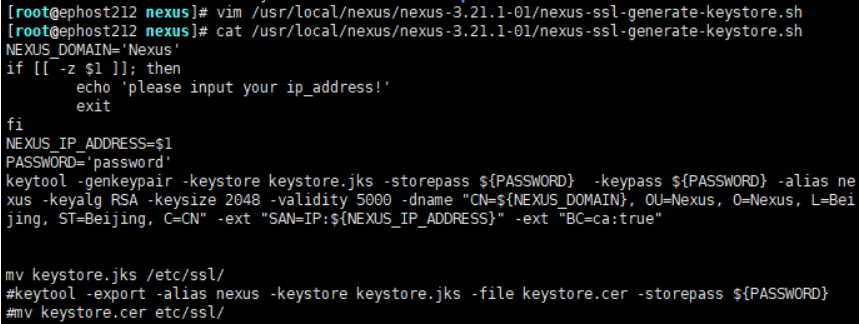
11)以上报错是因为还缺keystore.jks的配置,我们使用脚本生成,其中涉及keytool工具使用,因此先保证keytool可以正常使用:
vim /usr/local/nexus/nexus-3.21.1-01/nexus-ssl-generate-keystore.sh
NEXUS_DOMAIN='Nexus'
if \[ -z $1 ]; then
echo 'please input your ip_address!'
exit
fi
NEXUS_IP_ADDRESS=$1
PASSWORD='password'
keytool -genkeypair -keystore keystore.jks -storepass {PASSWORD} -keypass {PASSWORD} -alias nexus -keyalg RSA -keysize 2048 -validity 5000 -dname "CN={NEXUS_DOMAIN}, OU=Nexus, O=Nexus, L=Beijing, ST=Beijing, C=CN" -ext "SAN=IP:{NEXUS_IP_ADDRESS}" -ext "BC=ca:true"
mv keystore.jks /etc/ssl/
#keytool -export -alias nexus -keystore keystore.jks -file keystore.cer -storepass ${PASSWORD}
#mv keystore.cer etc/ssl/
变量解释:
CN=名字与姓氏,OU=组织单位名称,O=组织名称,L=城市或区域名称,ST=州或省份名称,C=两字母国家代码
NEXUS_DOMAIN 是你的nexus 访问域名 这里不能输入IP 不然会报错
NEXUS_IP 是你的nexues 访问IP
storepass && keypass 对应了 ${jetty.etc}/jetty-https.xml 文件里的 KeyStorePassword KeyManagerPassword TrustStorePassword的value值
生成keystore:
chmod +x /usr/local/nexus/nexus-3.21.1-01/nexus-ssl-generate-keystore.sh
/usr/local/nexus/nexus-3.21.1-01/nexus-ssl-generate-keystore.sh 172.172.0.212


12)添加用户:
根据启动提示可以看出,一般不能直接使用root用户,因此需要为nexus添加用户专门运行:
adduser nexus
passwd nexus
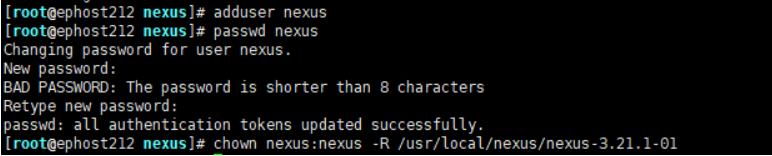
visudo

添加 nexus ALL=(ALL) ALL

su nexus

修改运行nexus所使用的用户

13)页面访问并登录Nexus:http://172.172.0.212:8081/
登录账号默认为admin,查看密码:
ll /usr/local/nexus/sonatype-work/nexus3/
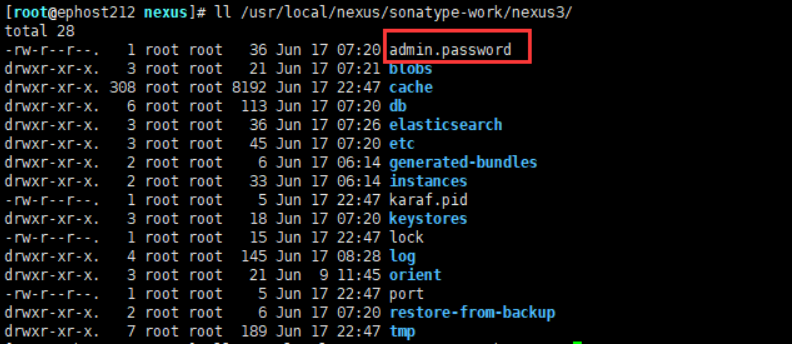
cat /usr/local/nexus/sonatype-work/nexus3/admin.password

可以看到默认密码为8f14fe1f-5793-4c15-a55d-9764d0ce3c60,然后输入账号和密码登录:
登录进来后会要求设置新密码:
开启匿名访问:
 后期如果需要修改密码,也可以点击右上角登录名,Account->Change password。
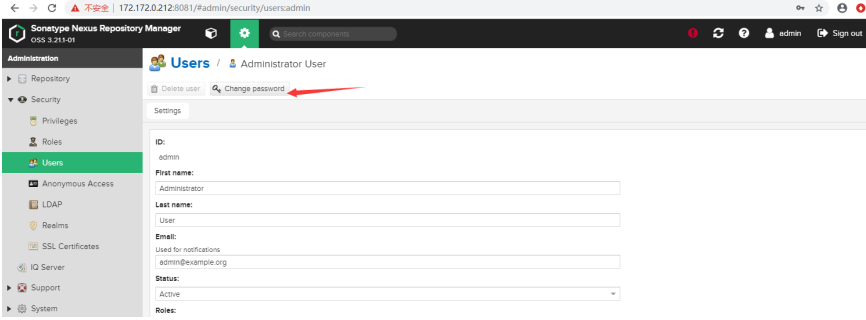
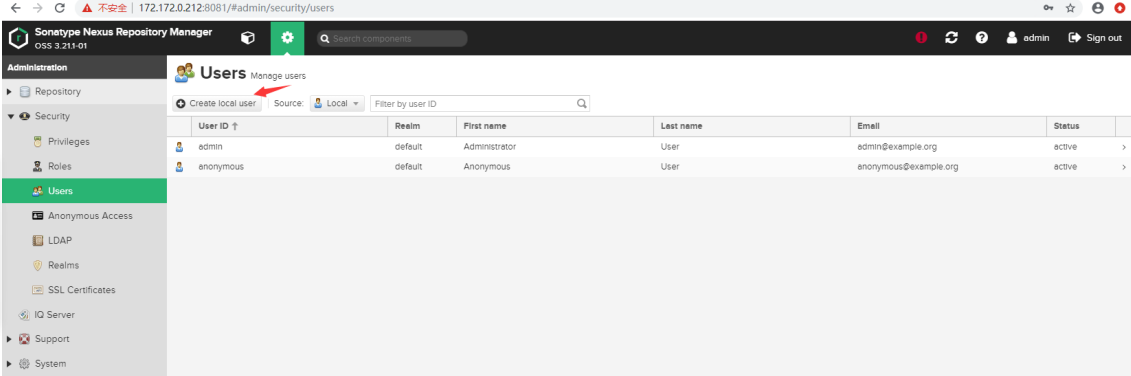
也可以点击 设置->Security->Users->要修改的账号后面的箭头:

四、简单使用Nexus
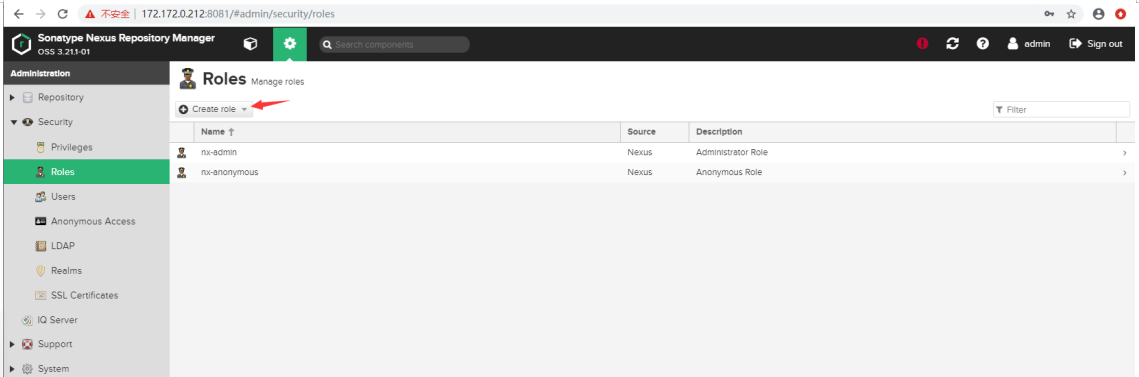
1、创建角色和用户
可以点击上面的"设置"图标,在"设置"里可以添加用户、角色,对接LDAP等的设置。
Grant 可以选择用户权限:
nx-admin -- 管理员权限
nx-anonymous -- 无差别用户权限,无法看到设置图标并且无法进入设置页面
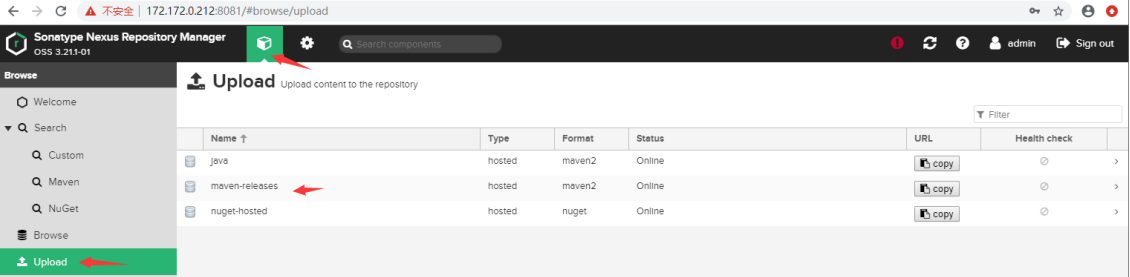
2、配置Releases版本可重复上传
点击图片箭头指向部分配置 Releases: Deployment pollcy --> Allow redeploy:


仓库类型:
proxy:代理仓库,用于代理远程仓库
group:仓库组,通常包含了多个代理仓库和宿主仓库,在项目中只要引入仓库组就可以下载到代理仓库和宿主仓库中的包
hosted:宿主仓库,内部项目、付费jar
releases 发布内部release版本的仓库
snapshots 发布内部snapshots版本的仓库
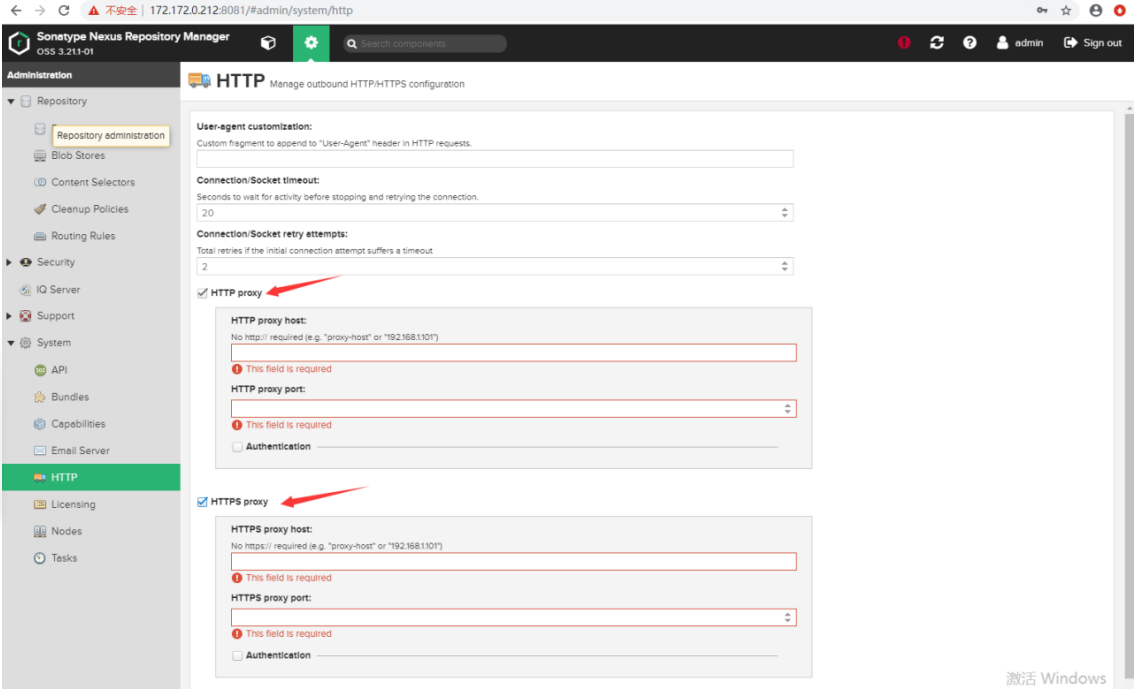
3、http网络代理设置
有时候局域网是不能直接访问网络的,需要通过防火墙代理来上网,这个时候就需要在 Nexus 里配置代理来访问中央仓库了。
登录 Nexus,在 Http 菜单中选中 http 和 https 选项,填写代理 IP 和端口,如果代理需要认证,那么需要选中 Authentication 填写用户名密码。
五、使用Nexus本地maven配置
1、全局配置下载依赖
在 maven 的 setting.xml 文件中配置私服配置,这种方式配置后所有本地使用该配置的 maven 项目的 pom 文件都无需配置私服下载相关配置。
<profiles>
<profile>
<id>spinfo</id>
<repositories>
<!-- 私有库地址-->
<repository>
<id>nexus</id>
<url>http://172.172.0.212:8081/repository/maven-public/\</url>
<releases>
<enabled>true</enabled>
</releases>
<snapshots>
<enabled>true</enabled>
</snapshots>
</repository>
</repositories>
<pluginRepositories>
<!--插件库地址-->
<pluginRepository>
<id>nexus</id>
<url>http://172.172.0.212:8081/repository/maven-public/\</url>
<releases>
<enabled>true</enabled>
</releases>
<snapshots>
<enabled>true</enabled>
</snapshots>
</pluginRepository>
</pluginRepositories>
</profile>
</profiles>
修改 setting.xml 激活使用上面的配置。
<activeProfiles>
<activeProfile>spinfo</activeProfile>
</activeProfiles>
修改 setting.xml 指定镜像代理为私服,这样,本地的 maven 包上传下载就全部请求私服了。
<mirrors>
<mirror>
<id>nexus-spinfo</id>
<!-- * 指的是访问任何仓库都使用我们的私服 -->
<mirrorOf>*</mirrorOf>
<name>Nexus spinfo</name>
<url>http://172.172.0.212:8081/repository/maven-public/\</url>
</mirror>
</mirrors>
一般情况我们会直接修改安装目录里面的例如 D:\Program Files\apache-maven-3.3.9\conf\setting.xml,这样有个问题,当管理很多工程的时候,很多 IDE 例如 IDEA 在初始化的时候都不会使用这个文件,使用的是自带的配置文件,如果忘记在它的项目配置里指定 setting.xml 配置文件路径,可能实际情况就不是期望的那样了。
所以为了避免这种情况,我们一般在操作系统的用户目录,创建一个 .m2 目录,然后把 setting.xml 文件放在里面,例如 C:\Users\daimafans\.m2\setting.xml。maven 在编译的时候寻找配置文件的最高优先级,能够达到一处配置,所以工程都能使用的效果。
2、单独项目下载依赖
即在项目pom文件中配置,这种配置是修改单个项目的pom文件,无需修改maven的 setting.xml配置。
<repositories>
<repository>
<id>nexus</id>
<url>http://172.172.0.212:8081/repository/maven-public/\</url>
<releases>
<enabled>true</enabled>
</releases>
<snapshots>
<enabled>true</enabled>
</snapshots>
</repository>
</repositories>
建议使用全局的 setting 配置,一个项目组共用一个 maven 的 setting 配置,项目中就无需配置下载相关的私服仓库配置。
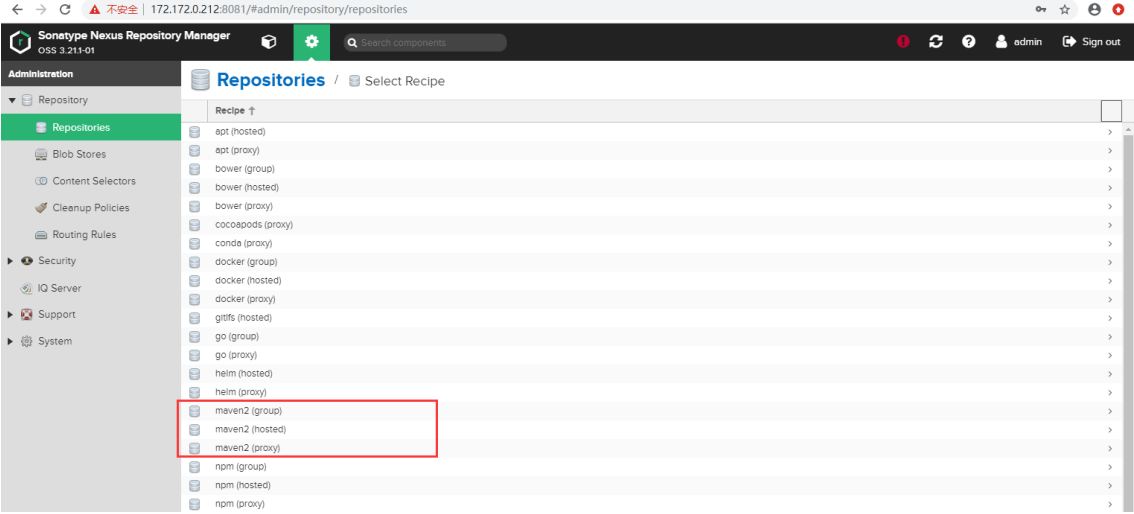
3、创建宿主仓库
这里有三种 maven 仓库可选:
proxy -- 远程仓库的代理,当用户向这个仓库请求一个 artifact,他会先在本地查找,如果找不到的话,就会从远程仓库下载,然后返回给用户。
hosted -- 宿主仓库,用户可以 deploy 到 hosted 中,也可以手工上传构件到 hosted 里,在 central repository 是获取不到的,就需要手工上传到hosted里。
group -- 仓库组,在 maven 里没有这个概念,是 nexus 特有的。目的是将上述多个仓库聚合,对用户暴露统一的地址。
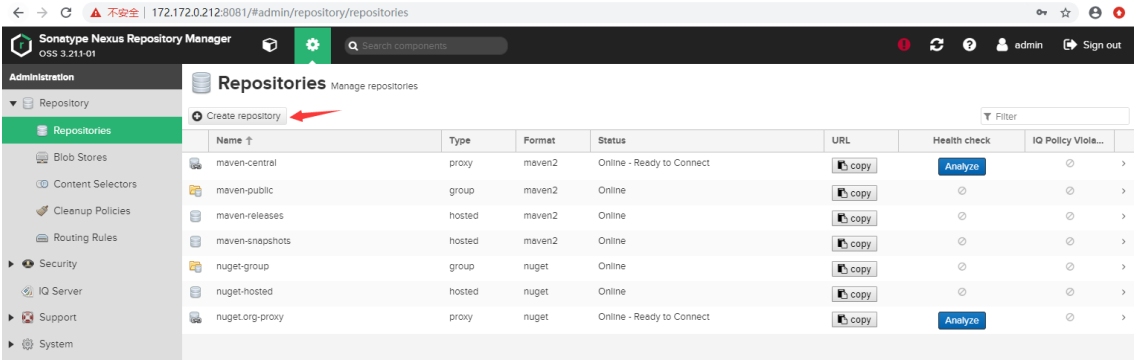
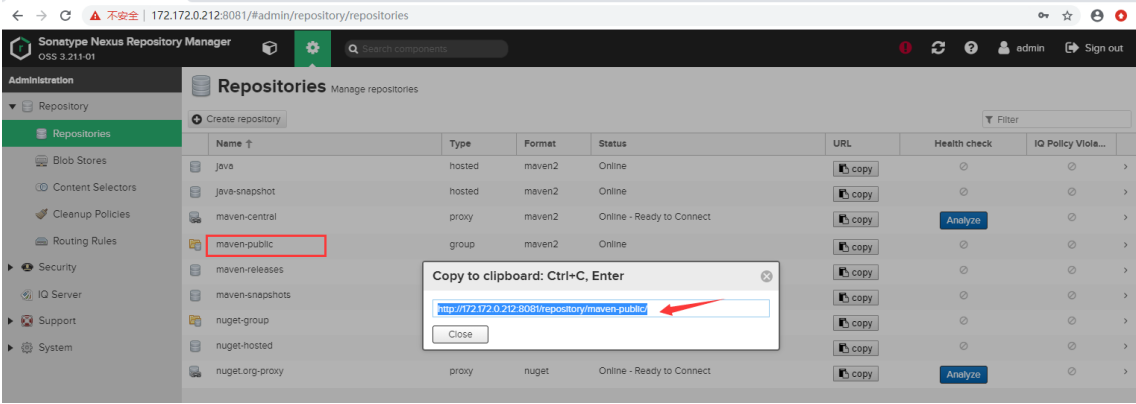
这里我们创建两个 hosted 仓库,他们分别用来管理正式版 jar 包和 SNAPSHOT 包,区别在于是否允许重复上传。
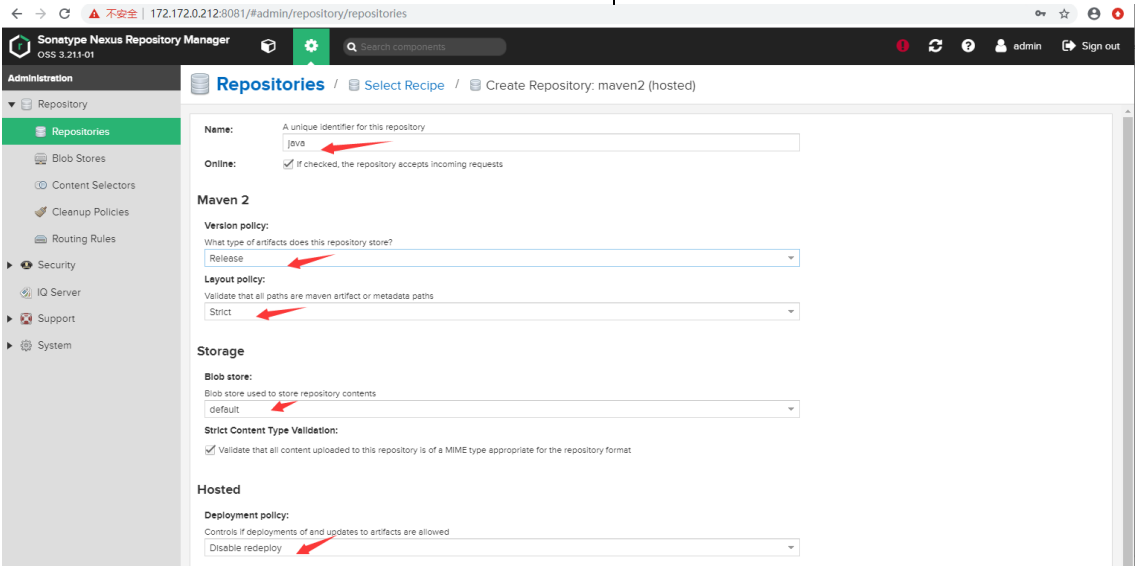

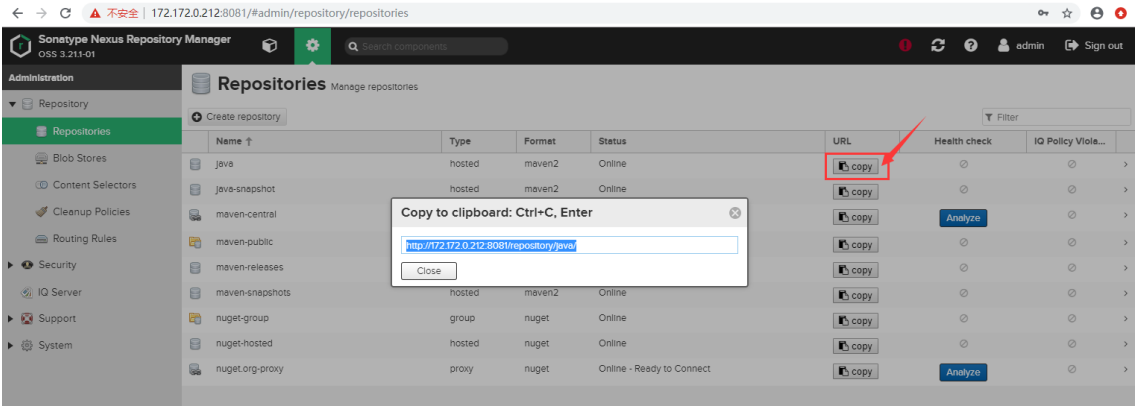
创建后,Repositories会列出新建的仓库,点击相应仓库的URL,弹出仓库地址,可以进行拷贝。
4、添加其它代理仓库
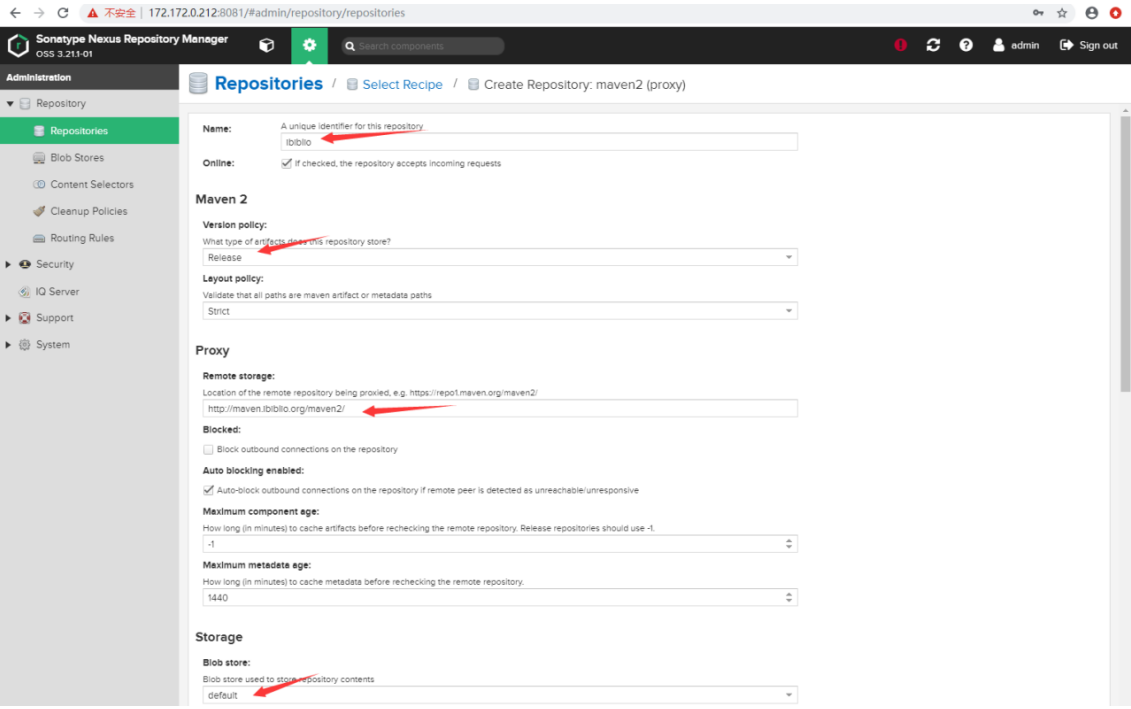
大多数时候,有 maven-central 代理中央仓库就可以了,但是有的时候网络访问速度不佳,或者有其它的仓库可以与中央仓库互补,那么我们可以添加第三方的代理仓库。这里以添加 ibiblio Repository 为例。
ibiblio 仓库地址:http://maven.ibiblio.org/maven2/
打开 Repositories 菜单,点击按钮 create repository,然后在列表中选择 maven2(proxy)。
把 ibiblio Repository 添加到仓库组:
默认,nexus 会创建一个仓库组,nexus 3.x 中就是 maven-public 代理仓库组,现在就把他添加到这个默认的仓库组里,因为我们在 maven setting.xml 中配置的全局访问地址就是 maven-public,把新增的代理仓库加到这个组后就可以在需要的时候去这个代理仓库中下载依赖文件了。在Repositories列表种点击maven-public列表进行修改。
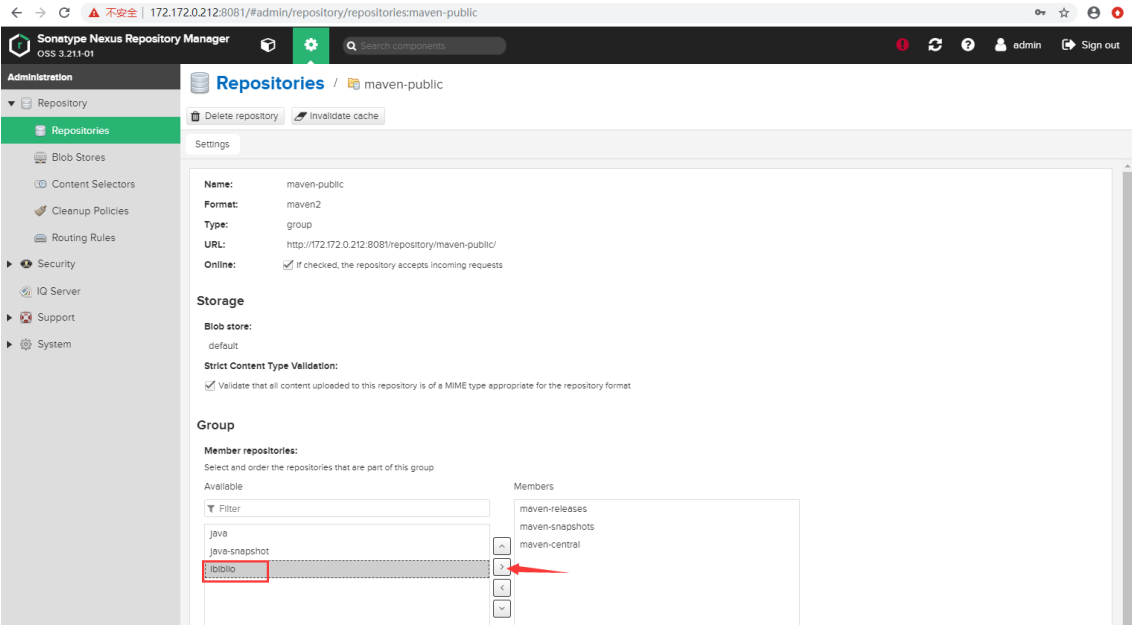
在 Group 块,这里 Available 一栏就是我们添加的可用的代理仓库,Members 一栏中就是maven-public组拥有的仓库列表。
注意顺序, 这里的顺序会影响到你搜索组件的顺序,默认搜索组件的顺序是 maven-releases(本机发布版) > maven-snapshots(本机快照) > maven-central(远程代理中央仓库)> ibiblio(远程 ibiblio 代理仓库,在国内速度还是比较快的,可以放到中央仓库的前面)
5、上传jar包配置
对于中央仓库没有的 jar 包,需要我们自己将 jar 包发布到私服中去,其中 jar 包主要分为两类,一类是本地自己开发供给项目组其余同事使用,这种直接配置项目的 pom 文件和 maven 的 setting 文件,之后deploy发布即可发布到,另一类是第三方 jar 包,可以直接使用 web 页面上传并设置对应 GAV 即可。
6、本地maven项目上传配置
在 maven 的 setting.xml 文件中配置私服配置,这种方式配置后所有本地使用该配置的 maven 项目的 pom 文件都无需配置私服下载相关配置。
<servers>
<server>
<id>nexus-releases</id>
<username>admin</username>
<password>te#kd3aa</password>
</server>
<server>
<id>nexus-snapshots</id>
<username>admin</username>
<password>te#kd3aa</password>
</server>
</servers>
打开项目,然后配置 pom.xml,最重要的是 distributionManagement 节点的配置,引用在 settings.xml 中配置的 nexus 私服 id,并配置 url 。
<distributionManagement>
<repository>
<id>nexus-releases</id>
<name>Release Repository</name>
<url>http://172.172.0.212:8081/repository/maven-releases/\</url>
</repository>
<snapshotRepository>
<id>nexus-snapshots</id>
<url>http://172.172.0.212:8081/repository/maven-snapshot/\</url>
</snapshotRepository>
</distributionManagement>
7、执行 maven 的 deploy 命令
eclipse 中上传本地项目 jar 到私服,右键工程,选择 Run As -> Run Configurations,然后配置。
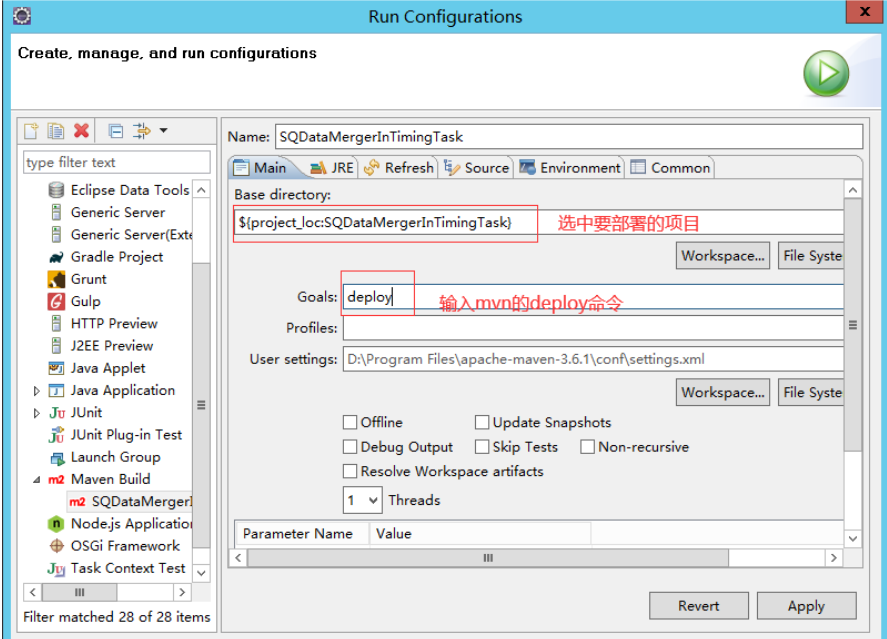
IDEA 中就比较简单了,直接点击运行 maven 周期中的 deploy 即可。出现 uploading 信息并且没报错说明上传成功。
注意:
1)这里只有 Snapshot 的仓库上传成功,Release 仓库并没有上传成功,这是因为版本号名称结尾有-SNAPSHOT,默认以这个结尾是不会上传到 Release 仓库去的,去除就会上传到 Release 仓库且不会上传到快照仓库。
2)Release 仓库默认不支持重复发布,之前我们已经修改为支持重新发布。
3)注意 setting.xml 中 <server> 标签下的 id 要和 pom.xml 文件中仓库配置的 id 相同,即指定上传到哪个仓库。
8、第三方jar包上传
对于第三方 jar 包的上传采用 nexus 提供的 web 界面上传,上传成功后需要使用该 jar 包的话,依赖中填写自定义的 GAV 即可。