文章目录
-
- 前言
- [1. 本地安装PPTist](#1. 本地安装PPTist)
- [2. PPTist 使用介绍](#2. PPTist 使用介绍)
- [3. 安装Cpolar内网穿透](#3. 安装Cpolar内网穿透)
- [4. 配置公网地址](#4. 配置公网地址)
- [5. 配置固定公网地址](#5. 配置固定公网地址)
前言
本文主要介绍如何在Windows系统环境本地部署开源在线演示文稿应用PPTist,并结合cpolar内网穿透工具实现随时随地远程访问与使用该项目。
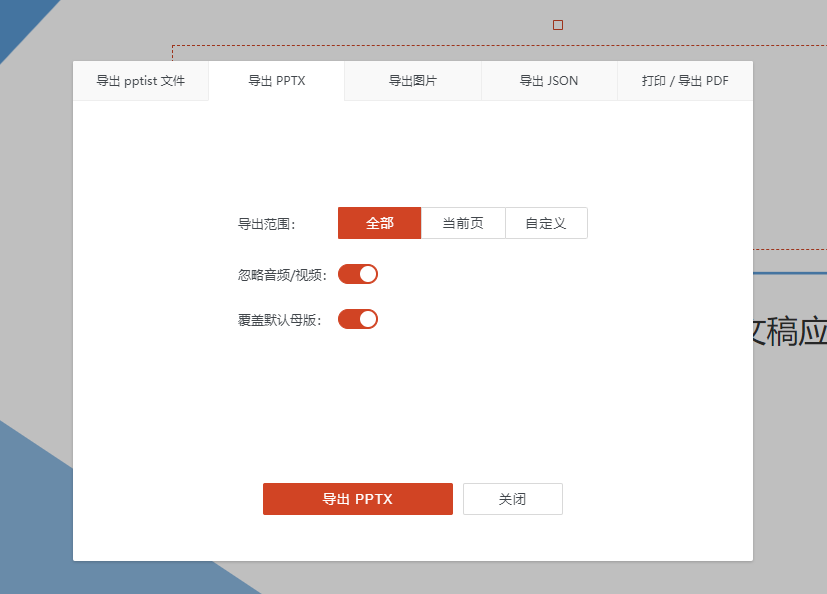
PPTist 是一个基于Vue3.x和TypeScript构建的在线演示文稿应用,模仿了微软PowerPoint 的大部分常用功能。它允许用户在线编辑和展示 PPT,并支持将文件导出为 PPTX 格式。除此之外,还支持绘制各种图形和图表,支持插入视频和音频,与移动端使用,目前项目在github上面收获了5.6K star!
自己在本地部署PPTist的优势是无需安装和购买许可,也大大减少了在不同设备上出现的兼容性问题。不过只能本地使用也有一定局限性,但只要安装内网穿透工具就能轻松解决没有公网IP,也能远程访问本地服务的问题。

1. 本地安装PPTist
接下来教大家如何在Windows系统本地安装 PPTist
项目地址:https://github.com/pipipi-pikachu/PPTist
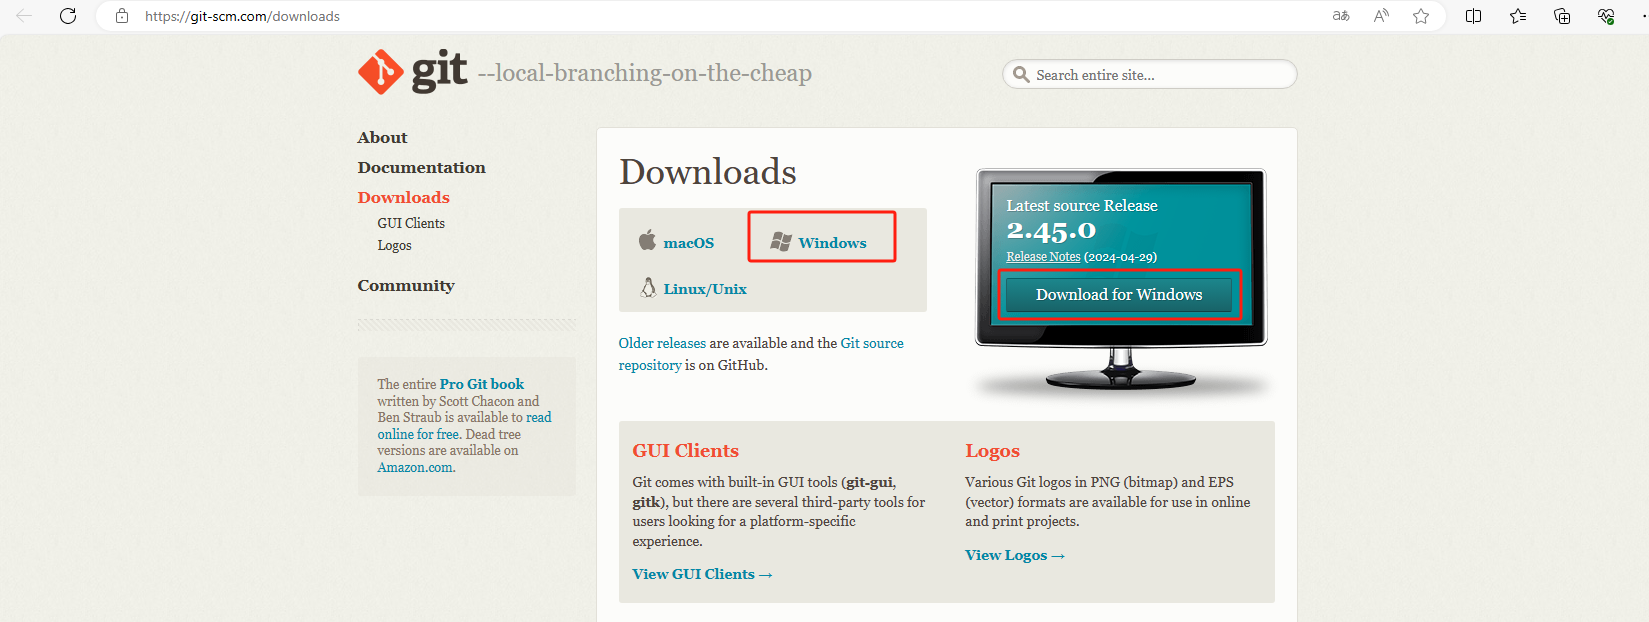
首先需要从github上克隆 PPTist(如果没有安装git的话,进入git官网进行下载windows版本 https://git-scm.com/downloads)
打开终端,从github下载项目到本地,执行下面的命令:
shell
git clone https://github.com/pipipi-pikachu/PPTist.git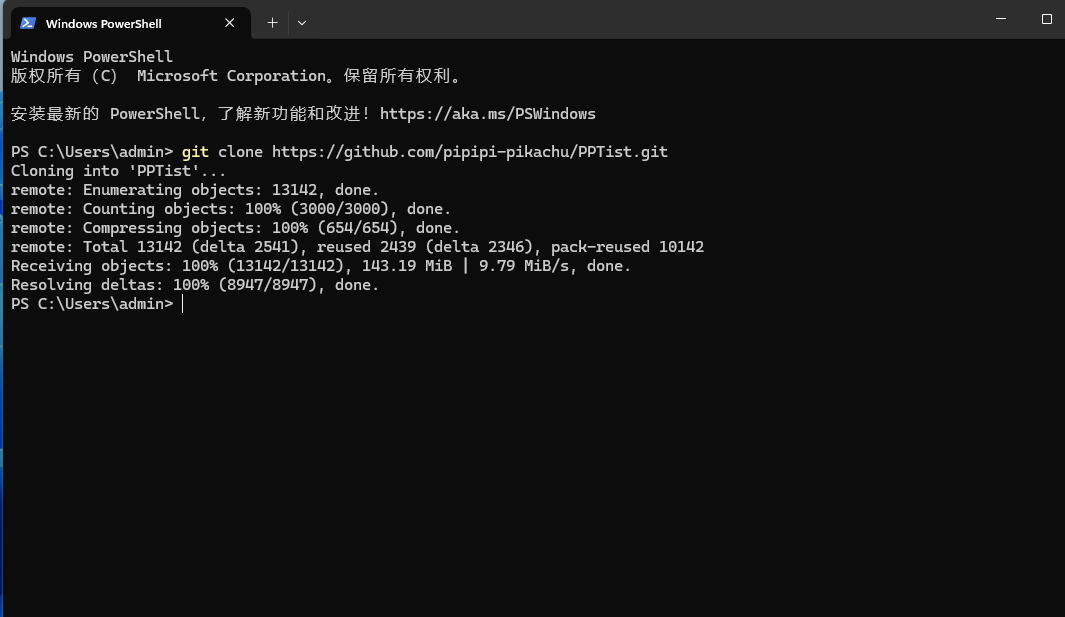
然后进入项目目录:
cd PPTist然后安装依赖:
npm install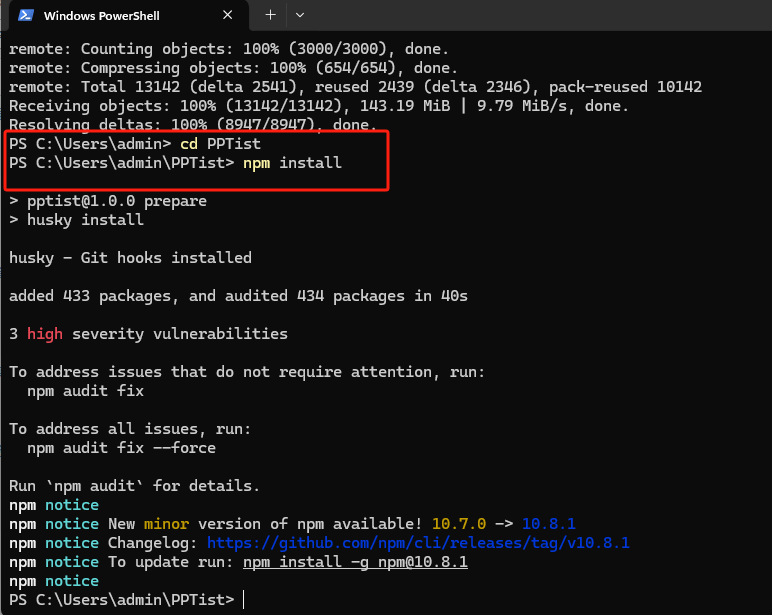
最后运行项目即可:
npm run dev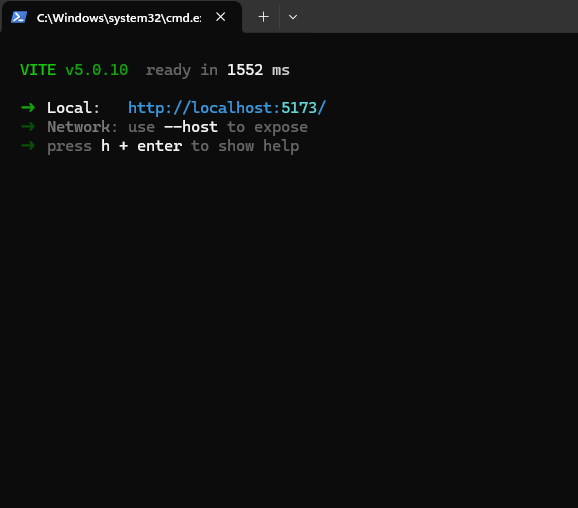
可以看到运行成功,出现项目地址: http://localhost:5173
通过浏览器访问,即可开始在线创建编辑与展示幻灯片。

2. PPTist 使用介绍
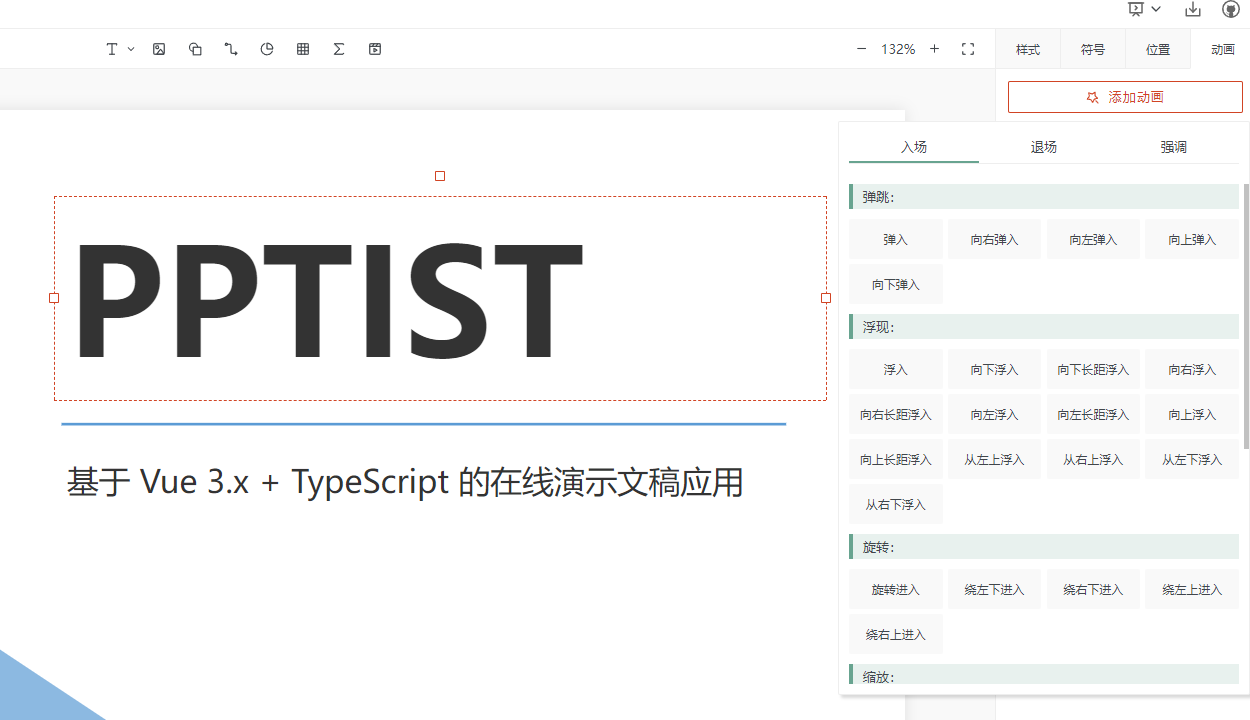
PPTist 提供了在线演示和编辑的功能,整体观感非常干净美观。
左上角为主菜单,包括了导入、导出与快捷键介绍功能。
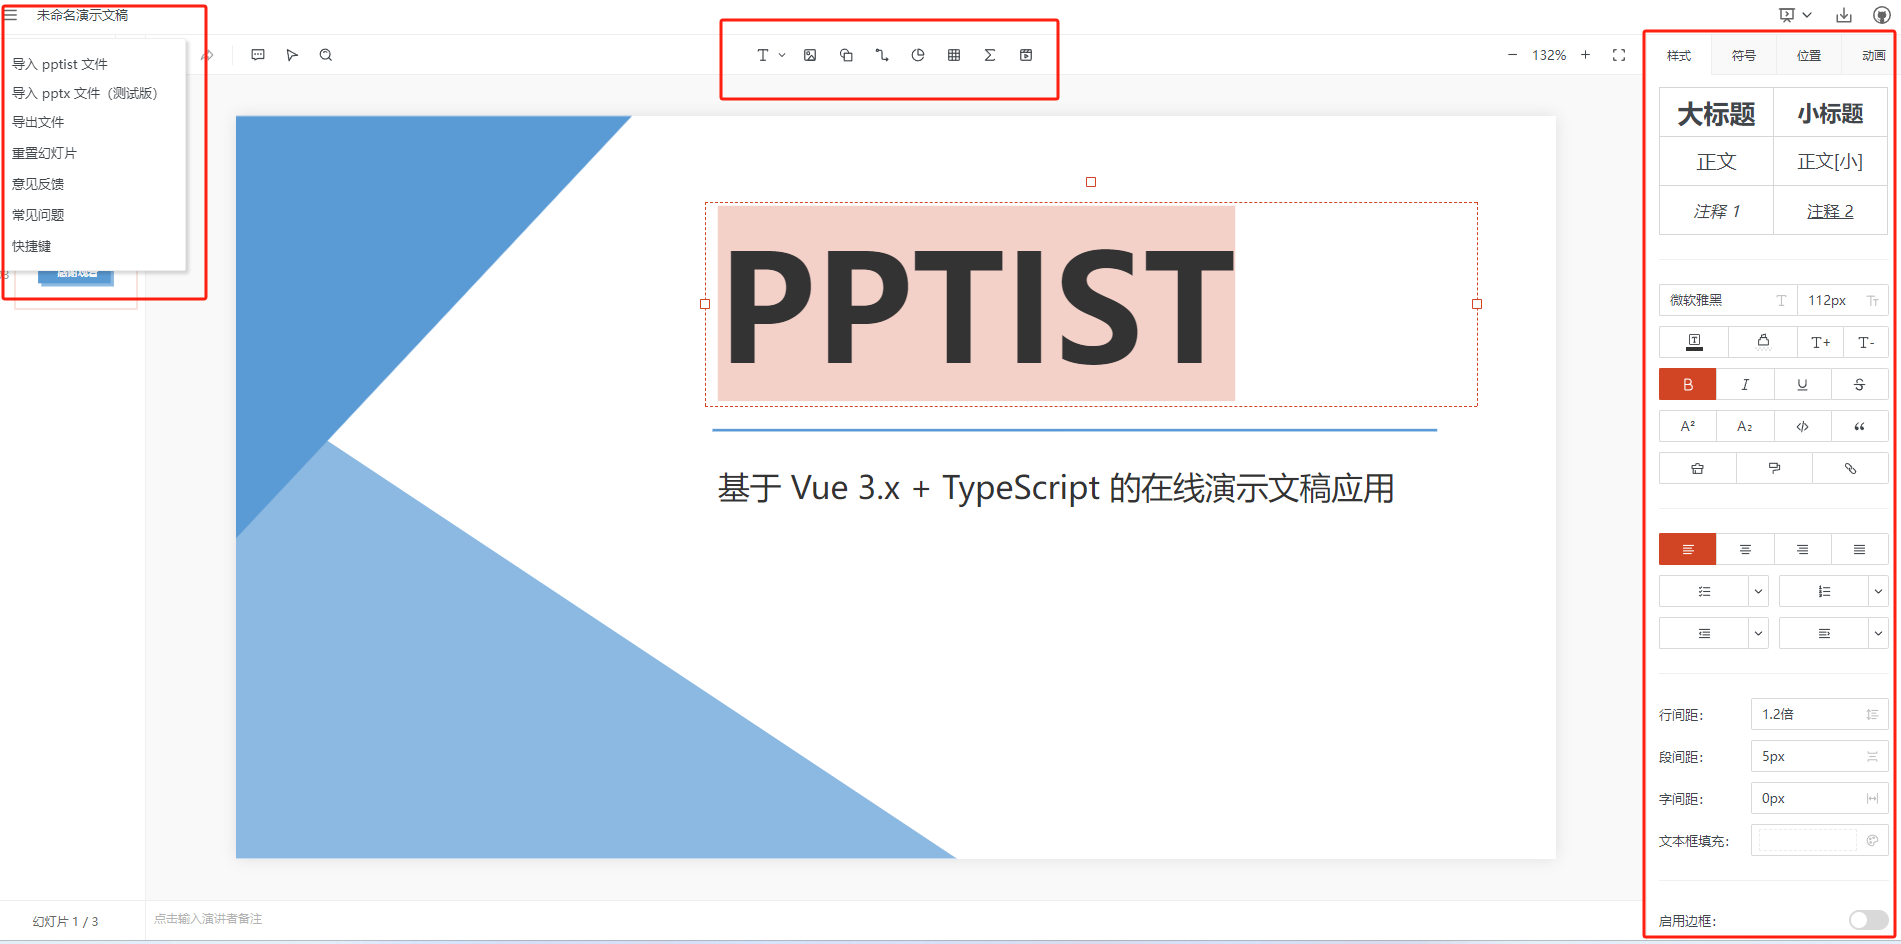
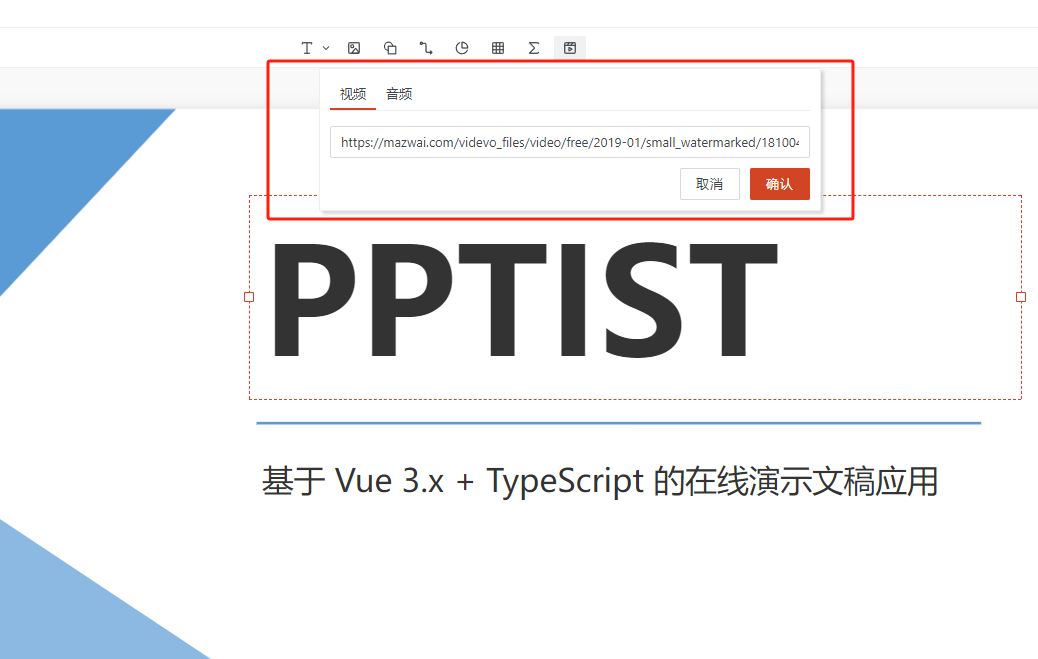
中间的主编辑区上方,则是插入文字,图片,表格与音视频功能。
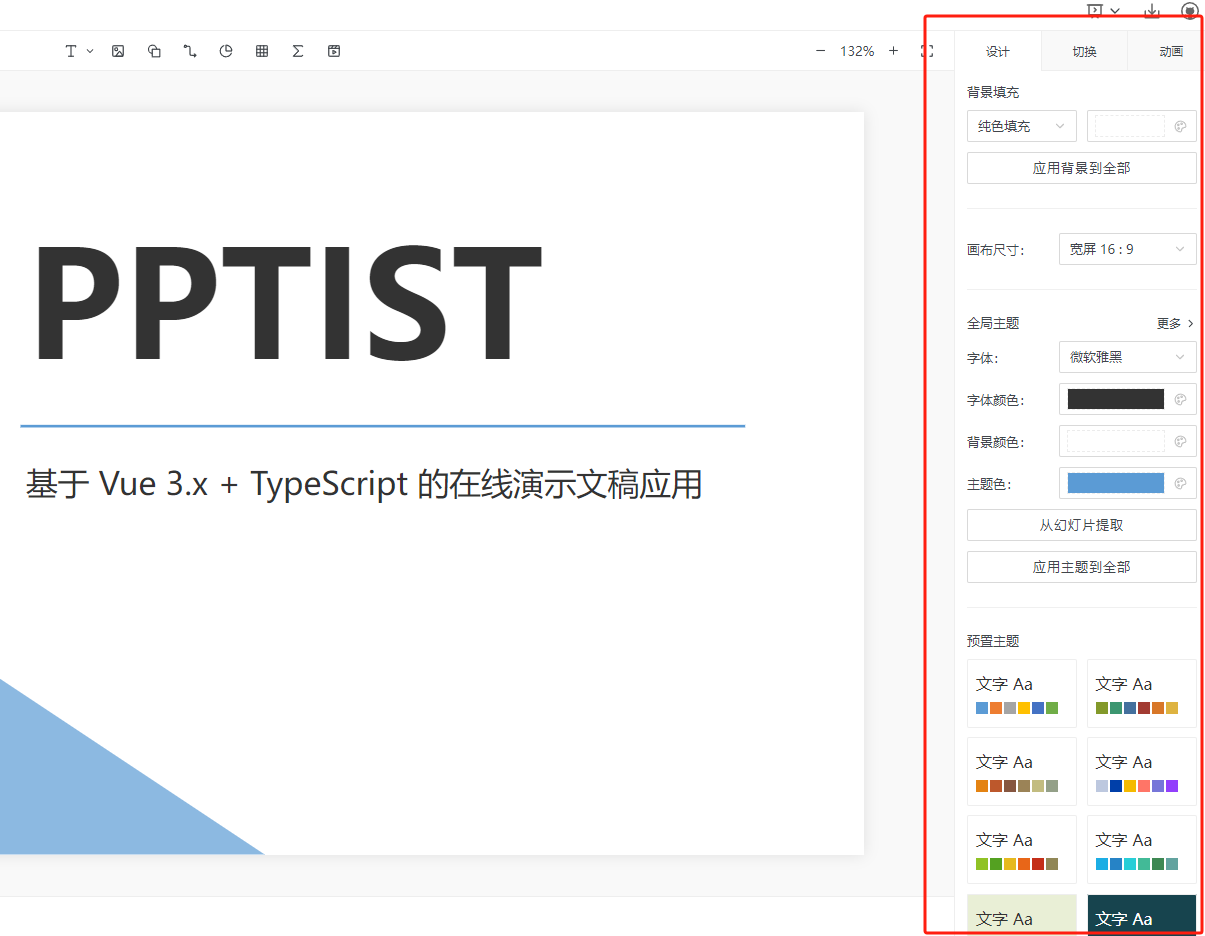
右侧则是可以对PPT进行整体设计,切换效果选择等操作。
点击当前文稿可对当前页面进行样式编辑,位置调整,添加动画等操作。
3. 安装Cpolar内网穿透
作为一个开源的在线PPT演示应用,PPTist提供了与桌面版 PowerPoint 相似的功能和极其快捷方便的用户体验,不需要安装任何软件,跨平台兼容性强。
目前我们在本机安装了PPTist,但如果没有公网IP的话,只能在本地局域网环境使用,有一定局限性。如果出差在外想要远程使用的话,可以结合Cpolar内网穿透生成公网地址,免去了本地重新部署过程,只需要使用公网地址直接就可以访问本地部署的PPTist,进行演示。
下面是安装cpolar步骤:
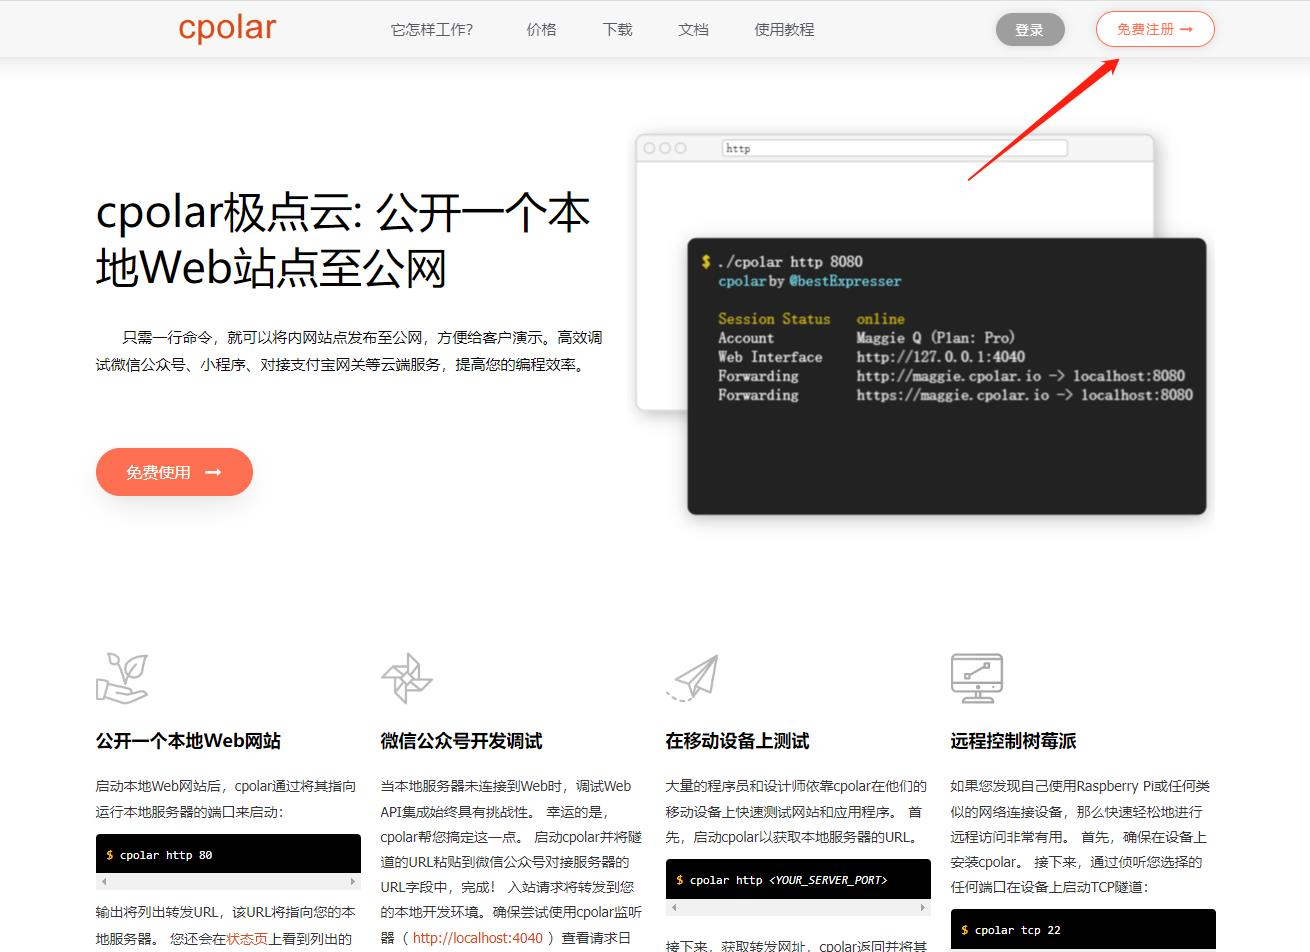
Cpolar官网地址: https://www.cpolar.com
点击进入cpolar官网,点击免费使用注册一个账号,并下载最新版本的Cpolar
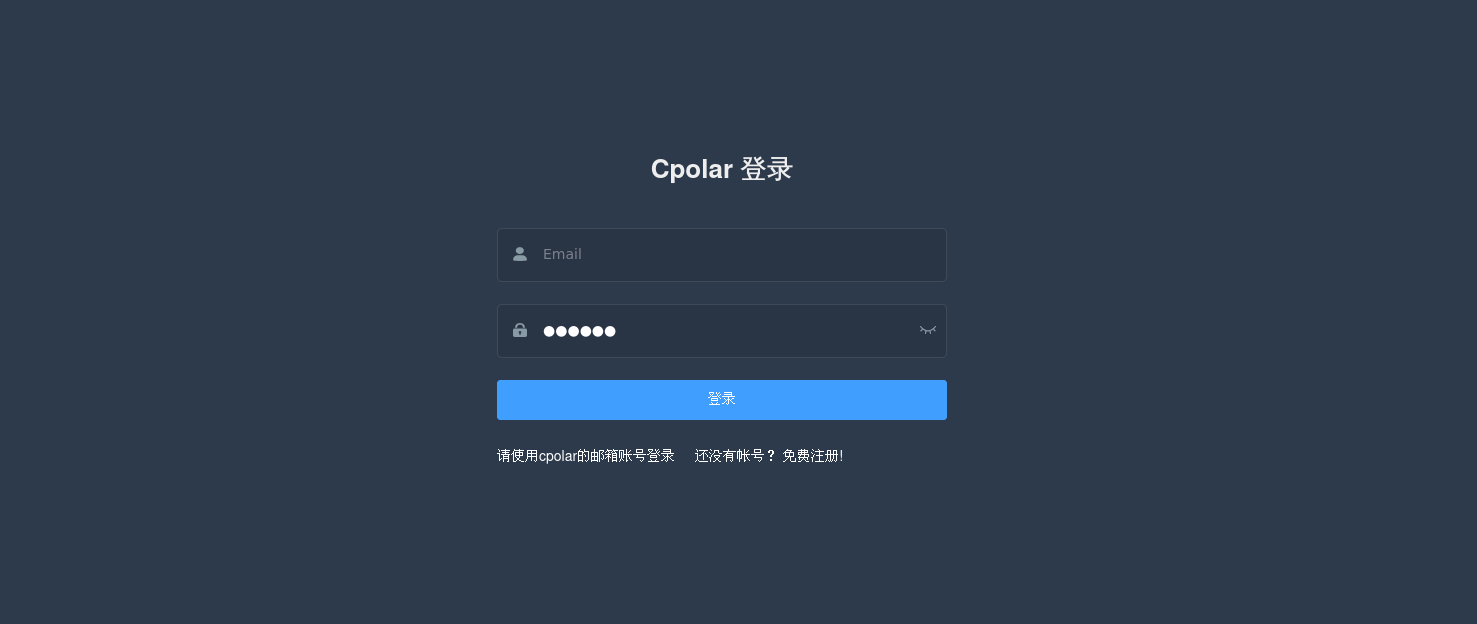
登录成功后,点击下载Cpolar到本地并安装(一路默认安装即可)本教程选择下载Windows版本。

Cpolar安装成功后,在浏览器上访问http://localhost:9200,使用cpolar账号登录,登录后即可看到Cpolar web 配置界面,结下来在web 管理界面配置即可。
4. 配置公网地址
接下来配置一下本地 PPTist 的公网地址,
登录后,点击左侧仪表盘的隧道管理------创建隧道,
创建一个 PPTist 的公网http地址隧道:
- 隧道名称:可自定义命名,注意不要与已有的隧道名称重复
- 协议:选择 http
- 本地地址:5173
- 域名类型:免费选择随机域名
- 地区:选择China Top
点击创建

隧道创建成功后,点击左侧的状态------在线隧道列表,查看所生成的公网访问地址,有两种访问方式,分别是http和https。
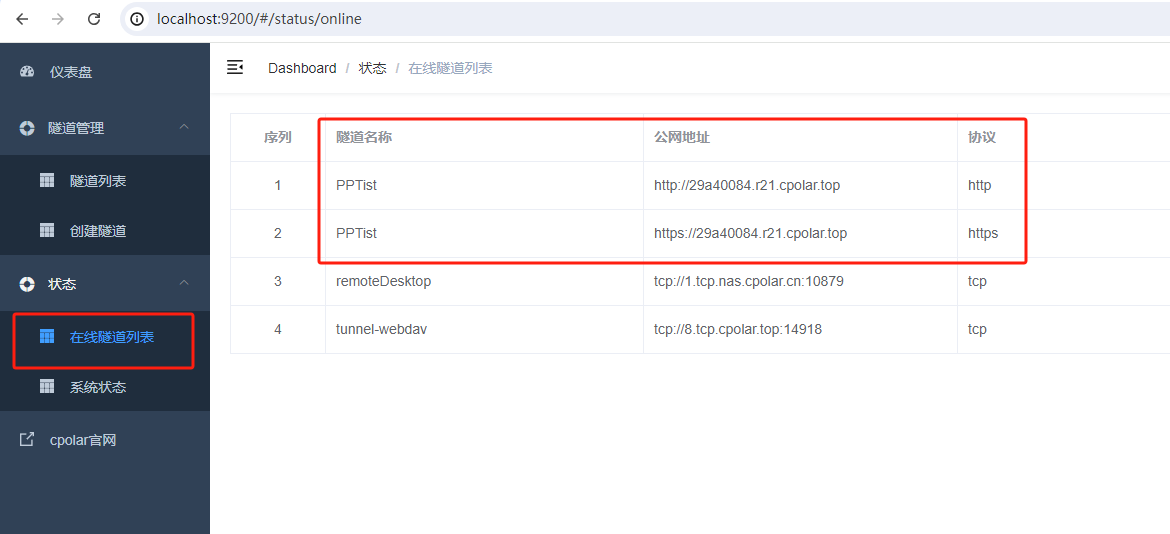
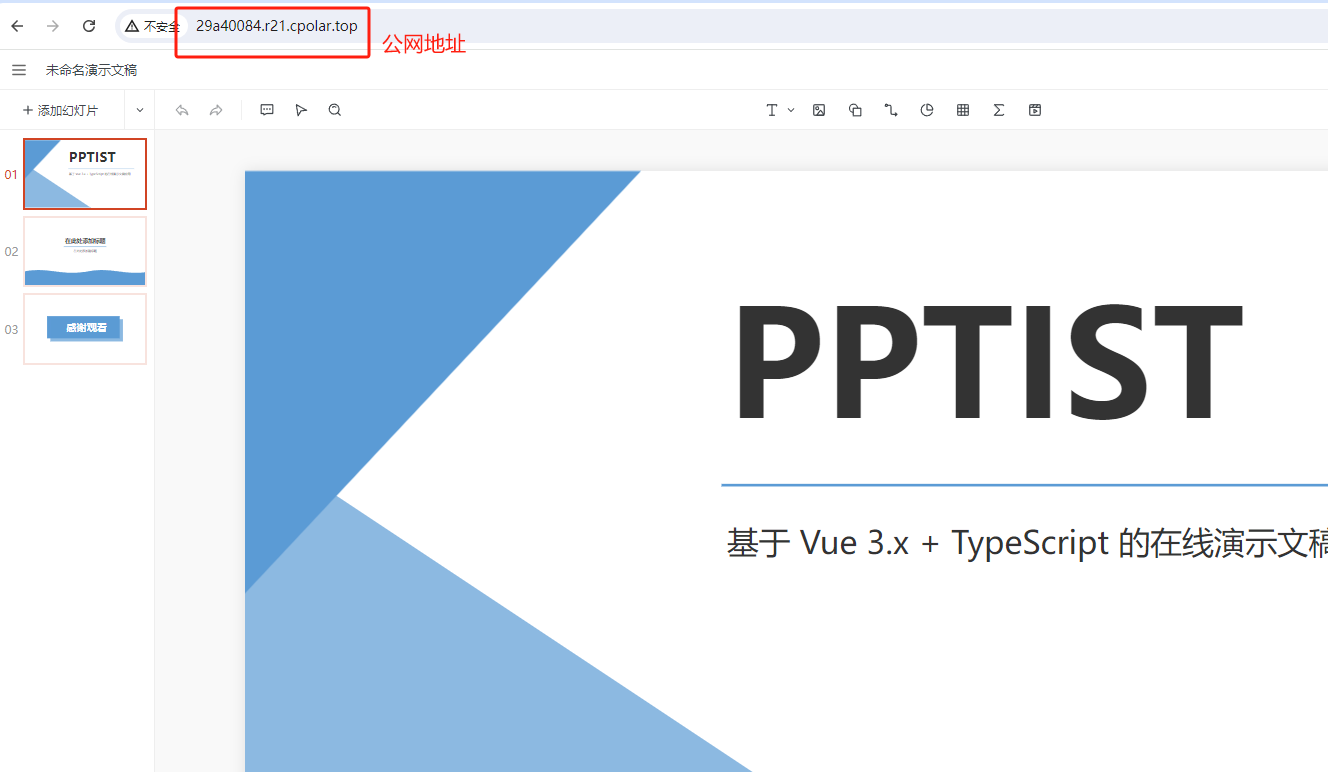
使用任意一个上面Cpolar生成的公网地址,在电脑或任意设备在浏览器进行登录访问,即可成功看到 PPTist 界面,这样一个可以远程访问的公网地址就创建好了,使用了Cpolar的公网域名,无需自己购买云服务器,即可在公网访问本地部署的服务了!
小结
由于刚才创建的是随机的公网地址,24小时会发生变化。另外它的网址是由随机字符生成,不容易记忆。如果你有长期远程访问本地部署服务的需求,或者想把域名变成固定,好记的二级子域名,并且不想每次都重新创建隧道来访问你在本地部署的服务,我们可以选择创建一个固定的公网地址来解决这个问题。
5. 配置固定公网地址
我们接下来为其配置固定的HTTP端口地址,该地址不会变化,方便分享给别人长期查看你的本地服务,而无需每天重复修改服务器地址。
配置固定http端口地址需要将cpolar升级到专业版套餐或以上。
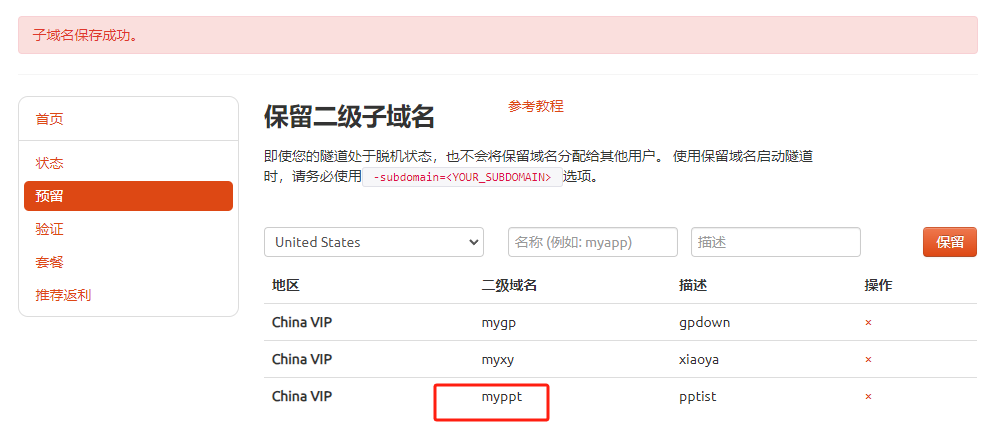
登录cpolar官网,点击左侧的预留,选择保留二级子域名,设置一个二级子域名名称,点击保留,保留成功后复制保留的二级子域名名称。
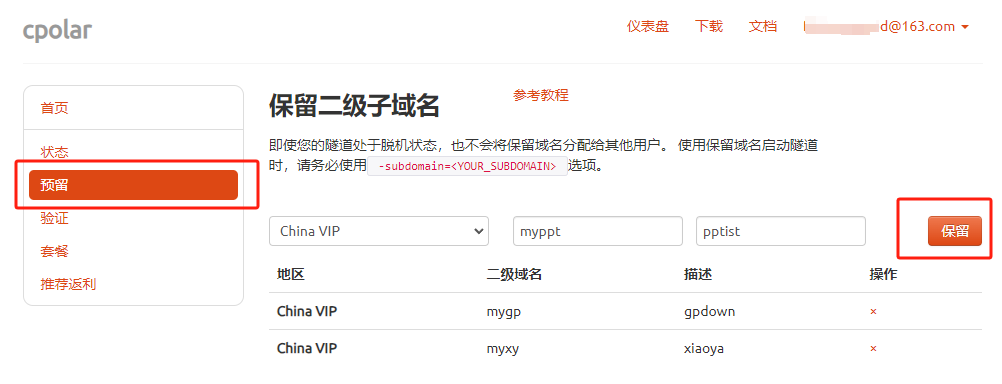
保留成功后复制保留成功的二级子域名的名称:myppt(大家可以自定义)
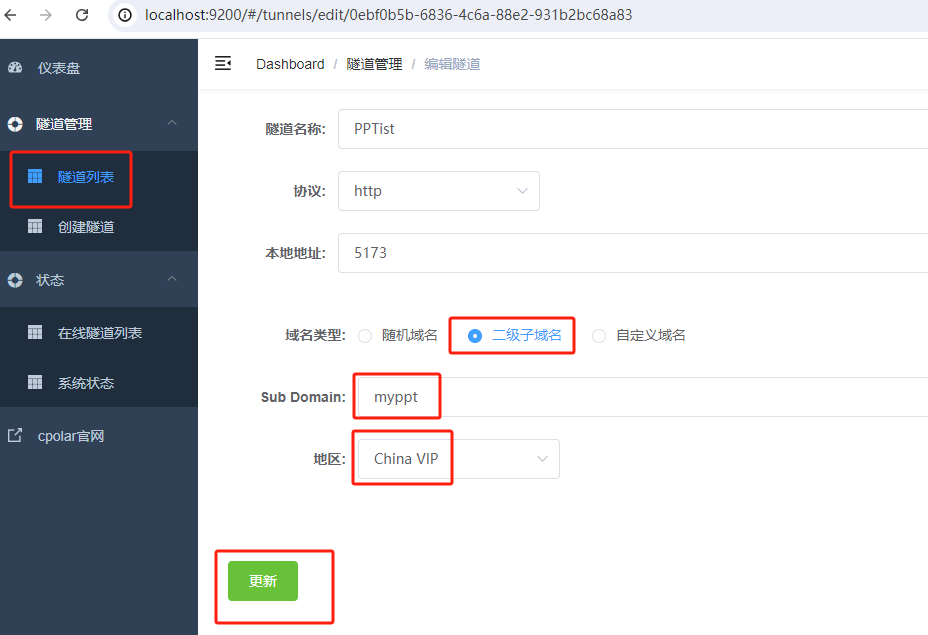
返回登录Cpolar web UI管理界面,点击左侧仪表盘的隧道管理------隧道列表,找到所要配置的隧道 PPTist ,点击右侧的编辑:
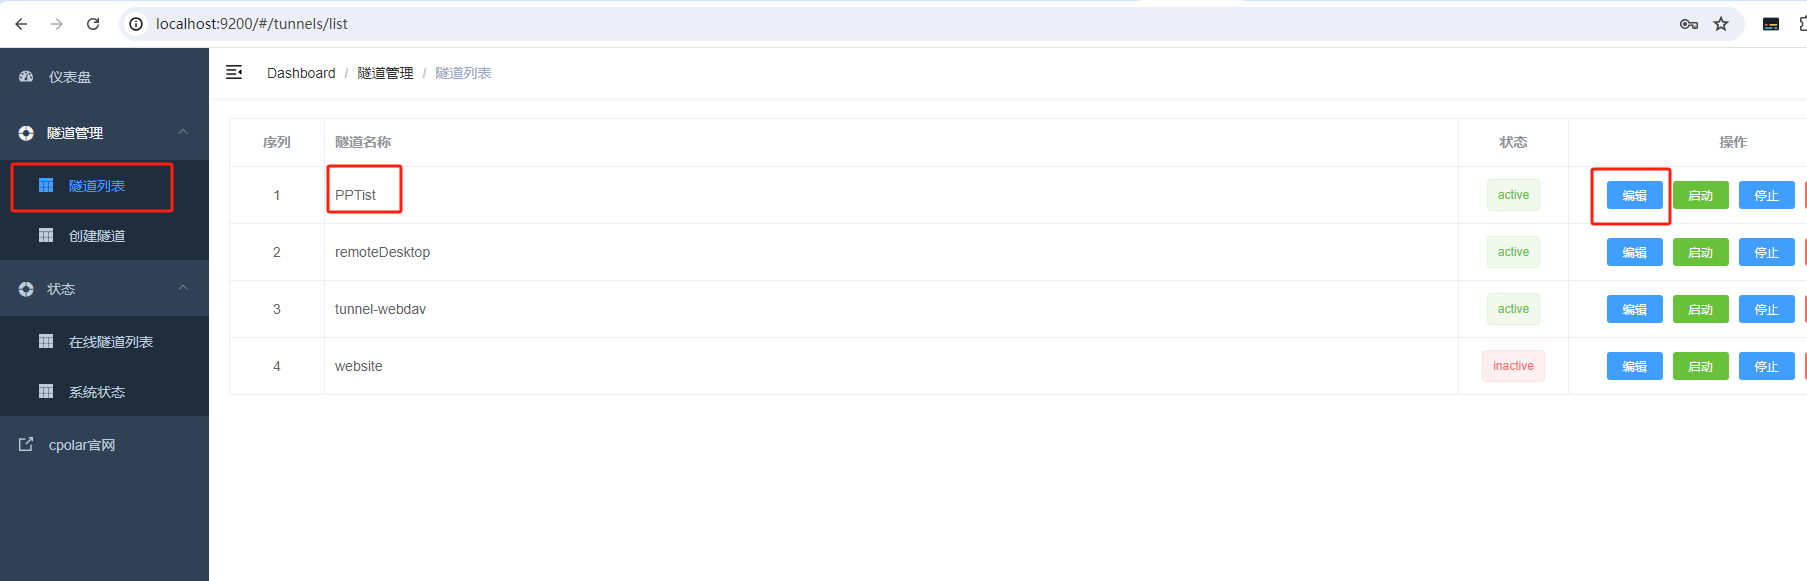
修改隧道信息,将保留成功的二级子域名配置到隧道中
- 域名类型:选择二级子域名
- Sub Domain:填写保留成功的二级子域名
点击更新(注意,点击一次更新即可,不需要重复提交)
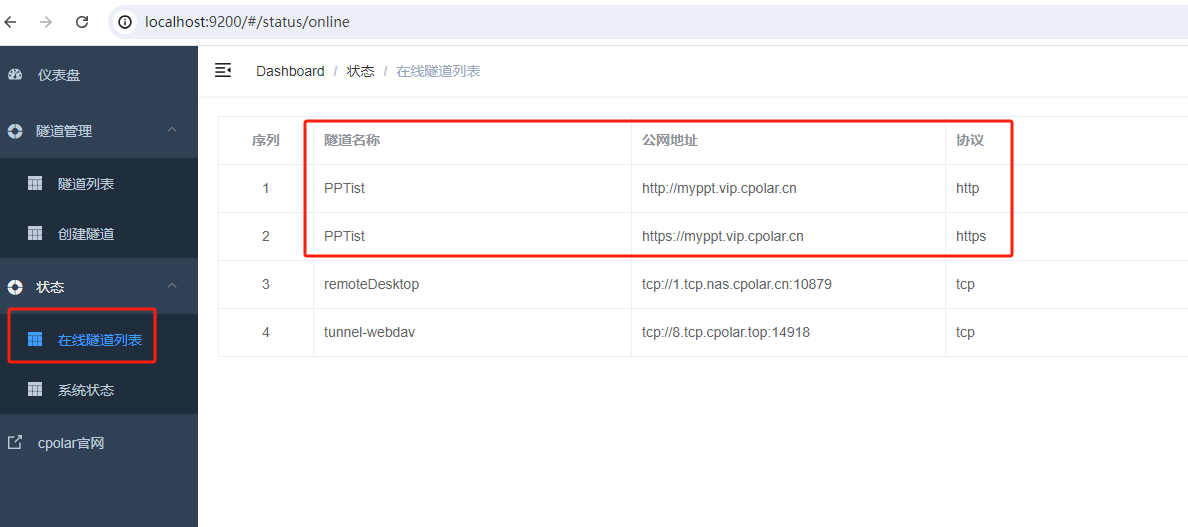
更新完成后,打开在线隧道列表,此时可以看到公网地址已经发生变化,地址名称也变成了固定的二级子域名名称的域名:
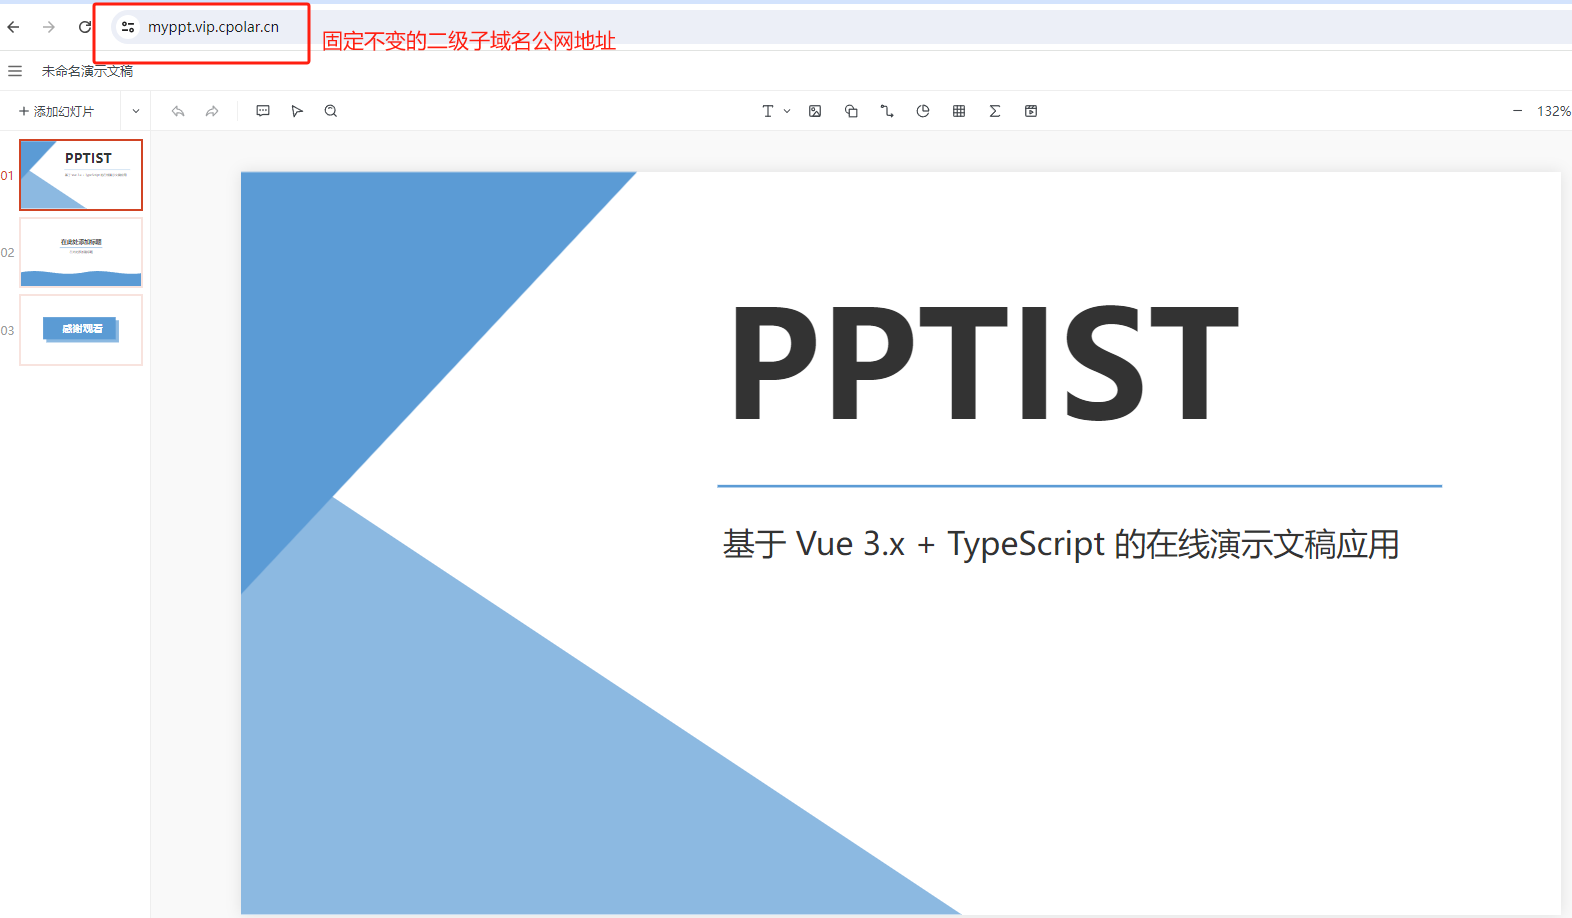
最后,我们使用固定的公网地址在任何浏览器打开访问,可以看到成功访问 PPTist,这样一个固定且永久不变的二级子域名公网地址就设置好了。
以上就是如何在Windows系统电脑本地部署开源在线演示文稿应用PPTist,并结合cpolar内网穿透工具实现远程访问使用的全部流程,另外由于该服务无需账号即可在浏览器直接访问,出于安全考虑,建议大家远程访问时不要轻易与他人分享地址,感谢您的观看,有任何问题欢迎留言交流。