一、安装环境
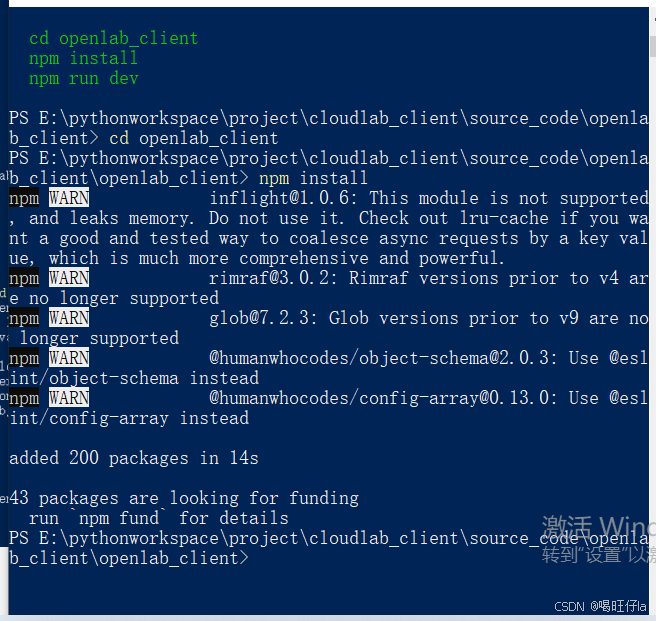
二、创建vue框架(创建文件夹,摁shift+鼠标右键 打开)
1、项目配置

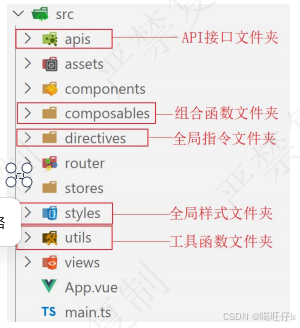
2、新增目录
三、路径别名配置
输入@/ ,VSCode会联想出src下的所有子目录和文件,统一文件路径访问时不容易出错
四、ElementPlus配置
1、组件分为通用性组件、定制型组件
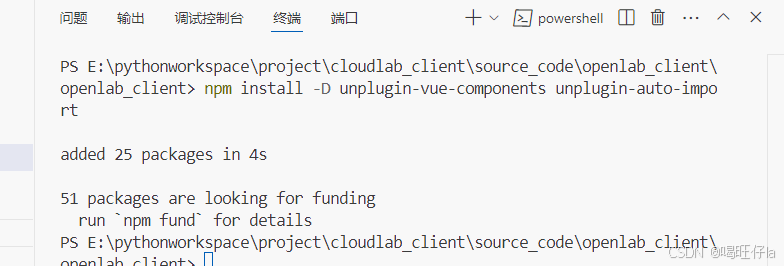
2、添加ElementPlus组件
终端输入:npm install element-plus --save
引入插件:npm install -D unplugin-vue-components unplugin-auto-import
将APP.vue里的样式、内容都删掉
<script setup lang="ts">
// import { RouterLink, RouterView } from 'vue-router'
// import HelloWorld from './components/HelloWorld.vue'
</script>

<template>
  <el-button type="primary">Primary</el-button>
</template>

<style scoped>

</style>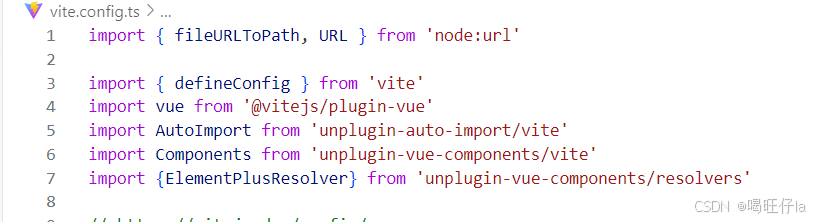
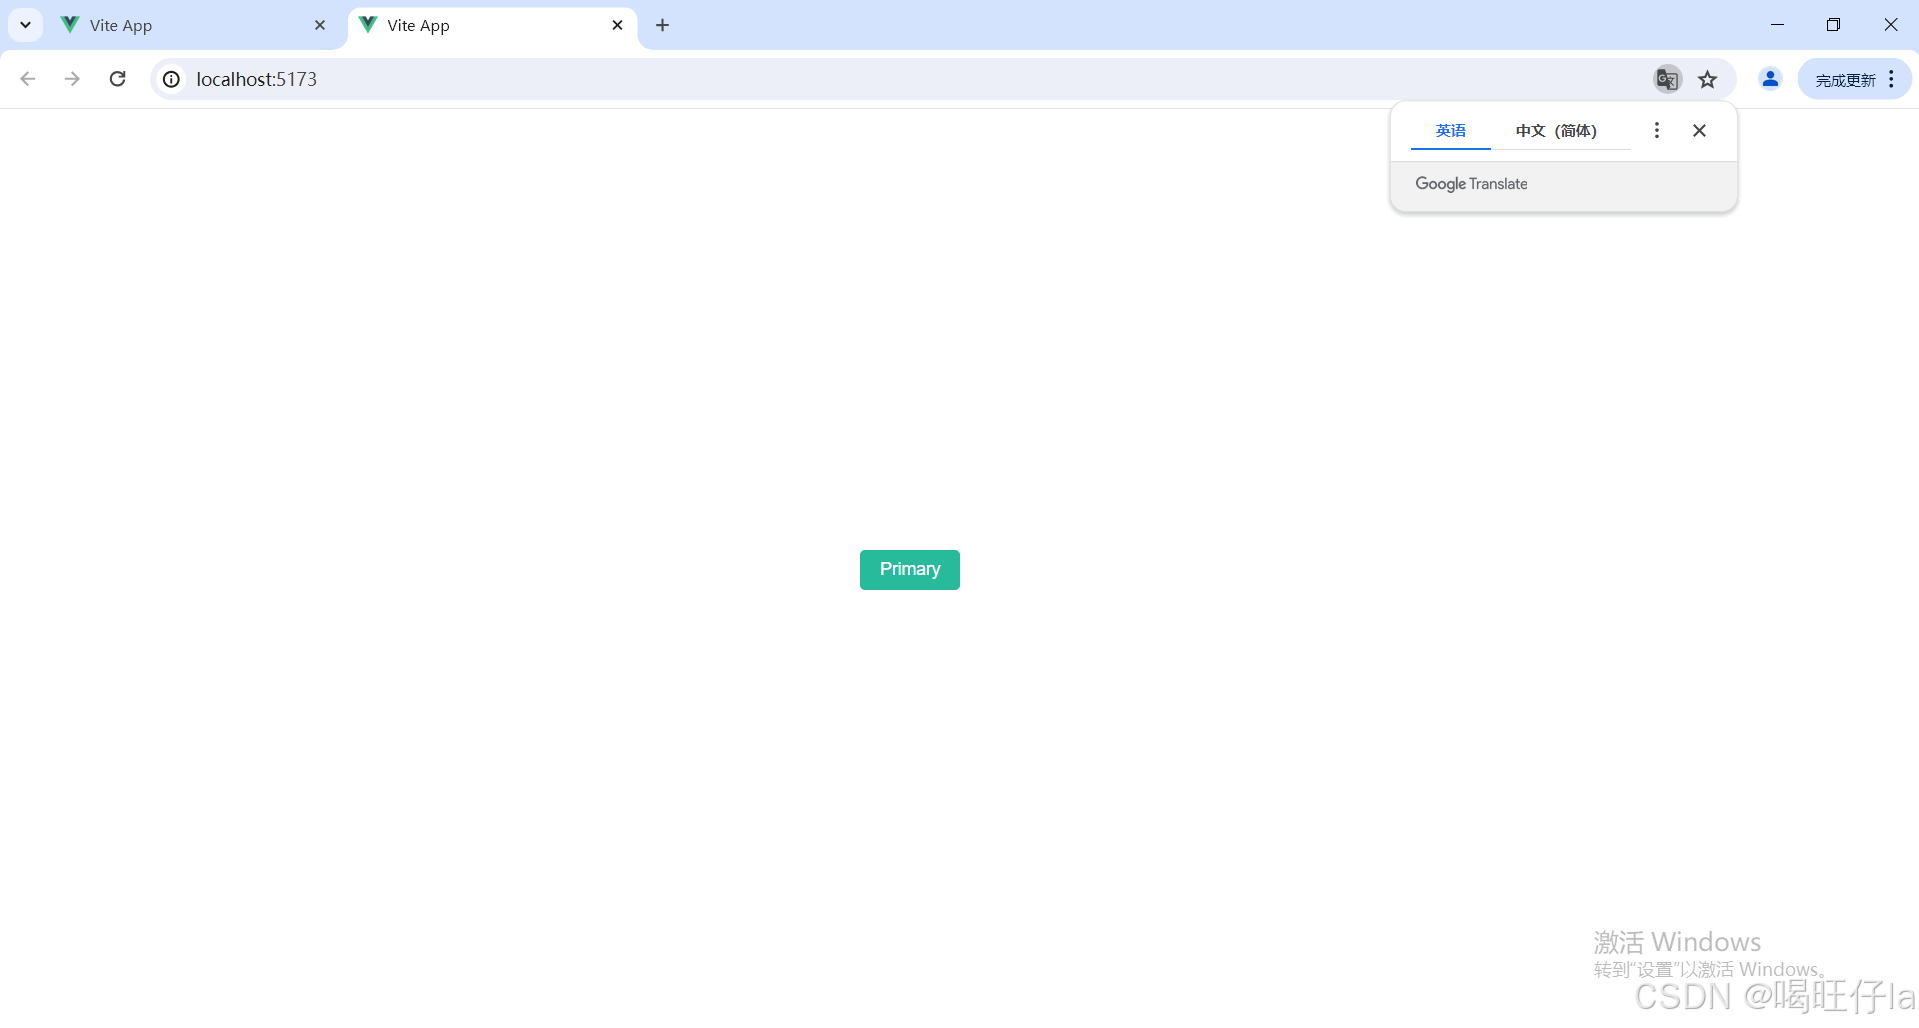
3、测试
五、配置Element-Plus主题颜色
1、了解配色方案
2、安装sass
终端输入:npm i sass -D
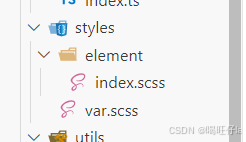
3、准备定制样式文件
$xtxColor:#27ba9b;
$helpColor:#e26237;
$sucColor:#1dc779;
$warnColor:#ffb302;
$priceColor:#cf4444;
@forward 'element-plus/theme-chalk/src/common/var.scss'
with (
$colors: (
'primary':(
//主色
'base':#27ba9b,
),
'success':(
//成功色
'base':#1dc779,
),
'warning':(
//警告色
'base':#ffb302,
),
'danger':(
//主色
'base':#e26237,
),
'error':(
//主色
'base':#cf4444,
),
),
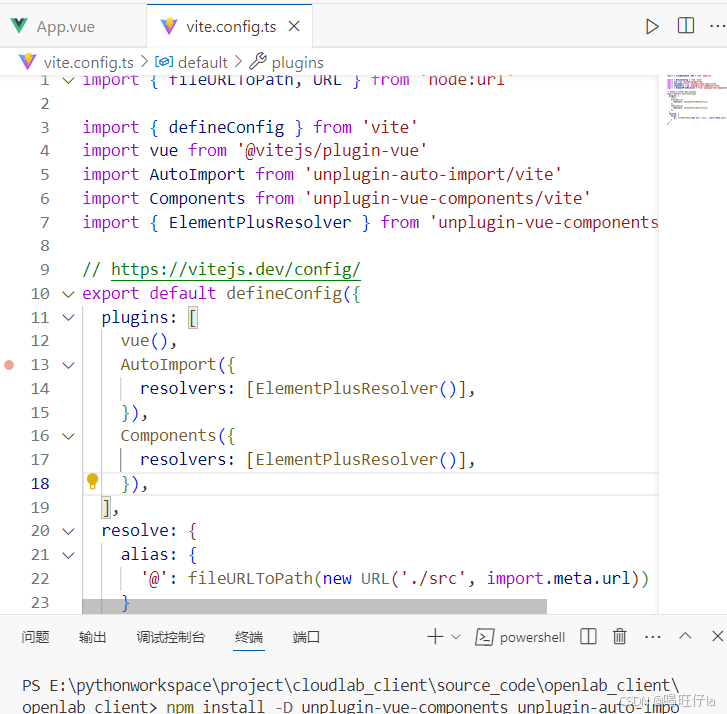
);4、覆盖ElementPlus样式

在vite.config.ts里写入
import { fileURLToPath, URL } from 'node:url'

import { defineConfig } from 'vite'
import vue from '@vitejs/plugin-vue'
import AutoImport from 'unplugin-auto-import/vite'
import Components from 'unplugin-vue-components/vite'
import {ElementPlusResolver} from 'unplugin-vue-components/resolvers'

// https://vitejs.dev/config/
export default defineConfig({
  plugins: [
    vue(),
    AutoImport({
      resolvers:[ElementPlusResolver()],
    }),
    Components({
      //配置elementPlus采用sass样式配色
      resolvers: [ElementPlusResolver({importStyle:"sass"})],
    }),
  ],
  css:{
    preprocessorOptions:{//导入样式表
      scss:{
        //自动导入定制化样式文件进行样式覆盖
        additionalData:`
          @use "@/styles/element/index.scss" as *;
          @use "@/styles/var.scss" as *;
          `,
      }
    }
  },
  resolve: {
    alias: {
      '@': fileURLToPath(new URL('./src', import.meta.url))
    }
  }
})
5、测试
六、配置axios
1、什么是Axios?
axios中文网|axios API 中文文档 | axios
终端输入:npm install axios
2、封装axios
①axios基础封装
②axios请求拦截器
③axios响应式拦截器

在http.js里写入
//axios基础封装
import axios from "axios";
import { ElMessage } from "element-plus";

//创建一个可以发起请求获得相应响应的实例
const httpInstance = axios.create({
    timeout:50000
})

//配置拦截器
//axios请求拦截器
httpInstance.interceptors.request.use(config => {
    return config
},e =>Promise.reject(e))

//axios响应拦截器
httpInstance.interceptors.response.use(res =>res.data,e =>{
    if(e.response.status==401){
       ElMessage.error("请先登录")
       //跳转登录页面
    }else{
        ElMessage({type:'error',message:'请重新登录'+e})
    }
    return Promise.reject(e)
})

export default httpInstance //对外暴露,用于在其他位置调用
3、创建API接口
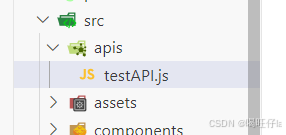
①导入axios封装的http工具
②创建访问接口函数
③暴露访问接口函数
import httpInstance from "@/utils/http"

export function getHomeNav() {
    return httpInstance({
        url:'http://127.0.0.1:5001/approvalRecords/getall'
    })
}
④测试API接口
导入接口-->创建测试函数-->重启测试
在main.js中输入
//测试接口函数
import {getHomeNav} from '@/apis/testAPI'

getHomeNav().then((res: any) => {
    console.log(res)
})
5、设置服务器允许跨域
在controller中加入@CrossOrigin注解
七、一级路由设置
1、设置布局组件和登录页面的路由
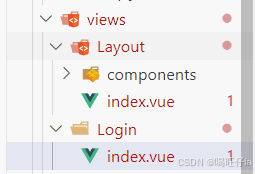
在layout->index.vue里填入
<script setup lang="ts">

</script>

<template>
    <div>
        我的布局页面
        <RouterView></RouterView>
    </div>
</template>
在login->index.vue里填入
<template>
<div>
我的登录页面
</div>
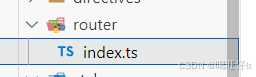
</template>在index.ts中填入

2、配置一级路由出口
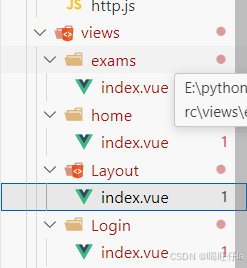
八、二级路由设置
1、设置布局组件中的二级路由
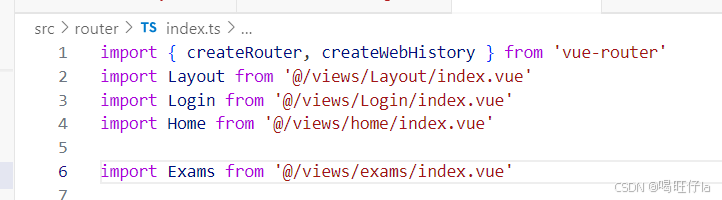
在index.ts中填入
import { createRouter, createWebHistory } from 'vue-router'
import Layout from '@/views/Layout/index.vue'
import Login from '@/views/Login/index.vue'
import Home from '@/views/home/index.vue'

import Exams from '@/views/exams/index.vue'

const router = createRouter({
  history: createWebHistory(import.meta.env.BASE_URL),
  routes: [
    {
      path:'/',
      component:Layout,
      children:[{
        path:'',
        component:Home
      },{
        path:'/exams',
        component:Exams
      }]
    },{
      path:'/login',
      component:Login
    }
  ]
})

export default router
在App.vue中填入
<script setup lang="ts">
// import { RouterLink, RouterView } from 'vue-router'
// import HelloWorld from './components/HelloWorld.vue'
</script>

<template>
  <!-- <el-button type="primary">Primary</el-button> -->
   <RouterView></RouterView>
</template>

<style scoped>

</style>
2、配置二级路由出口
在exams->index.vue中填入
<template>
    <div>考试组件</div>
</template>
在home->index.vue中填入
<template>
    <div>首页组件</div>
</template>
3、测试