代码: 根据个人喜好修改即可
html
<!DOCTYPE html>
<html lang="zh">
<head>
<meta charset="UTF-8">
<meta name="viewport" content="width=device-width, initial-scale=1.0">
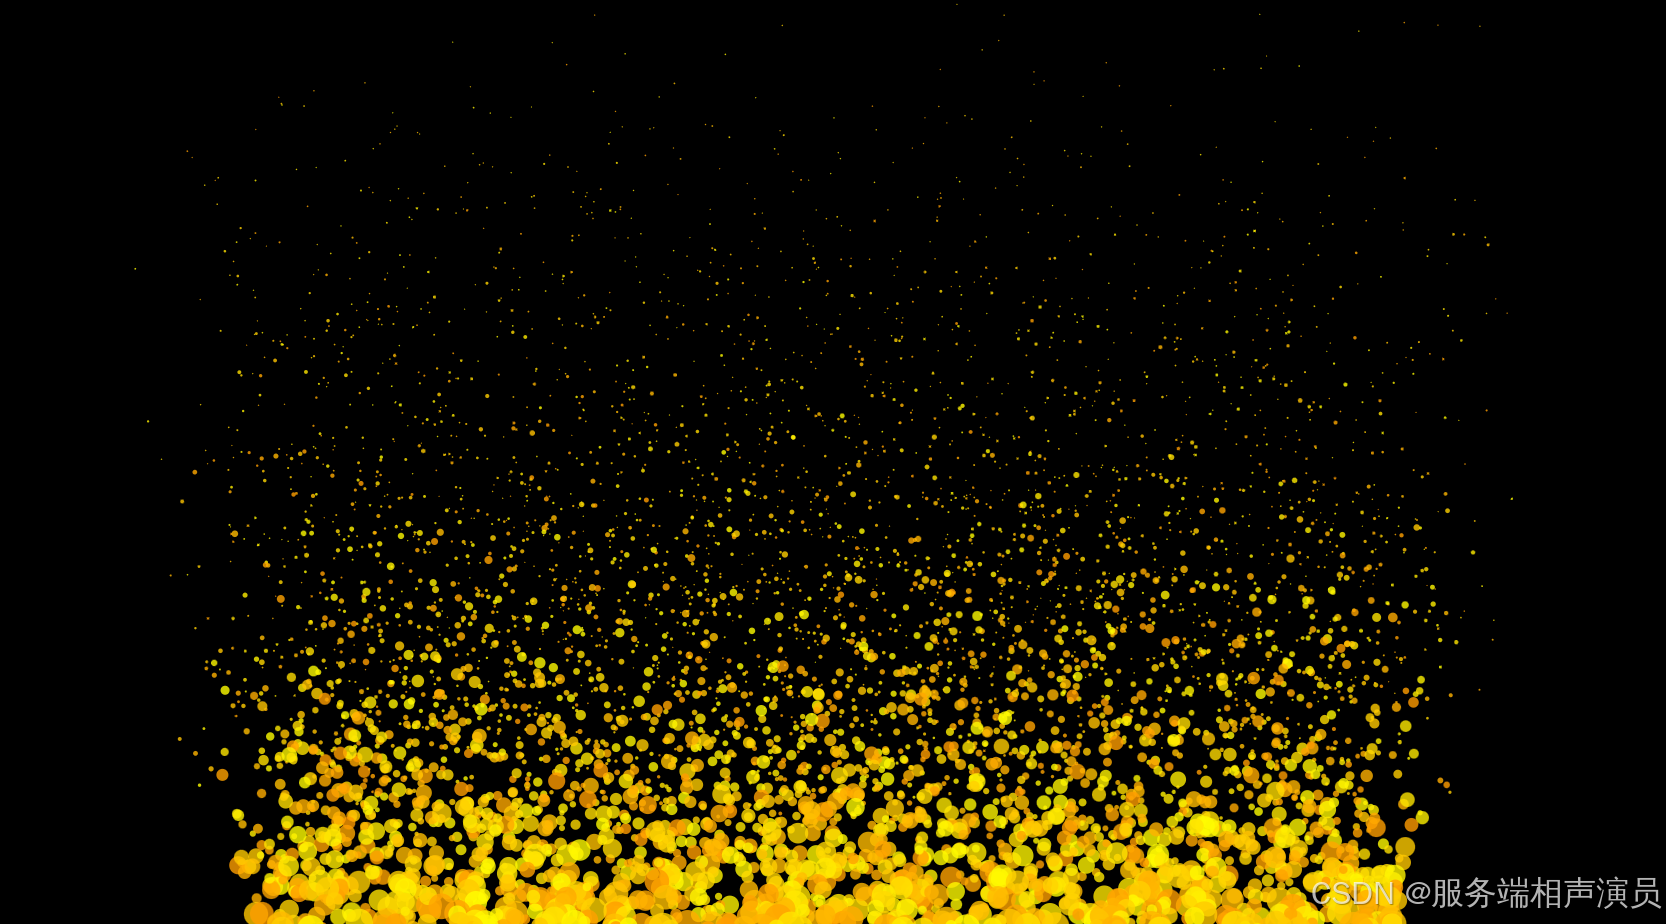
<title>宽粒子向上效果</title>
<style>
body {
margin: 0;
overflow: hidden;
background-color: black;
}
canvas {
display: block;
}
</style>
</head>
<body>
<canvas id="flameCanvas"></canvas>
<script>
const canvas = document.getElementById('flameCanvas');
const ctx = canvas.getContext('2d');
canvas.width = window.innerWidth;
canvas.height = window.innerHeight;
class Particle {
constructor(x, y) {
this.x = x;
this.y = y;
this.size = Math.random() * 10 + 5; // 粒子大小
this.speedY = Math.random() * -4 - 2; // 向上速度
this.speedX = (Math.random() - 0.5) * 2; // 水平随机速度
this.color = `rgba(255, ${Math.floor(Math.random() * 100) + 155}, 0, 0.8)`; // 橙色
this.friction = 0.98; // 摩擦力
}
update() {
this.x += this.speedX;
this.y += this.speedY;
this.size *= this.friction; // 粒子逐渐变小
if (this.size < 0.5) {
this.size = 0; // 粒子消失
}
}
draw() {
ctx.fillStyle = this.color;
ctx.beginPath();
ctx.arc(this.x, this.y, this.size, 0, Math.PI * 2);
ctx.fill();
}
}
class Flame {
constructor(x, width) {
this.x = x;
this.width = width;
this.particles = [];
this.particleCount = 40; // 每次生成的粒子数量
}
update() {
// 生成新粒子
for (let i = 0; i < this.particleCount; i++) {
const particleX = this.x + (Math.random() - 0.5) * this.width; // 生成在宽度范围内
this.particles.push(new Particle(particleX, canvas.height));
}
// 更新粒子位置
this.particles.forEach((particle, index) => {
particle.update();
if (particle.size <= 0) {
this.particles.splice(index, 1); // 移除消失的粒子
}
});
}
draw() {
this.particles.forEach(particle => {
particle.draw();
});
}
}
const flames = [];
const flameWidth = canvas.width * 0.6; // 宽度为屏幕的50%
// 创建一束宽粒子
flames.push(new Flame(canvas.width / 2, flameWidth));
function animate() {
ctx.clearRect(0, 0, canvas.width, canvas.height);
flames.forEach(flame => {
flame.update();
flame.draw();
});
requestAnimationFrame(animate);
}
animate();
</script>
</body>
</html>