前言
公司项目需求引入百度地图,由于给的时间比较短,所以就用了已经封装好了的vue-baidu-map
一、vue-baidu-map是什么?
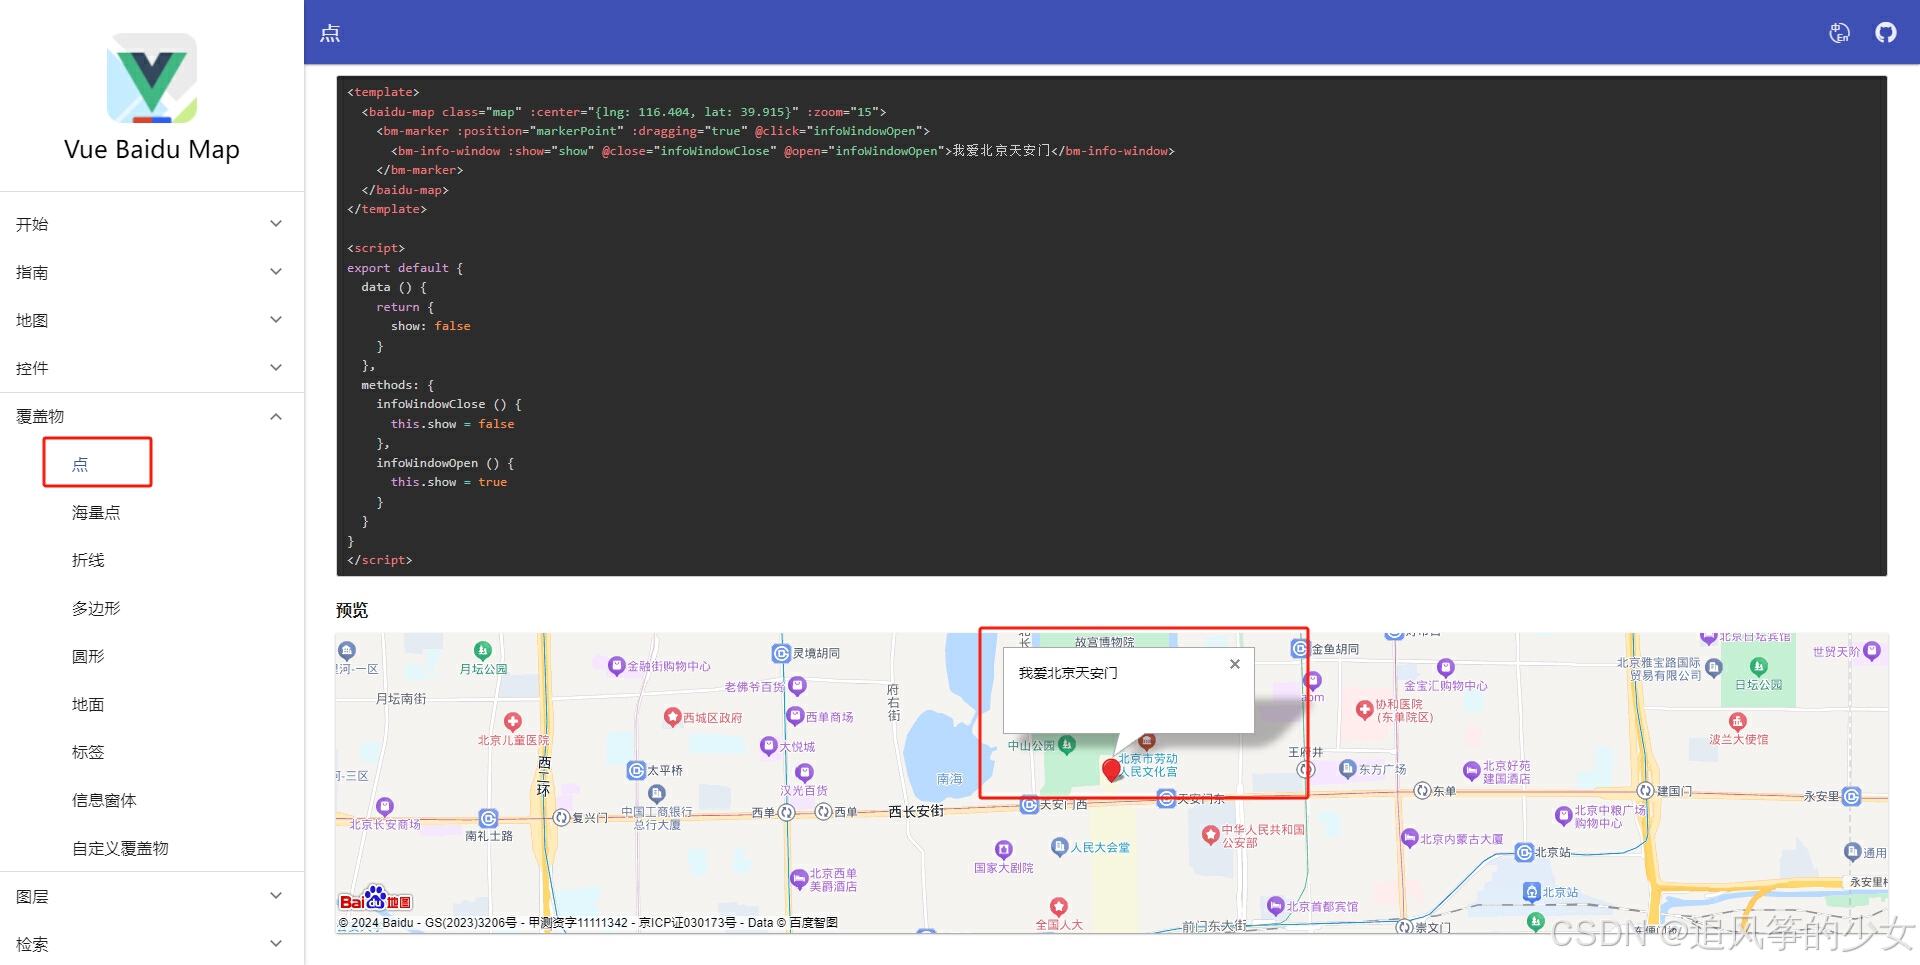
vue-baidu-map是基于vue.js封装的百度地图组件(官方文档)
二、使用步骤
1.下载插件
//我下载的版本
npm install vue-baidu-map@0.21.22
2. 引入
main.js
import BaiduMap from 'vue-baidu-map'

Vue.use(BaiduMap, {
    // ak 是在百度地图开发者平台申请的密钥 详见 http://lbsyun.baidu.com/apiconsole/key */
  ak: 'YOUR_APP_KEY'
})
3.使用
1.地图初始化
javascript
//center为初始定位  zoom是缩放  scroll-wheel-zoom是滚动  ready是初始化事件
//mapType是地图类型
<baidu-map :center="location" :zoom="zoom" :scroll-wheel-zoom="wheel" @ready="handler" style="width: 100%; height: 100%"  :mapClick="false" :mapType="mapType" id="map" @mouseout="mouseout" @mouseover="mouseover">
</baidu-map>


export default {

 data() {
        return {
           location: { lng: 0, lat: 0 },
            zoom: 11,
          wheel: true,
           mapType: "",
           BMap: null,
            map: null,
        }
},
methods: {
       handler({ BMap, map }) {
            this.BMap = BMap;
            this.map = map;
        },
  mouseover(e) {
            this.wheel = true
        },
        mouseout(e) {
            this.wheel = false
        },

}

}
(注意:以下组件相关代码都需要放进<baidu-map></baidu-map>)
2.地图图标
javascript
<bm-marker v-for="(marker, index) in points" :position="{ lng: marker.lng, lat: marker.lat }" :key="index":massClear="false" :dragging="false" :zIndex="9999" @click="marketClick">
<!--bm-label是图标的标记-->
 <bm-label :content="marker.content" :position="{ lng: marker.lng, lat: marker.lat }" :labelStyle="{ background: 'rgba(0,0,0,.5)', color: '#fff', width: 'auto', border: 'none', fontSize: '16px' }" :offset="{ width: -20, height: 20 }">
 </bm-label>
<!--bm-info-window是点击图标显示弹窗-->
<bm-info-window :show="marker.isShow" :position="{ lng: marker.lng, lat: marker.lat }" :width="400" :height="280" :offset="{ width: -10, height: -30 }" @close="handleClose">
</bm-info-window>
 </bm-marker>

export default {

 data() {
        return {
           points: [],
        }
},
methods: {
       marketClick(e) {
     //获取具体地址
        var geoc = new BMap.Geocoder();
        const that = this
       geoc.getLocation(e.target.point, function (rs) {
})
     }
}
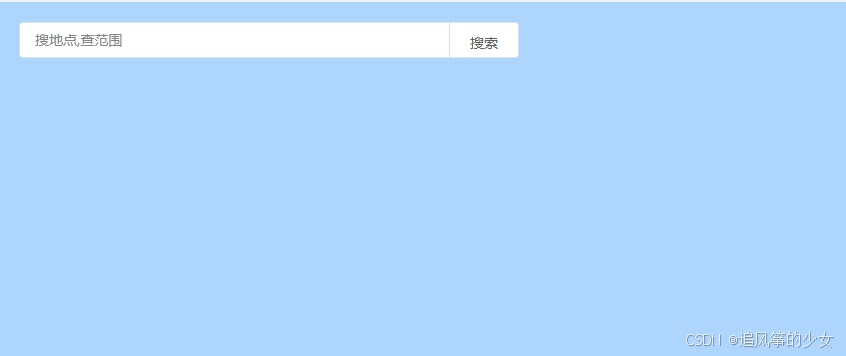
3.地图搜索
javascript
   <bm-control class="control">
   <bm-auto-complete :sugStyle="{ zIndex: 999999 }" v-model="keyword" >
      <el-input v-model="keyword" placeholder="搜地点,查范围" class="bmInput">
        <el-button slot="suffix" @click="confirmAddress">搜索</el-button>
      </el-input>
    </bm-auto-complete>
    </bm-control>
 <bm-local-search :keyword="keyword" :auto-viewport="true" @markersset="markersset" :panel="false"></bm-local-search>
export default {

 data() {
        return {
           keyword: null,
        }
},
methods: {
        confirmAddress() {
            this.map.centerAndZoom(new BMap.Point(this.localPoint.lng,
             this.localPoint.lat), 19);
        },
   markersset(res) {
            if (res.length != 0) {
                this.localPoint = {
                    lng: res[0].point.lng,
                    lat: res[0].point.lat
                }
                this.lng = 0
                this.lat = 0
            }
            this.map.clearOverlays()


        }
     }
}
4.地图面板覆盖物
javascript
 <bm-control class="control1" anchor="BMAP_ANCHOR_TOP_RIGHT">
                <div class="panel">
                    <div class="panelContent">
                        <el-row>
                            <el-col :span="4" class="item">
                                <span>路网:</span>
                                <el-checkbox v-model="net" @change="netChange" :disabled="disabled"></el-checkbox>
                            </el-col>
                            <el-col :span="4" class="item">
                                <span>卫星:</span>
                                <el-switch v-model="circle" @change="circleChange">
                                </el-switch>
                            </el-col>
                        </el-row>
                    </div>
                </div>
            </bm-control>

 data() {
        return {
         net:false,
         circle:false,
         disabled:true
        }
},
methods: {
//卫星
     circleChange(val) {
            if (val == true) {
                this.mapType = "BMAP_HYBRID_MAP"
                this.disabled = false
                this.net = true
            } else {
                this.mapType = "BMAP_NORMAL_MAP"
                this.disabled = true
                this.net = false
            }
        },
//路网
        netChange(val) {
            if (val == true) {
                this.mapType = "BMAP_HYBRID_MAP"
            } else {
                this.mapType = "BMAP_SATELLITE_MAP"
            }
        },
}

总结
以上内容仅仅介绍了vue-baidu-map在我们公司项目中的一些应用,有其他需求可以去官网看看。