
概述
我们在之前多篇博文中已经介绍过 SwiftUI 6.0(iOS 18)新增的自定义容器布局机制。现在,如何利用它们对容器内容进行"探囊取物"和"聚沙成塔",我们已然胸有成竹了。

然而,除了上述鬼工雷斧般的新技巧之外,SwiftUI 6.0 其实还提供了能更进一步增加容器布局自由度的新利器:自定义容器值(Container Values)。
在本篇博文中,您将学到如下内容:
- 概述
- [1. SwiftUI 6.0 中容器内容的遍历](#1. SwiftUI 6.0 中容器内容的遍历)
- [2. SwiftUI 6.0 之前的解决之道](#2. SwiftUI 6.0 之前的解决之道)
- [3. 什么是 SwiftUI 6.0 全新的自定义容器值(Container Values)](#3. 什么是 SwiftUI 6.0 全新的自定义容器值(Container Values))
- 总结
相信 SwiftUI 6.0 中全新的自定义容器值能够让容器布局更加"脱胎换骨"、灵动自由。
那还等什么呢?让我们马上开始新的容器大冒险吧!Let's go!!!😉
1. SwiftUI 6.0 中容器内容的遍历
从 SwiftUI 6.0(iOS 18)开始,苹果为 ForEach 和 Group 视图增加了全新的构造器,使它们能够分别实现解析容器单个元素和"鸟瞰"容器整体内容的功能:


我们可以将它们看成是 SwiftUI 4.0 中自定义容器布局(Layout)的一个简化版本。
在之前的博客中,我们已经对其做过一些介绍,感兴趣的小伙伴们可以移步如下链接观赏精彩的内容:
- SwiftUI 6.0(iOS 18)新容器视图修改器漫谈
- SwiftUI 6.0(iOS 18)将 Sections 也考虑进自定义容器子视图布局(上)
- SwiftUI 6.0(iOS 18)将 Sections 也考虑进自定义容器子视图布局(下)
下面,请允许我们先写一个非常简单的自定义容器 NiceListContainer 来小试拳脚一番:
swift
struct NiceListContainer<Content: View>: View {
    @ViewBuilder var content: Content

    var body: some View {
        List {
            ForEach(subviews: content) { subview in
                subview
            }
        }
    }
}
如下代码所示,使用 NiceListContainer 容器很简单:
swift
struct ContentView: View {
    var body: some View {
        NiceListContainer {
            Group {
                Text("Hello")
                    .foregroundStyle(.green)

                Text("World")
                    .foregroundStyle(.red)

                Text("大熊猫侯佩")
                    .foregroundStyle(.brown)
                    .font(.system(size: 55, weight: .black))

                Image(systemName: "globe.europe.africa")
                    .resizable()
                    .aspectRatio(contentMode: .fit)
                    .foregroundStyle(.orange.gradient)

                HStack {
                    Text("战斗力")
                    Slider(value: .constant(10))
                        .padding()
                }
                .tint(.pink)
            }
            .font(.title.weight(.heavy))
        }
    }
}
我们在上面的演示代码中做了这样几件事:
- 用 @ViewBuilder 语法将任意子元素放到了 NiceListContainer 容器中;
- 使用 Group 将这些子元素聚为一组。这不会影响 NiceListContainer 主体中 ForEach(subviews:) 的解析,因为 ForEach 可以将组(Group)中的内容"解开"作为单独的容器元素来遍历;
编译并在 Xcode 预览里可以看到,我们成功的将 NiceListContainer 传入闭包中的每个子视图作为 List 中单个行呈现出来了:
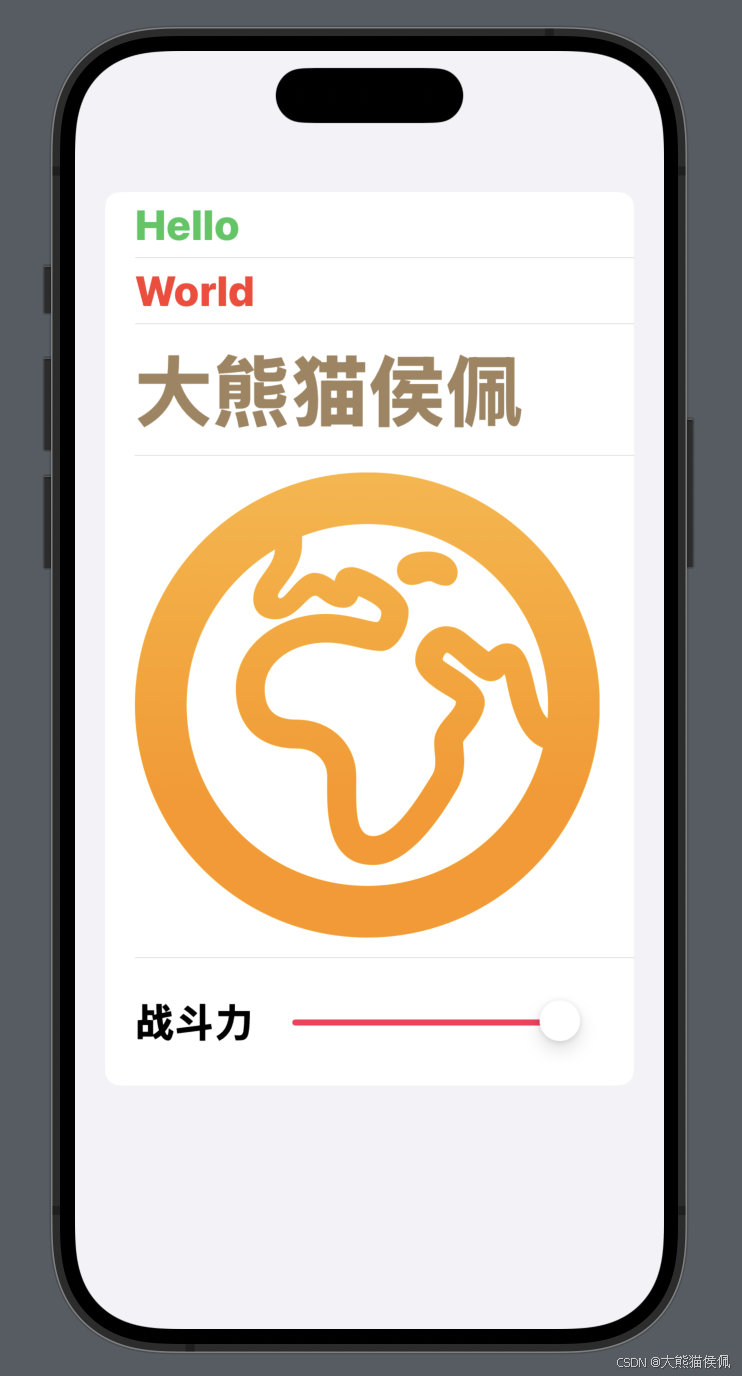
现在假设我们要实现这样一种功能:在 NiceListContainer 容器中指定子视图的左侧(Leading)加上红色竖线以醒目用户。那么,我们怎么才能让 NiceListContainer 容器知晓哪些子视图需要醒目显示呢?
在下面的代码中,我们假想了这种行为。我们使用臆造的 highlightPrefix() 修改器来向 NiceListContainer 容器表明我们想在这些视图上增加醒目显示的意图:
swift
struct ContentView: View {
    var body: some View {
        NiceListContainer {
            Group {
                Text("Hello")
                    .foregroundStyle(.green)
                    .highlightPrefix()

                Text("World")
                    .foregroundStyle(.red)
                    .highlightPrefix()

                Text("大熊猫侯佩")
                    .foregroundStyle(.brown)
                    .font(.system(size: 55, weight: .black))

                Image(systemName: "globe.europe.africa")
                    .resizable()
                    .aspectRatio(contentMode: .fit)
                    .foregroundStyle(.orange.gradient)

                HStack {
                    Text("战斗力")
                    Slider(value: .constant(10))
                        .padding()
                }
                .tint(.pink)
                .highlightPrefix()
            }
            .font(.title.weight(.heavy))
        }
    }
}
那么,我们应该怎样实现上面的 highlightPrefix() 修改器方法呢?大家可以先自己尝试一下。
2. SwiftUI 6.0 之前的解决之道
聪明的小伙伴们可能已经有了一些头绪:我们需要一种方法从容器中的子视图向容器传递消息。这有点像 SwiftUI 中的环境变量,但 @Environment 是从顶向下而不是从底部向上传递消息的。
在 SwiftUI 6.0 之前,我们可以使用 Preference 机制将与子视图绑定的 ID 向上层传递,然后在上层的容器视图中归拢这些 ID,并在这些 ID 对应的视图上应用特殊效果。
关于 Preference 机制的进一步介绍,大家可以到下面的链接中一探究竟:
关于如何用动态探查技术在运行时获取指定视图的 id 或 tag 值,小伙伴们可以前往如下链接进一步观赏:
另一种办法是,我们可以用 SwiftUI 4.0 Layout 中的自定义布局值来将消息传递给父视图:
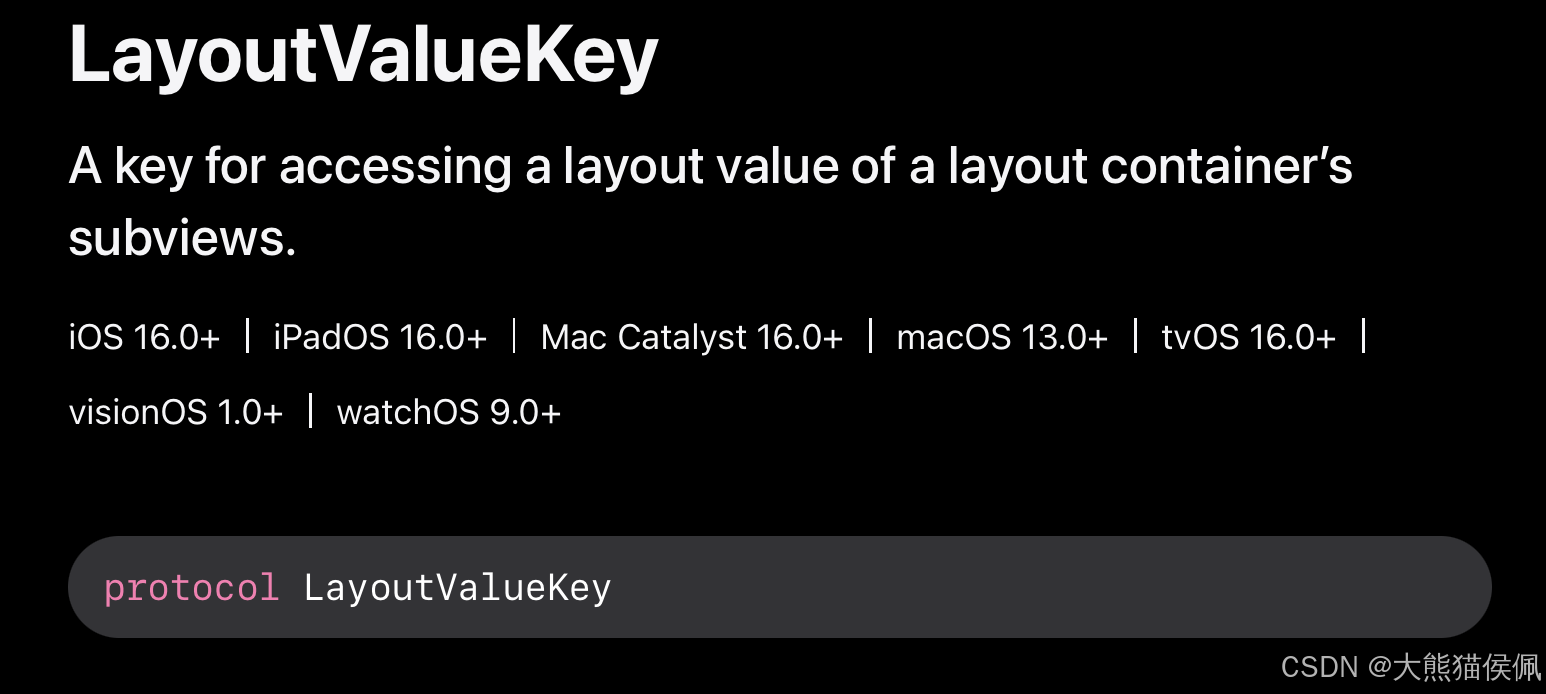
大致的实现如下代码所示:
swift
struct Rotation: LayoutValueKey {
    static let defaultValue: Binding<Angle>? = nil
}

struct ContentView: View {

    // ...

    @State var rotations: [Angle] = Array<Angle>(repeating: .zero, count: 16)

    var body: some View {

        WheelLayout(radius: radius, rotation: angle) {
            ForEach(0..<16) { idx in
                RoundedRectangle(cornerRadius: 8)
                    .fill(colors[idx%colors.count].opacity(0.7))
                    .frame(width: 70, height: 70)
                    .overlay { Text("\(idx+1)") }
                    .rotationEffect(rotations[idx])
                    // 将自定义的 Rotation 初始值传递到 WheelLayout 中去
                    .layoutValue(key: Rotation.self, value: $rotations[idx])
            }
        }

        // ...
}
在上面代码中,我们使用 layoutValue() 修改器将 Rotation 对应 LayoutValueKey 键的值向上传递给了 WheelLayout 容器。
在 WheelLayout 容器中,我们通过子视图的 LayoutValueKey 键语法糖计算了每个子视图适合的 Rotation 值:
swift
struct WheelLayout: Layout {

    // ...

    func placeSubviews(in bounds: CGRect, proposal: ProposedViewSize, subviews: Subviews, cache: inout ())
    {
        let angleStep = (Angle.degrees(360).radians / Double(subviews.count))

        for (index, subview) in subviews.enumerated() {
            let angle = angleStep * CGFloat(index) + rotation.radians

            // ...

            DispatchQueue.main.async {
            	// 计算每个子视图对应的旋转值
                subview[Rotation.self]?.wrappedValue = .radians(angle)
            }
        }
    }
}
虽然上面这些方法可行,但总觉得有些莫可名状。有没有更简单、更优雅的方法呢?
答案自然是:确定、一定、以及肯定!
3. 什么是 SwiftUI 6.0 全新的自定义容器值(Container Values)
从 SwiftUI 6.0 开始,苹果为定制容器布局新增了自定义容器值(Container Values)的概念。
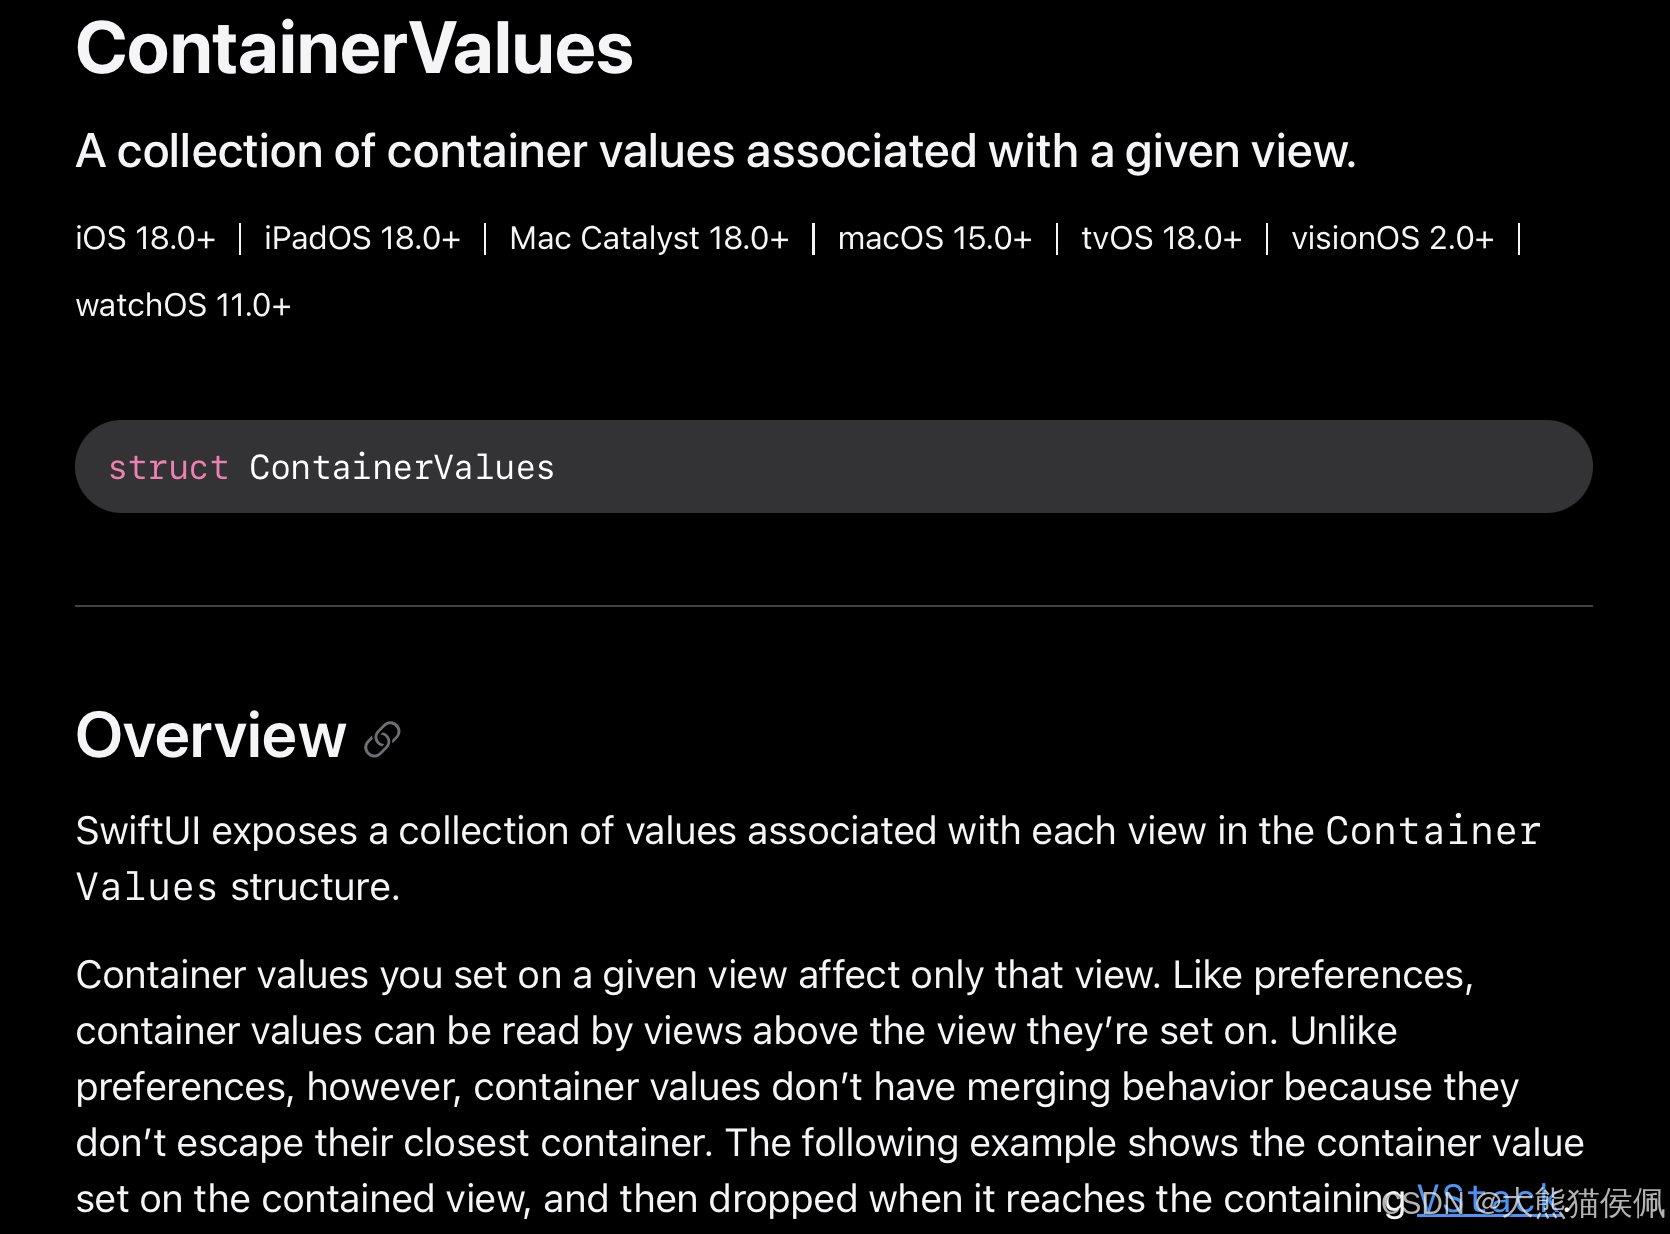
简单来说,我们可以使用自定义容器值将所需的状态值附加到容器中指定的子视图上,然后传递到容器的解析和再组合中。
利用 SwiftUI 6.0 中全新的 @Entry 宏,我们还可以进一步简化 Container Values 的定义。
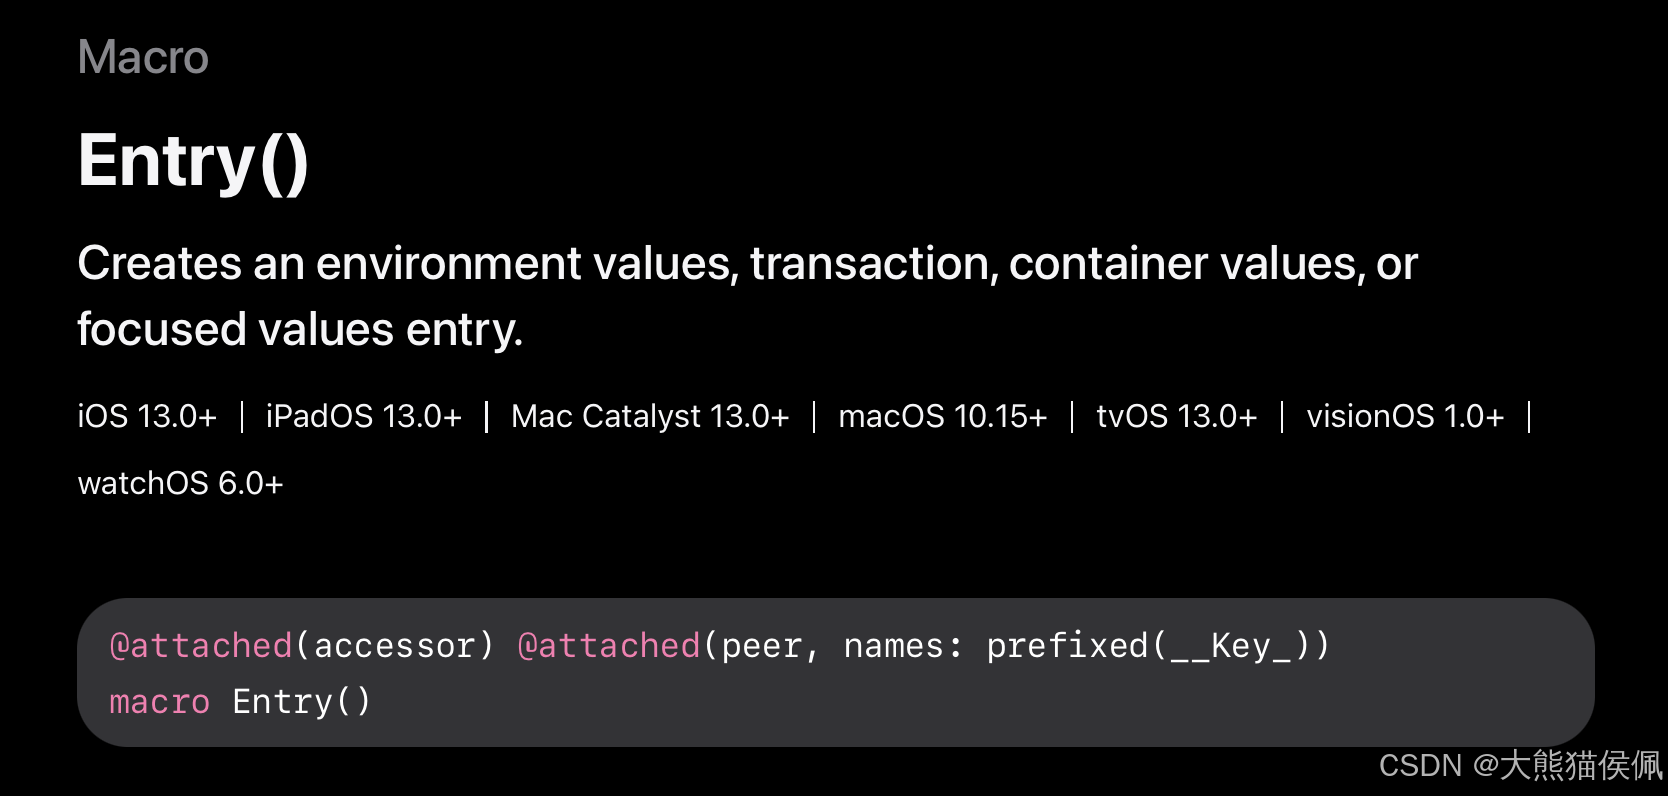
细心的小伙伴们可能发现了,在上图中的 Entry 宏貌似从 iOS 13(SwiftUI 1.0)就开始支持了,如果不是苹果"犯浑"的话,原因可能是苹果决定把这个特性大幅度向前兼容吧。
更多 @Entry 宏的介绍,请小伙伴们移步如下链接观赏进一步的内容:
在下一篇博文中,我们就来看看如何在 SwiftUI 6.0 中优雅的使用 Container Values 吧。
总结
在本篇博文中,我们介绍了如何用 SwiftUi 6.0 全新的自定义容器机制解析容器子元素,并初步介绍了何为 SwiftUI 6.0 全新的自定义容器值(Container Values)。
感谢观赏,再会啦!😎