1. 初始化VUE项目
1.1 创建vue项目

1.2 删除多余的界面
根据自己情况删除红框内的文件

清理app页面代码

1.3 引入vue-router
1.3.1 下载vue-router
powershell
npm install vue-router1.3.2 配置vue-router
在 main.js 或 main.ts 中引入 vue-router
javascript
import './assets/main.css'
import router from './router';
import { createApp } from 'vue'
import App from './App.vue'

// createApp(App).mount('#app')
const app = createApp(App);
app.use(router);
app.mount('#app');
在项目中创建一个 router 目录,并在其中创建 index.js 文件来配置路由:
javascript
// src/router/index.js
import { createRouter, createWebHistory } from 'vue-router';
import Home from '../views/Home.vue';
import About from '../views/About.vue';

const routes = [
  {
    path: '/',
    name: 'Home',
    component: Home,
  },
  {
    path: '/about',
    name: 'About',
    component: About,
  },
];

const router = createRouter({
  // history: createWebHistory(process.env.BASE_URL),
  history: createWebHistory(),
  routes,
});

export default router;
1.3.3 创建视图组件
在 src/views 目录下创建两个简单的视图组件 Home.vue 和 About.vue:
html
<!-- src/views/Home.vue -->
<template>
  <div>
    <h1>Home Page</h1>
  </div>
</template>

<script>
export default {
  name: 'Home',
};
</script>

<style scoped>
</style>
1.4 引入elementui
1.4.1 下载element-plus
因为用的是vue3版本,所以引入element-plus
shell
npm install element-plus1.4.2 配置element-plus
在 main.js 或 main.ts 中引入 element-plus
javascript
import './assets/main.css'

import router from './router';
import ElementPlus from 'element-plus';
import 'element-plus/dist/index.css';
import { createApp } from 'vue'
import App from './App.vue'

// createApp(App).mount('#app')
const app = createApp(App);
//使用路由器
app.use(router);
//使用ElementPlus
app.use(ElementPlus);
app.mount('#app');
1.5 创建侧边栏组件
1.5.1 在 src/components 目录下创建 SideBar.vue 组件:
html
<script setup>
import { RouterLink } from 'vue-router';
</script>

<template>
  <el-menu :router="true" default-active="1" class="el-menu-vertical-demo">
    <el-sub-menu index="1">
      <template #title>
        <span>一级菜单</span>
      </template>
      <el-menu-item index="home">
        <span>首页</span>
      </el-menu-item>
      <el-menu-item index="about">
        <span>关于</span>
      </el-menu-item>
    </el-sub-menu>
    <el-sub-menu index="2">
      <template #title>
        <span>二级菜单</span>
      </template>
      <el-menu-item index="2-1" :to="{ name: 'AnotherPage' }">
        <span>另一个页面</span>
      </el-menu-item>
      <el-sub-menu index="2-2">
        <template #title>
          <span>三级菜单</span>
        </template>
        <el-menu-item index="2-2-1" :to="{ name: 'SubPage' }">
          <span>子页面</span>
        </el-menu-item>
      </el-sub-menu>
    </el-sub-menu>
  </el-menu>
</template>

<style scoped>
.el-menu-vertical-demo {
  height: 100%;
}
</style>
1.5.2 更新主应用APP.VUE组件
html
<!-- src/App.vue -->
<script setup>
import { RouterView } from 'vue-router';
import SideBar from './components/SideBar.vue';
</script>

<template>
  <div id="app">
    <el-container style="height: 100vh; width: 100%;">
      <el-aside width="200px">
        <SideBar />
      </el-aside>
      <el-main>
        <div class="router-view-container">
          <RouterView />
        </div>
      </el-main>
    </el-container>
  </div>
</template>

<style scoped>
#app {
  font-family: Avenir, Helvetica, Arial, sans-serif;
  -webkit-font-smoothing: antialiased;
  -moz-osx-font-smoothing: grayscale;
  text-align: center;
  color: #2c3e50;
  height: 100vh;
  width: 98vw;
}

.el-aside {
  background-color: #d3dce6;
  color: #333;
  text-align: center;
  line-height: 200px;
}

.el-main {
  background-color: #e9eef3;
  color: #333;
  text-align: center;
  padding: 20px;
  height: 100%;
  overflow: auto;
}

.router-view-container {
  flex-grow: 1;
  overflow: auto;
  padding: 20px; /* 可选:恢复内边距 */
}
</style>
2. 初始化Java项目
2.1 创建Java项目
2.1.1 创建springboot项目
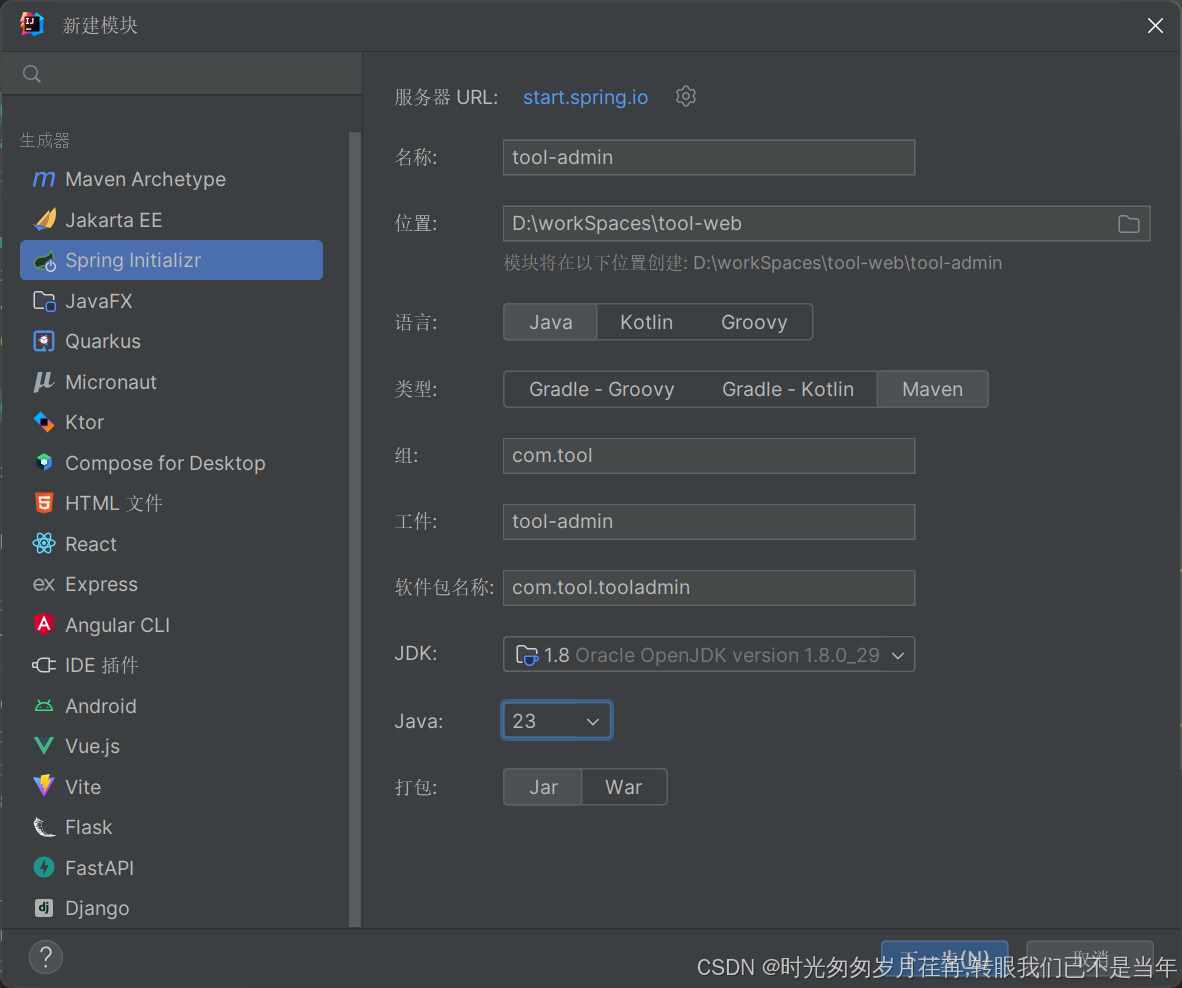
添加为maven项目

2.1.2 修改jdk配置
因为使用的是jdk8,所以需要修改配置


修改idea Java项目配置

修改maven 配置指定Java版本和springboot版本

修改application

2.2 创建初始化接口
2.2.1 添加web maven
xml
 <dependency>
     <groupId>org.springframework.boot</groupId>
     <artifactId>spring-boot-starter-web</artifactId>
     <version>RELEASE</version>
     <scope>compile</scope>
 </dependency>
2.2.2 创建testController
java
package com.tool.tooladmin.algorithm;

import org.springframework.web.bind.annotation.GetMapping;
import org.springframework.web.bind.annotation.RequestMapping;
import org.springframework.web.bind.annotation.RestController;

@RestController
@RequestMapping("/test")
public class testController {
    @GetMapping("/test")
    public Map<String, Object> test() {
        Map<String, Object> map = new HashMap<>();
        map.put("code", 200);
        map.put("msg", "test");
        return map;
    }
}
2.2.3 修改application
yaml
server:
  port: 8888
  servlet:
    # 应用的访问路径
    context-path: /tool-admin
spring:
  application:
    name: tool-admin
启动验证可以正常访问即可
3. 封装统一http请求(Vue)
3.1 安装axios
bash
npm install axios3.2 创建封装请求的文件,http.js
javascript
// http.js
import axios from 'axios';
import { ElMessageBox, ElMessage } from 'element-plus';

// 创建axios实例
const service = axios.create({
    // baseURL: process.env.VUE_APP_BASE_API, // api的base_url
    baseURL: 'http://localhost:8080', // api的base_url
    timeout: 5000 // 请求超时时间
});

// 请求拦截器
service.interceptors.request.use(
    config => {
        // 可以在这里添加请求头等信息
        return config;
    },
    error => {
        // 请求错误处理
        console.log(error); // for debug
        Promise.reject(error).then(() => {
            // 可以在这里进行错误处理
            return Promise.reject(error);
        });
    }
);

// 响应拦截器
service.interceptors.response.use(
    response => {
        const res = response.data;
        // 根据返回的状态码做相应处理,例如这里以200为正确响应
        if (res.code !== 200) {
            ElMessageBox.alert(res.message, '错误', { type: 'error' }).then(() => {
                if (res.code === 50008 || res.code === 50012 || res.code === 50014) {
                    // 根据错误代码进行对应操作,例如登录失效等
                }
            });
            return Promise.reject('error');
        } else {
            return response.data;
        }
    },
    error => {
        console.log('err' + error); // for debug
        ElMessage({
            message: '服务器异常',
            type: 'error',
            duration: 5 * 1000
        });
        return Promise.reject(error);
    }
);

export default service;
3.3 在main.js中引入这个封装后的请求文件
javascript
import './assets/main.css'

import router from './router';
import ElementPlus from 'element-plus';
import 'element-plus/dist/index.css';
import { createApp } from 'vue'
import App from './App.vue'
import http from './utils/http'; // 引入封装的http请求

// createApp(App).mount('#app')
const app = createApp(App);
//使用路由器
app.use(router);
//使用ElementPlus
app.use(ElementPlus);
//将http请求挂载到全局
app.config.globalProperties.$http = http;
app.mount('#app');
4. 解决跨域问题(Java)
4.1 创建CorsConfig
java
package com.tool.tooladmin.config;

import org.springframework.context.annotation.Bean;
import org.springframework.context.annotation.Configuration;
import org.springframework.web.cors.CorsConfiguration;
import org.springframework.web.cors.UrlBasedCorsConfigurationSource;
import org.springframework.web.filter.CorsFilter;
import org.springframework.web.servlet.config.annotation.WebMvcConfigurer;

@Configuration
public class CorsConfig implements WebMvcConfigurer {

    /**
     * 跨域配置
     */
    @Bean
    public CorsFilter corsFilter() {
        CorsConfiguration config = new CorsConfiguration();
        config.setAllowCredentials(true);
        // 设置访问源地址
        config.addAllowedOriginPattern("*");
        // 设置访问源请求头
        config.addAllowedHeader("*");
        // 设置访问源请求方法
        config.addAllowedMethod("*");
        // 有效期 1800秒
        config.setMaxAge(1800L);
        // 添加映射路径,拦截一切请求
        UrlBasedCorsConfigurationSource source = new UrlBasedCorsConfigurationSource();
        source.registerCorsConfiguration("/**", config);
        // 返回新的CorsFilter
        return new CorsFilter(source);
    }
}
5. 调用
5.1 修改Home.vue
html
<!-- src/views/Home.Vue -->
<template>
  <div>
    <h1>Home Page</h1>
  </div>
  {{ message }}
</template>

<script>
export default {
  name: 'Home',
  data() {
    return {
      message: null
    }
  },
  methods: {
    fetchData() {
      this.$http.get('/test/test').then(response => {
        console.log(response);
        this.message = response.msg;
      }).catch(error => {
        console.error(error);
      });
    }
  },
  mounted() {
    // 当组件挂载到DOM上后调用方法
    this.fetchData();
  }
};
</script>

<style scoped>
</style>