1. 规划节点
节点规划,见表1。
表1 节点规划
| IP | 主机名 | 节点 |
|---|---|---|
| 10.24.2.10 | master | docker-compose节点 |
2. 基础准备
Docker和Docker Compose已安装完成,将提供的软件包Pig.tar.gz上传至master节点/root目录下并解压。
案例实施
1. 基础环境准备
(1)导入软件包
下载并解压软件包:
shell
[root@master ~]# wget http://mirrors.douxuedu.com/competition/Pig.tar.gz
[root@master ~]# tar -xf Pig.tar.gz
[root@master ~]# ll Pig
total 206752
-rw------- 1 root root 211696640 Jan 12 17:24 CentOS_7.9.2009.tar
drwxr-xr-x 2 root root        85 Jan  5 08:58 mysql
drwxr-xr-x 3 root root        37 Jan  5 08:56 nginx
drwxr-xr-x 2 root root        97 Jan  5 08:56 service
drwxr-xr-x 3 root root     12288 Jan  5 08:56 yum
导入CentOS:7.9.2009镜像:
shell
[root@master ~]# docker load -i Pig/CentOS_7.9.2009.tar
Loaded image: centos:centos7.9.2009
(2)启动Kubernetes集群
初始化Kubernetes集群:
shell
[root@master ~]# init-cluster查看集群状态:
shell
[root@master ~]# kubectl cluster-info
Kubernetes control plane is running at https://apiserver.cluster.local:6443
CoreDNS is running at https://apiserver.cluster.local:6443/api/v1/namespaces/kube-system/services/kube-dns:dns/proxy

To further debug and diagnose cluster problems, use 'kubectl cluster-info dump'.
2. 容器化部署MariaDB
(1)编写Dockerfile
编写init.sh脚本:
shell
[root@master ~]# cd Pig/
[root@master Pig]# vi mysql_init.sh
#!/bin/bash
mysql_install_db --user=root
mysqld_safe --user=root &
sleep 8
mysqladmin -u root password 'root'
mysql -uroot -proot -e "grant all on *.* to 'root'@'%' identified by 'root';flush privileges;"
mysql -uroot -proot -e "source /opt/pig.sql;source /opt/pig_codegen.sql;source /opt/pig_config.sql;source /opt/pig_job.sql;"
编写yum源:
shell
[root@master Pig]# vi local.repo
[pig]
name=pig
baseurl=file:///root/yum
gpgcheck=0
enabled=1
编写Dockerfile文件:
shell
[root@master Pig]# vi Dockerfile-mariadb
FROM centos:centos7.9.2009
MAINTAINER Chinaskills
RUN rm -rf /etc/yum.repos.d/*
COPY local.repo /etc/yum.repos.d/
COPY yum /root/yum
ENV LC_ALL en_US.UTF-8
RUN yum -y install mariadb-server
COPY mysql /opt/
COPY mysql_init.sh /opt/
RUN bash /opt/mysql_init.sh
EXPOSE 3306
CMD ["mysqld_safe","--user=root"]
(2)构建镜像
构建镜像:
shell
[root@master Pig]# docker build -t pig-mysql:v1.0 -f Dockerfile-mariadb .
Sending build context to Docker daemon  890.9MB
Step 1/12 : FROM centos:centos7.9.2009
 ---> eeb6ee3f44bd
Step 2/12 : MAINTAINER Chinaskills
 ---> Using cache
 ---> 815a4a5f2242
Step 3/12 : RUN rm -rf /etc/yum.repos.d/*
 ---> Using cache
 ---> 6afa0315cb5b
Step 4/12 : COPY local.repo /etc/yum.repos.d/
 ---> Using cache
 ---> 4f07e082cc00
Step 5/12 : COPY yum /root/yum
 ---> Using cache
 ---> 7042f9e7f455
Step 6/12 : ENV LC_ALL en_US.UTF-8
 ---> Using cache
 ---> df0aa8985d61
Step 7/12 : RUN yum -y install mariadb-server
 ---> Using cache
 ---> 9ad09d62d373
Step 8/12 : COPY mysql /opt/
 ---> Using cache
 ---> 75adb0e3bbb0
Step 9/12 : COPY mysql_init.sh /opt/
 ---> Using cache
 ---> 3cc10e8ca0cc
Step 10/12 : RUN bash /opt/mysql_init.sh
 ---> Using cache
 ---> f7fe9f822cc3
Step 11/12 : EXPOSE 3306
 ---> Using cache
 ---> 70f2274acbeb
Step 12/12 : CMD ["mysqld_safe","--user=root"]
 ---> Using cache
 ---> f088fb18dedf
Successfully built f088fb18dedf
Successfully tagged pig-mysql:v1.0
3. 容器化部署Redis
(1)编写Dockerfile
编写Dockerfile文件:
shell
[root@master Pig]# vi Dockerfile-redis
FROM centos:centos7.9.2009
MAINTAINER Chinaskills
RUN rm -rf /etc/yum.repos.d/*
COPY local.repo /etc/yum.repos.d/
COPY yum /root/yum
RUN yum -y install redis
RUN sed -i 's/127.0.0.1/0.0.0.0/g' /etc/redis.conf && \
     sed -i 's/protected-mode yes/protected-mode no/g' /etc/redis.conf
EXPOSE 6379
CMD ["/usr/bin/redis-server","/etc/redis.conf"]
(2)构建镜像
shell
[root@master Pig]# docker build -t pig-redis:v1.0 -f Dockerfile-redis .
Sending build context to Docker daemon  890.9MB
Step 1/9 : FROM centos:centos7.9.2009
 ---> eeb6ee3f44bd
Step 2/9 : MAINTAINER Chinaskills
 ---> Using cache
 ---> 815a4a5f2242
Step 3/9 : RUN rm -rf /etc/yum.repos.d/*
 ---> Using cache
 ---> 6afa0315cb5b
Step 4/9 : COPY local.repo /etc/yum.repos.d/
 ---> Using cache
 ---> 4f07e082cc00
Step 5/9 : COPY yum /root/yum
 ---> Using cache
 ---> 7042f9e7f455
Step 6/9 : RUN yum -y install redis
 ---> Using cache
 ---> 2d0b65ca48f0
Step 7/9 : RUN sed -i 's/127.0.0.1/0.0.0.0/g' /etc/redis.conf &&     sed -i 's/protected-mode yes/protected-mode no/g' /etc/redis.conf
 ---> Using cache
 ---> fcb84f12d0cf
Step 8/9 : EXPOSE 6379
 ---> Using cache
 ---> 37ac24f680d6
Step 9/9 : CMD ["/usr/bin/redis-server","/etc/redis.conf"]
 ---> Using cache
 ---> ee5f16785493
Successfully built ee5f16785493
Successfully tagged pig-redis:v1.0
4. 容器化部署Pig
(1)编写Dockerfile
编写启动脚本:
shell
[root@master Pig]# vi pig_init.sh
#!/bin/bash
sleep 20
nohup java -jar /root/pig-register.jar  $JAVA_OPTS  >/dev/null 2>&1 &
sleep 20
nohup java -jar /root/pig-gateway.jar  $JAVA_OPTS >/dev/null 2>&1 &
sleep 20
nohup java -jar /root/pig-auth.jar  $JAVA_OPTS >/dev/null 2>&1 &
sleep 20
nohup java -jar /root/pig-upms-biz.jar  $JAVA_OPTS >/dev/null 2>&1
编写Dockerfile文件:
shell
[root@master Pig]# vi Dockerfile-pig
FROM centos:centos7.9.2009
MAINTAINER Chinaskills
COPY service /root
ADD yum /root/yum
RUN rm -rfv /etc/yum.repos.d/*
COPY local.repo /etc/yum.repos.d/local.repo
RUN yum install -y java-1.8.0-openjdk java-1.8.0-openjdk-devel
COPY pig_init.sh /root
RUN chmod +x /root/pig_init.sh
EXPOSE 8848 9999 3000 4000
CMD ["/bin/bash","/root/pig_init.sh"]
(2)构建镜像
shell
[root@master Pig]# docker build -t pig-service:v1.0 -f Dockerfile-pig .
Sending build context to Docker daemon  890.9MB
Step 1/11 : FROM centos:centos7.9.2009
 ---> eeb6ee3f44bd
Step 2/11 : MAINTAINER Chinaskills
 ---> Using cache
 ---> 24a91af3317f
Step 3/11 : COPY service /root
 ---> Using cache
 ---> d5fe8134b1ed
Step 4/11 : ADD yum /root/yum
 ---> Using cache
 ---> 41cc1285cd49
Step 5/11 : RUN rm -rfv /etc/yum.repos.d/*
 ---> Using cache
 ---> 2b8dc2f278e0
Step 6/11 : COPY local.repo /etc/yum.repos.d/local.repo
 ---> Using cache
 ---> a61d69862c5c
Step 7/11 : RUN yum install -y java-1.8.0-openjdk java-1.8.0-openjdk-devel
 ---> Using cache
 ---> 92ccadeb64b6
Step 8/11 : COPY pig_init.sh /root
 ---> Using cache
 ---> 1ab999a18ce1
Step 9/11 : RUN chmod +x /root/pig_init.sh
 ---> Using cache
 ---> dff4a7c6bba7
Step 10/11 : EXPOSE 8848 9999 3000 4000
 ---> Using cache
 ---> d4e37e3952af
Step 11/11 : CMD ["/bin/bash","/root/pig_init.sh"]
 ---> Using cache
 ---> acb3d73b810a
Successfully built acb3d73b810a
Successfully tagged pig-service:v1.0
5. 容器化部署前端服务
(1)编写Dockerfile
编写Dockerfile:
shell
[root@master Pig]# vi Dockerfile-nginx
FROM centos:centos7.9.2009
MAINTAINER Chinaskills
RUN rm -rf /etc/yum.repos.d/*
COPY local.repo /etc/yum.repos.d/
COPY yum /root/yum
RUN yum -y install nginx
COPY nginx/dist /data
ADD nginx/pig-ui.conf /etc/nginx/conf.d/
RUN /bin/bash -c 'echo init ok'
EXPOSE 80
CMD ["nginx","-g","daemon off;"]
(2)构建镜像
构建镜像:
shell
[root@master Pig]# docker build -t pig-ui:v1.0 -f Dockerfile-nginx .
Sending build context to Docker daemon  890.9MB
Step 1/11 : FROM centos:centos7.9.2009
 ---> eeb6ee3f44bd
Step 2/11 : MAINTAINER Chinaskills
 ---> Using cache
 ---> 815a4a5f2242
Step 3/11 : RUN rm -rf /etc/yum.repos.d/*
 ---> Using cache
 ---> 6afa0315cb5b
Step 4/11 : COPY local.repo /etc/yum.repos.d/
 ---> Using cache
 ---> 4f07e082cc00
Step 5/11 : COPY yum /root/yum
 ---> Using cache
 ---> 7042f9e7f455
Step 6/11 : RUN yum -y install nginx
 ---> Using cache
 ---> b6ee699b51ed
Step 7/11 : COPY nginx/dist /data
 ---> Using cache
 ---> 04b6d05ba642
Step 8/11 : ADD nginx/pig-ui.conf /etc/nginx/conf.d/
 ---> Using cache
 ---> 661b56e2cff6
Step 9/11 : RUN /bin/bash -c 'echo init ok'
 ---> Using cache
 ---> 0d98b6d8a81c
Step 10/11 : EXPOSE 80
 ---> Using cache
 ---> b1f5ecafc494
Step 11/11 : CMD ["nginx","-g","daemon off;"]
 ---> Using cache
 ---> c20fc29b9daa
Successfully built c20fc29b9daa
Successfully tagged pig-ui:v1.0
6. 编排部署Pig快速开发平台
(1)编写docker-compose.yaml
编写docker-compose.yaml编排文件:
shell
[root@master Pig]# vi docker-compose.yaml
version: '2'
services:
  pig-mysql:
    environment:
      MYSQL_ROOT_PASSWORD: root
    restart: always
    container_name: pig-mysql
    image: pig-mysql:v1.0
    ports:
      - 3306:3306
    links:
      - pig-service:pig-register
  pig-redis:
    image: pig-redis:v1.0
    ports:
      - 6379:6379
    restart: always
    container_name: pig-redis
    hostname: pig-redis
    links:
      - pig-service:pig-register
  pig-service:
    ports:
      - 8848:8848
      - 9999:9999
    restart: always
    container_name: pig-service
    hostname: pig-service
    image: pig-service:v1.0
    extra_hosts:
      - pig-register:127.0.0.1
      - pig-upms:127.0.0.1
      - pig-gateway:127.0.0.1
      - pig-auth:127.0.0.1
      - pig-hou:127.0.0.1
    stdin_open: true
    tty: true
    privileged: true
  pig-ui:
    restart: always
    container_name: pig-ui
    image: pig-ui:v1.0
    ports:
      - 8888:80
    links:
      - pig-service:pig-gateway
(2)部署服务
部署服务
shell
[root@master Pig]# docker-compose up -d
[+] Running 5/5
⠿ Network  pig_default  Created                                       0.1s
⠿ Container  pig-service  Started                                       0.7s
⠿ Container  pig-mysql   Started                                       1.5s
⠿ Container  pig-redis    Started                                       1.7s
⠿ Container  pig-ui      Started                                       1.8s
查看服务:
shell
[root@master Pig]# docker-compose ps
NAME                COMMAND                  SERVICE             STATUS              PORTS
pig-mysql           "mysqld_safe --user=..."   pig-mysql           running             0.0.0.0:3306->3306/tcp, :::3306->3306/tcp
pig-redis           "/usr/bin/redis-serv..."   pig-redis           running             0.0.0.0:6379->6379/tcp, :::6379->6379/tcp
pig-service         "/bin/bash /root/pig..."   pig-service         running             0.0.0.0:8848->8848/tcp, 0.0.0.0:9999->9999/tcp, :::8848->8848/tcp, :::9999->9999/tcp
pig-ui              "nginx -g 'daemon of..."   pig-ui              running             0.0.0.0:8888->80/tcp, :::8888->80/tcp
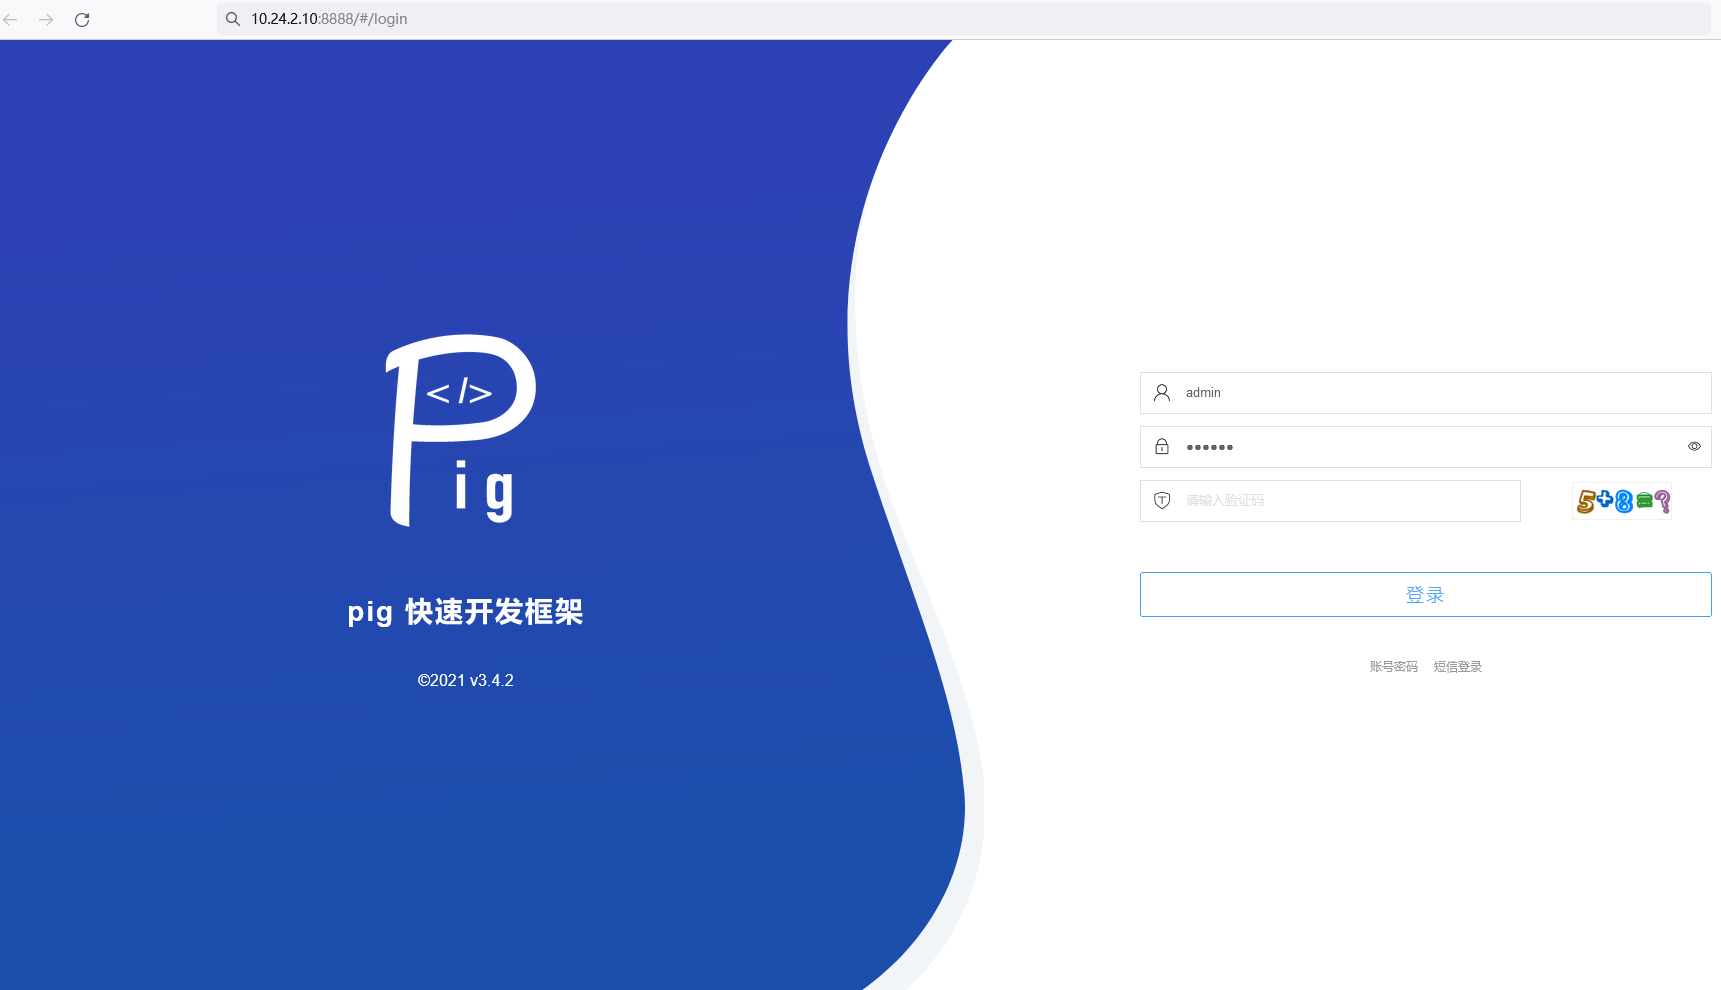
等待3分钟左右,在浏览器上通过http://master_IP:8888访问Pig,如图所示:

图1
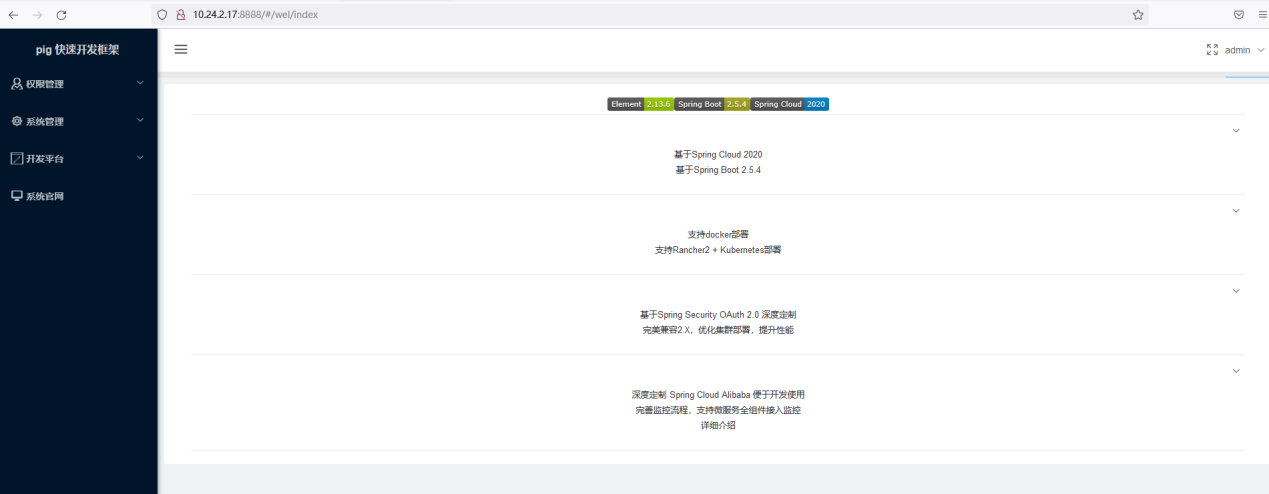
使用默认的账号和密码,输入验证码,点击登录。如图所示:
