一、设置视图的宽高
1.在XML文件中设置视图宽高
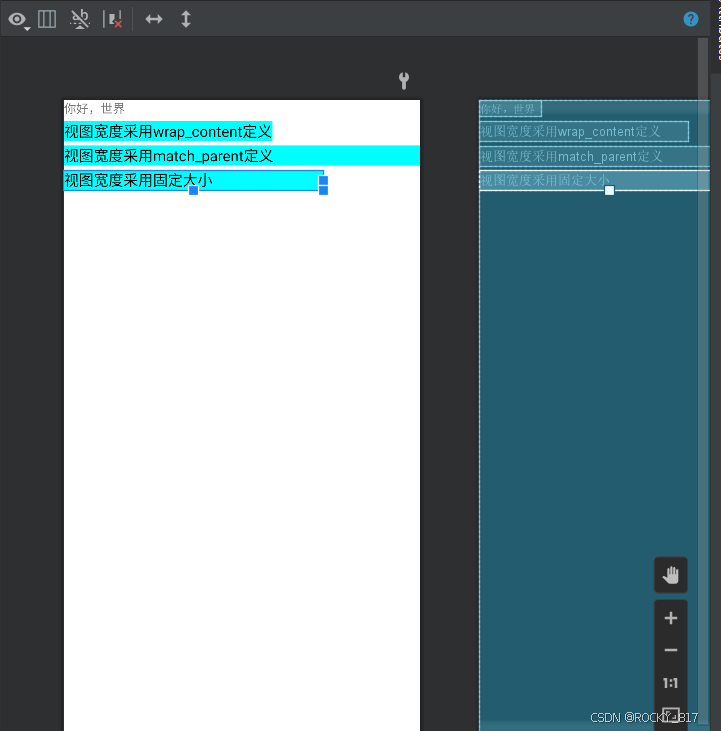
视图宽度通过属性android:layout_width表达,视图高度通过属性android:layout_height表达,宽高的取值主要有下列三种:
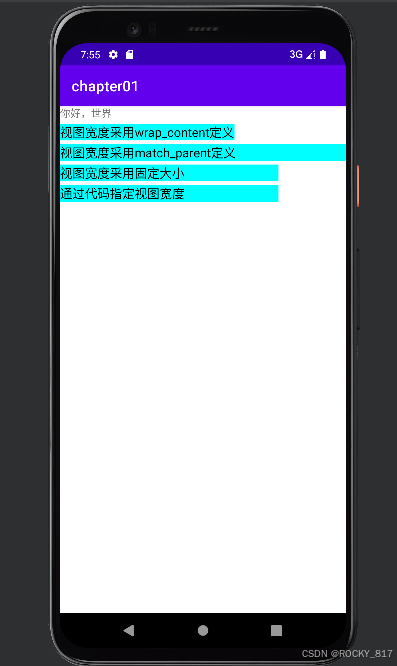
(1)wrap_content:表示与内容自适应。对于文本视图来说,内部文字需要多大的显示空间,当前视图就要占据多大的尺寸。但最宽不能超过上级视图的宽度,一旦超过就要换行;最高不能超过上级视图的高度,一旦超过就会隐藏。
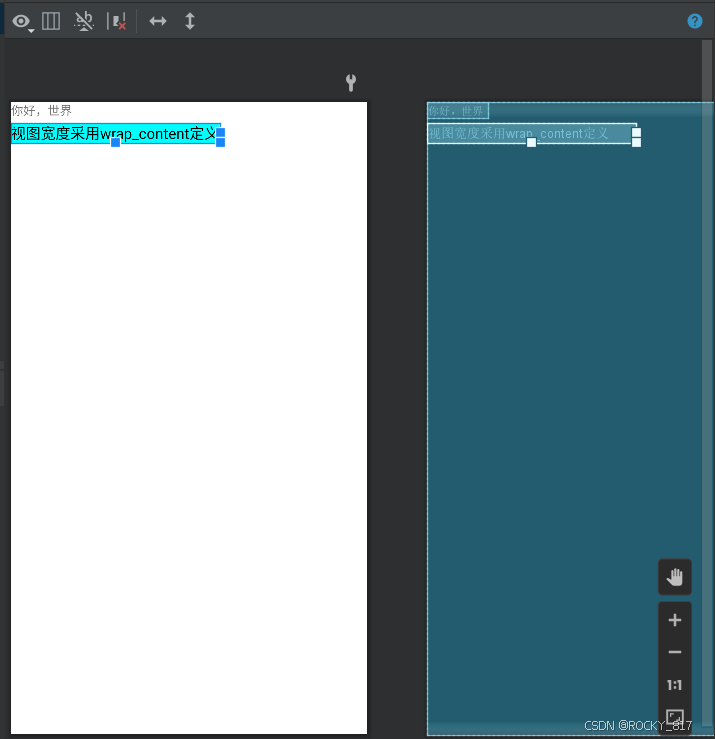
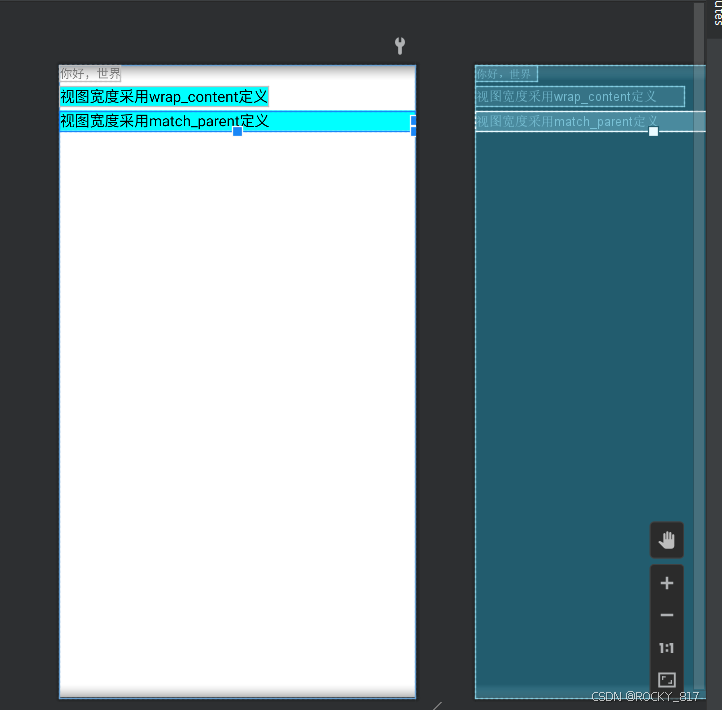
(2)match_parent:表示与上级视图保持一致。上级视图的尺寸有多大,当前视图的尺寸就有多大。
XML
<TextView
        android:layout_width="match_parent"
        android:layout_height="wrap_content"
        android:layout_marginTop="5dp"
        android:background="#00ffff"
        android:text="视图宽度采用match_parent定义"
        android:textColor="#000000"
        android:textSize="17sp"
        />
(3)以dp为单位的具体尺寸。
XML
<TextView
        android:layout_width="300dp"
        android:layout_height="wrap_content"
        android:layout_marginTop="5dp"
        android:background="#00ffff"
        android:text="视图宽度采用固定大小"
        android:textColor="#000000"
        android:textSize="17sp"
        />
2.在代码中设置视图宽高
首先确保XML中的宽高属性值为wrap_content,这样才允许在代码中修改宽高
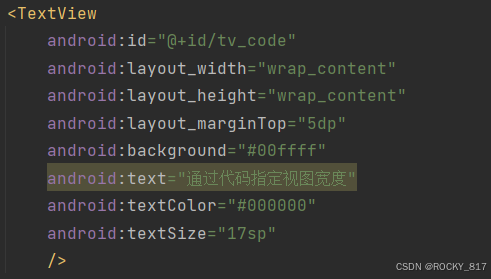
XML
<TextView
        android:id="@+id/tv_code"
        android:layout_width="wrap_content"
        android:layout_height="wrap_content"
        android:layout_marginTop="5dp"
        android:background="#00ffff"
        android:text="通过代码指定视图宽度"
        android:textColor="#000000"
        android:textSize="17sp"
        />
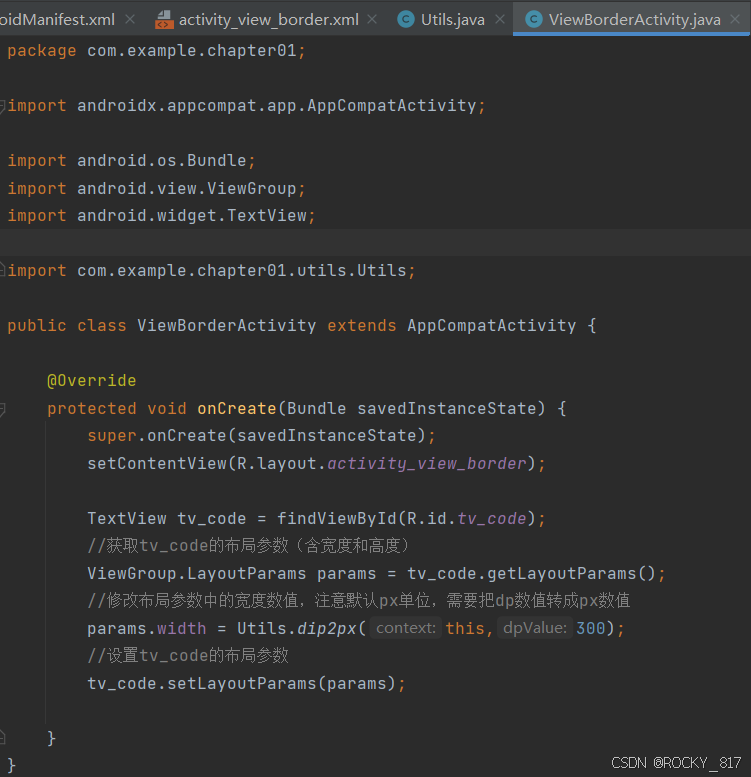
接着打开该页面对应的Java代码,依序执行以下三个步骤:
(1)调用控件对象的getLayoutParams方法,获取该控件的布局参数
(2)布局参数的width属性表示宽度,height属性表示高度,修改这两个属性值
(3)调用控件对象的setLayoutParams方法,填入修改后的布局参数使之生效
java
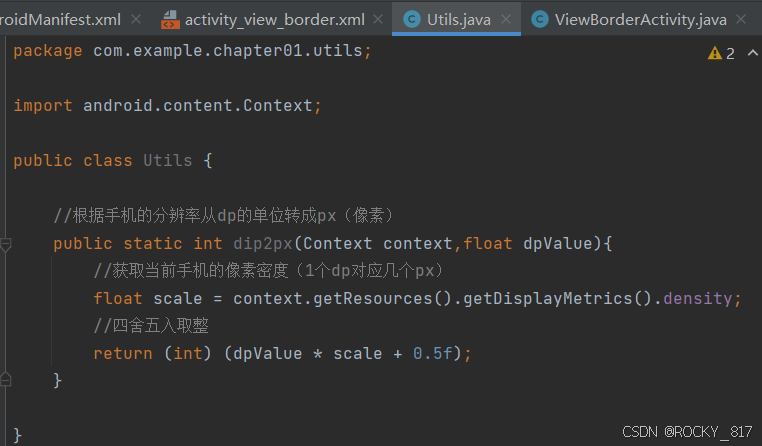
package com.example.chapter01.utils;

import android.content.Context;

public class Utils {

    //根据手机的分辨率从dp的单位转成px(像素)
    public static int dip2px(Context context,float dpValue){
        //获取当前手机的像素密度(1个dp对应几个px)
        float scale = context.getResources().getDisplayMetrics().density;
        //四舍五入取整
        return (int) (dpValue * scale + 0.5f);
    }

}
java
package com.example.chapter01;

import androidx.appcompat.app.AppCompatActivity;

import android.os.Bundle;
import android.view.ViewGroup;
import android.widget.TextView;

import com.example.chapter01.utils.Utils;

public class ViewBorderActivity extends AppCompatActivity {

    @Override
    protected void onCreate(Bundle savedInstanceState) {
        super.onCreate(savedInstanceState);
        setContentView(R.layout.activity_view_border);

        TextView tv_code = findViewById(R.id.tv_code);
        //获取tv_code的布局参数(含宽度和高度)
        ViewGroup.LayoutParams params = tv_code.getLayoutParams();
        //修改布局参数中的宽度数值,注意默认px单位,需要把dp数值转成px数值
        params.width = Utils.dip2px(this,300);
        //设置tv_code的布局参数
        tv_code.setLayoutParams(params);

    }
}
调试运行:
二、设置视图的间距
设置视图的间距有两种方式:
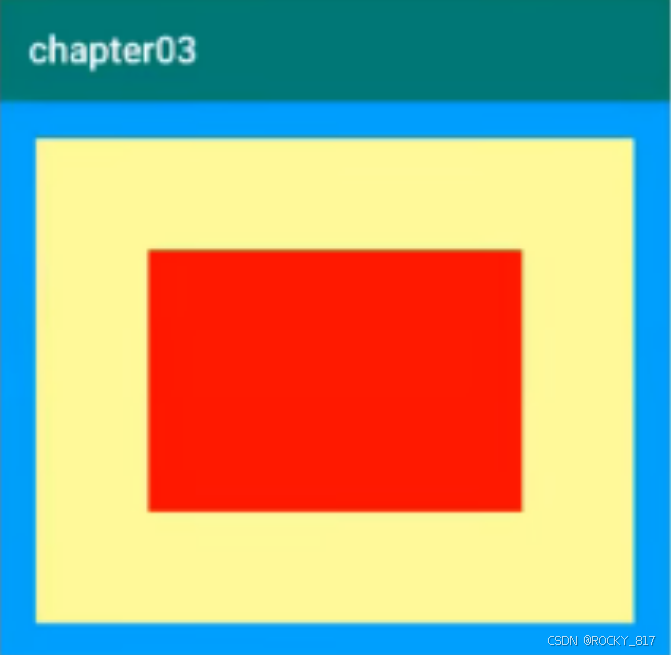
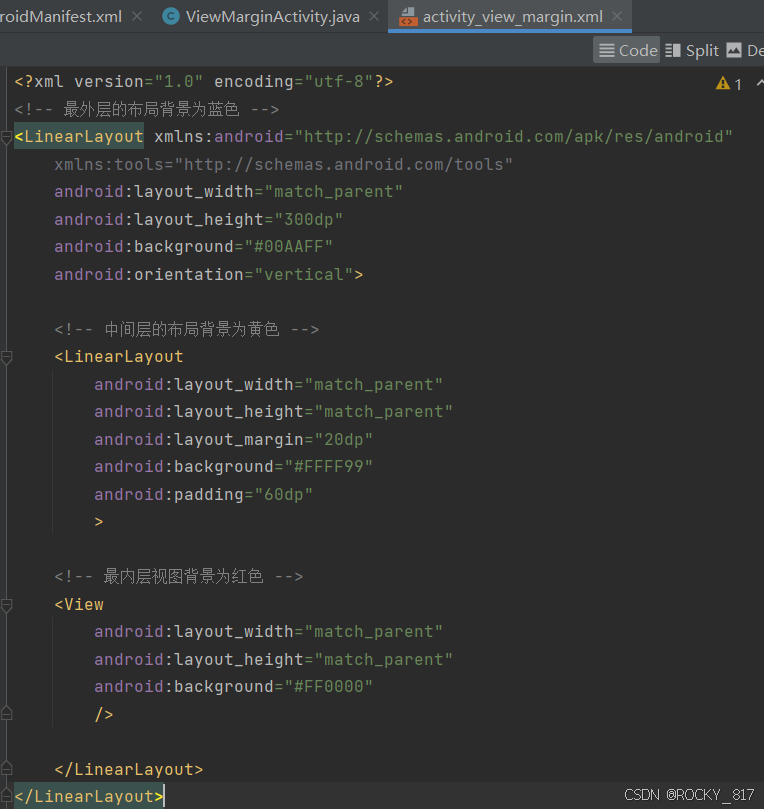
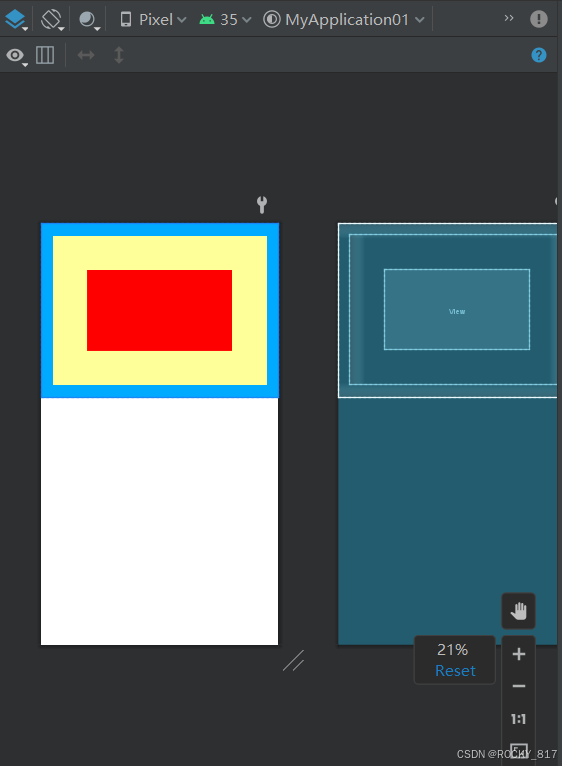
1.采用layout_margin属性,它指定了当前视图与周围平级视图之间的距离。包括layout_margin、layout_marginLeft、layout_marginTop、layout_marginRight、layout_marginBottom
注意:layout_margin 不单单用于文本视图,还可用于所有视图,包括各类布局和各类控件。
2.采用padding属性,它指定了当前视图与内部下级视图之间的距离。包括padding、paddingLeft、paddingTop、paddingRight、paddingBottom
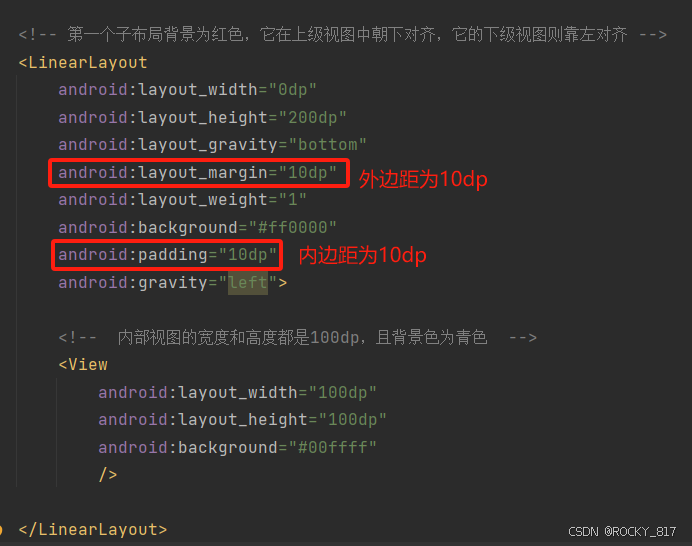
设置以下视图:
示例:
三、设置视图的对齐方式
设置视图的对齐方式有两种途径:
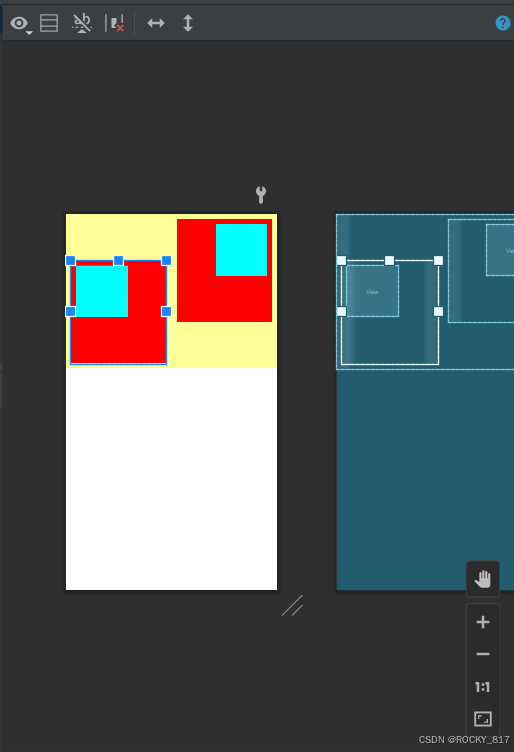
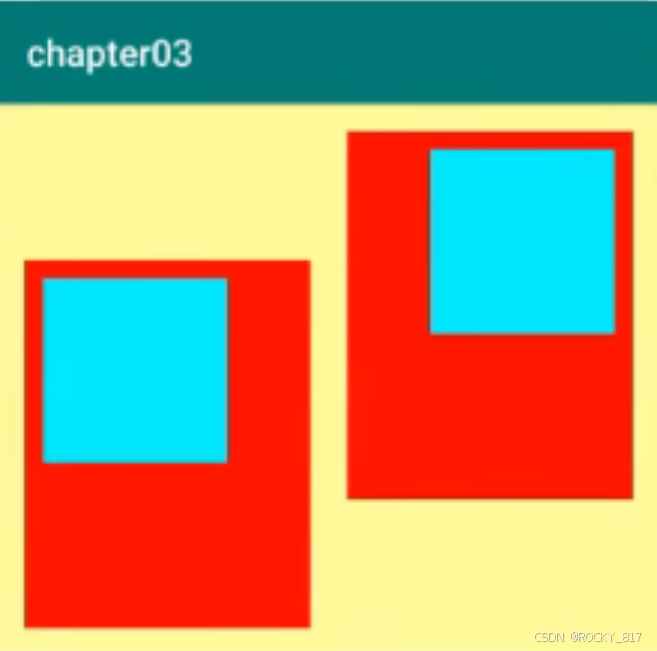
1.采用layout_gravity属性,它指定了当前视图相对于上级视图的对齐方式。
2.采用gravity属性,它指定了下级视图相对于当前视图的对齐方式。
layout_gravity与gravity的取值包括:left、top、right、bottom,还可以用竖线连接各取值,例如"leftltop"表示即靠左又靠上,也就是朝左上角对齐。
(一个管自己在父容器中的位置,一个管子元素)
设置以下视图:
XML
<?xml version="1.0" encoding="utf-8"?>
<LinearLayout xmlns:android="http://schemas.android.com/apk/res/android"
    xmlns:tools="http://schemas.android.com/tools"
    android:layout_width="match_parent"
    android:layout_height="300dp"
    android:background="#ffff99"
    android:orientation="horizontal">

    <!-- 第一个子布局背景为红色,它在上级视图中朝下对齐,它的下级视图则靠左对齐 -->
    <LinearLayout
        android:layout_width="0dp"
        android:layout_height="200dp"
        android:layout_gravity="bottom"
        android:layout_margin="10dp"
        android:layout_weight="1"
        android:background="#ff0000"
        android:padding="10dp"
        android:gravity="left">

        <!--  内部视图的宽度和高度都是100dp,且背景色为青色  -->
        <View
            android:layout_width="100dp"
            android:layout_height="100dp"
            android:background="#00ffff"
            />

    </LinearLayout>


    <!-- 第二个子布局背景为红色,它在上级视图中朝上对齐,它的下级视图则靠右对齐 -->
    <LinearLayout
        android:layout_width="0dp"
        android:layout_height="200dp"
        android:layout_gravity="top"
        android:layout_margin="10dp"
        android:layout_weight="1"
        android:background="#ff0000"
        android:padding="10dp"
        android:gravity="right">

        <!--  内部视图的宽度和高度都是100dp,且背景色为青色  -->
        <View
            android:layout_width="100dp"
            android:layout_height="100dp"
            android:background="#00ffff"
            />

    </LinearLayout>


</LinearLayout>