目录:
1、鸿蒙箭头函数的写法
typescript
(param1, param2) => param1 + param2用作属性如下:
typescript
  cancel?: () => void | undefined
  confirm?: () => void | undefined
用作函数参数如下:
typescript
function f(funcCB: () => void) {
}
函数定义如下:
typescript
function 函数名(参数1, 参数2, ...) {
    // 函数体
    return 返回值; // 可选
}

//可以省略void返回类型
function greet(name: string): void {
    console.log('Hello ' + name + '!');
}
greet('World'); // 输出: Hello World!
2、鸿蒙数据类型的定义
typescript
1、number(数字):表示数字,包括浮点数和整数。例如:
let a:number=100;
let b:number=-33;
let c:number=2.5;
2、string(字符串):表示文本数据。可以使用双引号或单引号表示字符串。例如:
let str:string='你好,鸿蒙';
let str1:string='hello world';
3、boolean(布尔值):表示真(true)或假(false)。例如:
let flag:boolean=true;
let pass:boolean=false;
4、array(数组):由一系列元素组成,可以是数字、字符串或其他类型的数组。例如:
let arr:number[]=[1,2,3];
let b:string[]=['你好','鸿蒙'];
5、object(对象):表示一系列由属性名称和属性值组成的数据类型。例如:
let person:{name:string,age:number,gender:string}={name:"旧约",age:24,gender:'男'};
6、联合类型的写法
let val: string | number = 12;
console.log("数字为 " + val);
val = "Runoob";
console.log("字符串为 " + val);
示例:
function disp(name: string | string[]): void {
if (typeof name === "string") {
console.log(name);
} else {
for (let i = 0; i < name.length; i++) {
console.log(name[i]);
}
}
}
disp("Runoob");
disp(["Runoob", "Google", "Taobao", "Facebook"]);3、枚举的定义以及使用
typescript
enum Direction {
Up = 'UP',
Down = 'DOWN',
Left = 'LEFT',
Right = 'RIGHT'
}
function move(direction: Direction): void {
console.log(`移动方向: ${direction}`);
}
move(Direction.Up); // 输出: 移动方向: UP
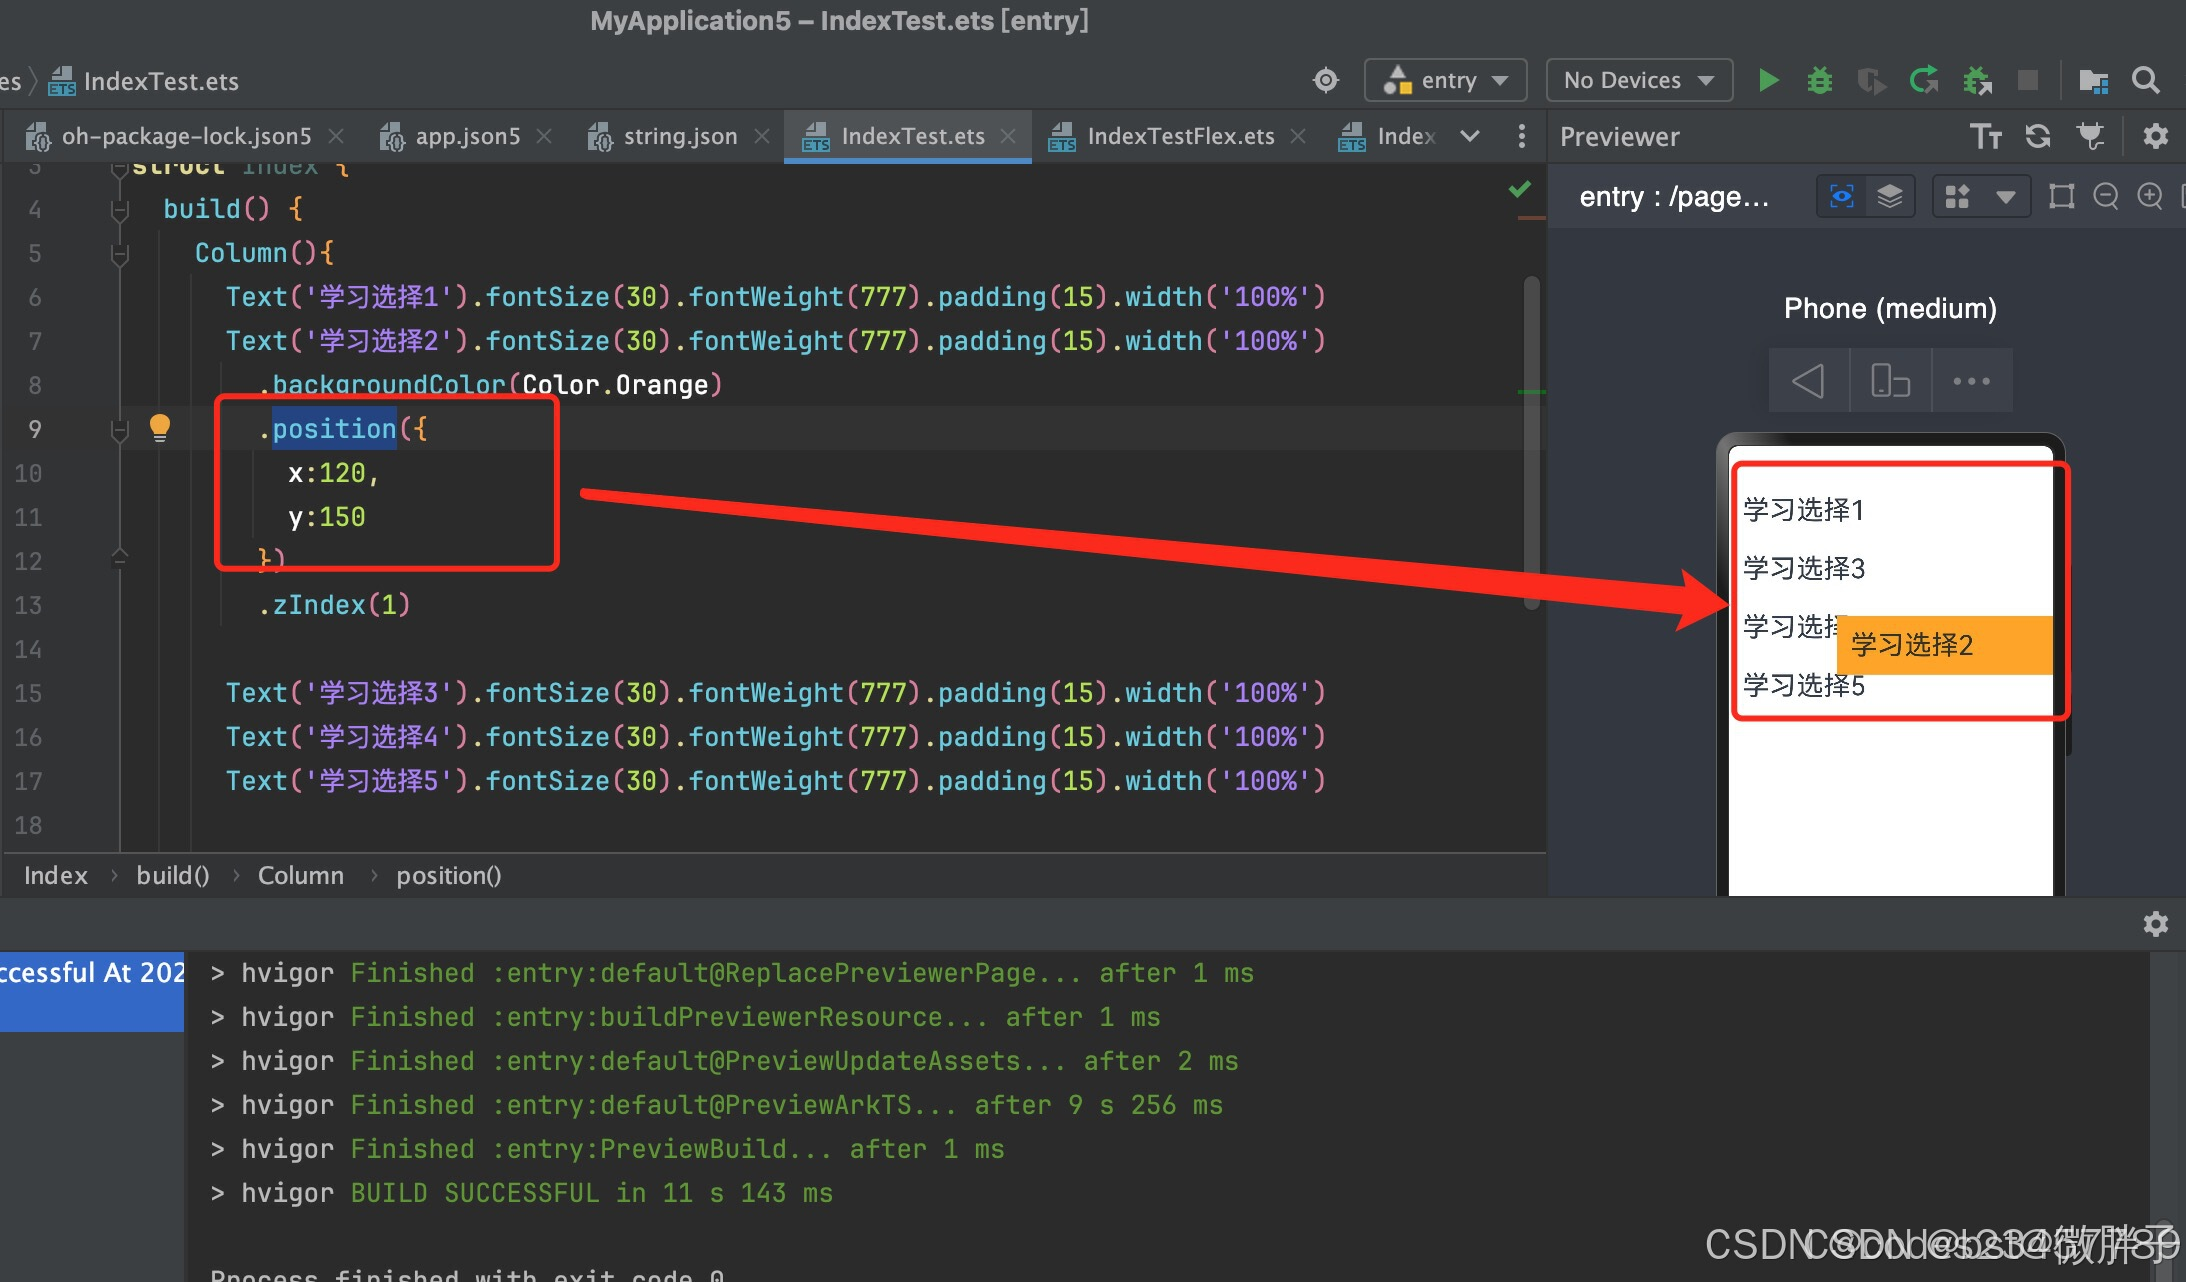
move(Direction.Down); // 输出: 移动方向: DOWN4、position绝对定位及层级zIndex
5、字符串的拼接转换以及数据的处理
typescript
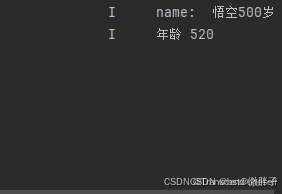
let name: string = '悟空'
let age: number = 500
console.log('name: ',name+age+'岁')
console.log('年龄',18+age+2)
运行结果:
typescript
console.log('',`我的名字是${name}`)(1)字符串转数字
typescript
//Number转换
console.log('Number',Number(str))

//保留整数
console.log('parseInt',parseInt(str))
(2)数字转字符串
typescript
let num1: number = 1.3531
let num2: number = 1.4341

console.log('',num1.toString())
console.log('',num2.toString())
typescript
let num1: number = 1.3531
let num2: number = 1.4341
//查看数据类型 typeof
console.log('',typeof num2.toString())
//toFixed(保留小数位数)
console.log('tofixed',num1.toFixed(2))
console.log('tofixed',num2.toFixed(2))
(3)布尔值转换情况
typescript
//转false情况
console.log('',Boolean(NaN))
console.log('',Boolean(0))
console.log('',Boolean(``))
console.log('',Boolean(undefined))
console.log('',Boolean(false))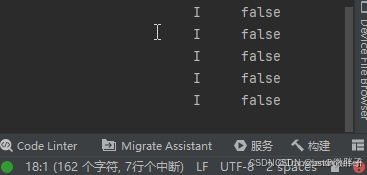
(4)数组的增删改查
typescript
//定义一个数组
let arr: string[] = ['悟空','八戒','牛魔王']
//查找(悟空)
console.log('name: ',arr[0])
//修改牛魔王
arr[2] = '沙僧'
console.log('names: ',arr)

//向前添加
arr.unshift('唐僧','牛魔王')
console.log('unshift',arr)

//向后添加 push
arr.push('红孩儿','犀牛怪')
console.log('push',arr)

//删除前面的元素-只删除一个
 arr.shift()
console.log('shift',arr)
//删除后面的元素
arr.pop()
console.log('pop',arr)
//任意位置删除或添加元素
arr.splice(0,2,'黑神话','如来')
console.log('splice',arr)
6、三元表达式
typescript
@override
Widget build(BuildContext context) {
  return Scaffold(
    appBar: AppBar(
      title: Text('Multi-condition Rendering Example'),
    ),
    body: Center(
      child: () {
        if (isLoggedIn) ...[
          return Text('欢迎回来!');
        ] else if (isGuest) ... [
          return Text('欢迎,游客!');
        ] else ... [
          return Text('请登录以继续。');
        ]
      }(),
    ),
  );
}
改造成三元表达式写法:
typescript
@override
Widget build(BuildContext context) {
  return Scaffold(
    appBar: AppBar(
      title: Text('Ternary Operator Example'),
    ),
    body: Center(
      child: Text(
        isLoggedIn ? '欢迎回来!' : '请登录以继续。',
        style: TextStyle(fontSize: 24),
      ),
    ),
  );
}
7、鸿蒙for循环的几种写法
7.1、基本用法
typescript
for (int i = 1; i <= 10; i++) {
  print(i);
}
typescript
for (int i in arr) {
  print(i);
}
typescript
for (let char of str) {
  print(char);
}
typescript
int i = 1;
while (i <= 5) {
  print(i);
  i++;
}
7.2、foreach的渲染控制用法
typescript
@Entry
@Component
struct Parent {
  @State simpleList: Array<string> = ['one', 'two', 'three'];

  build() {
    Row() {
      Column() {
        ForEach(this.simpleList, (item: string) => {
          ChildItem({ item: item })
        }, (item: string) => item)
      }
      .width('100%')
      .height('100%')
    }
    .height('100%')
    .backgroundColor(0xF1F3F5)
  }
}

@Component
struct ChildItem {
  @Prop item: string;

  build() {
    Text(this.item)
      .fontSize(50)
  }
}
8、鸿蒙中class类的extend和super用法
typescript
class Parent {
    constructor(name) {
        this.name = name;
    }
}

class Child extends Parent {
    constructor(name, age) {
        super(name); // 调用父类的构造方法
        this.age = age; // 初始化子类特有的属性
    }
}
9、泛型的用法
typescript
interface KeyValuePair<K, V> {
    key: K;
    value: V;
}

class Stack<T> {
    private arr: T[] = [];
    public push(item: T) {
        this.arr.push(item);
    }
    public pop() {
        return this.arr.pop();
    }
}
10、自定义组件用法
1、定义自定义组件:使用@Component装饰器修饰一个struct类型的结构体,该结构体定义了组件的名称和build函数。例如:
typescript
@Component struct MyComponent {
    @State message: string = 'Hello, World!'
    build() {
        Row() {
            Text(this.message)
                .onClick(() => {
                    this.message = 'Hello, ArkUI!'
            })
        }
    }
}2、使用自定义组件:在其他组件中引用自定义组件时,需要使用import关键字导入自定义组件,并在需要使用的地方通过@Entry装饰器创建实例。例如:
typescript
@Entry @Component struct ParentComponent {
    msg: string = 'Hello, World!'
    build() {
        Column() {
            Text('Parent Component')
            MyComponent({ message: this.msg })
        }
    }
}