目录
[6.勾选【I accept the terms in the License Agreement】,然后点击【Next】](#6.勾选【I accept the terms in the License Agreement】,然后点击【Next】)
[10.点击【Install】开始安装 Node.js](#10.点击【Install】开始安装 Node.js)
1.桌面开始菜单搜索【cmd】,右键命令提示符【以管理员身份运行】
[2.输入命令【node -v】,按下回车键(Enter)](#2.输入命令【node -v】,按下回车键(Enter))
[3.输入命令【npm -v】,按下回车键(Enter)](#3.输入命令【npm -v】,按下回车键(Enter))
[5.在node.js安装目录创建cache 和 global文件夹](#5.在node.js安装目录创建cache 和 global文件夹)
6.命令提示符依次执行下面命令,依次输入并按下回车键(Enter)
[7.输入命令【npm config ls】按下回车键,查看配置是否成功](#7.输入命令【npm config ls】按下回车键,查看配置是否成功)
[1.配置完成后,全局安装一个最常用的 express 模块进行测试](#1.配置完成后,全局安装一个最常用的 express 模块进行测试)
初识:Node.js
Node.js发布于2009年5月,由Ryan Dahl开发,是一个基于Chrome V8引擎的JavaScript运行环境,使用了一个事件驱动、非阻塞式I/O模型,让JavaScript 运行在服务端的开发平台,它让JavaScript成为与PHP、Python、Perl、Ruby等服务端语言平起平坐的脚本语言。
一、下载:Node.js
下载地址:https://pan.quark.cn/s/d077d193b8a0
二、安装:Node.js
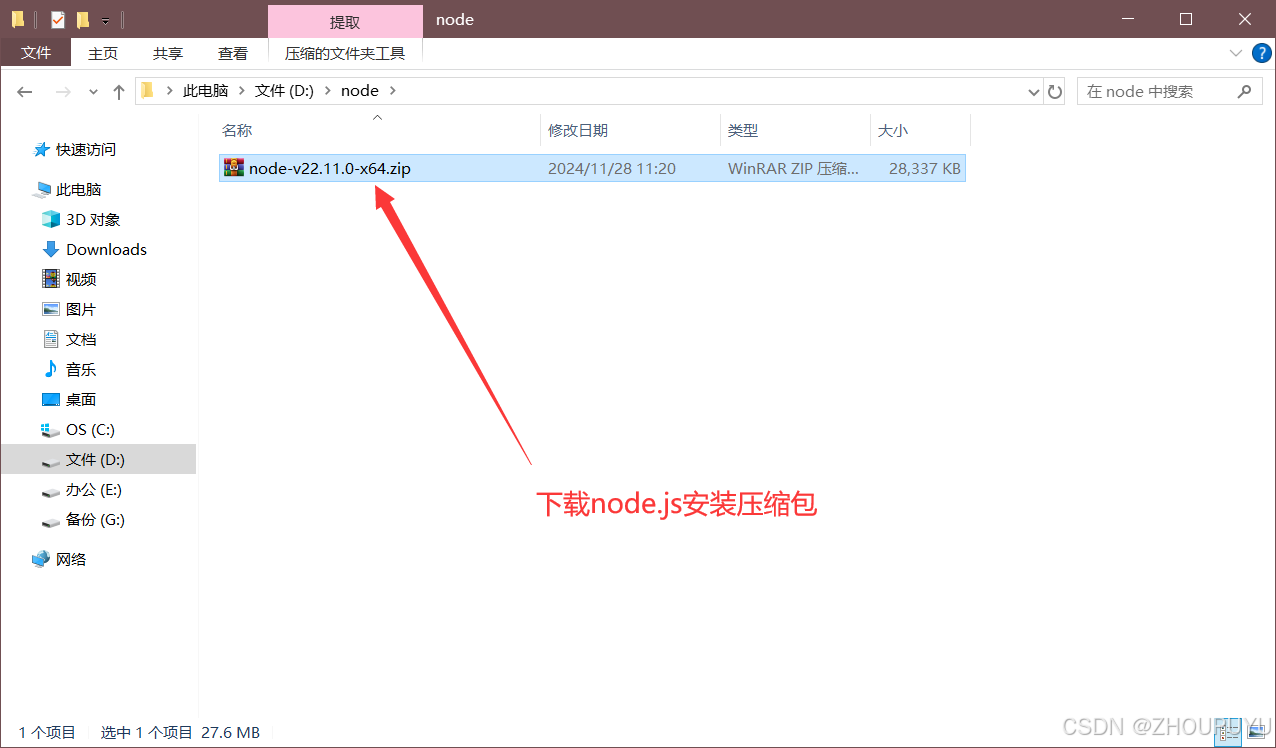
1.下载【node.js】压缩包安装文件
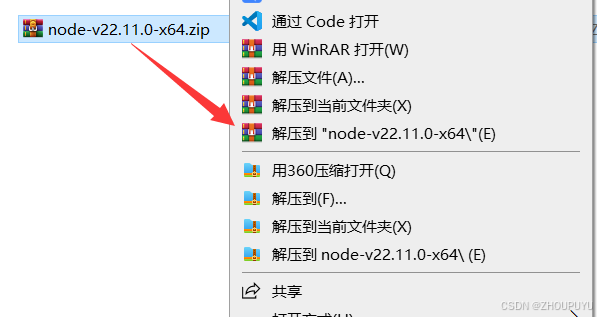
2.解压下载的安装包
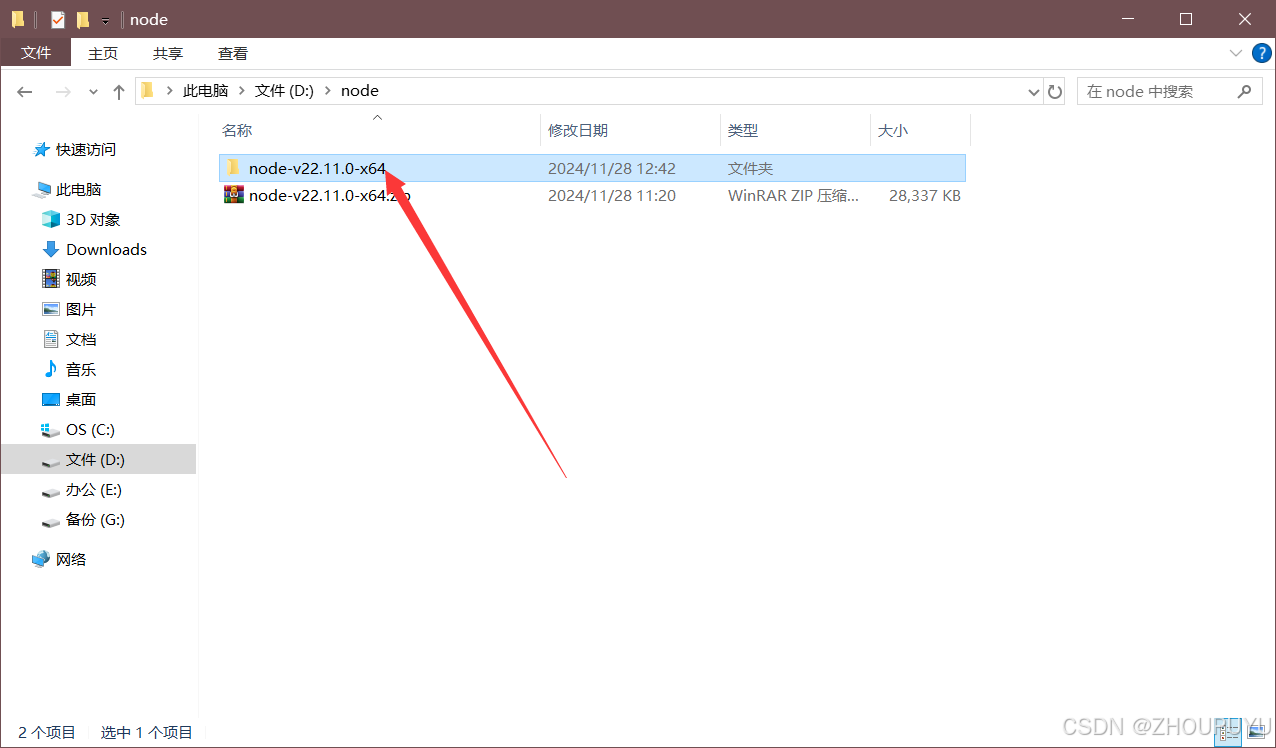
3.打开解压的【node-v22.11.0-x64】文件夹
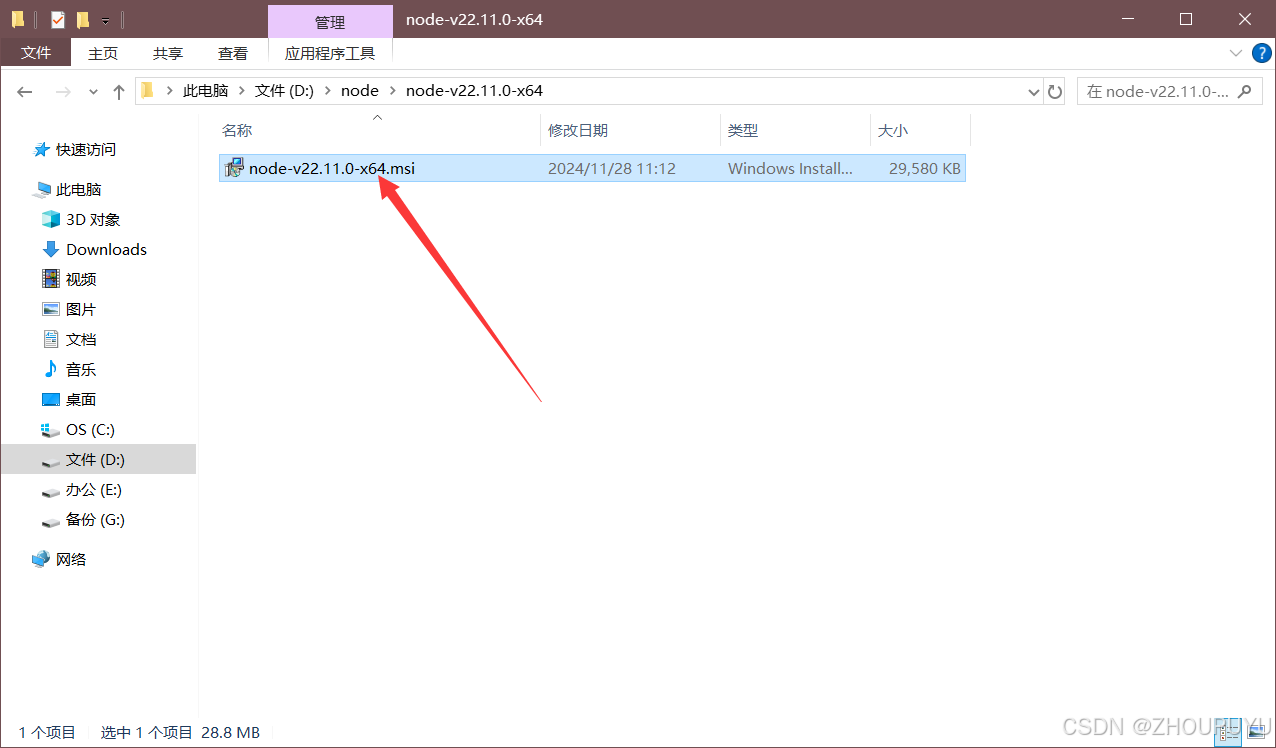
4.双击启动安装程序
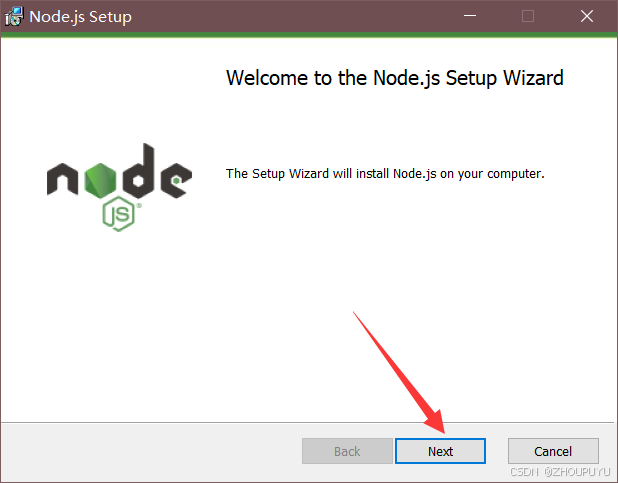
5.点击【Next】
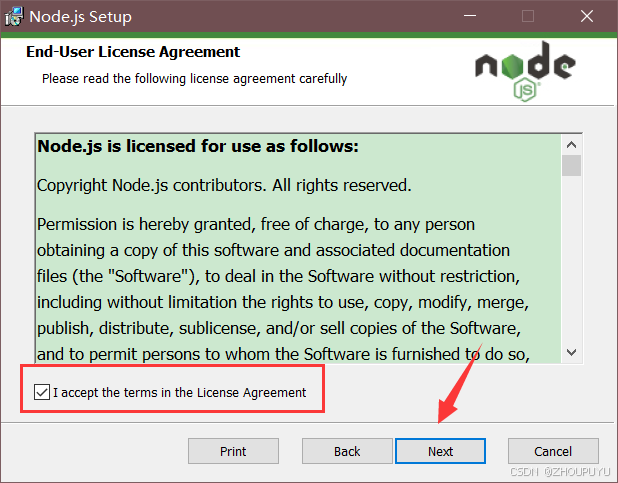
6.勾选【I accept the terms in the License Agreement】,然后点击【Next】
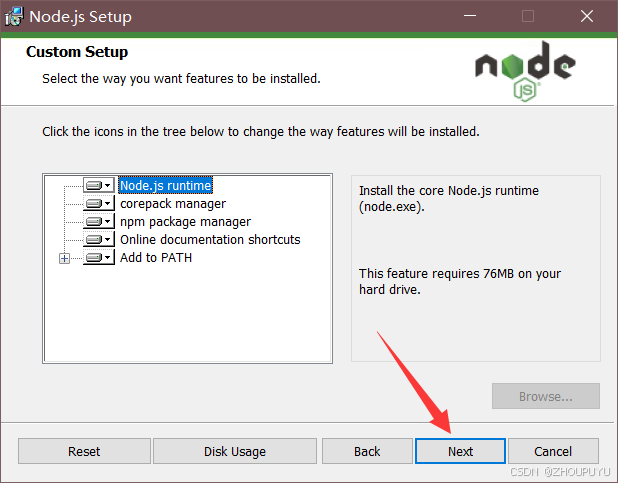
7.点击【Next】
这里可以自定义安装路径。

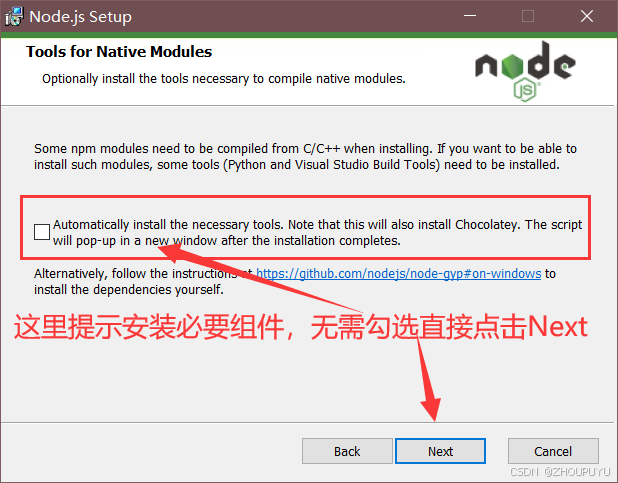
8.点击【Next】
9.点击【Next】
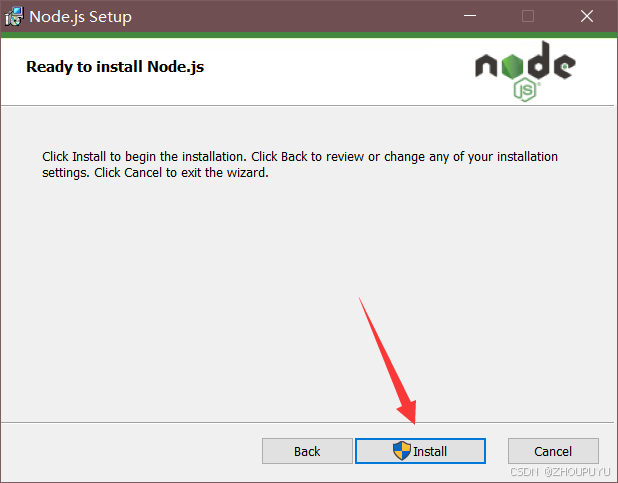
10.点击【Install】开始安装 Node.js
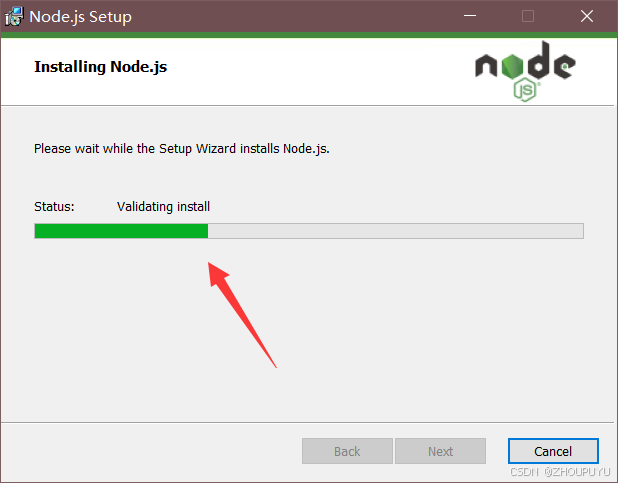
11.等待安装完成
中途有提示是否运行设备更改,点击是。没有的忽略。
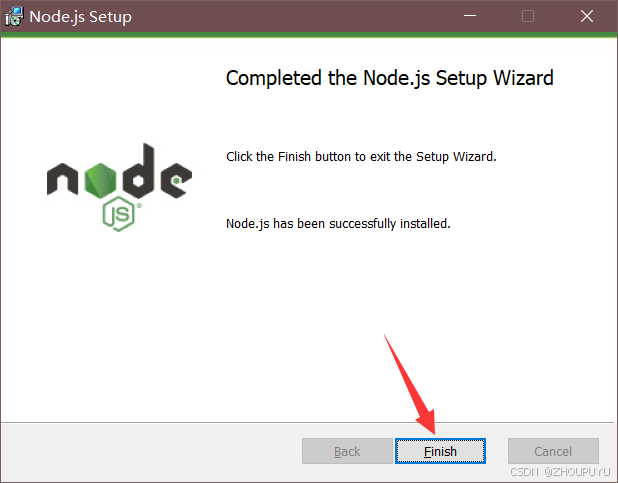
12.安装完成,点击【Finish】
三、配置Node.js
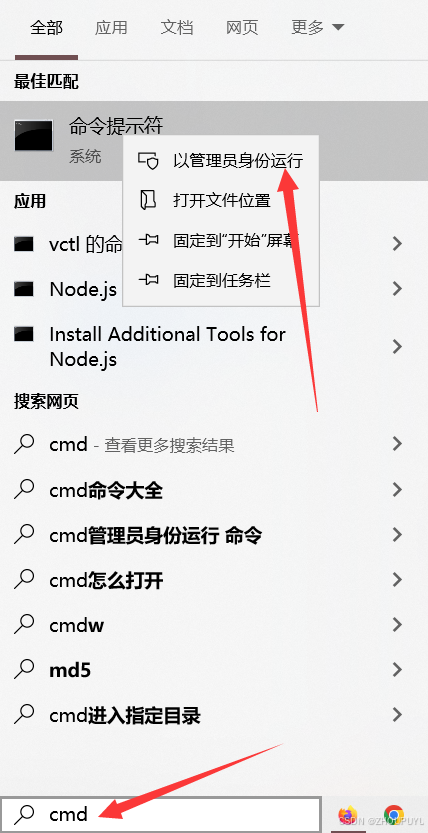
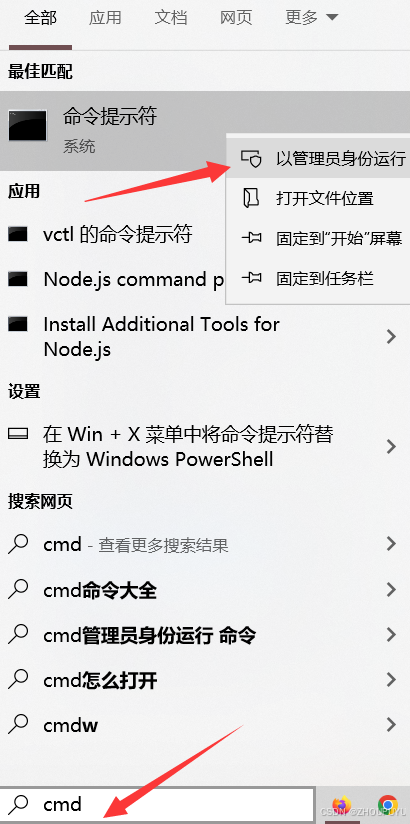
1.桌面开始菜单搜索【cmd】,右键命令提示符【以管理员身份运行】
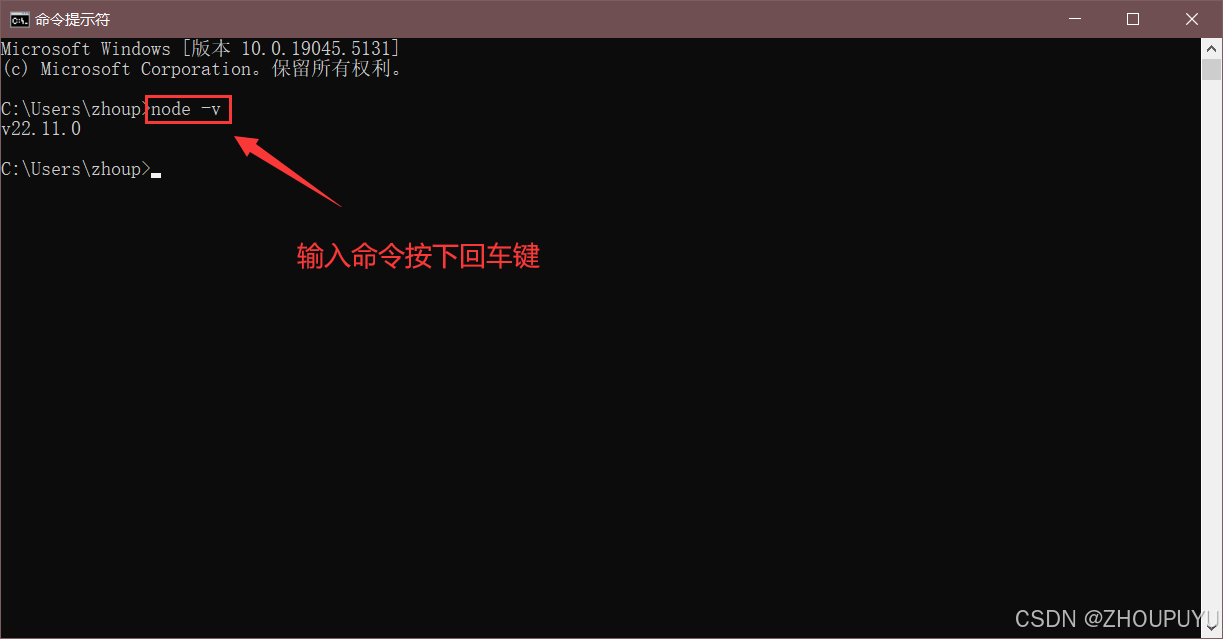
2.输入命令【node -v】,按下回车键(Enter)
显示(v22.11.0)版本号则表示node.js安装成功。
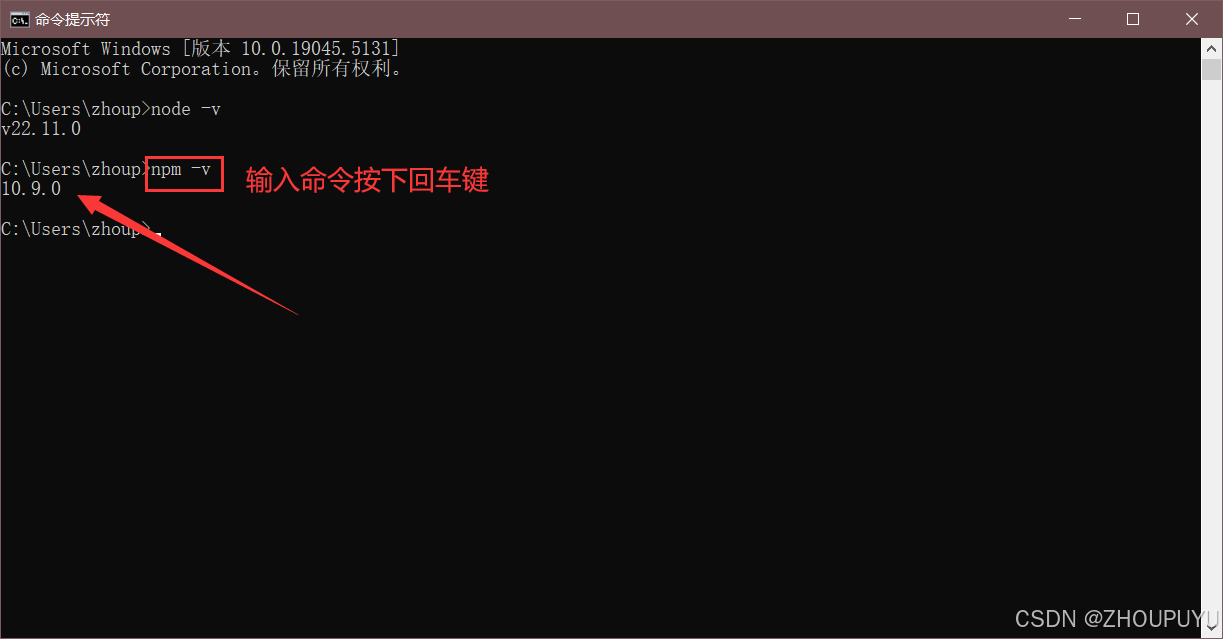
3.输入命令【npm -v】,按下回车键(Enter)
显示版本号则表示npm安装成功。
4.配置npm仓储和缓存
npm config set registry https://registry.npmmirror.com/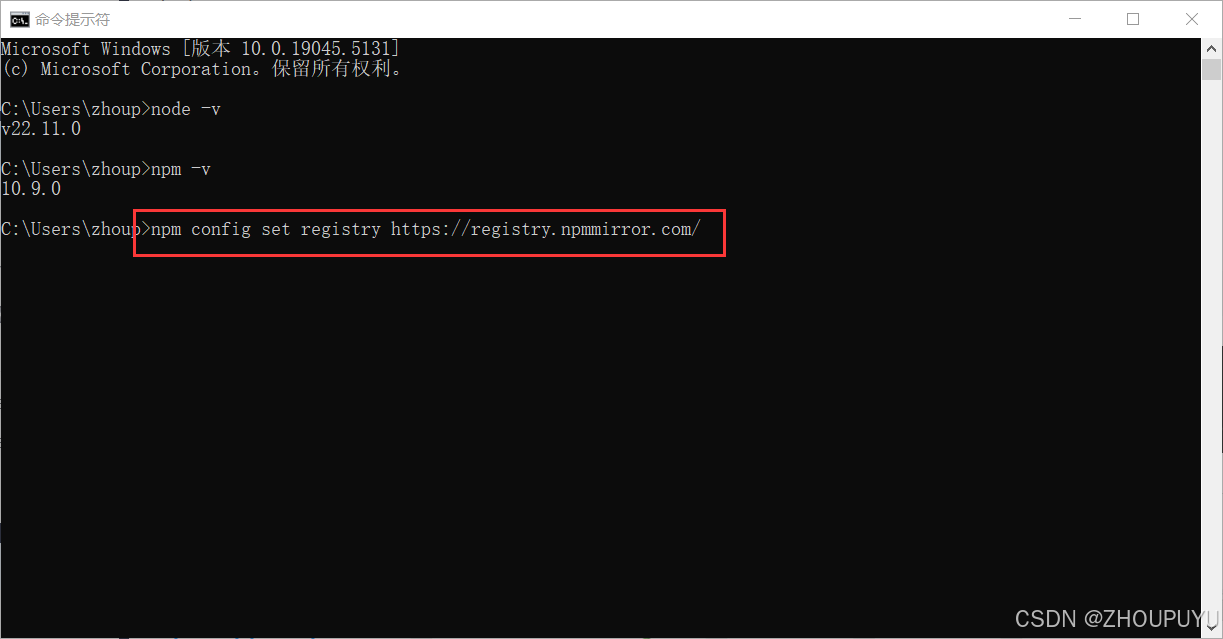
5.在node.js安装目录创建cache 和 global文件夹
C:\Program Files\nodejs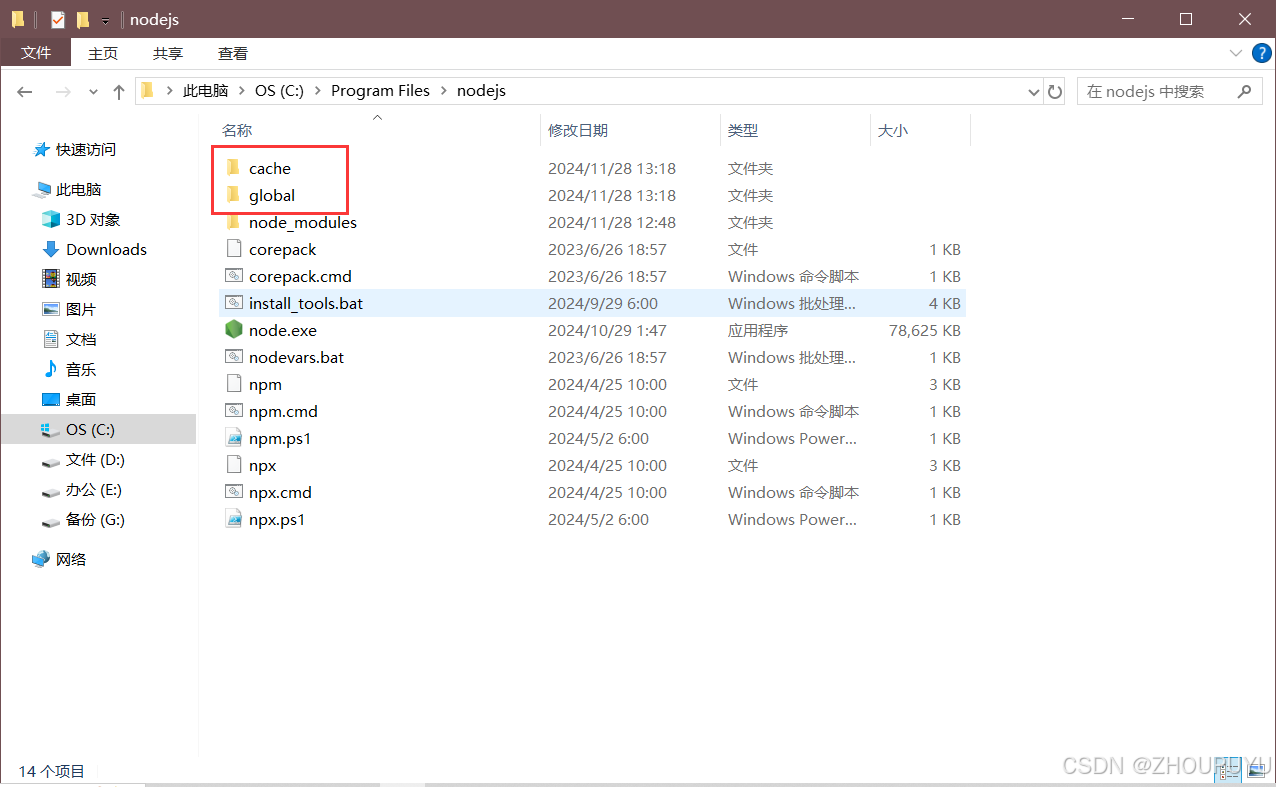
6.命令提示符依次执行下面命令,依次输入并按下回车键(Enter)
npm config set prefix "C:\Program Files\nodejs\global"
npm config set cache "C:\Program Files\nodejs\cache"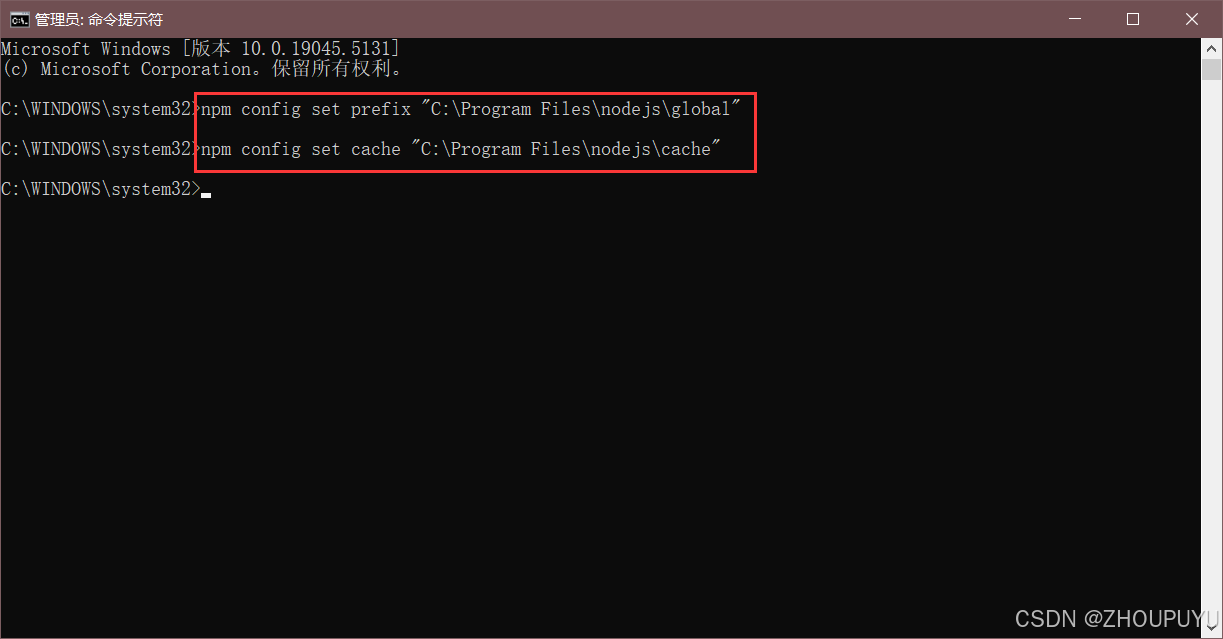
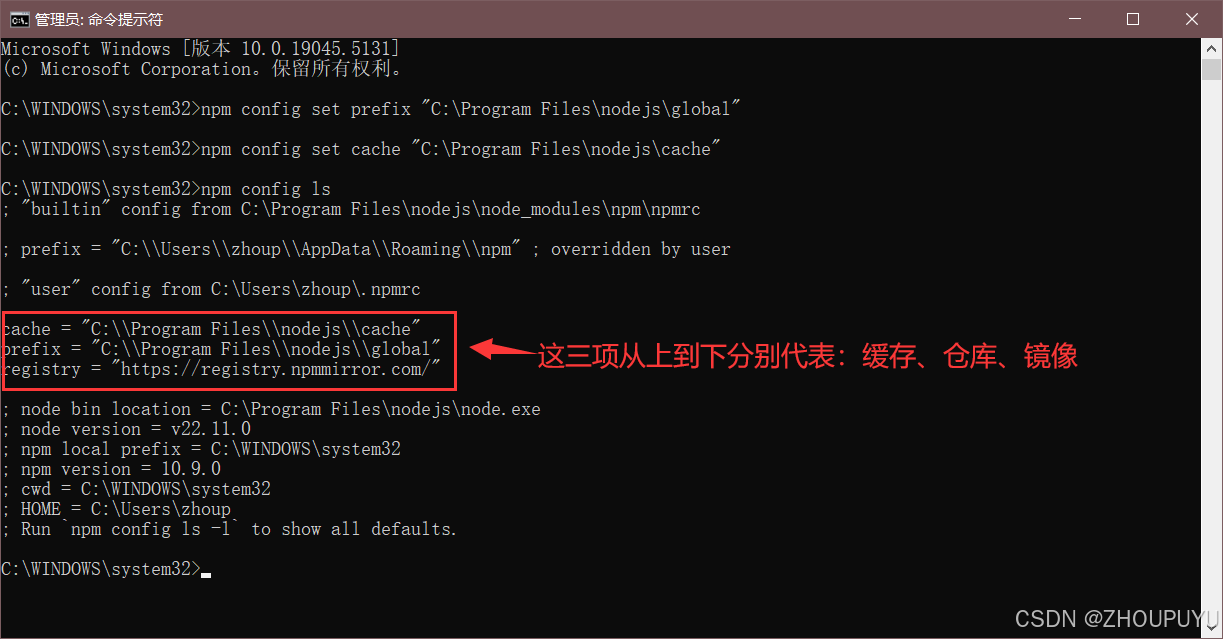
7.输入命令【npm config ls】按下回车键,查看配置是否成功
8.找到桌面【此电脑】
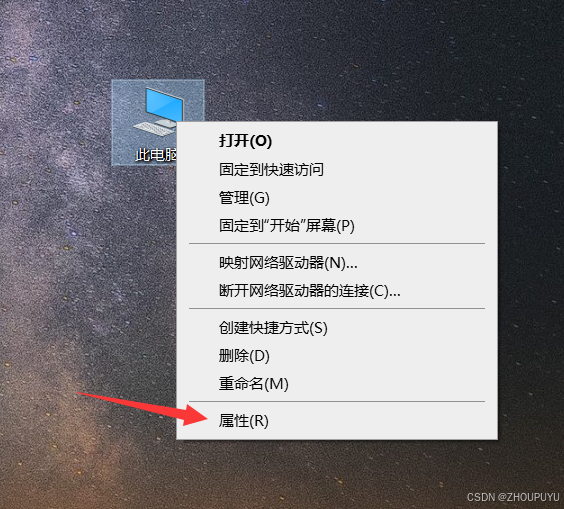
9.右键点击【属性】
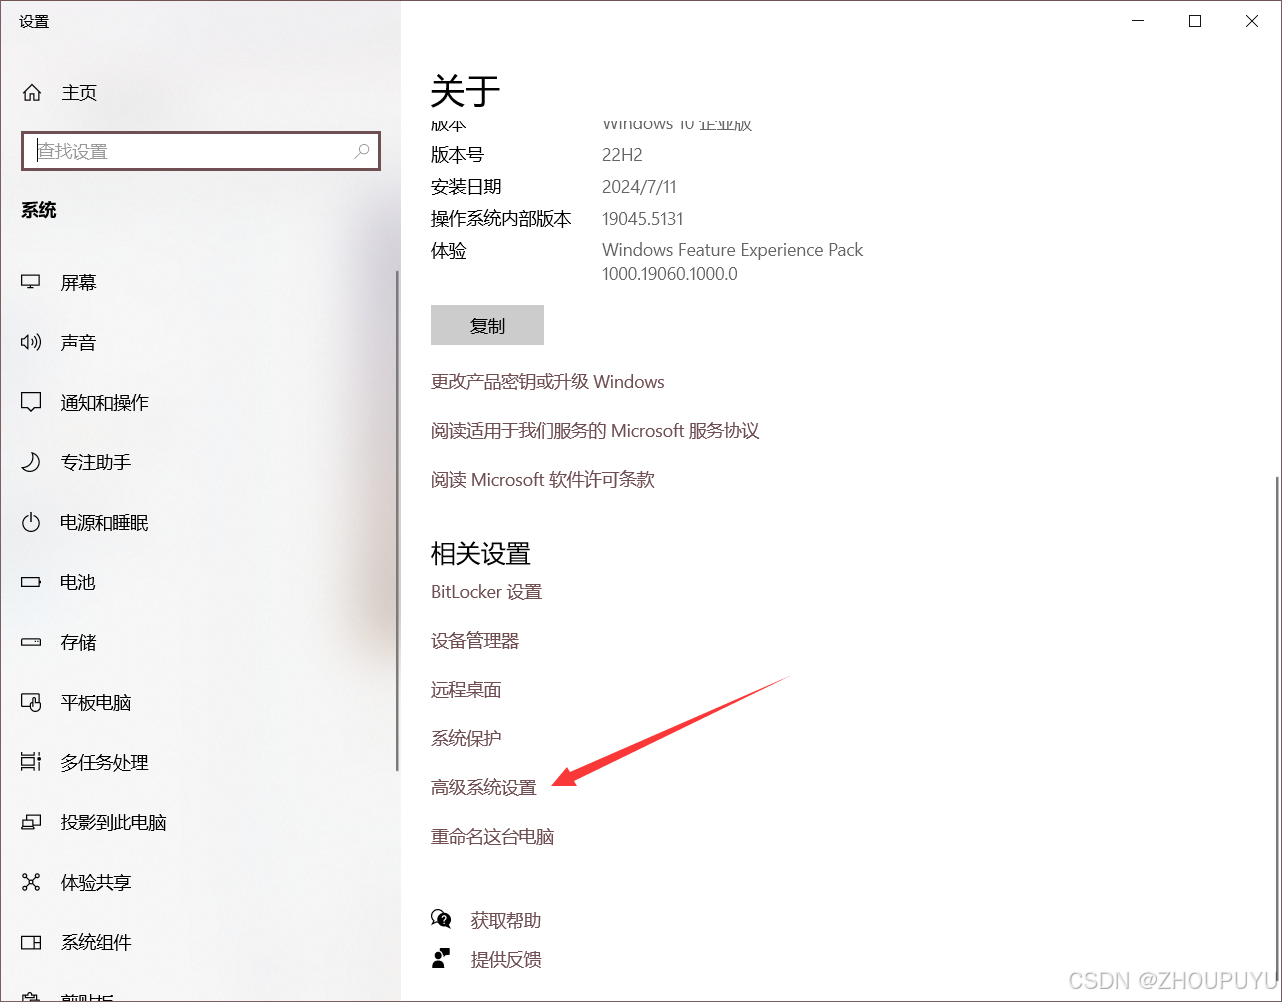
10.下滑找到并点击【高级系统设置】
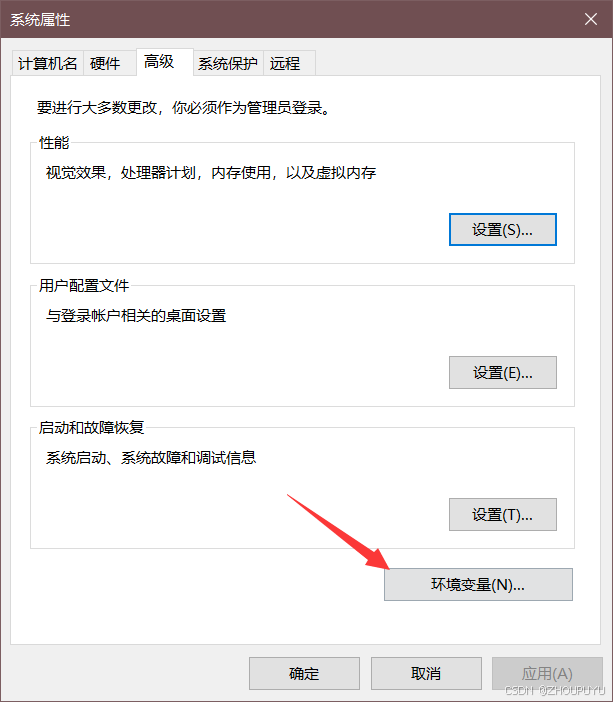
11.点击【环境变量】
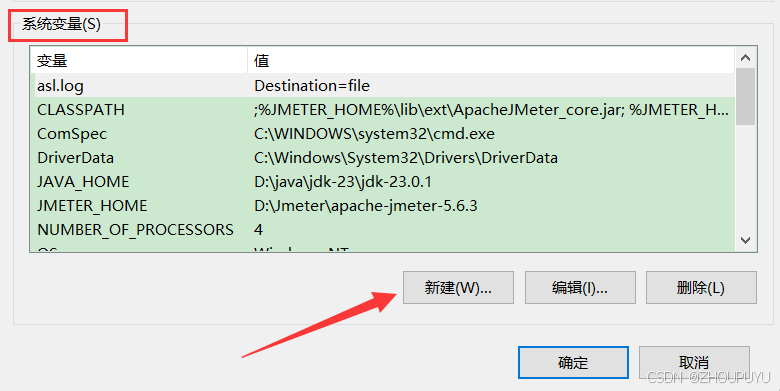
12.点击【系统变量(S)】下的【新建】
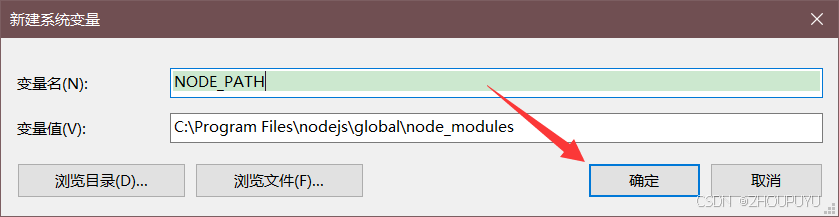
13.新建变量名和变量值
NODE_PATH
C:\Program Files\nodejs\global\node_modules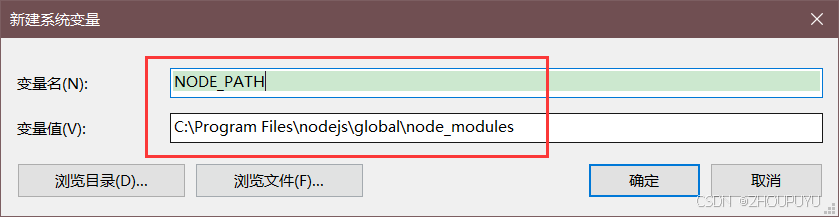
14.确认无误之后点击【确定】
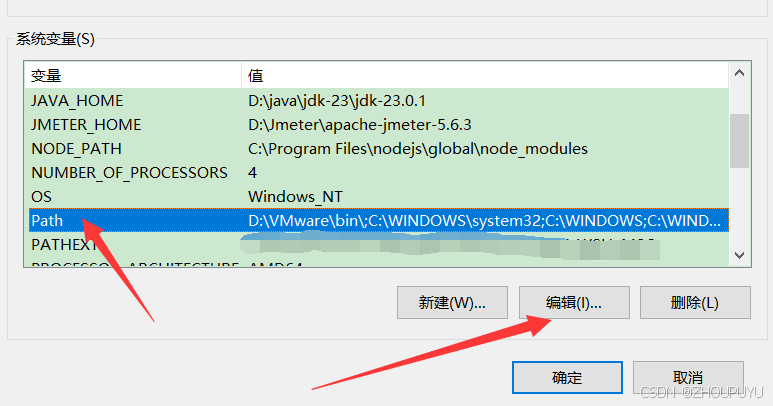
15.下滑找到变量【Path】,点击【编辑】
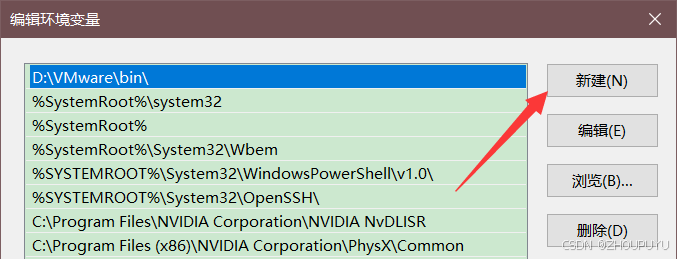
16.点击【新建】
17.依次新建下面三个变量,新建之后点击【确定】
变量【C:\Program Files\nodejs\】如果存在,就新建剩下的两个变量即可。
C:\Program Files\nodejs\
%NODE_PATH%
C:\Program Files\nodejs\global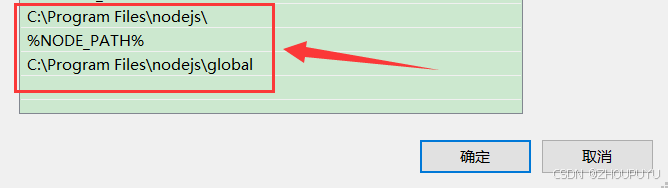
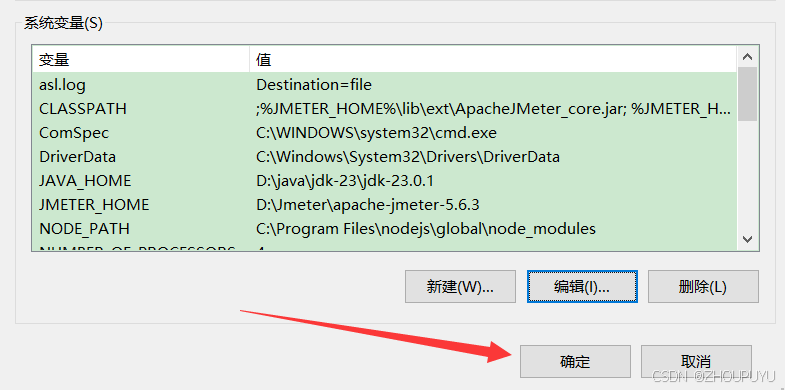
18.再次点击【确定】保存更改
四、测试Node.js
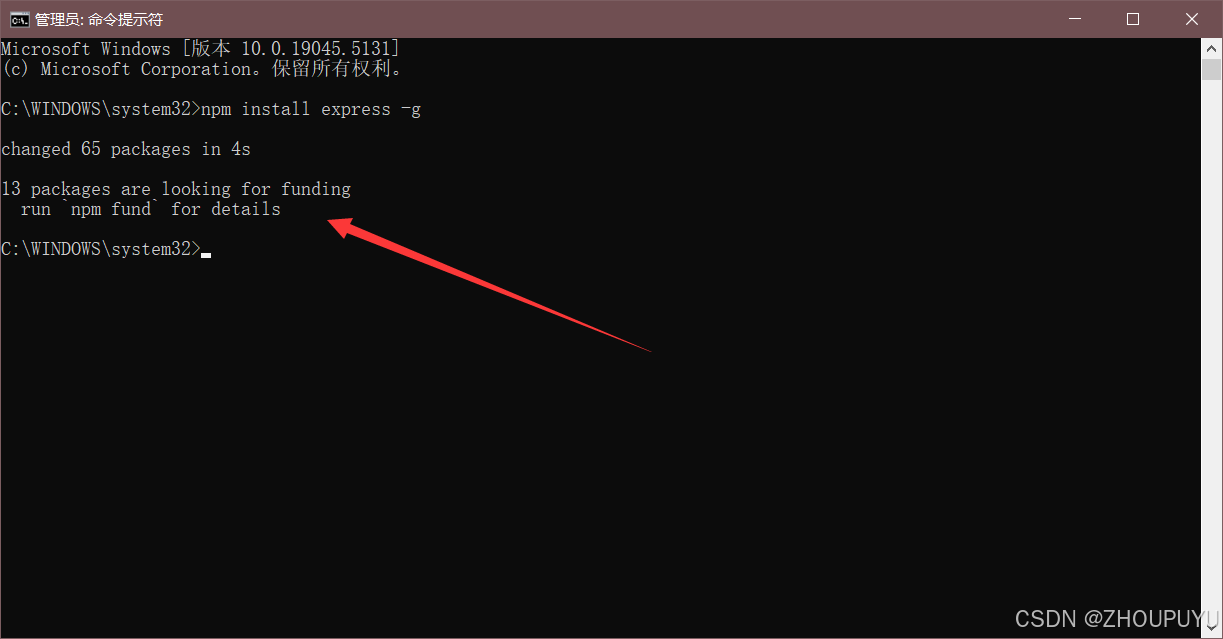
1.配置完成后,全局安装一个最常用的 express 模块进行测试
npm install express -g // -g代表全局安装右键使用管理员方式打开cmd命令提示符
2.出现以下配置表示配置成功
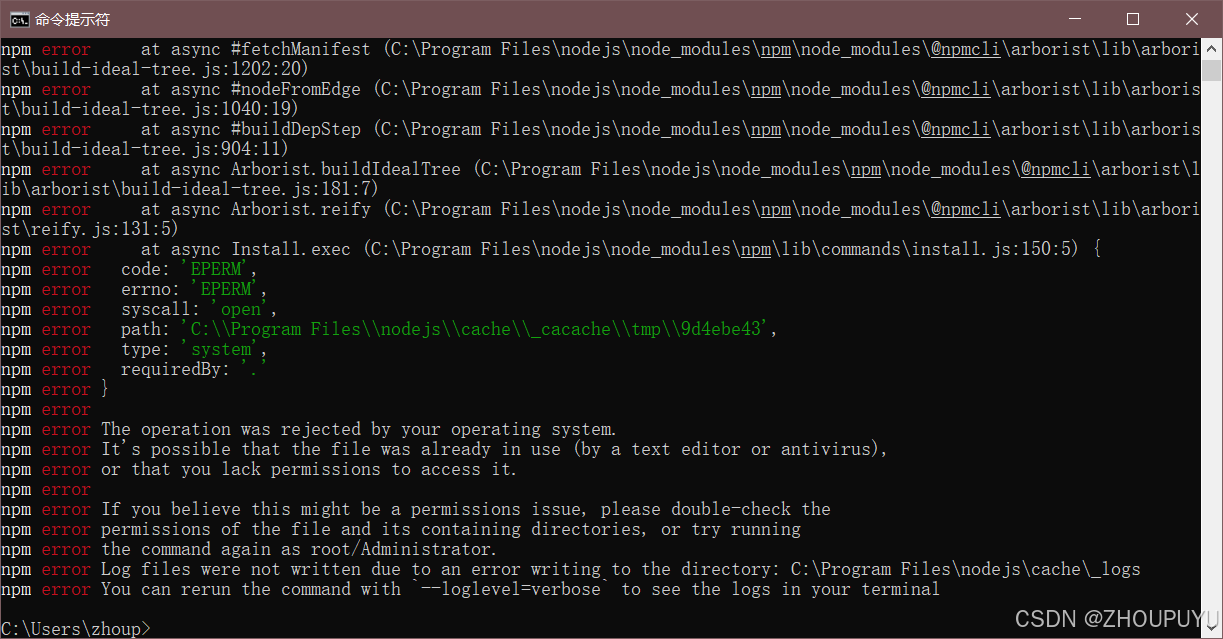
- 没有用管理身份打开的话,会报错如下图
五、安装淘宝镜像
**1.**管理员身份打开cmd输入镜像安装命令
npm config set registry https://registry.npmmirror.com淘宝镜像是淘宝团队为国内用户提供的npm镜像源,它与官方镜像源保持同步,并提供了更快的下载速度。

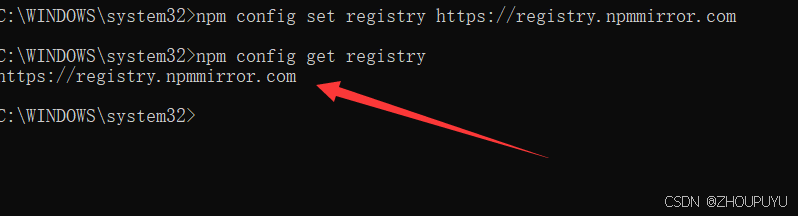
2.查看淘宝镜像是否安装成功
npm config get registry显示下图网址则说明安装成功!
希望对大家有所帮助!!