
开发后端Java应用时,大多数开发者使用的是IntelliJ IDEA,但该软件是一个付费软件,所以希望可以使用开源且免费的VSCode来创建和开发后端项目。本文为本人在 Mac 上使用 Visual Studio Code(简称 VSCode)集成开发环境来搭建一个基于 Spring Boot 和 Gradle 的开发环境的记录笔记。无论你是刚刚接触 Spring Boot 的新手还是有经验的开发者,这篇教程都将帮助你顺利开始你的 Spring Boot 之旅。
- 安装JDK
- 安装VSCode
- 安装VSCode插件
- 创建springboot应用
- 配置项目和运行hello world
一、安装JDK
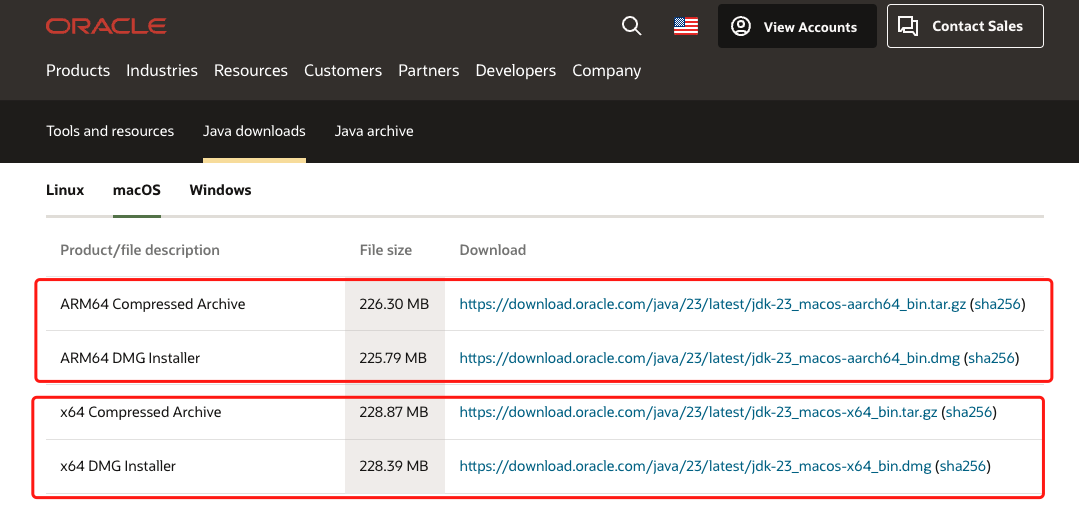
访问 Oracle JDK 官方网站下载适合Mac OS的版本。
Oracle JDK官方下载地址:
https://www.oracle.com/java/technologies/downloads/
根据电脑cpu架构选择下载Intel版本或ARM64版本,下载完成后直接点击安装。
安装完成后需要对JAVA_HOME进行配置,在bash_profile文件中添加如下环境变量配置:
# JAVA
export JAVA_HOME=/Library/Java/JavaVirtualMachines/jdk-23.jdk/Contents/Home
export PATH=$JAVA_HOME/bin:$PATH:.
export CLASSPATH=$JAVA_HOME/lib/tools.jar:$JAVA_HOME/lib/dt.jar:.
保存文件后关闭编辑器,执行以下命令设置生效:
source ~/.bash_profile执行java -version查看sdk是否安装成功,出现版本号说明已经安装成功。

二、安装VSCode
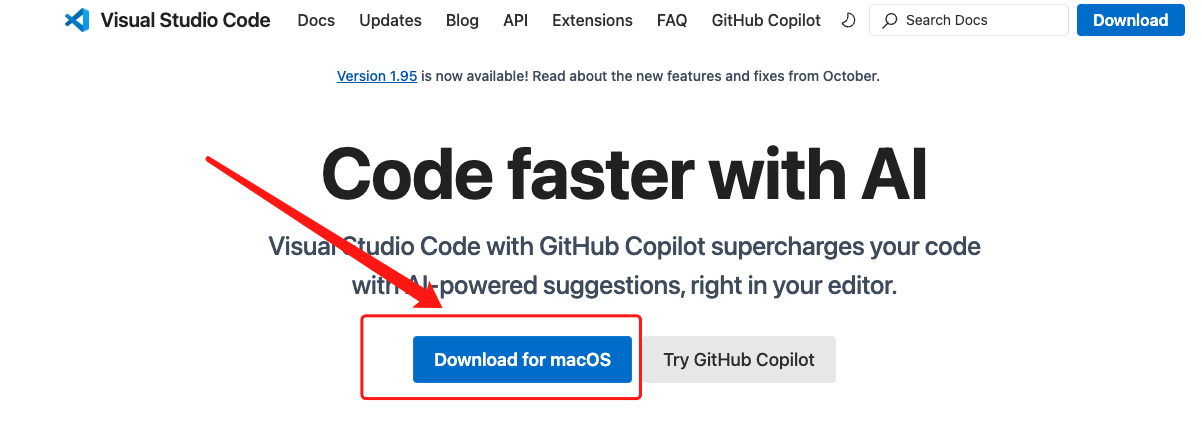
访问 Visual Studio Code 官方网站下载适用于Mac OS的安装包。
VSCode官方下载地址:
https://code.visualstudio.com/
下载VSCode后,直接安装即可。
三、安装VSCode插件
- VSCode安装java插件
- VSCode安装SpringBoot插件
- VSCode安装Gradle插件
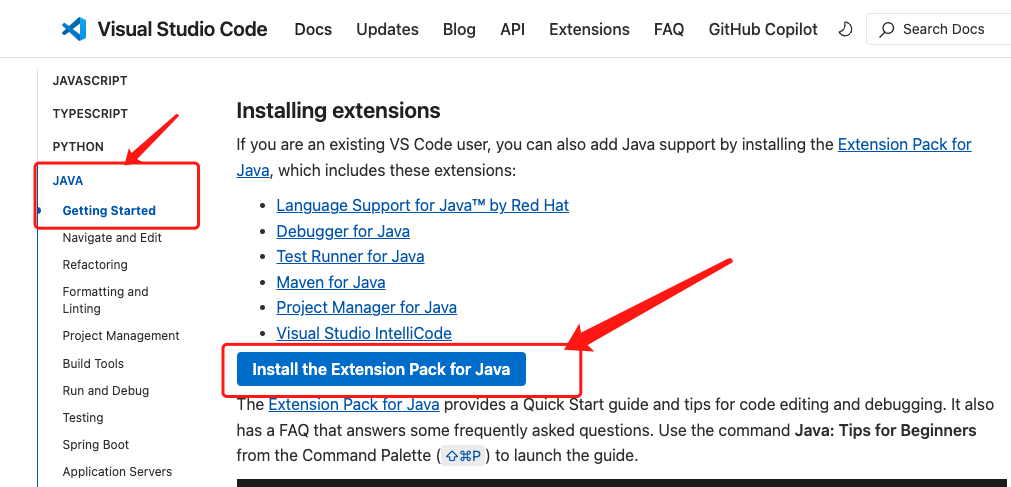
3.1 VSCode安装java插件
在VSCode官方,点击Install the Extension Pack for Java安装Java插件。
VSCode官方Install the Extension Pack for Java插件:
https://code.visualstudio.com/docs/java/java-tutorial

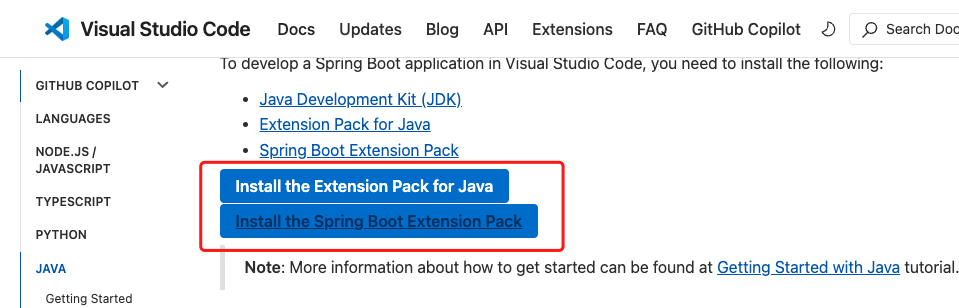
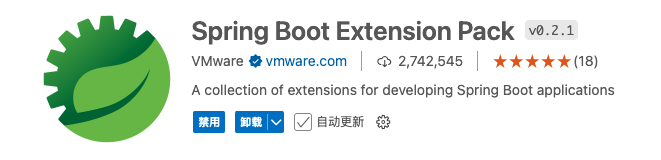
3.2 VSCode安装SpringBoot插件
在VSCode官方,点击Install the Spring Boot Extension Pack安装SpringBoot插件。
VSCode官方Install the Spring Boot Extension Pack插件:
https://code.visualstudio.com/docs/java/java-spring-boot
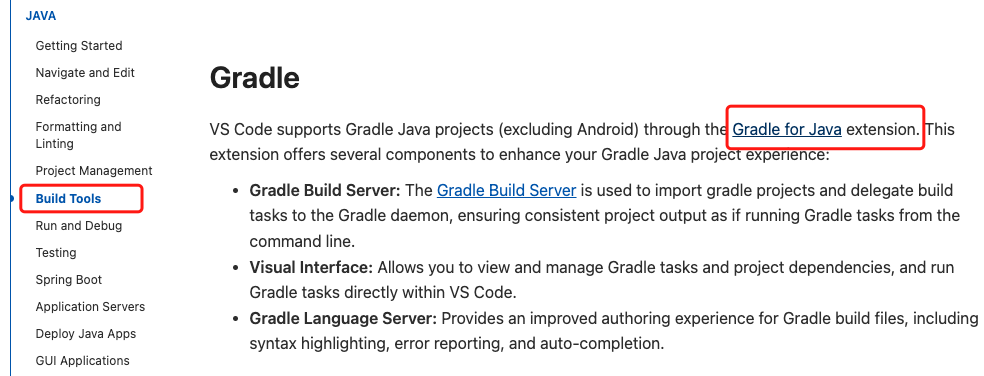
3.3 VSCode安装Gradle插件
在VSCode官方,点击Gradle for Java安装Gradle插件。
VSCode官方Gradle for Java extension插件:
https://code.visualstudio.com/docs/java/java-build

四、创建springboot应用
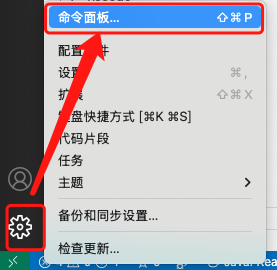
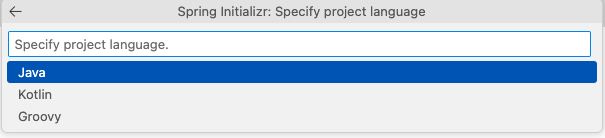
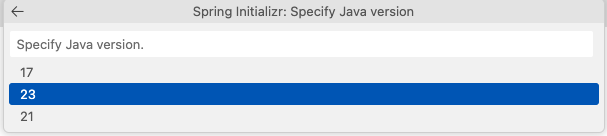
使用命令命令面板 Spring Init 自动生成Spring Boot项目结构。


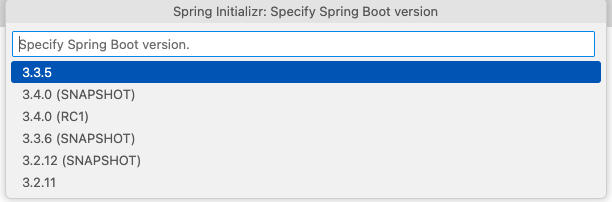


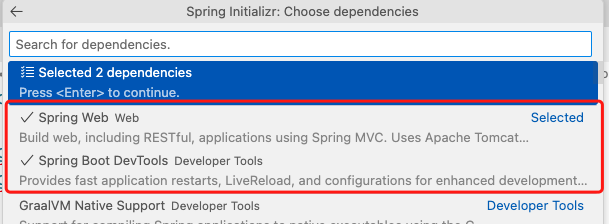
选择依赖,创建项目时只需选择最基础的依赖,其他依赖可以在开发过程中按需添加:
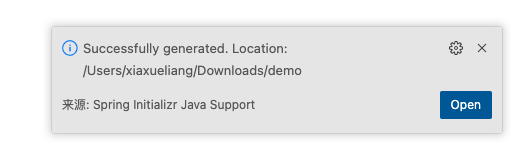
点击open打开项目,等待下载依赖和加载完成,至此项目创建成功。
五、配置和运行项目
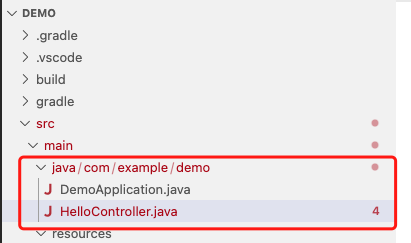
5.1 创建HelloController.java
基于编辑器创建的默认SpringBoot工程,在com.example.demo目录下创建 HelloController.java 文件。
HelloController.java 代码内容如下:
package com.example.demo;

import org.springframework.web.bind.annotation.RestController;
import org.springframework.web.bind.annotation.GetMapping;

@RestController
public class HelloController {
    @GetMapping("hello")
    public String hello() {
        return "hello world!";
    }
}
5.2 配置application.properties
配置application.properties文件
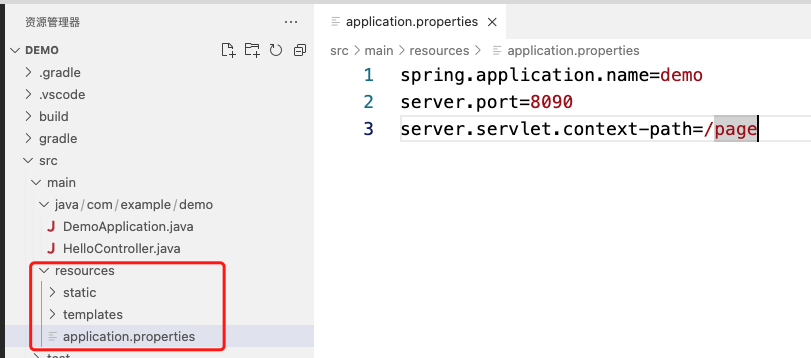
application.properties 配置如下:
spring.application.name=demo
server.port=8090
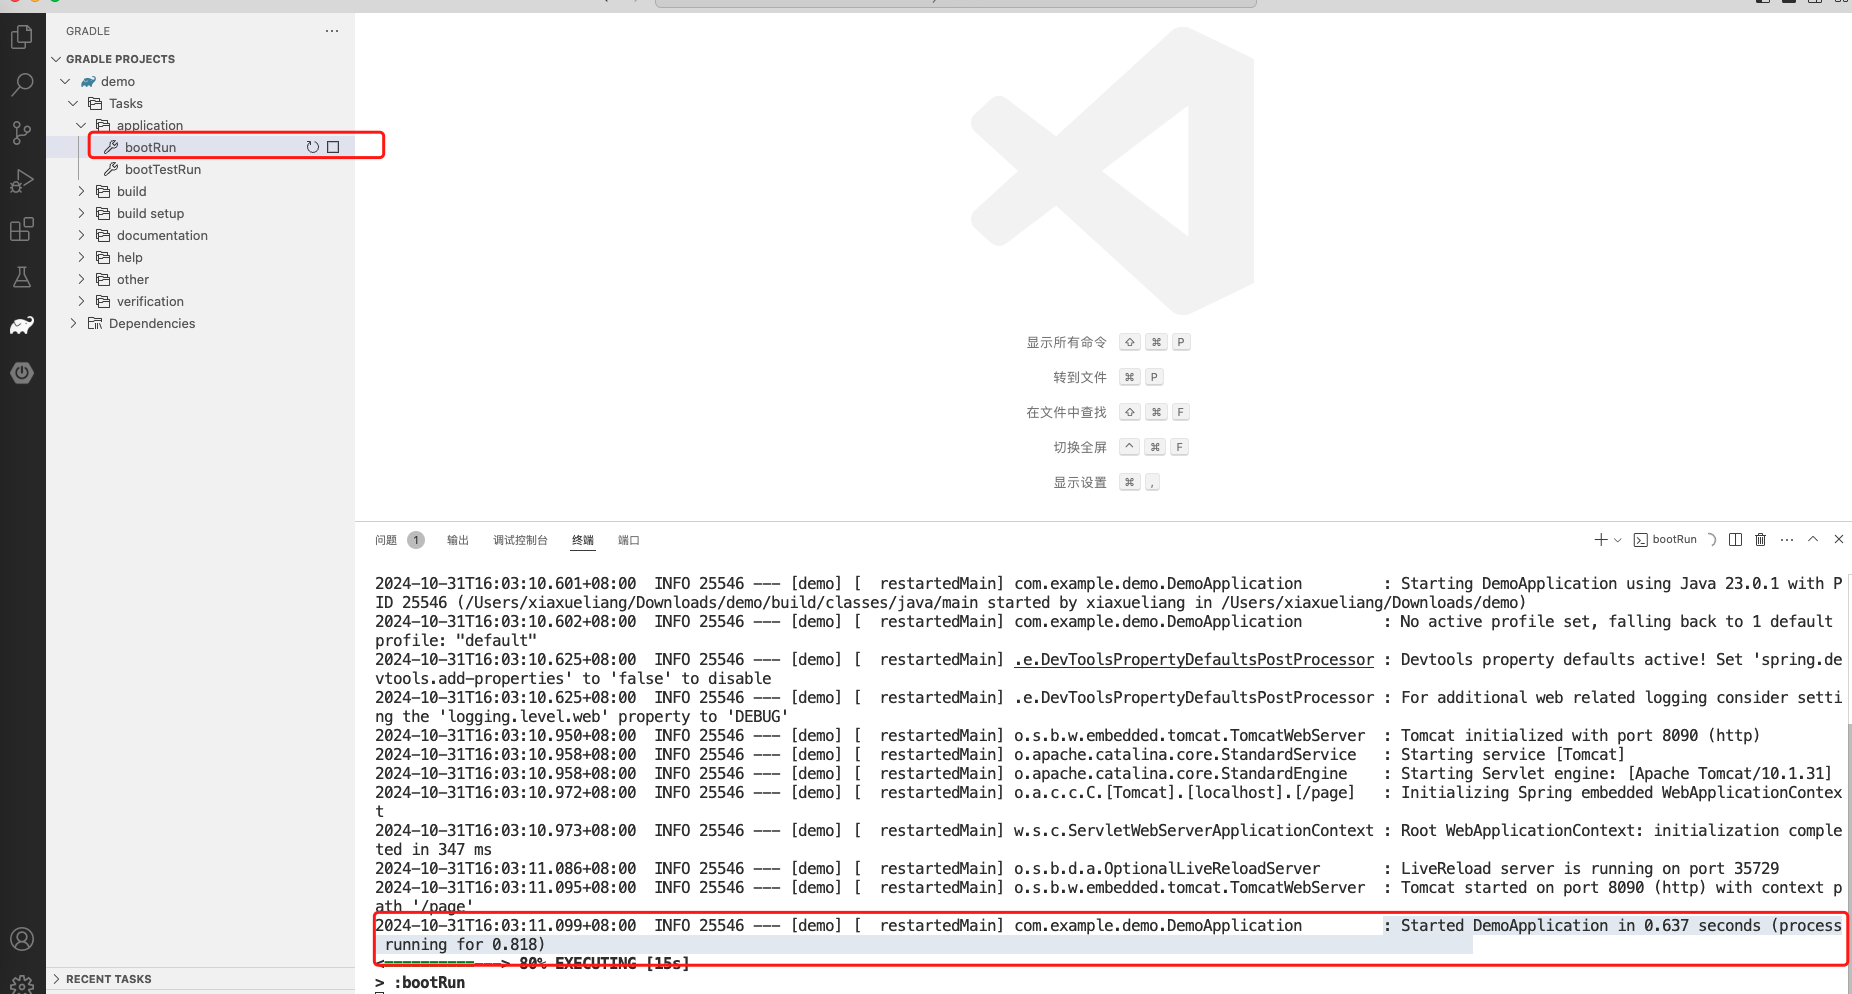
server.servlet.context-path=/page5.3 bootRun启动服务
bootRun启动服务。
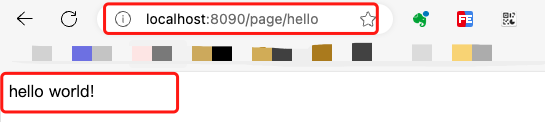
打开浏览器访问:http://localhost:8090/page/hello
六、参考
VSCode官方:Getting Started with Java in VS Code
https://code.visualstudio.com/docs/java/java-tutorial
VSCode官方:Spring Boot support in Visual Studio Code
https://code.visualstudio.com/docs/java/java-spring-boot
VSCode搭建SpringBoot+Maven开发环境:
https://www.cnblogs.com/huangczh/p/18095555
VSCode搭建SpringBoot+Maven开发环境:
https://blog.csdn.net/DTDanteDong/article/details/111857559