文章目录
嗨嗨嗨~ 我老马又来了!!!上次写了一篇我开源了一款阿里云OSS的spring-boot-starter
但是大家需要知道的事情是阿里云oss是收费的啊!在写这篇文章之前作者也买了一个阿里oss的资源包

但是就是在 2024年9月16日 00:00 的时候,他过期了,那么大家都知道我的,喜欢找白(开)嫖(源)的路子,经过许久的调研加上github免费的名声,所以作者就盯上了github ,于是花了几天的时间写了一个github-spring-boot-starter给大家使用
这个spring-boot-starter 只有一个使命:当图床+上传文件,只需要调用一个(githubTemplate.putObject())上传的方法,返回值就是一个直接可以预览的路径!! 目前这个jar包已经发布到maven的中央仓库去了,欢迎大家使用
仓库的引用地址为:https://mvnrepository.com/artifact/io.gitee.wangfugui-ma/github-spring-boot-starter
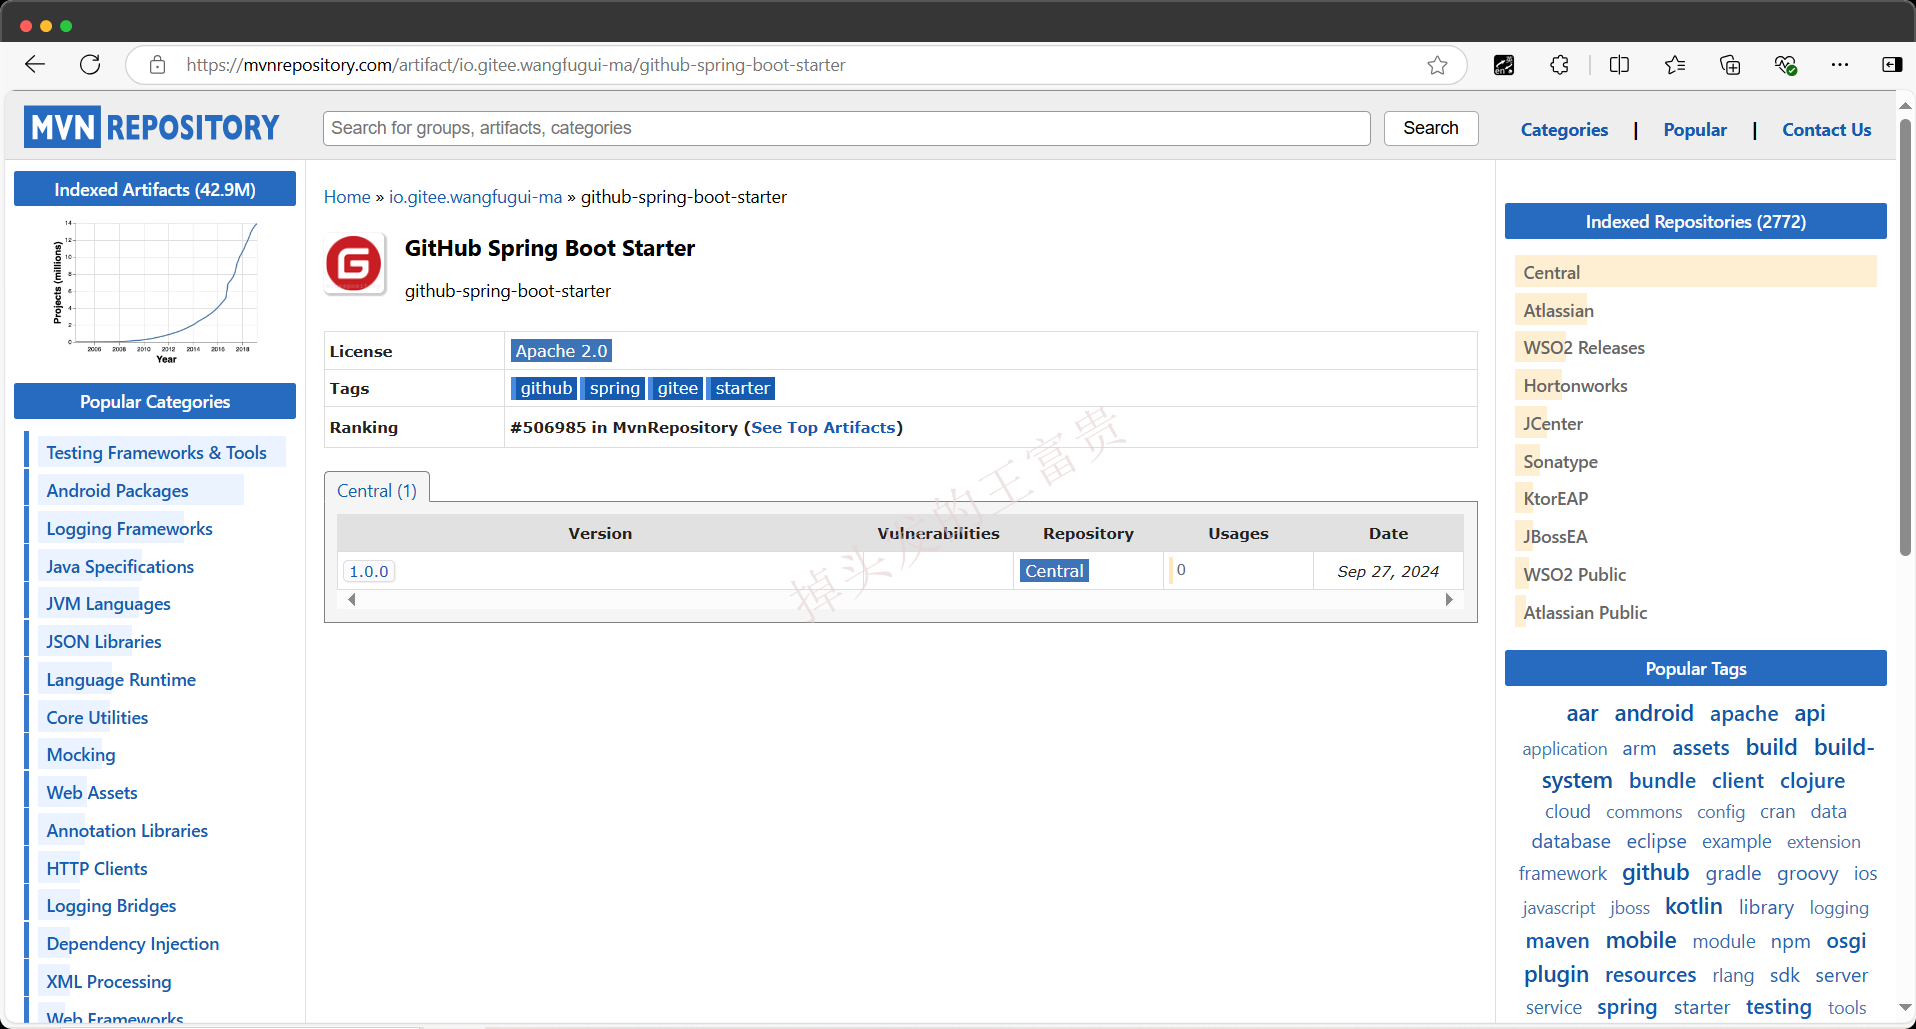
现在来教大家怎么使用这个免费的jar包
目前最新的jar包版本为1.0.0,请使用1.0.0版本
第一步,新建一个SpringBoot项目
SpringBoot入门:如何新建SpringBoot项目(保姆级教程)
第二步,在pom文件里面引入jar包
maven项目为
java
<!-- https://mvnrepository.com/artifact/io.gitee.wangfugui-ma/github-spring-boot-starter -->
<dependency>
    <groupId>io.gitee.wangfugui-ma</groupId>
    <artifactId>github-spring-boot-starter</artifactId>
    <version>1.0.0</version>
</dependency>
gradle项目为
java
// https://mvnrepository.com/artifact/io.gitee.wangfugui-ma/github-spring-boot-starter
implementation group: 'io.gitee.wangfugui-ma', name: 'github-spring-boot-starter', version: '1.0.0'
第三步,配置你的github信息
在yml或者properties文件中配置如下信息
github:
  authorization: ghp_krW5D18ymHx3lK8a9QVBGK7scsdfn
  owner: MrFugui
  repo: markdown
  branch: main
  email: masiyi163163@163.com
github.authorization
这个参数是你的github的token,为了鉴权使用,告诉github这个是你
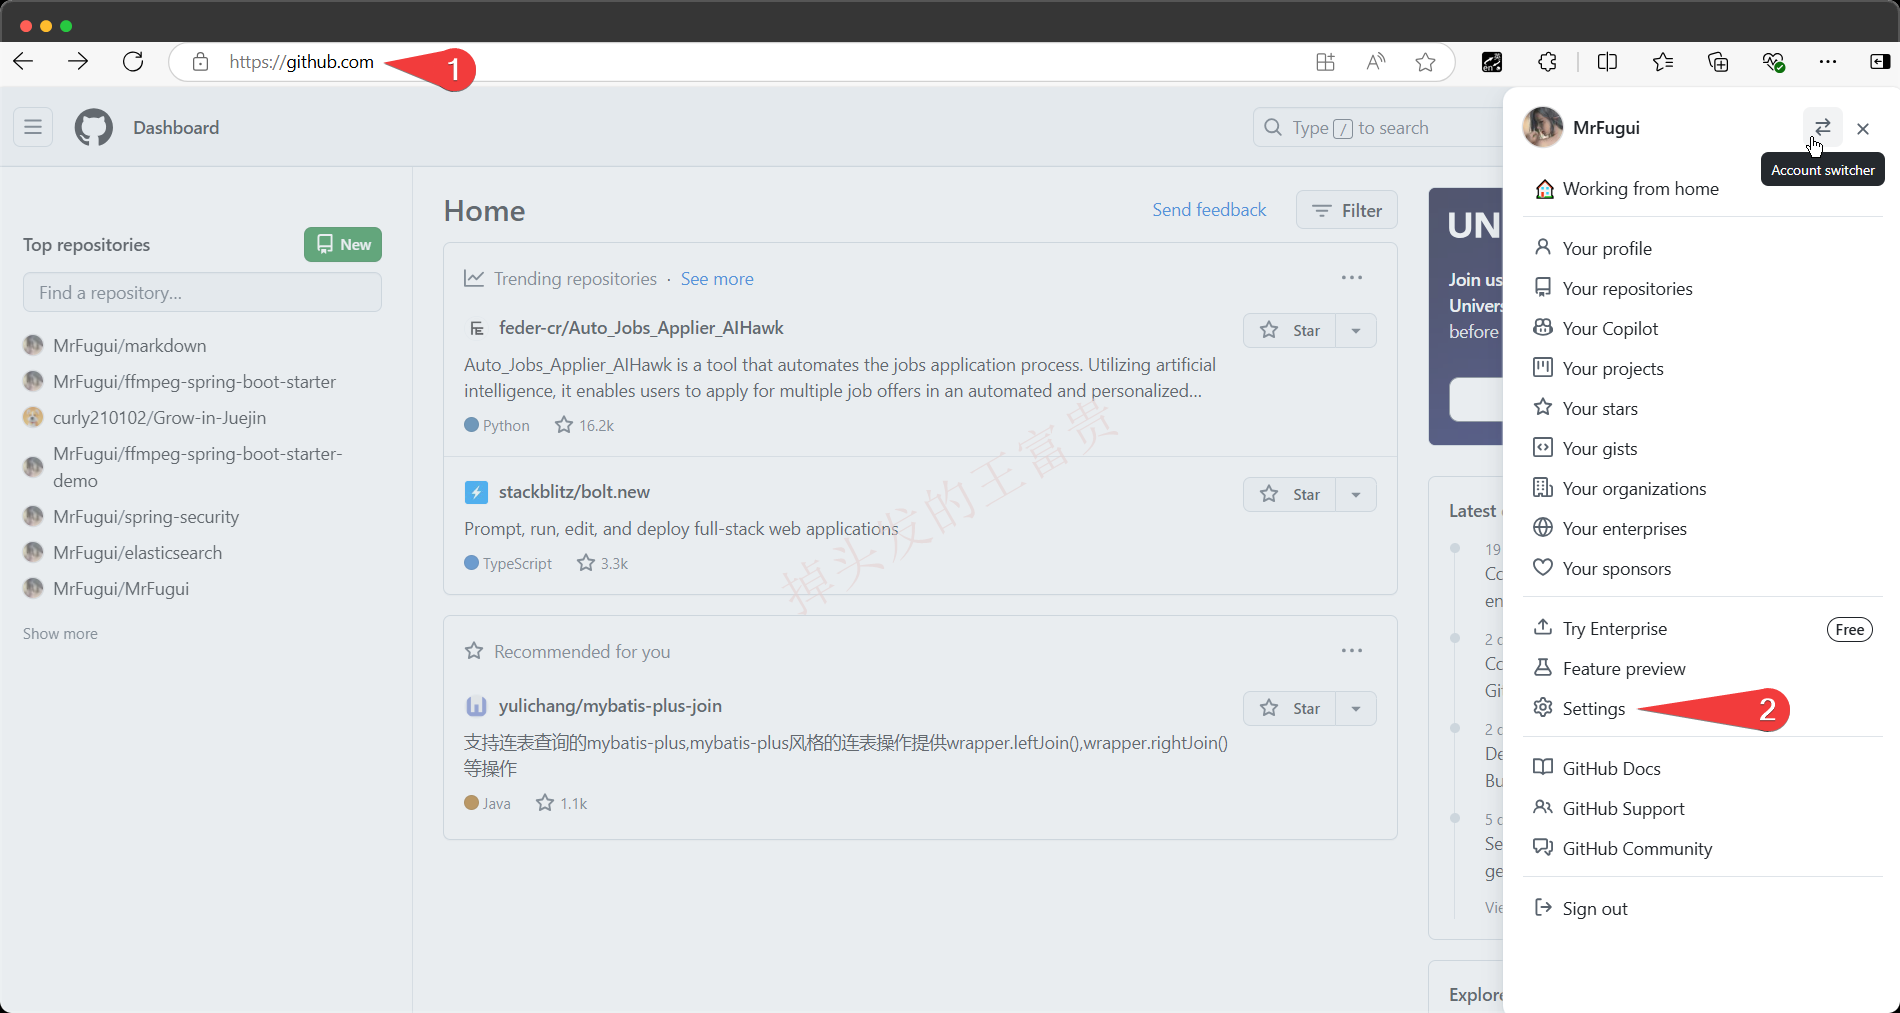
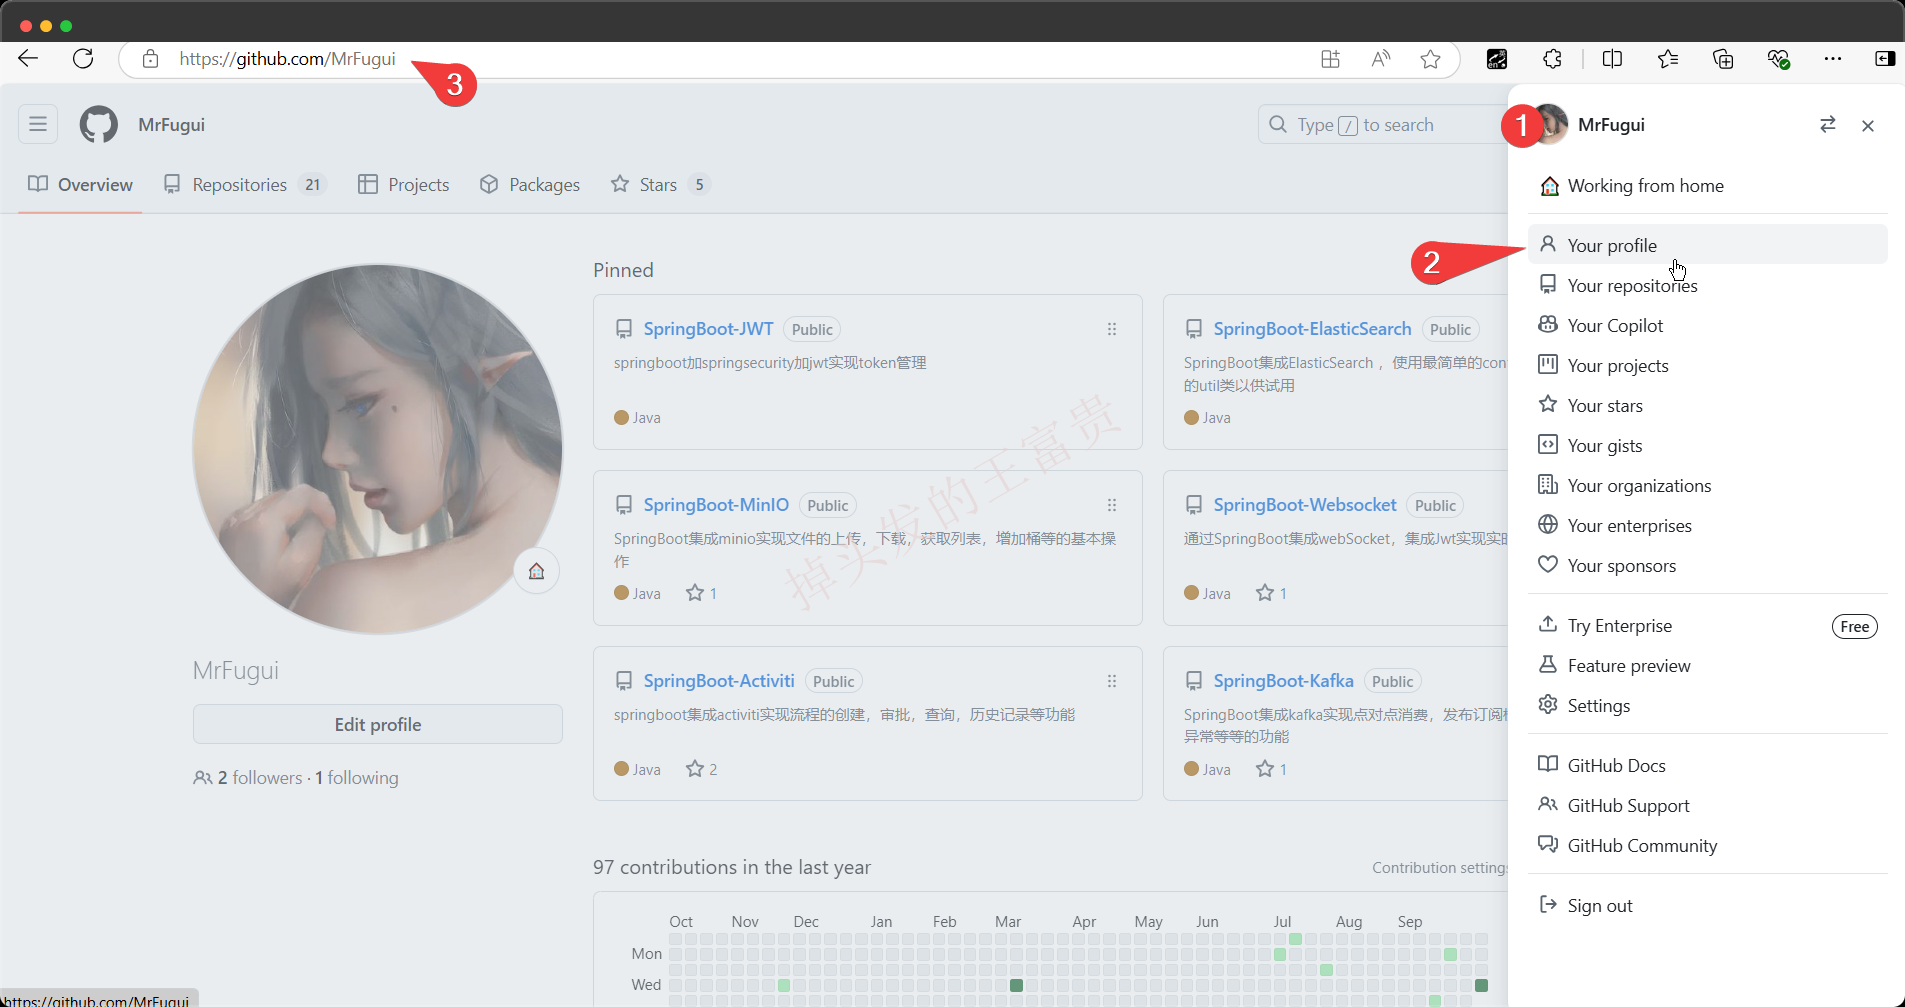
1、进入github官网,登录账号,点击头像,选择setting
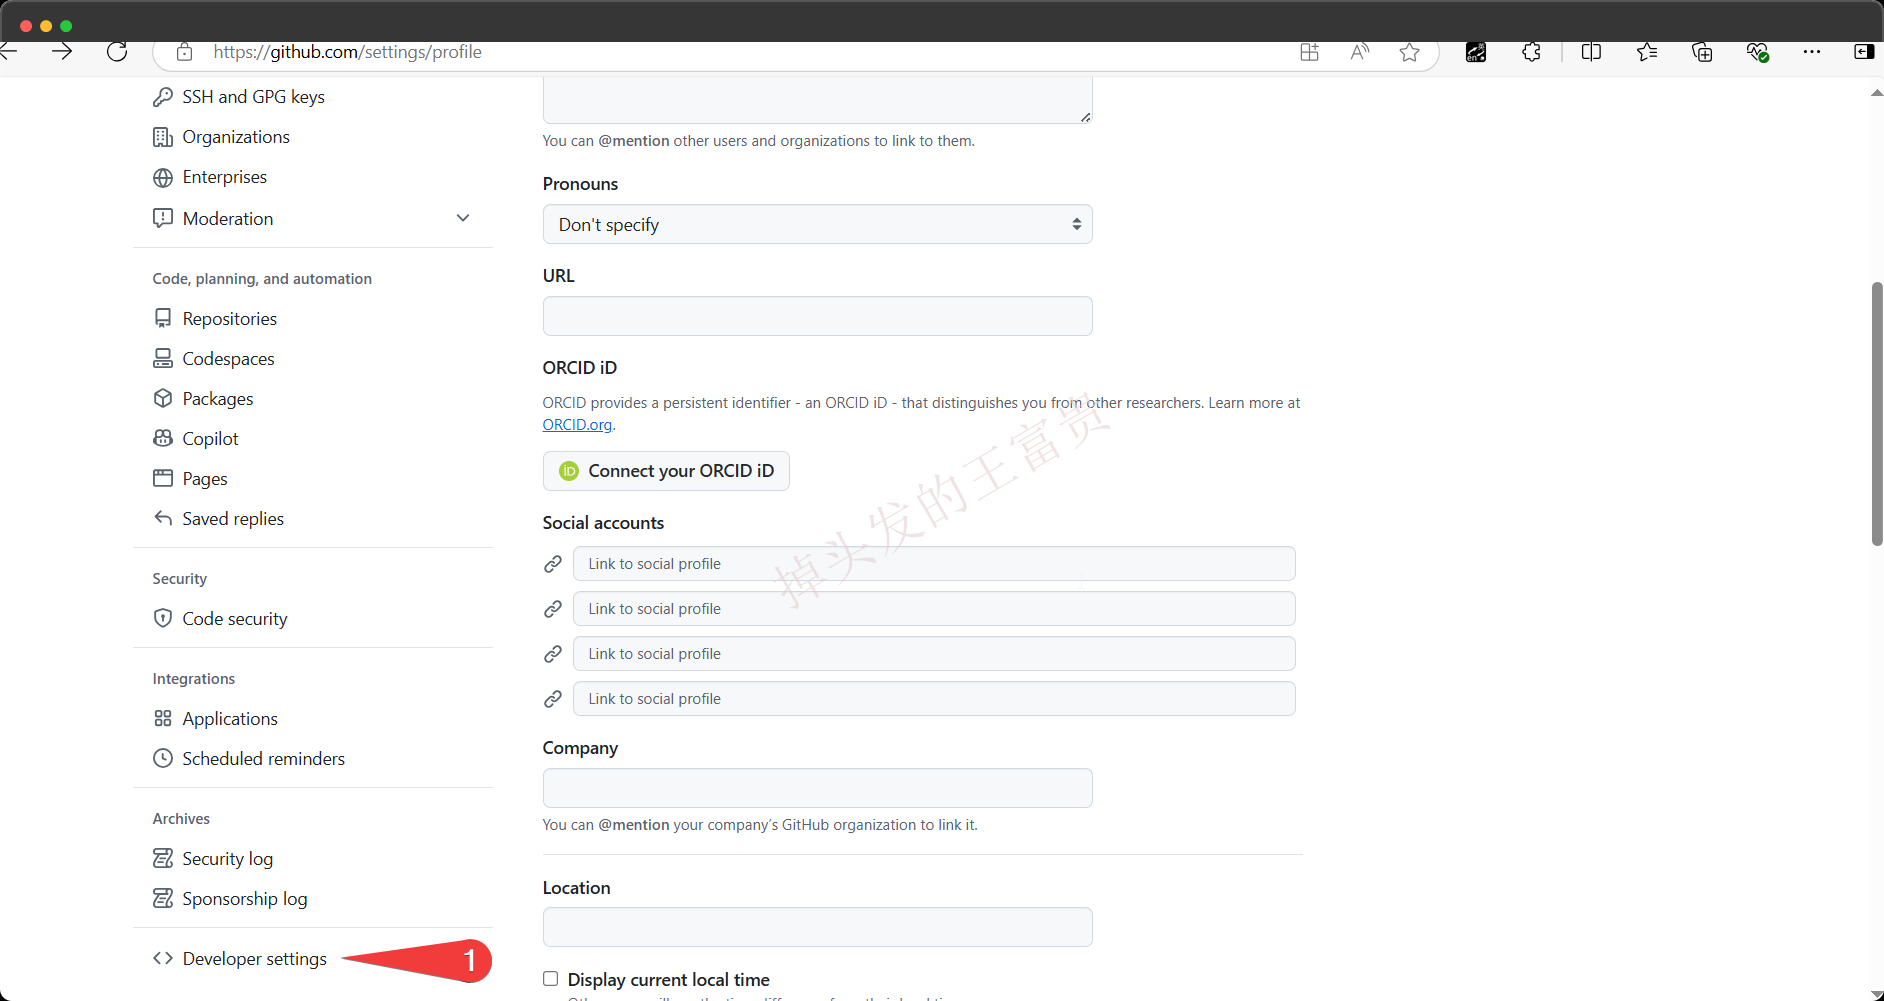
2、选择Developer Settings
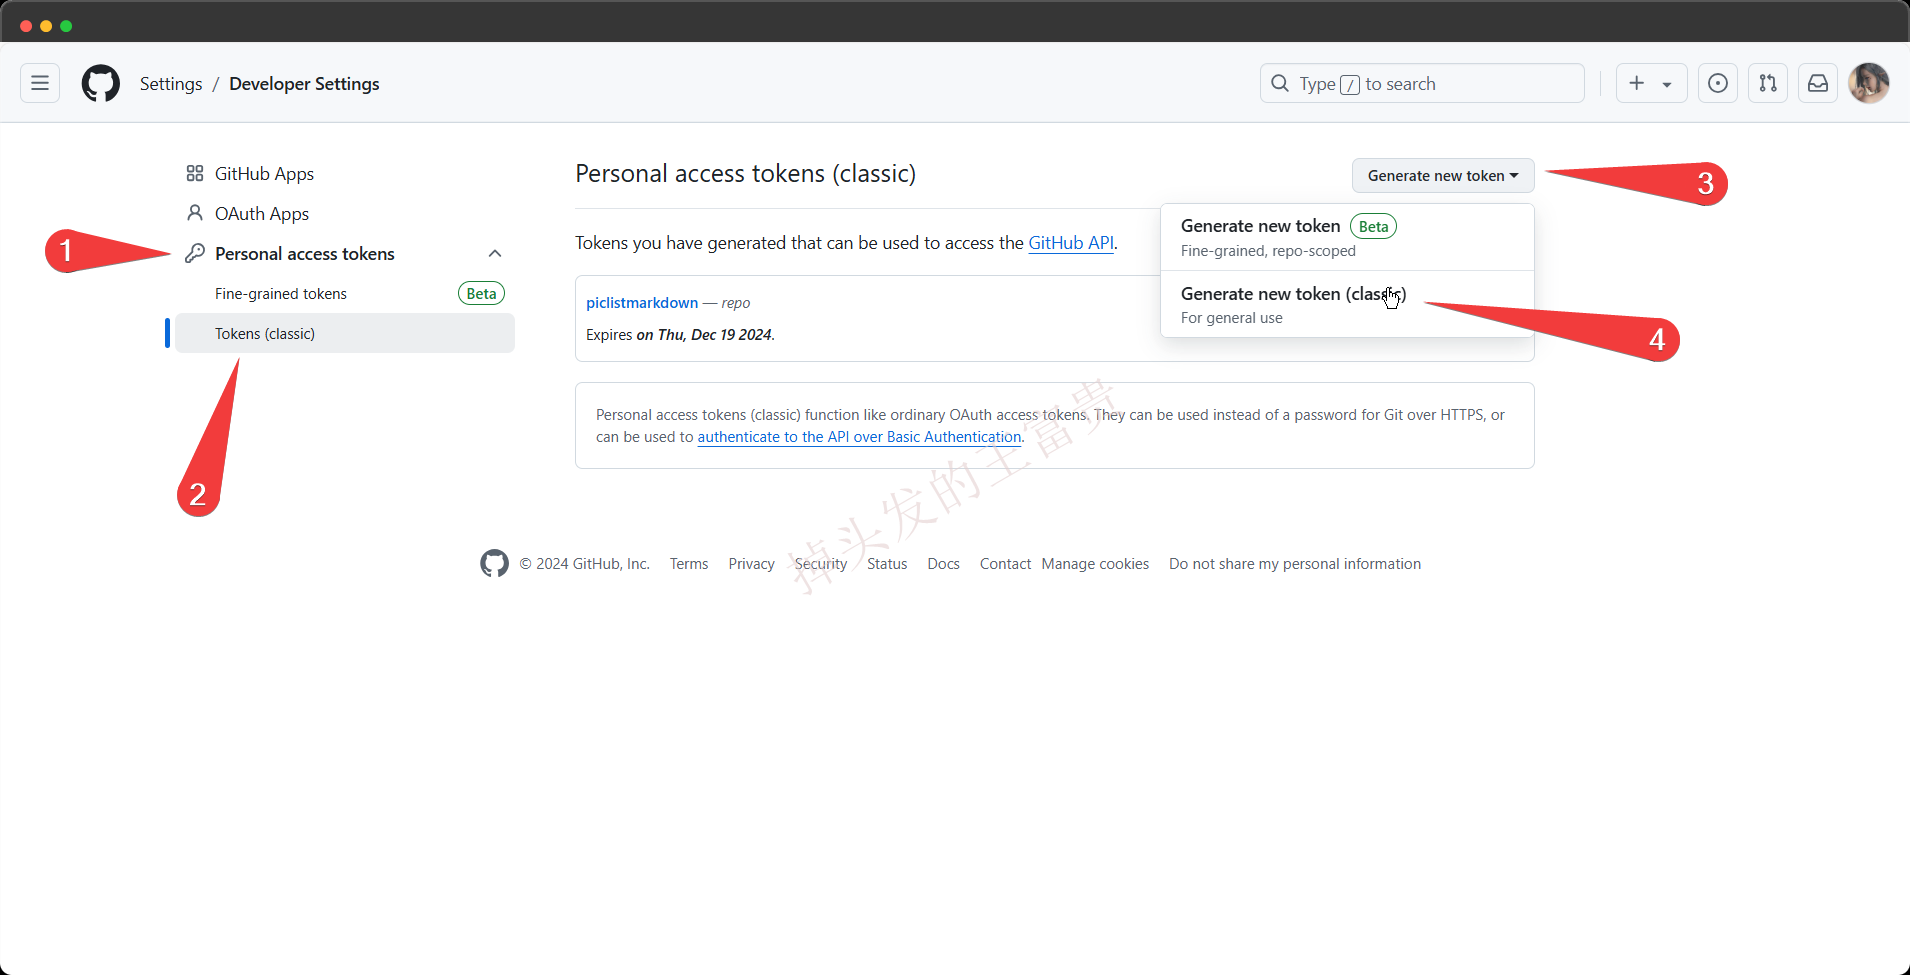
3、生成一个token
一定要选我箭头标识的,否则会调用失败!!
4、设置好参数
名字加有效期

然后把repo这个选项勾选上就行了,然后点击生成
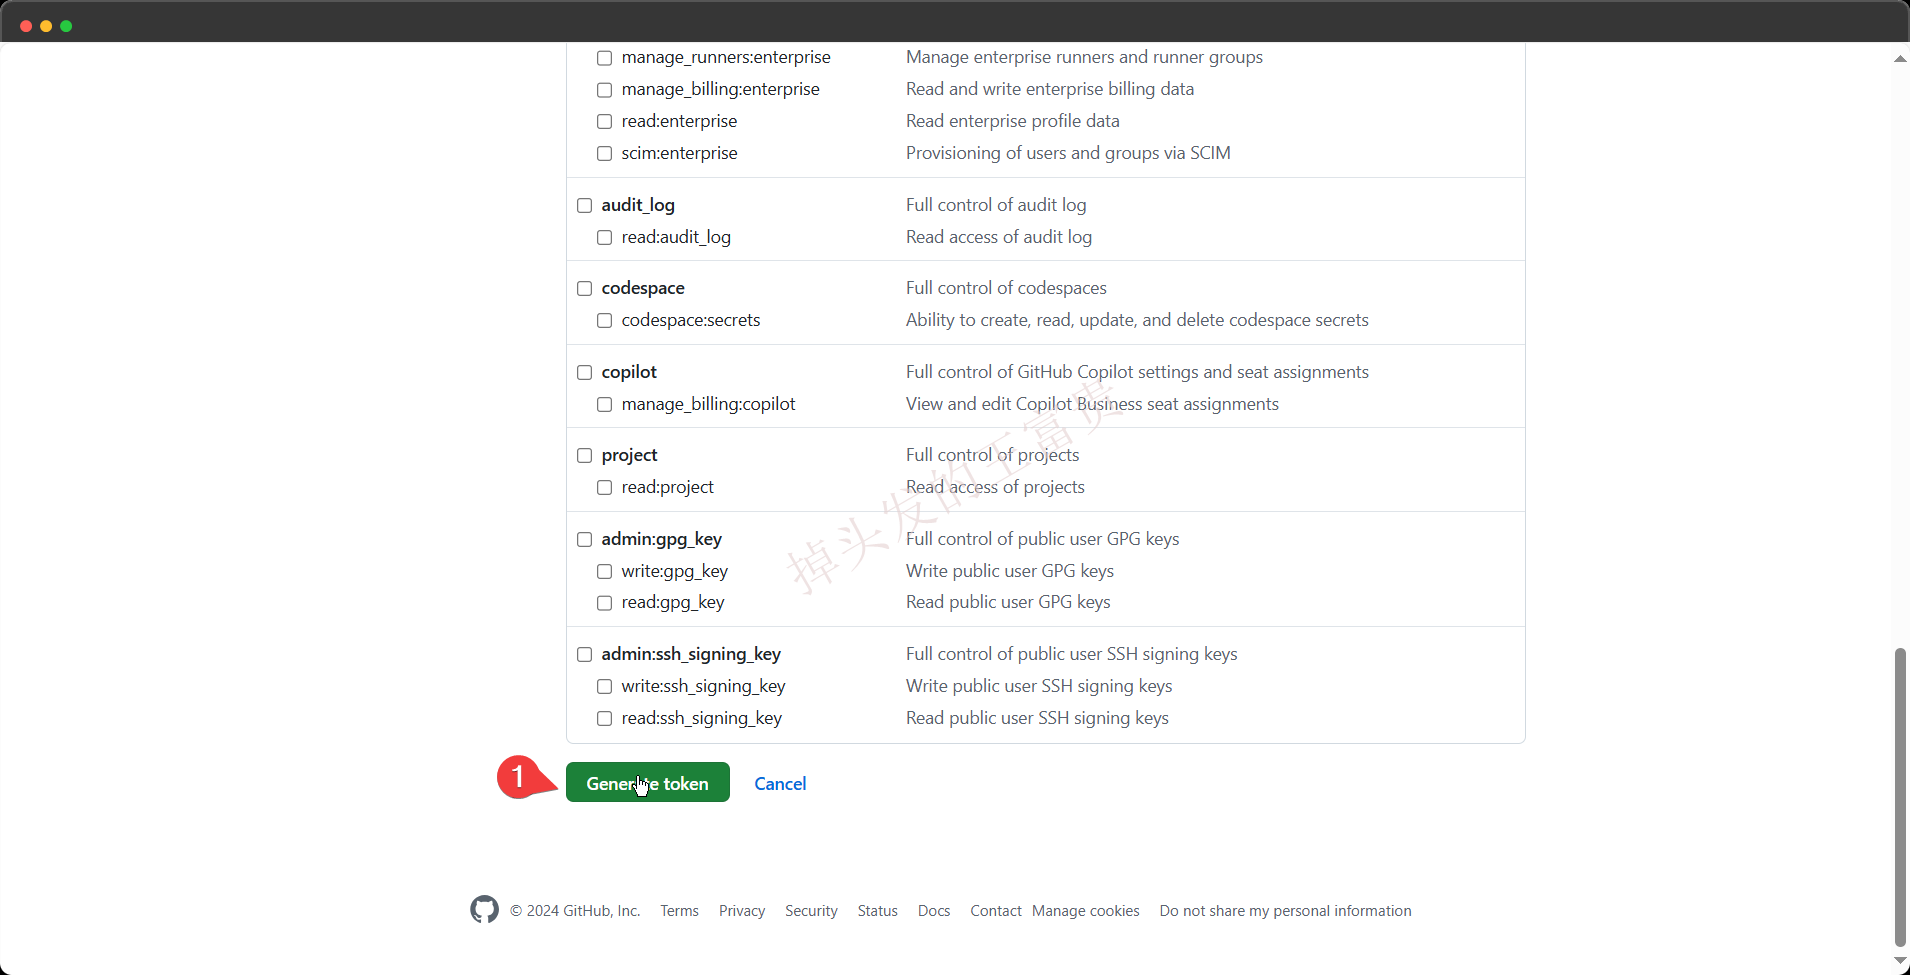
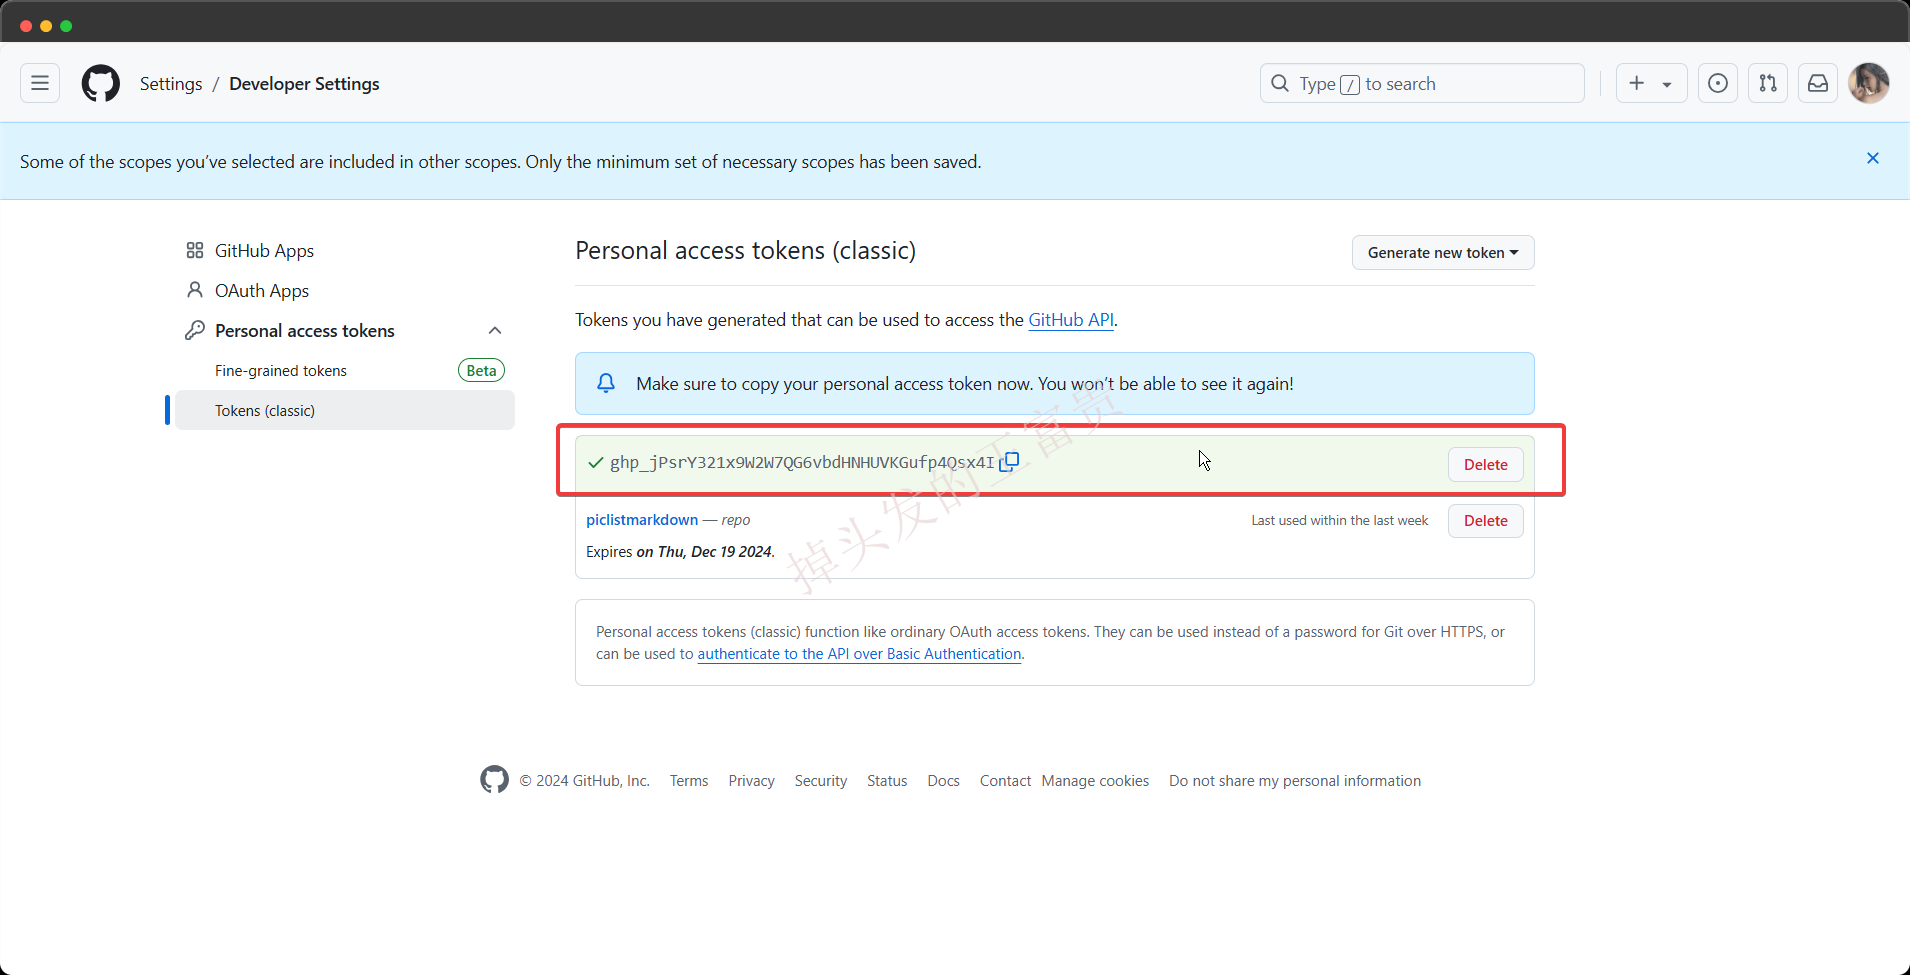
之后你就会得到一个token!把这个复制下来填到github.authorization参数里面去!!现在就复制!!now!!!因为关闭这个页面token就会消失了
owner
这个参数就是用户名的意思,例如作者的用户名就是MrFugui,点击你的头像点击your profile,地址栏里面就是你的owner
repo
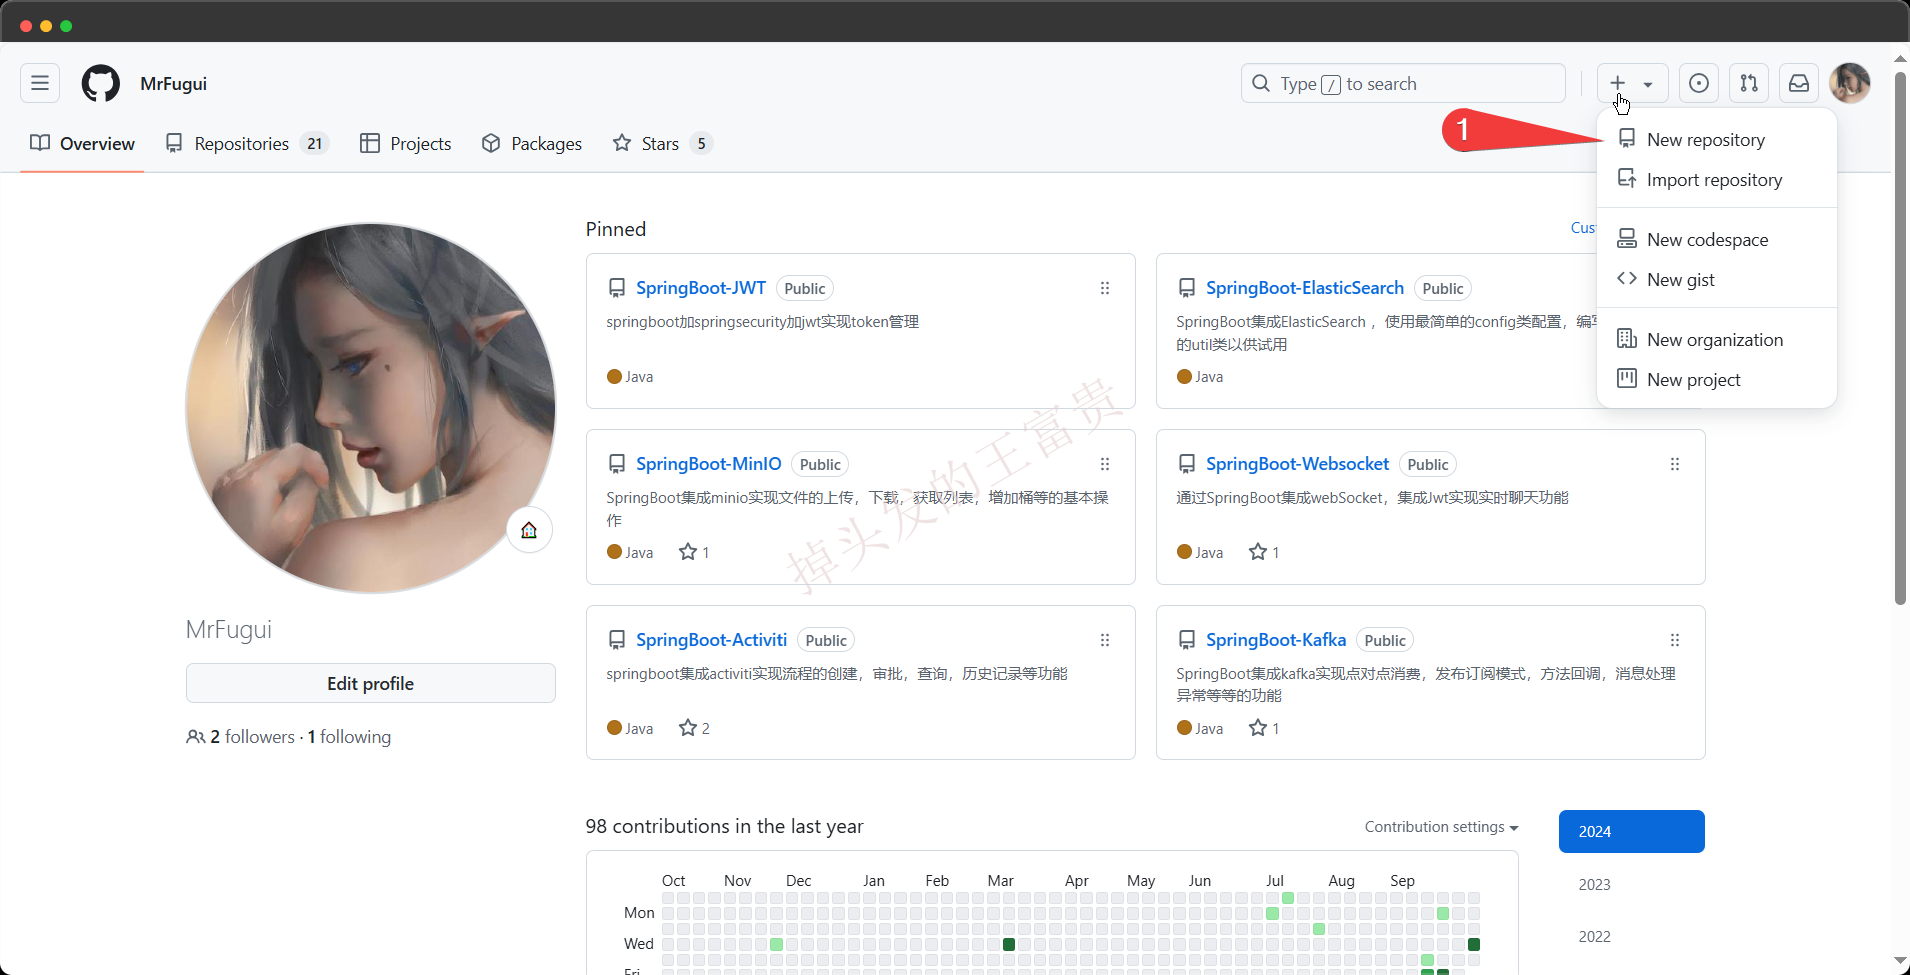
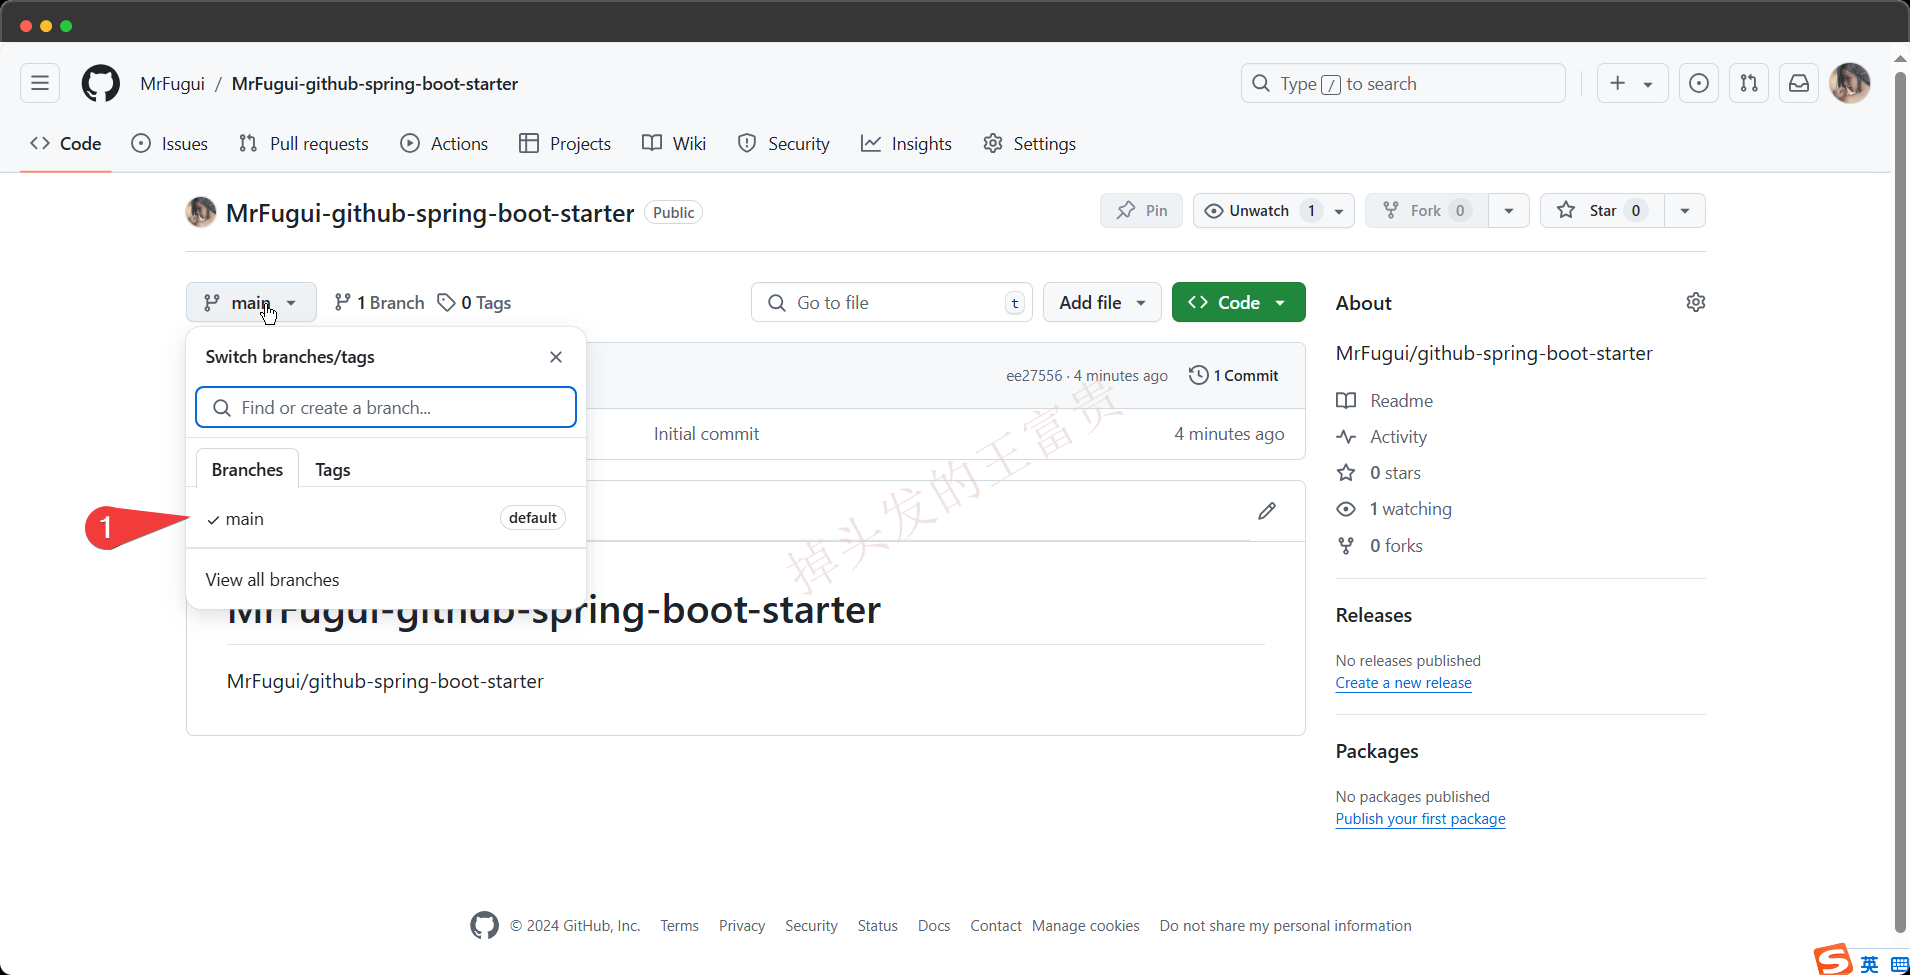
这个就是你的仓库名称啦,新建一个仓库
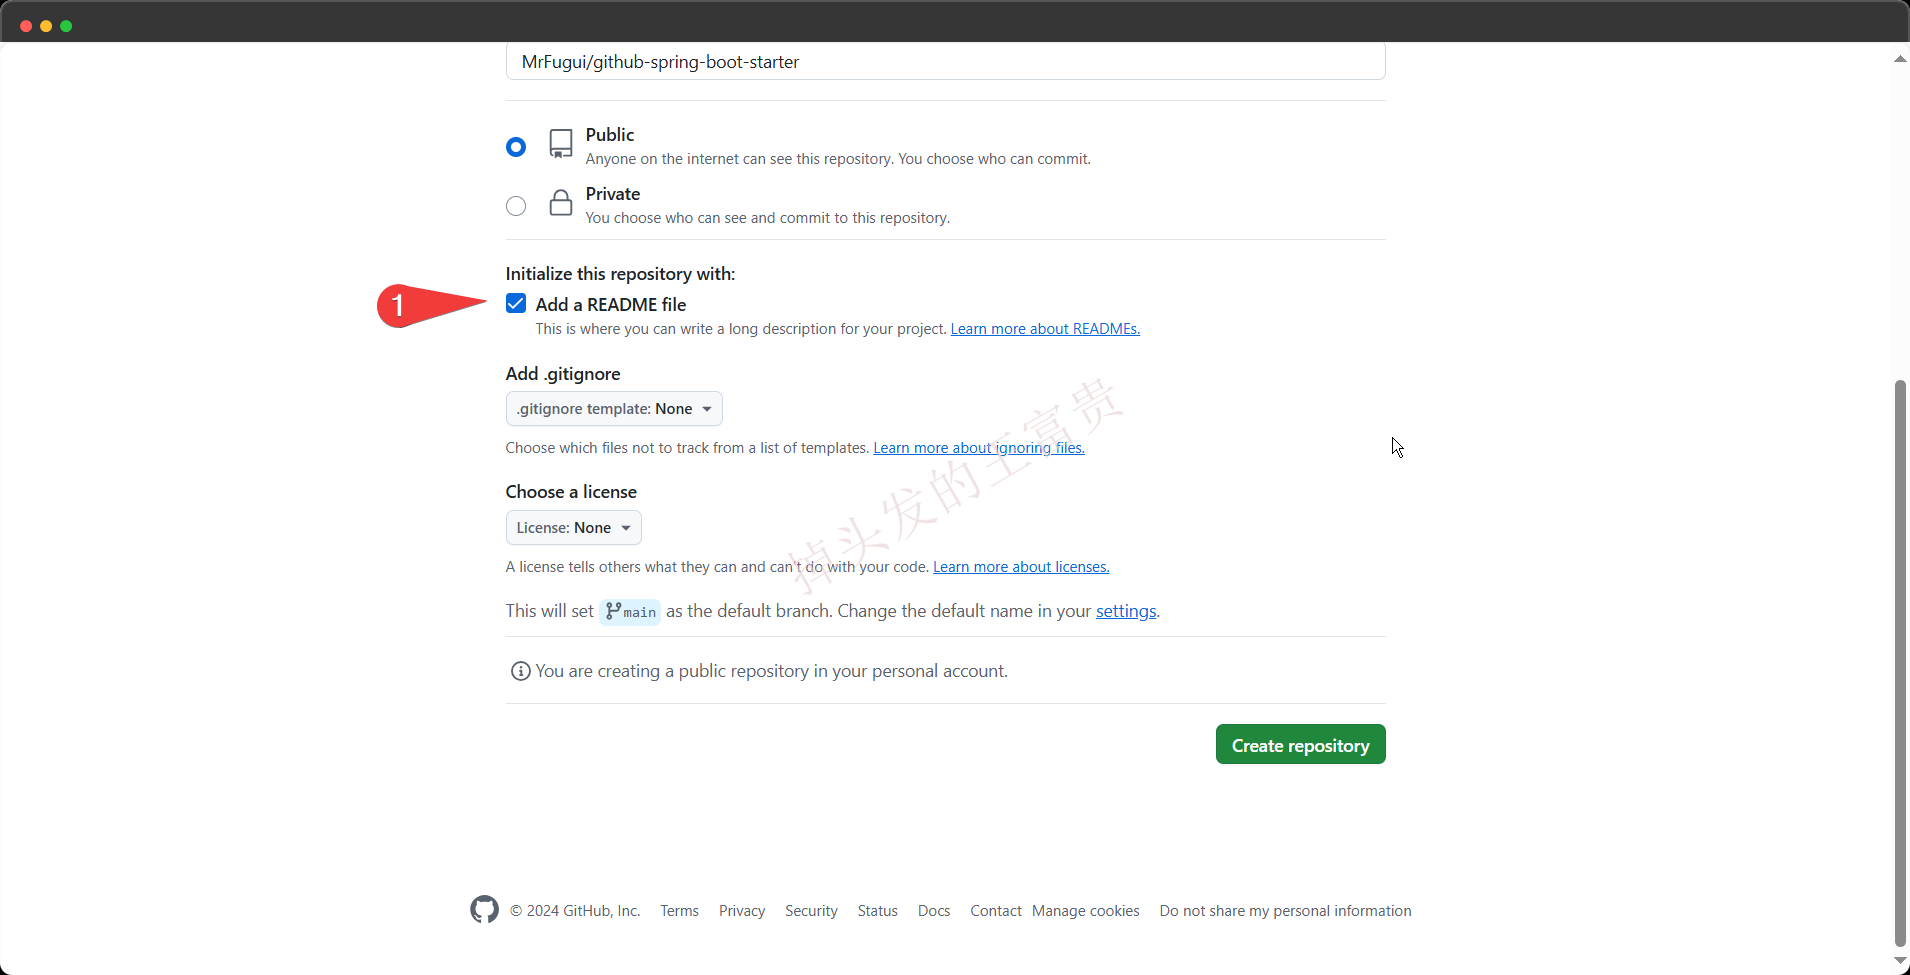
注意得是公开的仓库哦!!!
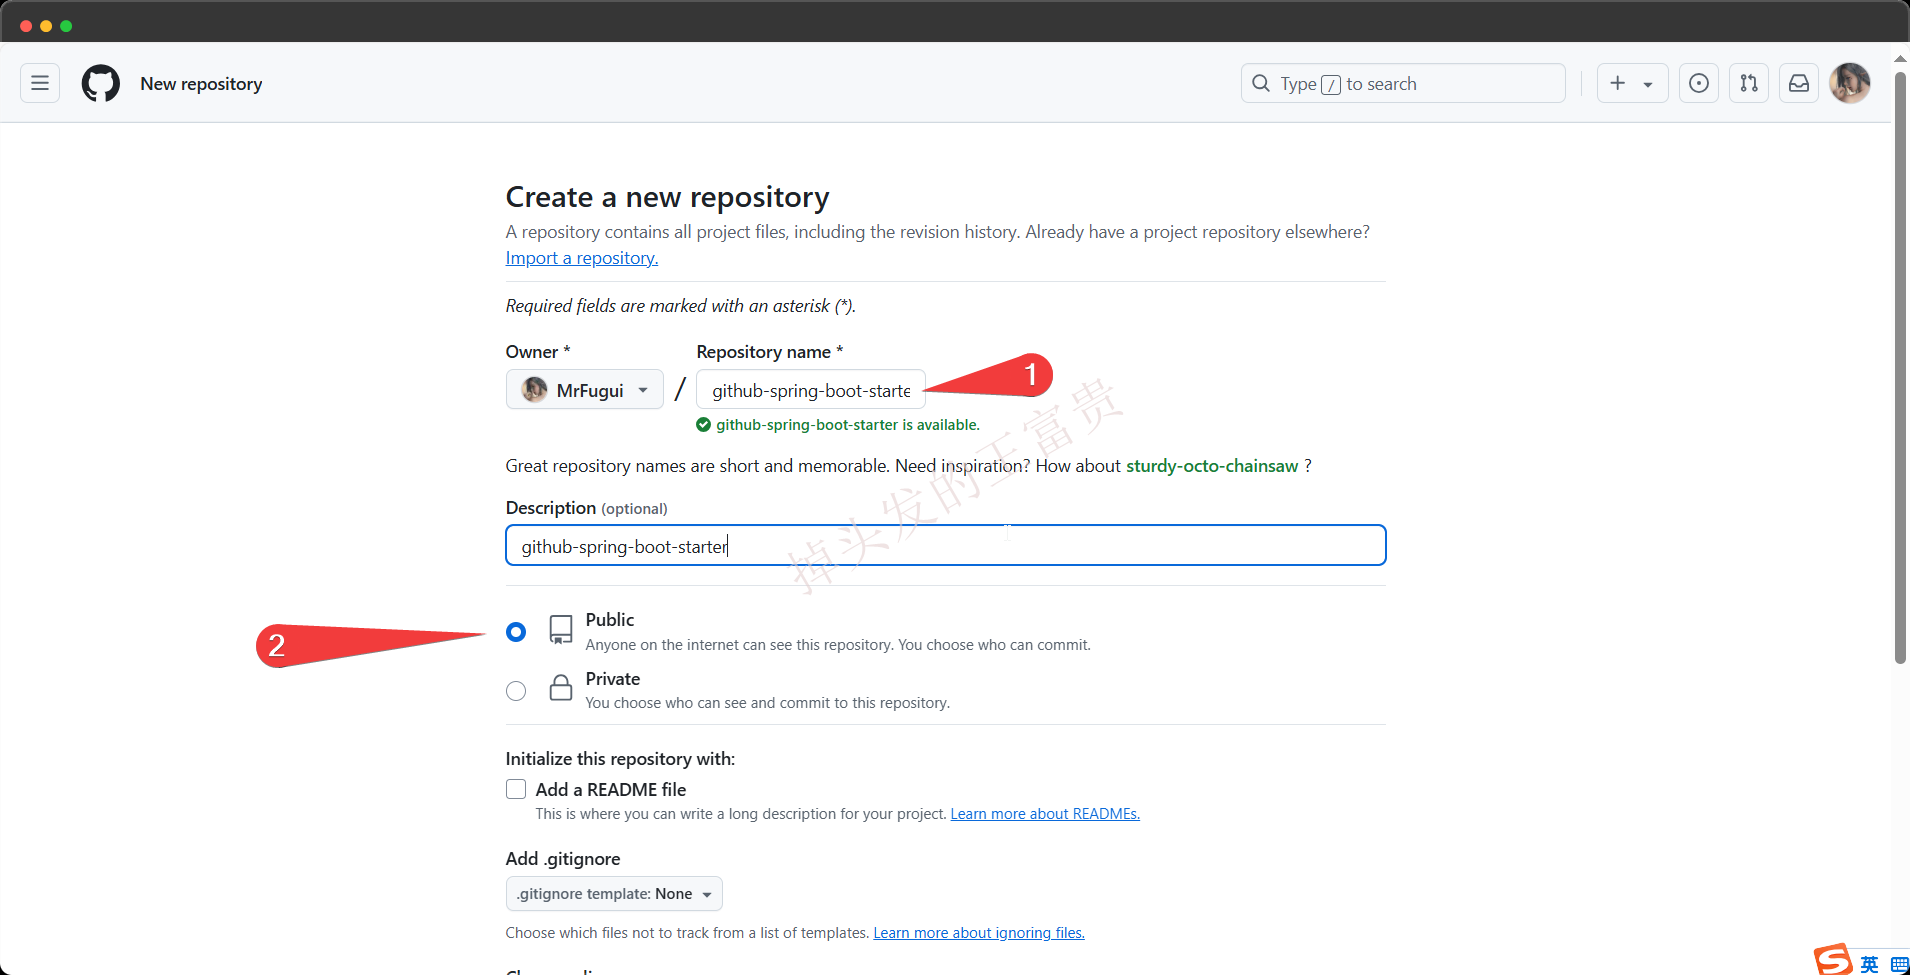
这里添加一个文件,这样才会创建一个默认的分支 main
branch
这里就是你的分支名称,如果你按照上面的操作来的话,默认就是main,如果你有自己的分支的话则改为自己的分支
见名之意,就是你的email电子邮箱,这个无所谓,可以随便乱写,主要的用于给提交信息加标识,但是前几个是不能乱写的
根据我们上面的操作完成之后yml就会变成这样:
yaml
github:
  authorization: ghp_krW5D18ymHx3lK8adfgdcVpYWh0bwR0n
  owner: MrFugui
  repo: github-spring-boot-starter
  branch: main
  email: masiyi163163@163.com
第四步,使用GithubTemplate
java
    @Autowired
GithubTemplate githubTemplate;在你的项目中直接使用Autowired注解注入AliyunTemplate即可使用

第五步,验证是否可以使用
我们编写一个测试方法往github里面上传一个文件试试
java
public String create(MultipartFile file) throws IOException {
    return githubTemplate.putObject(file.getInputStream(), "提交",  file.getOriginalFilename());
}
通过controller接口调用一下试试:
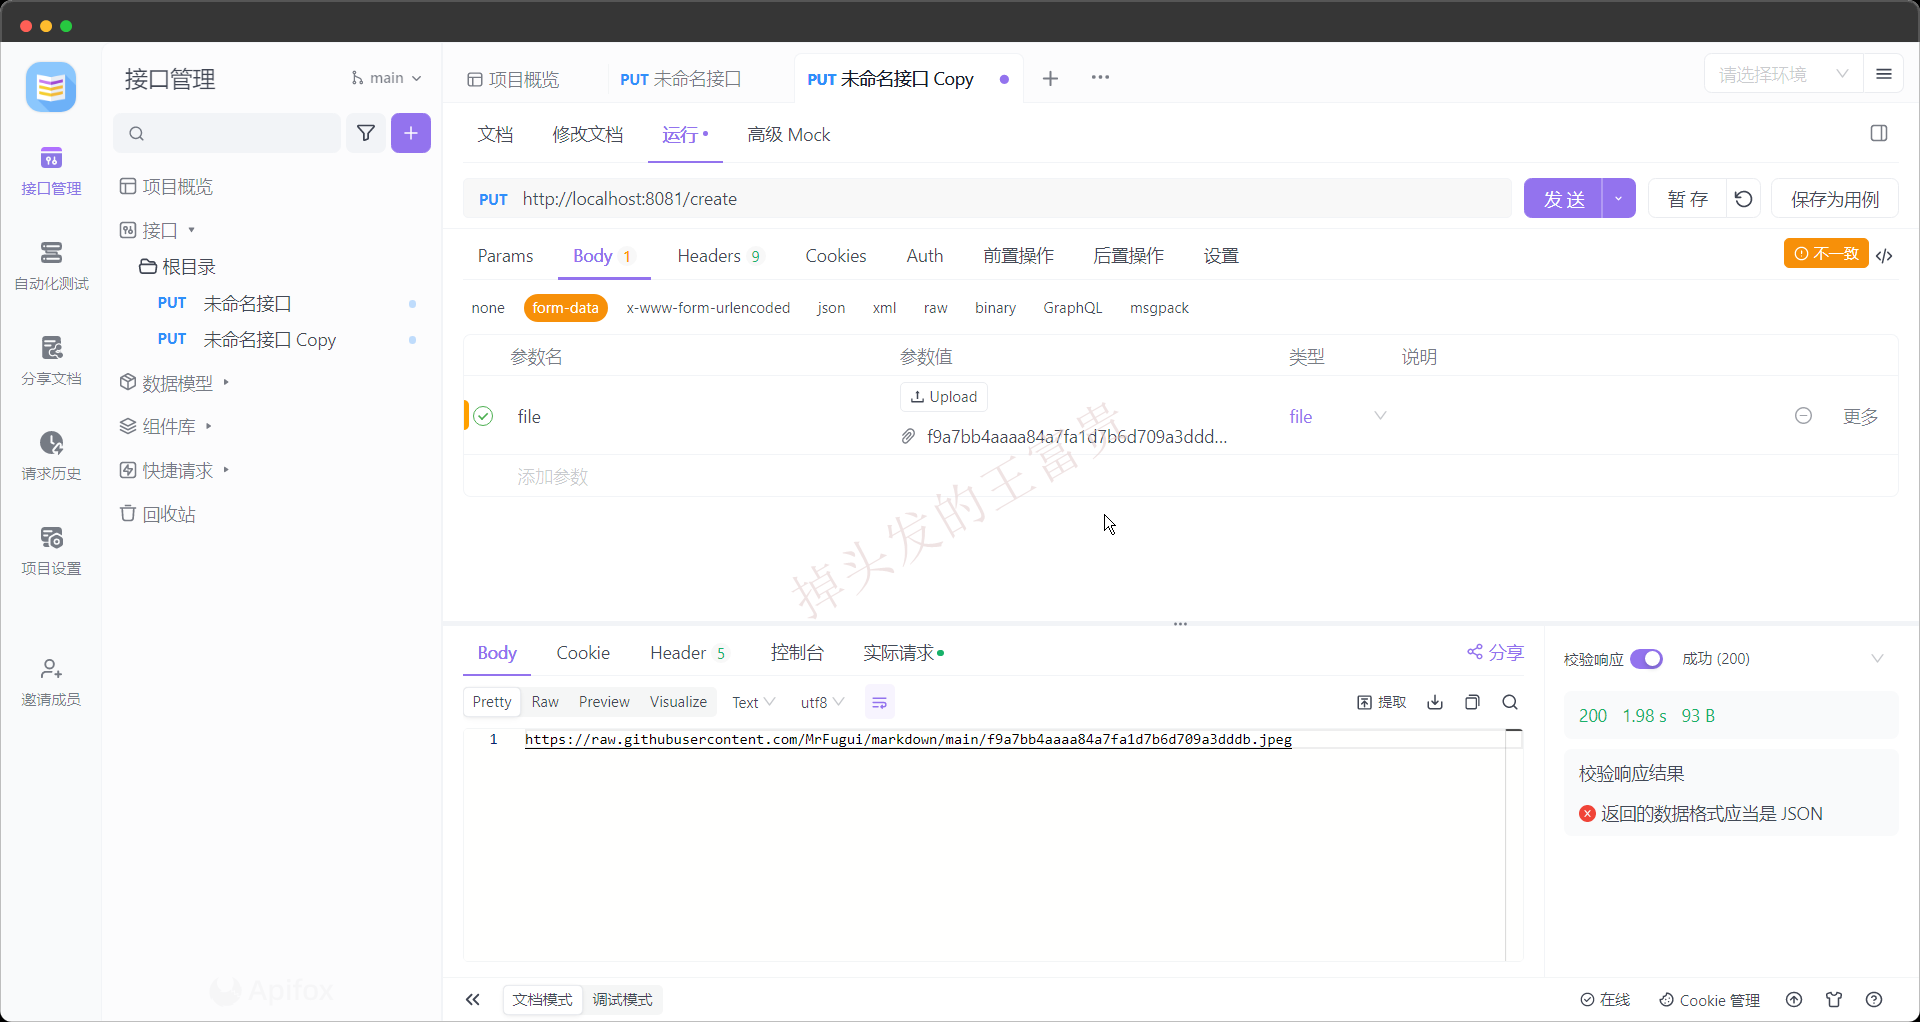
可以看到我们的方法直接返回了一个地址,我们可以直接打开看一下

没错!!成功上传并且可以直接预览!!!
需要注意的点
每次上传的名称、路径、里面的内容是不能一样的,否则方法会返回一个空字符串回来
后续版本考虑支持
- 支持更多的图床,例如gitee等
