先上效果图


顶部广告栏为 移动app常见需求,今天主要演示如何快速实现.这里还是基于 《星云erp-移动版》演示版
(自行下载 导入 Hbuilder, 后端接口可以直接使用我演示接口,不需要修改)
第一步: 组件选择
我们直接使用uni-swiper-dot 组件,具体介绍见官方:uni-app官网
注意事项
-
uni-swiper-dot组件依赖
swiper组件,请与swiper组件配合使用 -
width与height如非必要,请勿设置过大,或者过小 -
swiper-item尽量控制在一定数量之内,否则指示点可能会超出屏幕 -
暂不支持垂直方向的指示点
第二步 : (以首页整合为例)
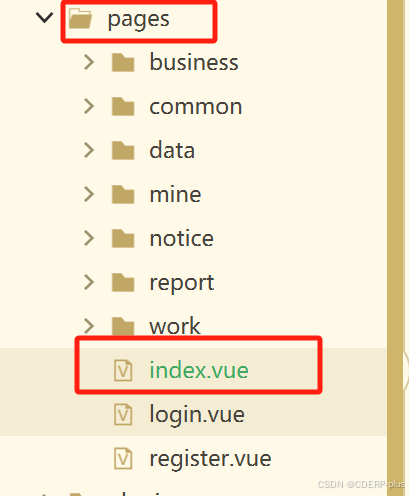
文件在pages的根目录下

在<view class="mine-container">下添加uni-swiper-dot代码
		<!-- 轮播图 -->
		<uni-swiper-dot class="uni-swiper-dot-box" :info="data" :current="current" field="content">
			<swiper class="swiper-box" :current="swiperDotIndex" @change="changeSwiper">
				<swiper-item v-for="(item, index) in data" :key="index">
					<view class="swiper-item" @click="clickBannerItem(item)">
						<image :src="item.image" mode="aspectFill" :draggable="false" />
					</view>
				</swiper-item>
			</swiper>
		</uni-swiper-dot>
第三步: 在data中定义相关图片数据
data: [{
						image: 'http://xy.wecando21cn.com/static/images/banner/banner01.jpg'
					},
					{
						image: 'http://xy.wecando21cn.com/static/images/banner/banner02.jpg'
					},
					{
						image: 'http://xy.wecando21cn.com/static/images/banner/banner03.jpg'
					}
				],
第四步:在methods中添加对应js方法,这里我只是做了切换 方法,其他可以参考官方
changeSwiper(e) {
				this.current = e.detail.current
			},
第五步,对应样式
/* #ifdef H5 */
	@media screen and (min-width: 768px) and (max-width: 1425px) {
		.swiper {
			height: 630px;
		}
	}

	@media screen and (min-width: 1425px) {
		.swiper {
			height: 830px;
		}
	}

	/* #endif */

	.title {
		font-size: 16rpx;
		color: #8f8f94;
	}

	/*以下为轮播图样式*/
	.uni-margin-wrap {
		width: 690rpx;
		width: 100%;
		;
	}

	.swiper {
		height: 300rpx;
	}

	.swiper-box {
		height: 150px;
	}

	.swiper-item {
		/* #ifndef APP-NVUE */
		display: flex;
		/* #endif */
		flex-direction: column;
		justify-content: center;
		align-items: center;
		color: #fff;
		height: 300rpx;
		line-height: 300rpx;
	}

	@media screen and (min-width: 500px) {
		.uni-swiper-dot-box {
			width: 400px;
			/* #ifndef APP-NVUE */
			margin: 0 auto;
			/* #endif */
			margin-top: 8px;
		}

		.image {
			width: 100%;
		}
	}
到这里 一个如效果图的轮播广告已经集成完成。
完整代码见 下载的 《星云erp-移动版》