一、Win7镜像下载:
链接:https://pan.baidu.com/s/1tvN9hXCVngUzpIC6b2OGrA
提取码:a66H
此镜像为Win7专业版(收藏级镜像 已自用几年),官方纯净系统没有附带任何其他第三方软件。
二、配置虚拟机
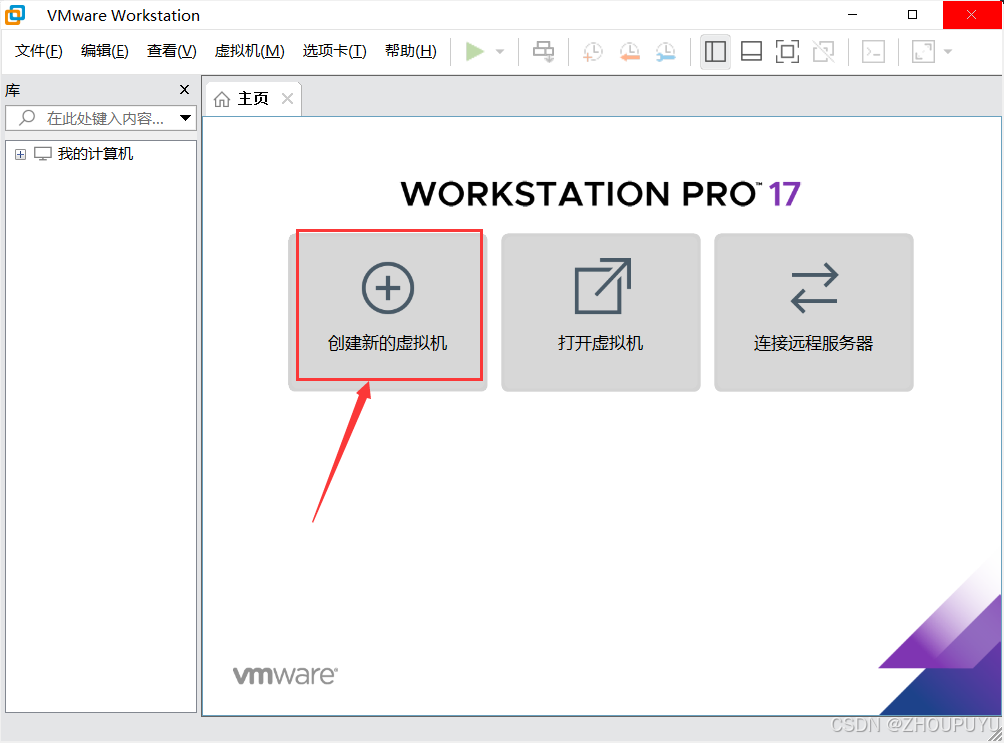
1.创建新的虚拟机。
这里我们以最新的VMware 17Pro为例,进行配置。
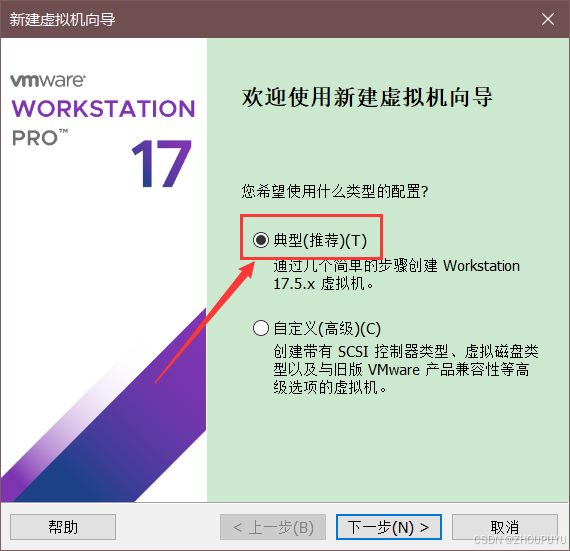
2.点击【典型】,再点击下一步。
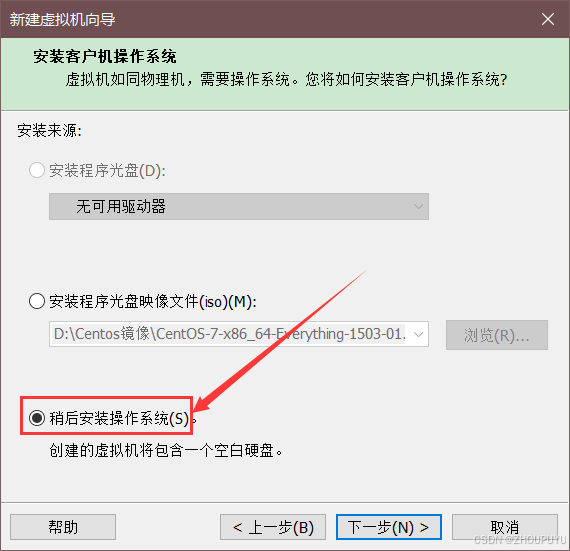
3.点击【稍后安装操作系统】,再点击下一步。
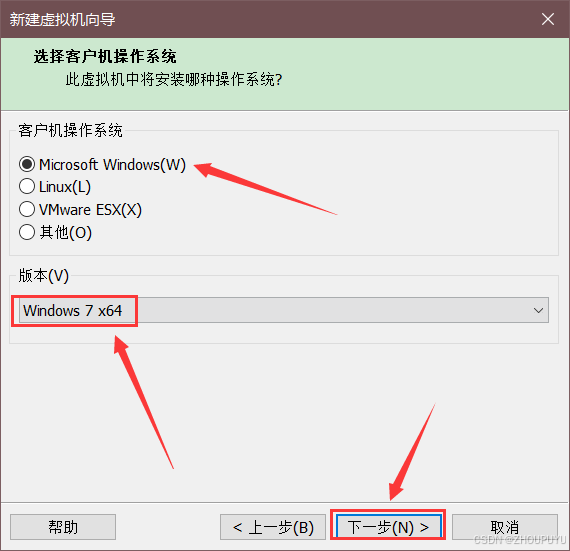
4.选择系统版本【Windows 7 x64】后再点击下一步。
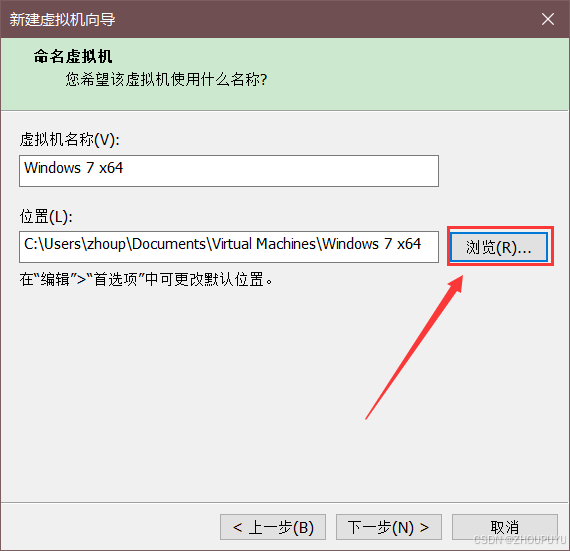
5.点击【浏览】。
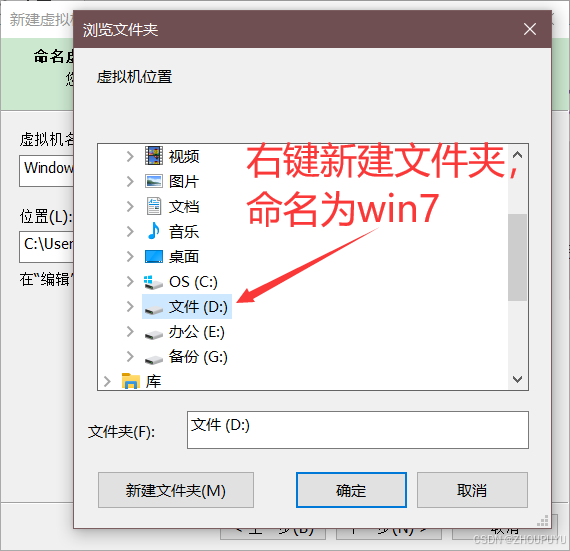
6.找到D盘右键【新建文件夹】,并命名为【win7】。
建议安装在C盘以外的其他空余磁盘即可。
7.选择刚刚新建的【win7】文件夹,再点击确定。
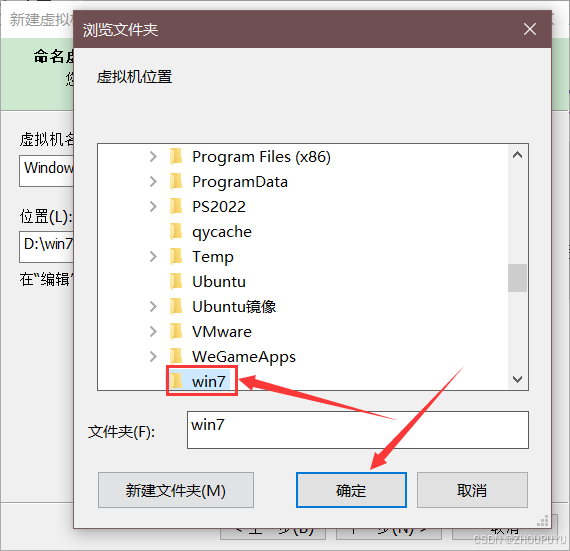
8.确认路径正确后,再点击下一步。

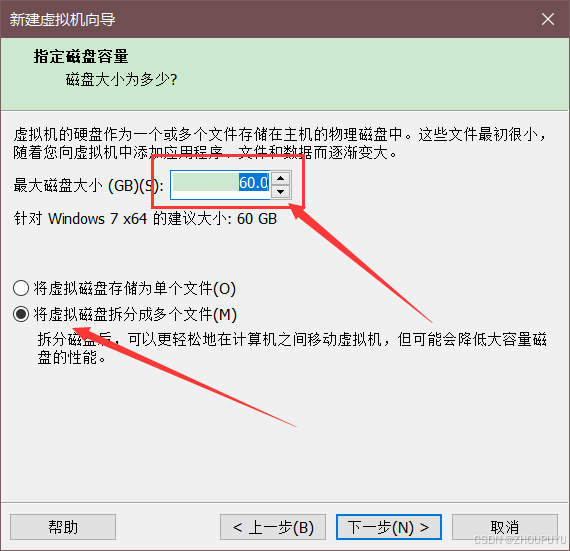
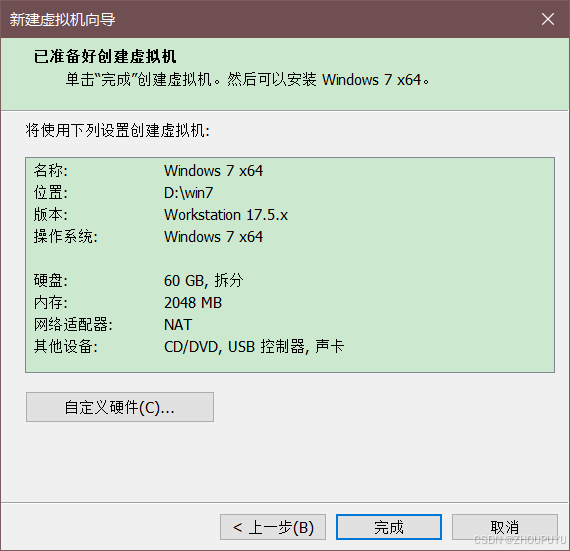
9.选择【将虚拟磁盘拆分成多个文件】,再点击下一步。
【最大磁盘大小】可根据你的磁盘容量调整,建议60G以上即可
10.点击【完成】。
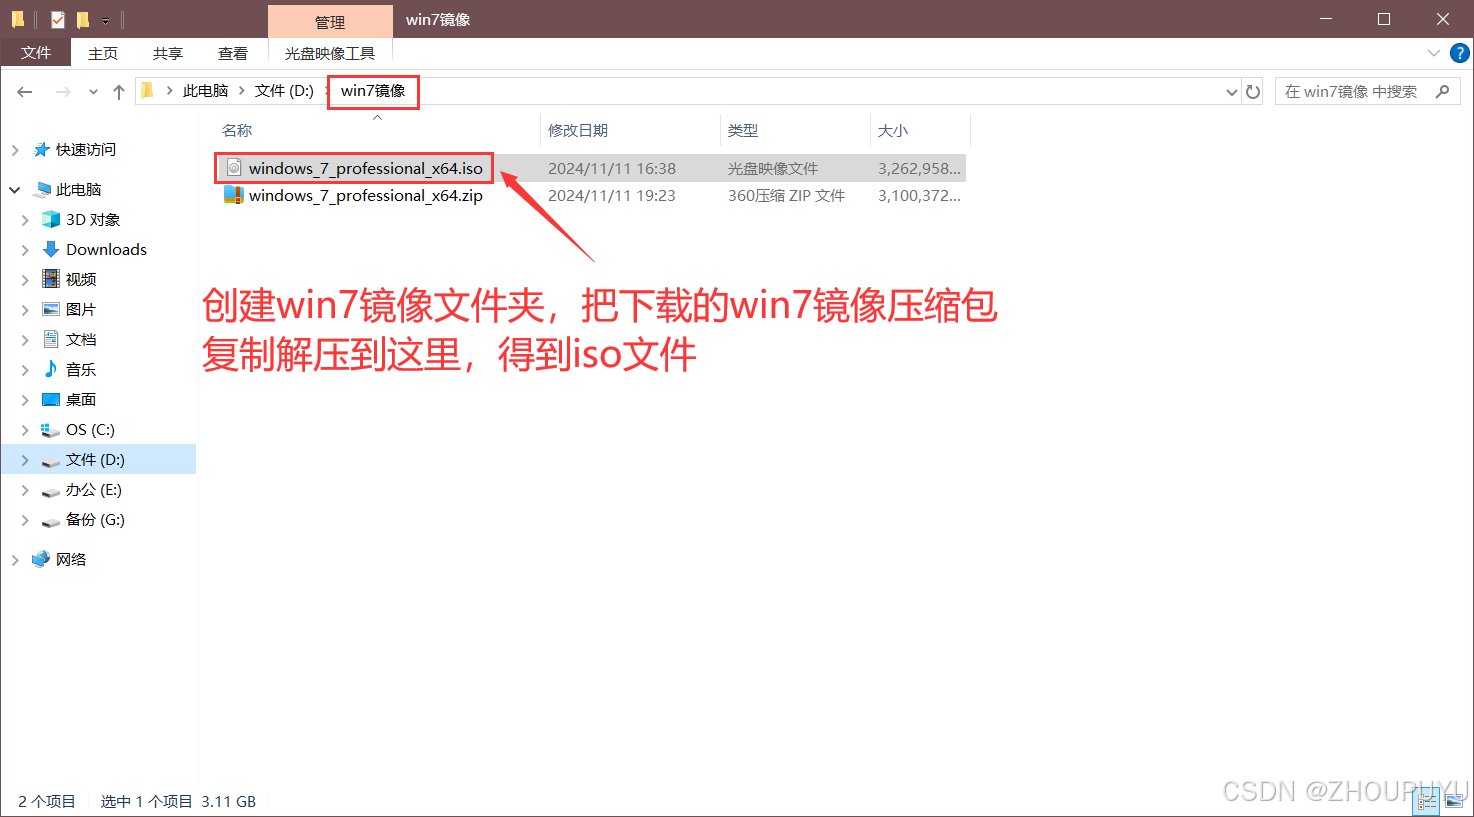
11.在D盘新建【win7镜像】文件夹。
把下载的win7镜像压缩包复制到当前文件夹,并解压。
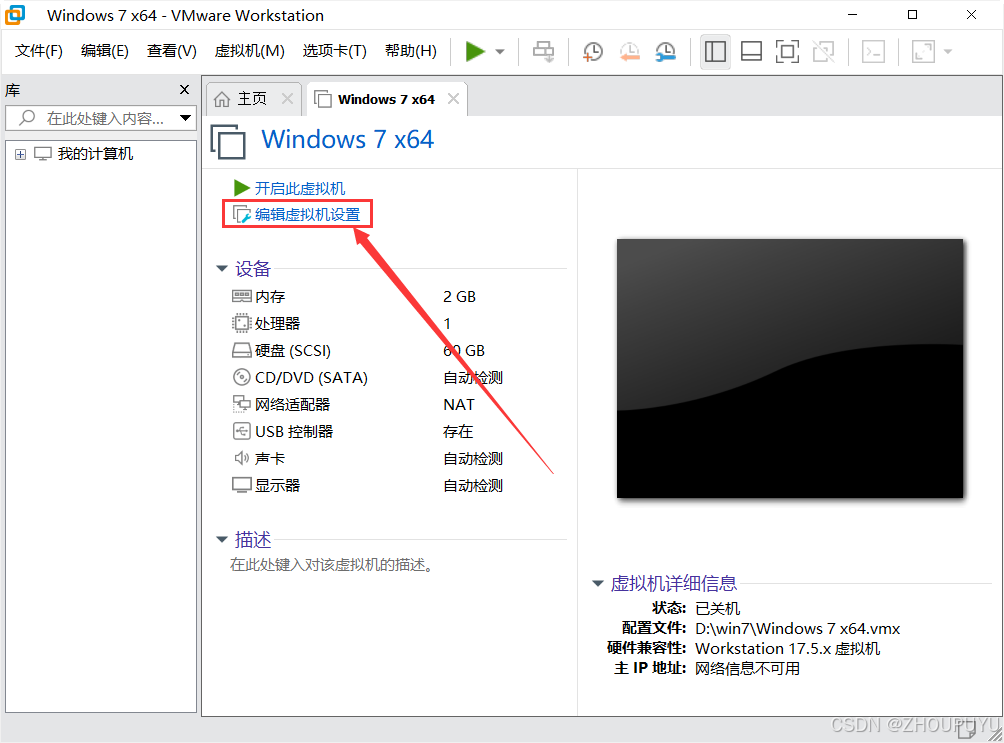
12.回到虚拟机,点击【编辑虚拟机设置】。
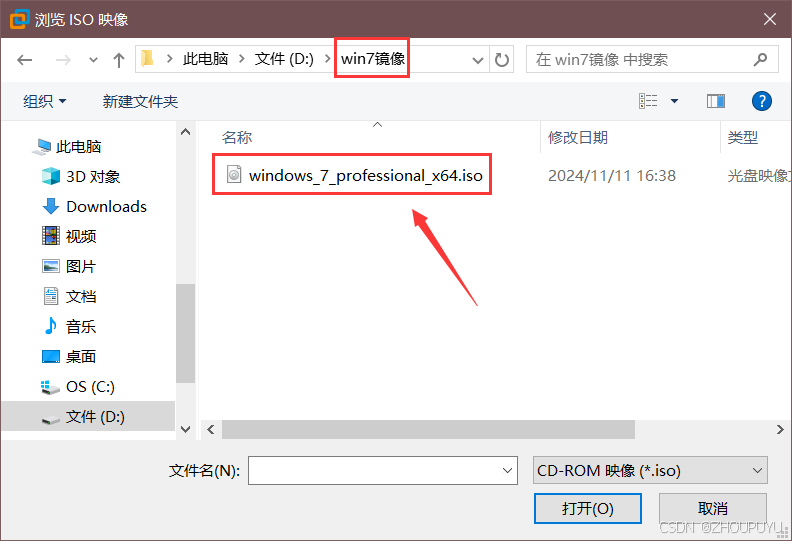
13.点击【CD/DVD】,再选择【使用ISO映像文件】,然后点击【浏览】。
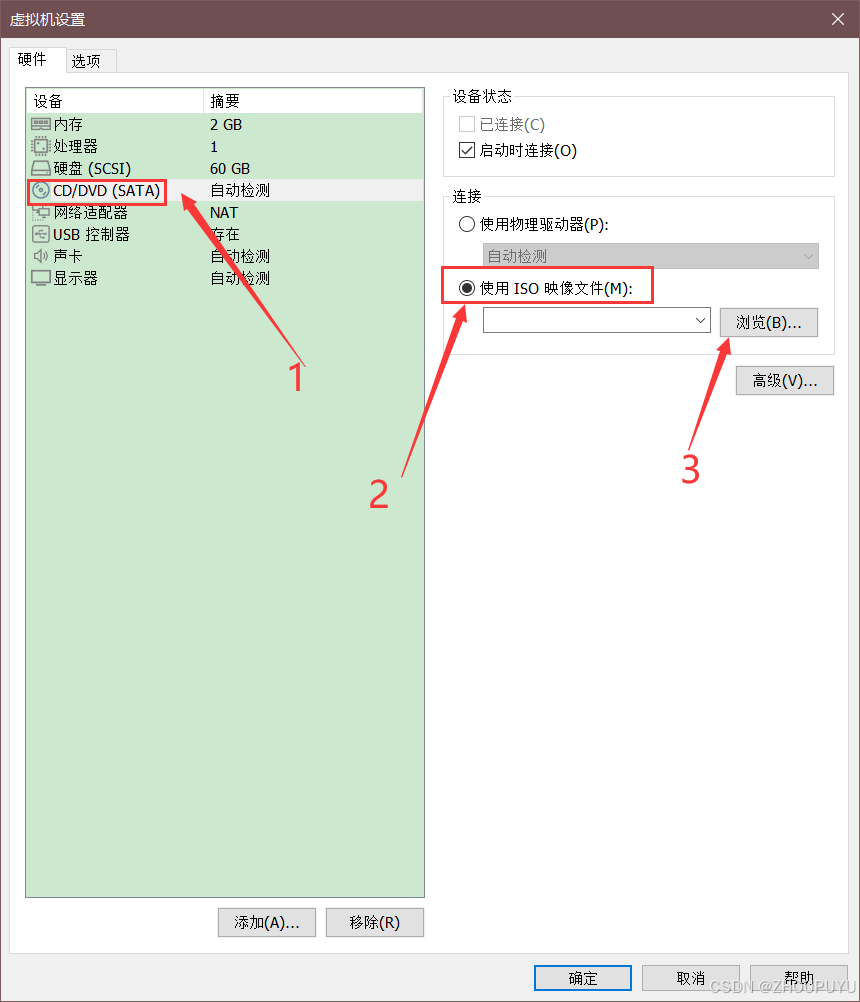
14.选择【win7镜像】文件夹,选择第11步解压的win7镜像文件,选中并点击【打开】。
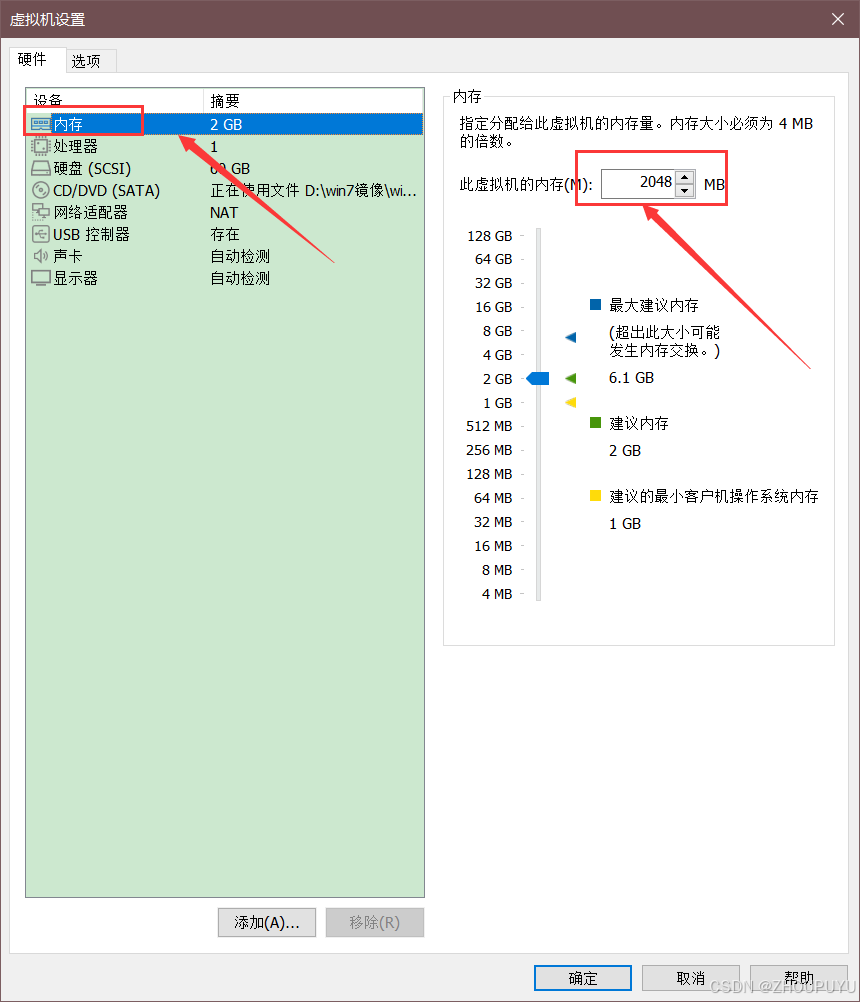
15.点击【内存】,设置虚拟机内存。
建议设置2G(2048MB)以上。
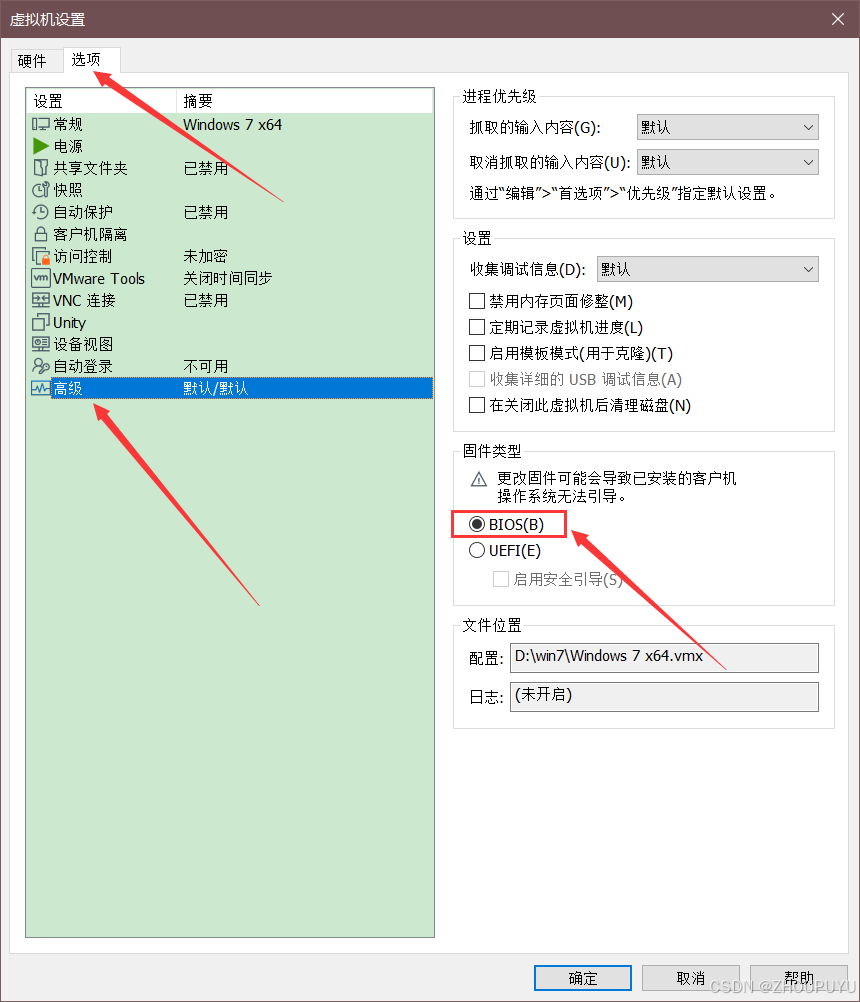
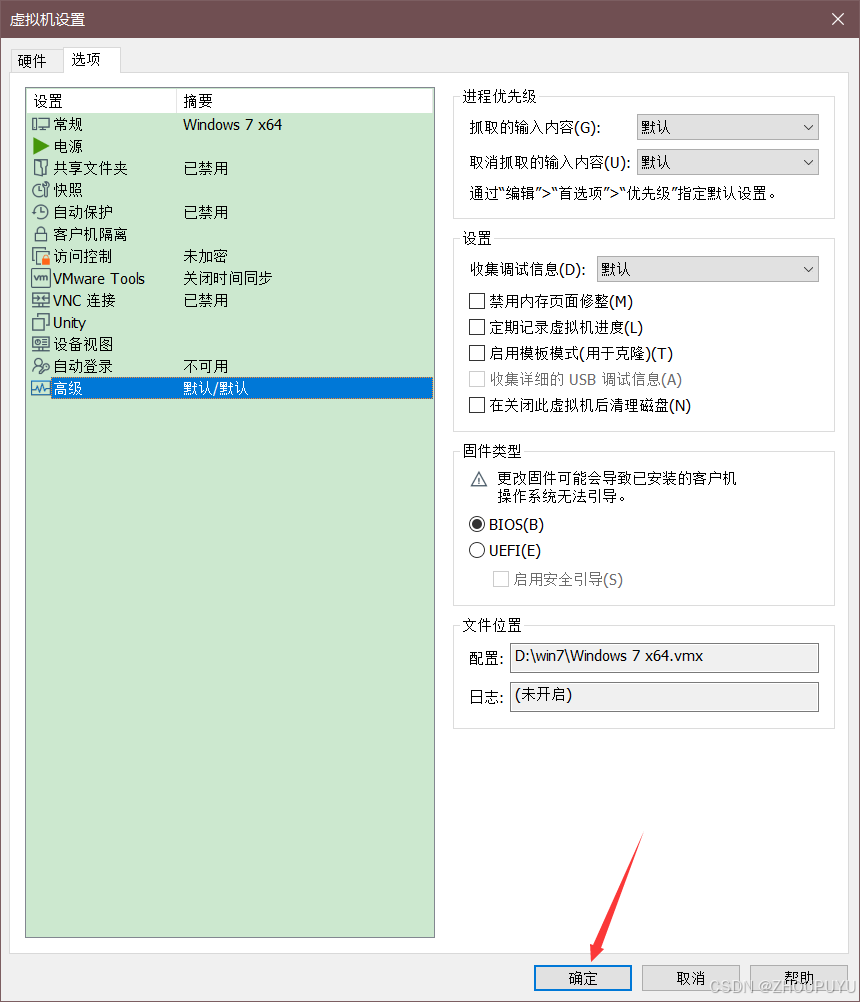
16.点击【选项】,再点击【高级】,确保已勾选【固件类型】为BIOS。
如已勾选,则不用设置这步。
17.都设置好以后,再点击【确定】。
18.点击【开启此虚拟机】。
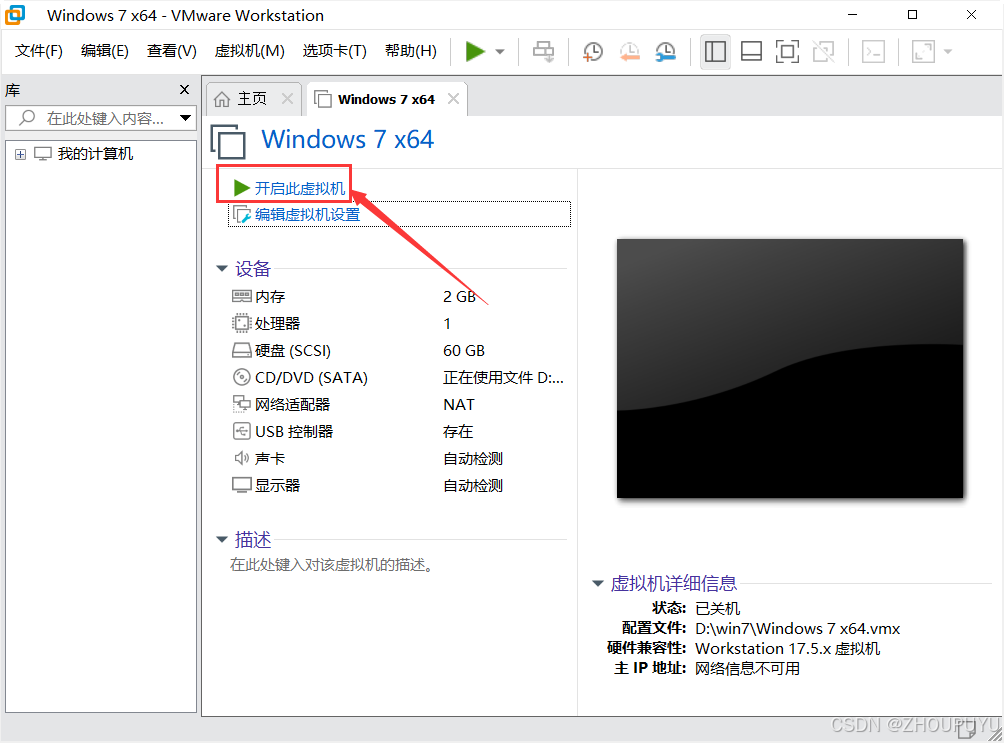
三、安装Win7
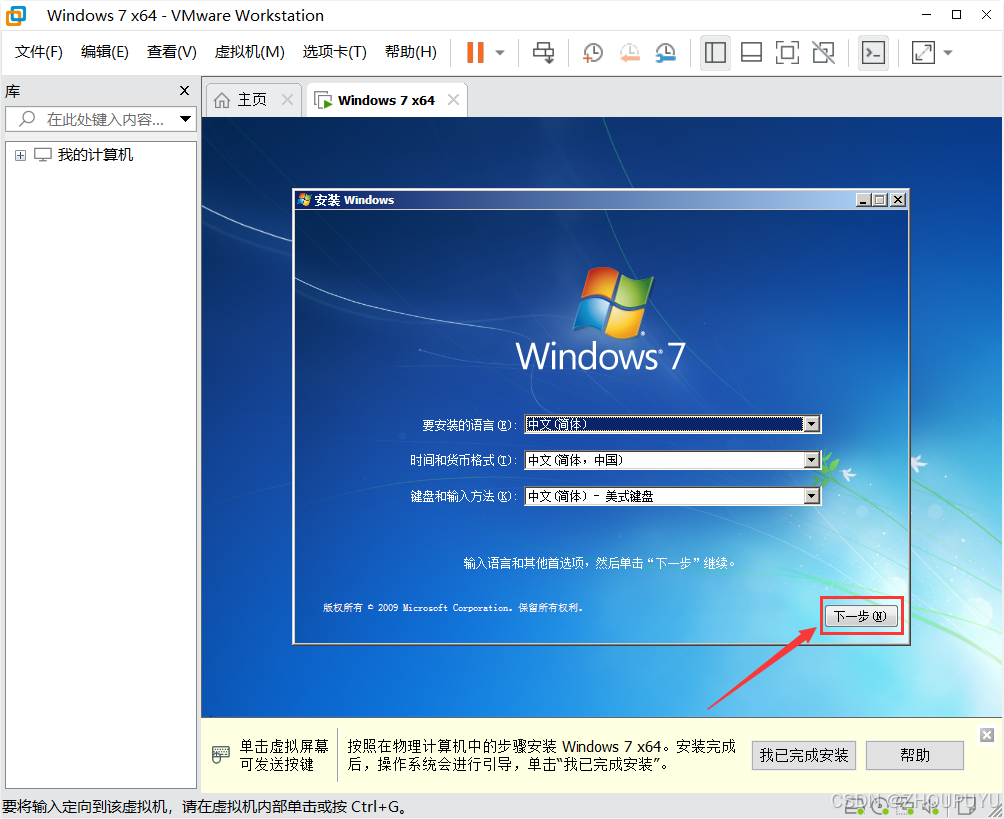
1.开启虚拟机后,等待自动加载出此界面。

2.点击【下一步】。
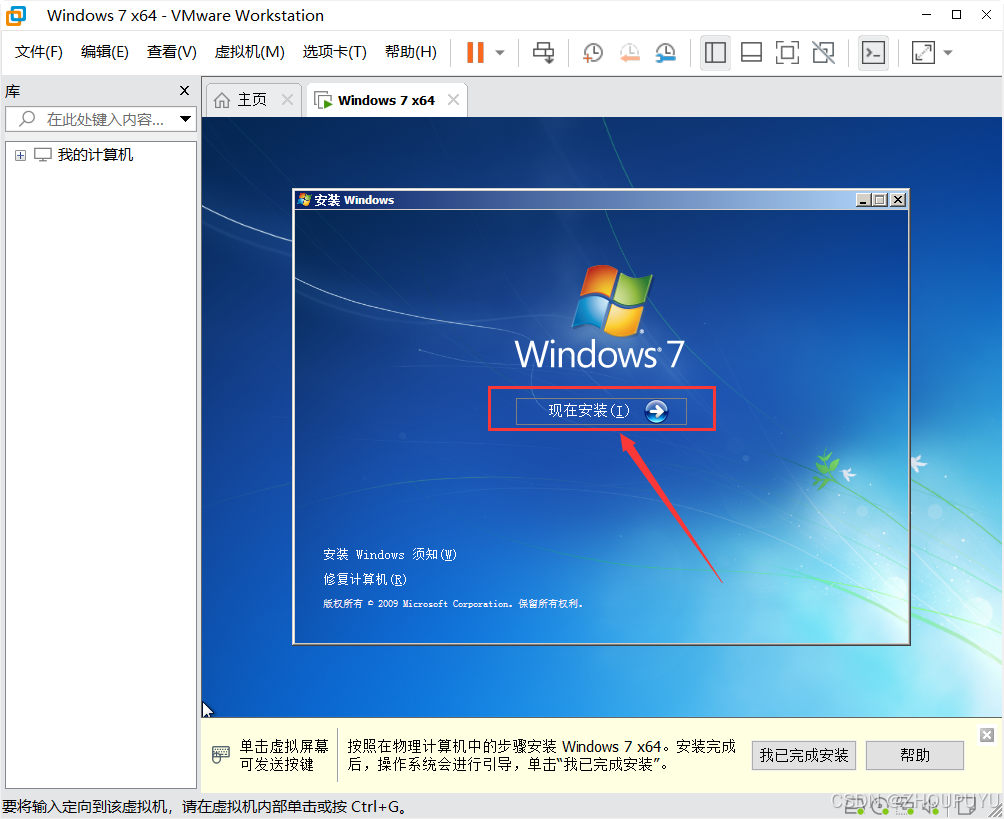
3.点击【现在安装】。
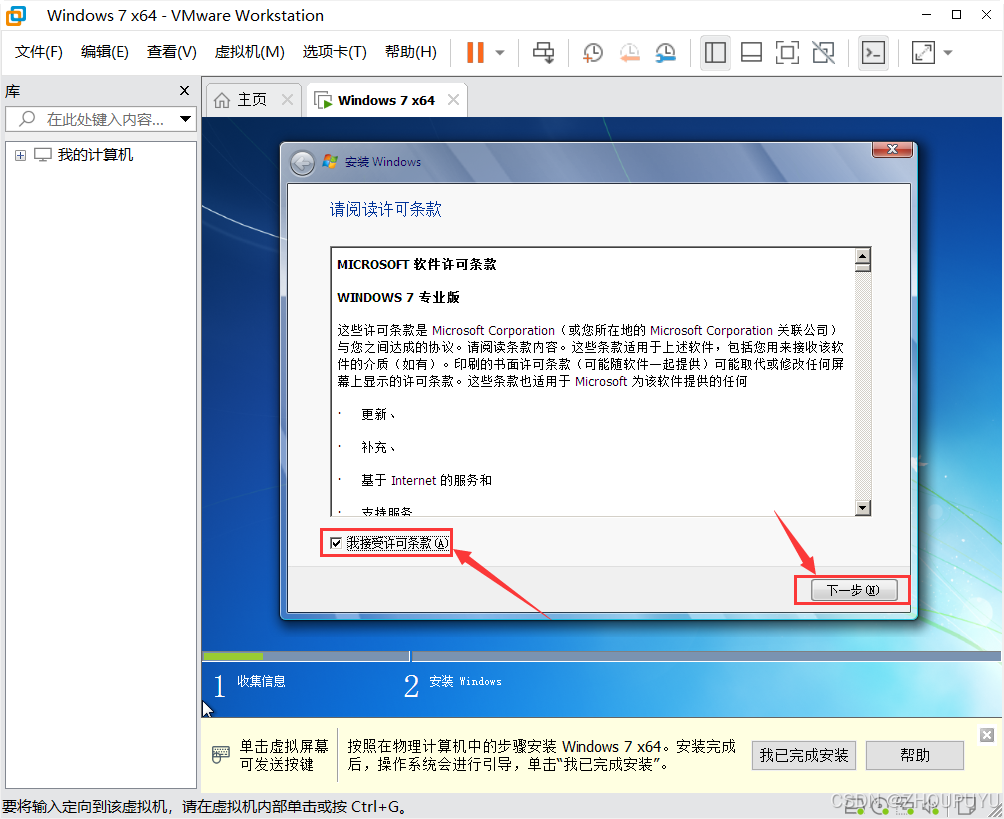
4.点击【我接受许可】,再点击下一步。
5.点击【自定义(高级)】选项。
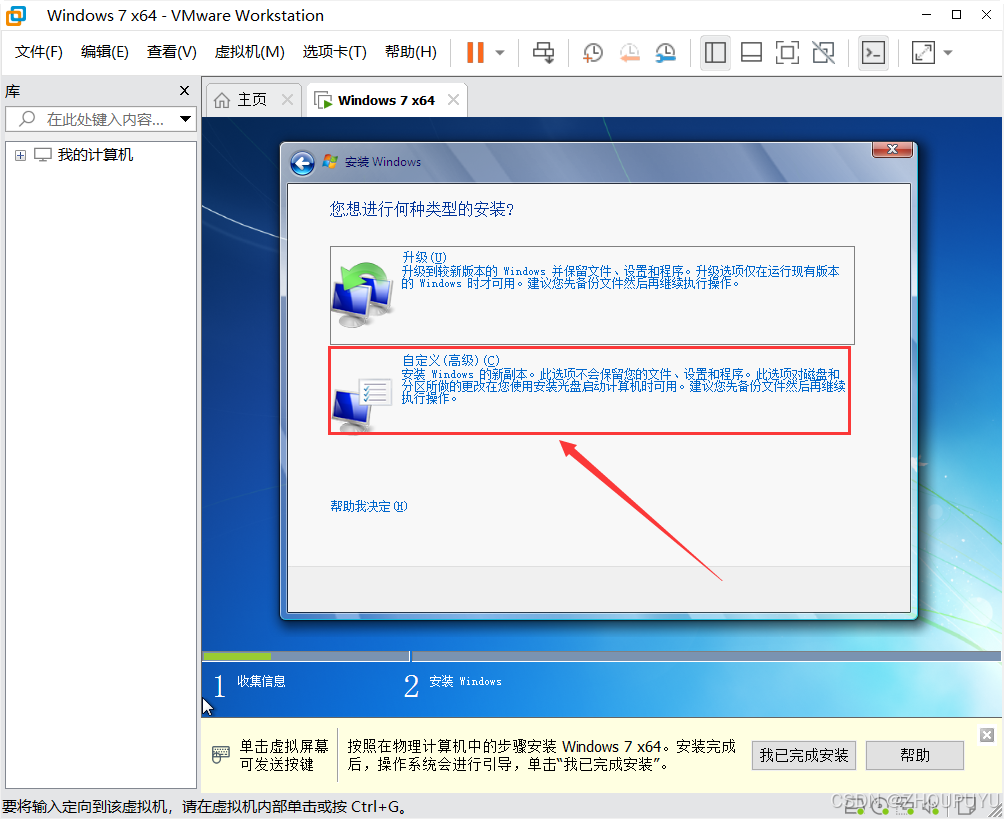
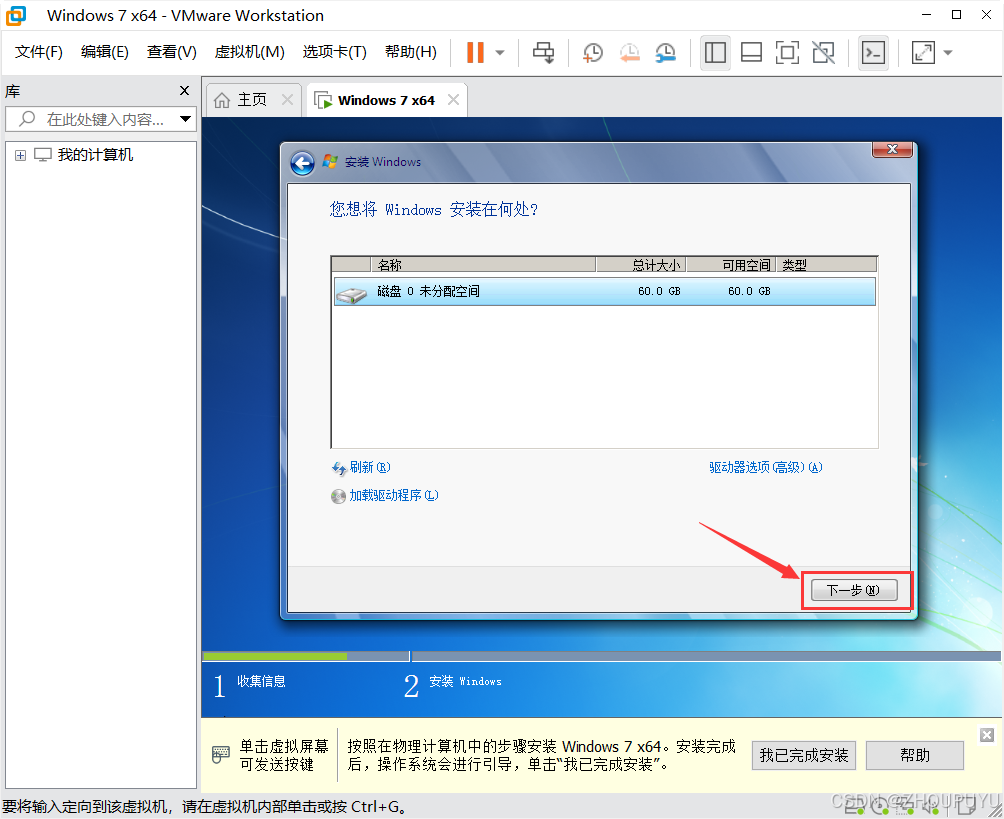
6.点击【下一步】。
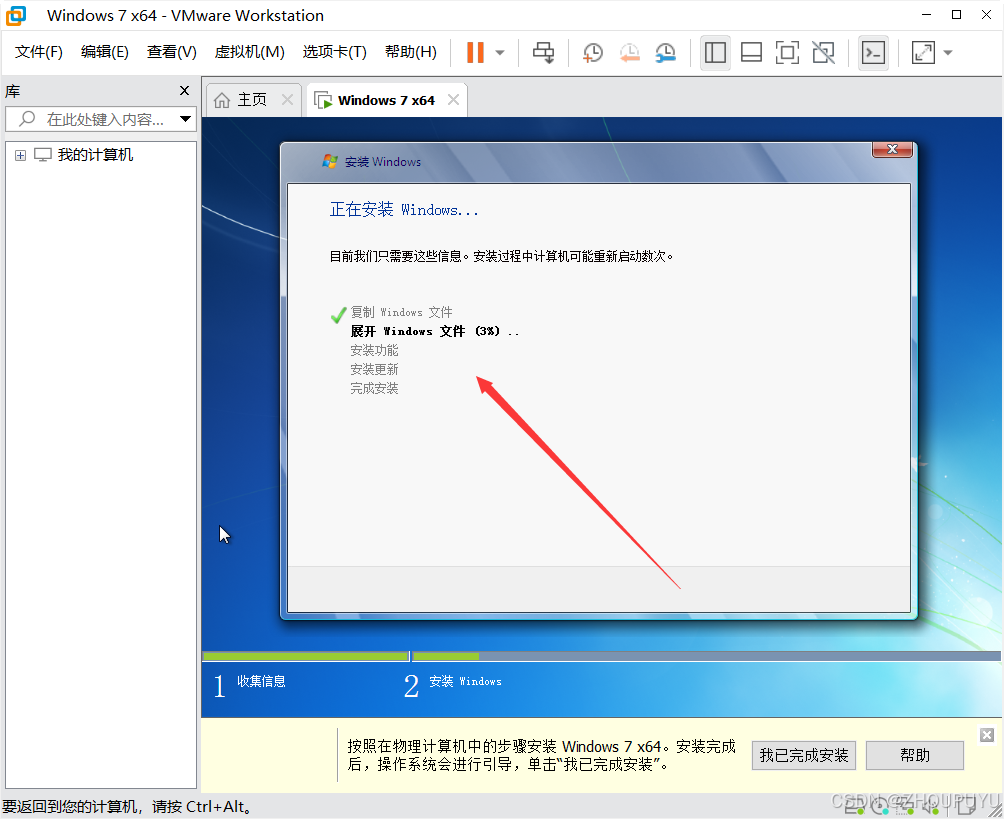
7.等待安装Windows。
此步骤安装时间预计5*-*10分钟左右,根据你电脑性能决定。
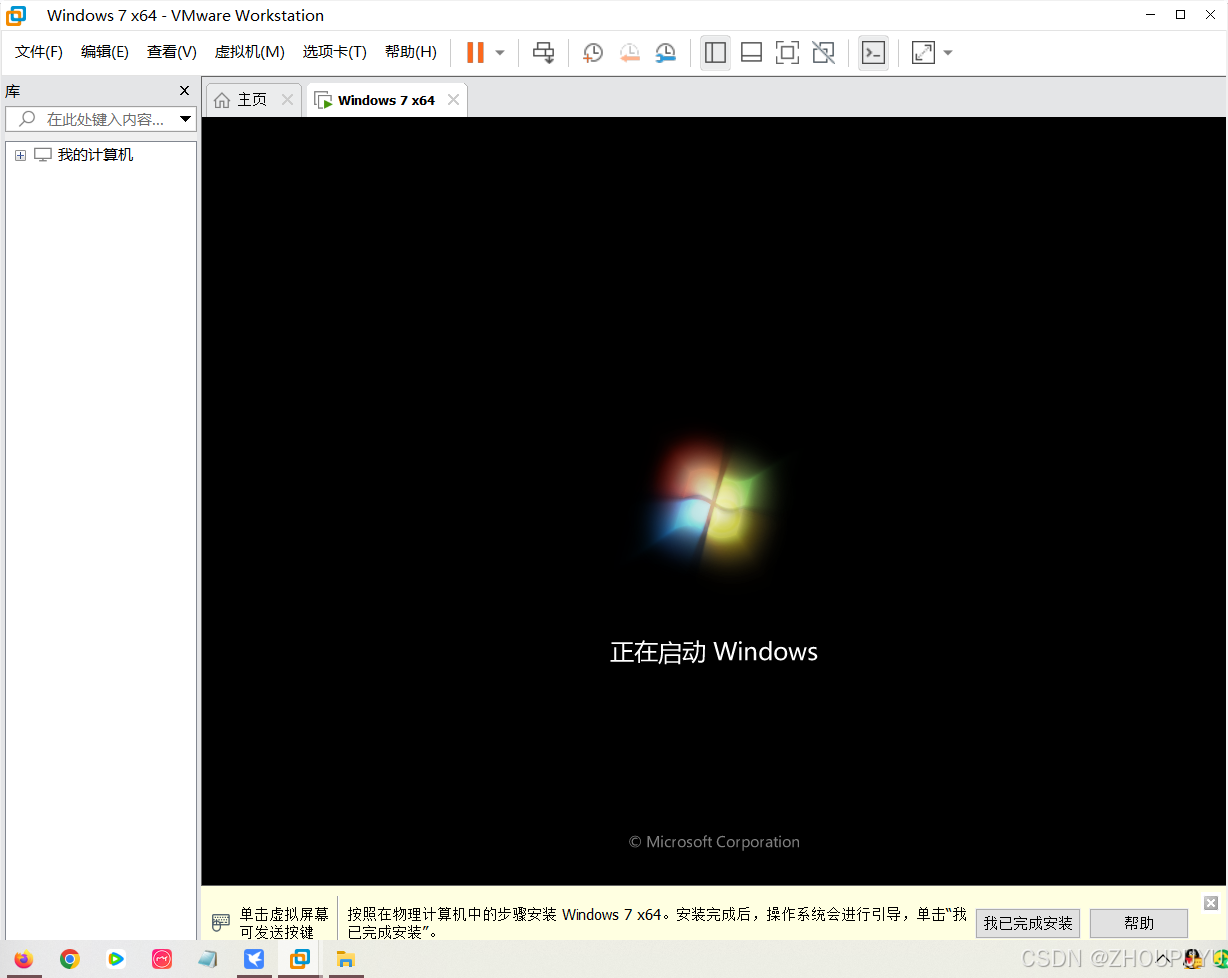
8.安装过程会重新启动Windows7。
这个步骤不用管,Windows会自动配置安装。
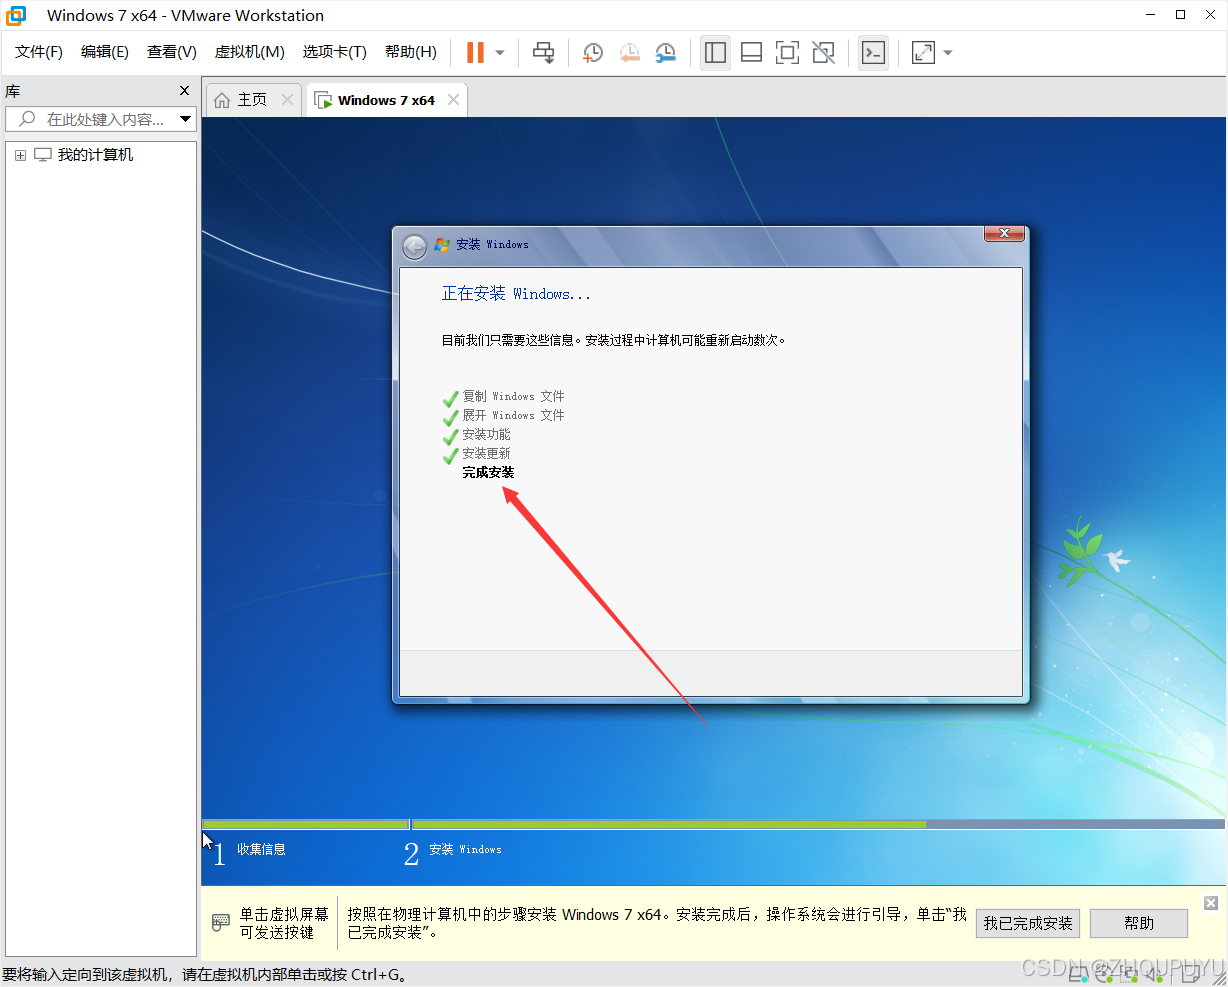
9.等待完成安装。
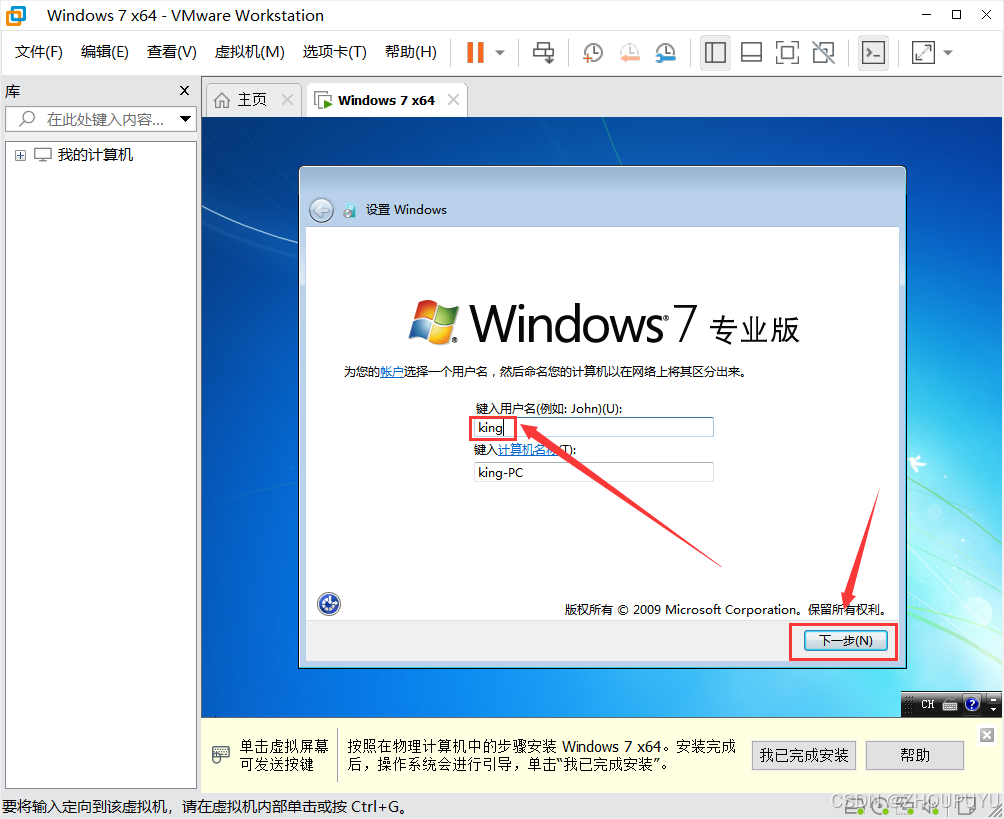
10.属于【自定义用户名】,然后点击下一步。
11.输入密码和确认密码以及密码提示,然后点击下一步
也可以不设置密码,直接点击下一步

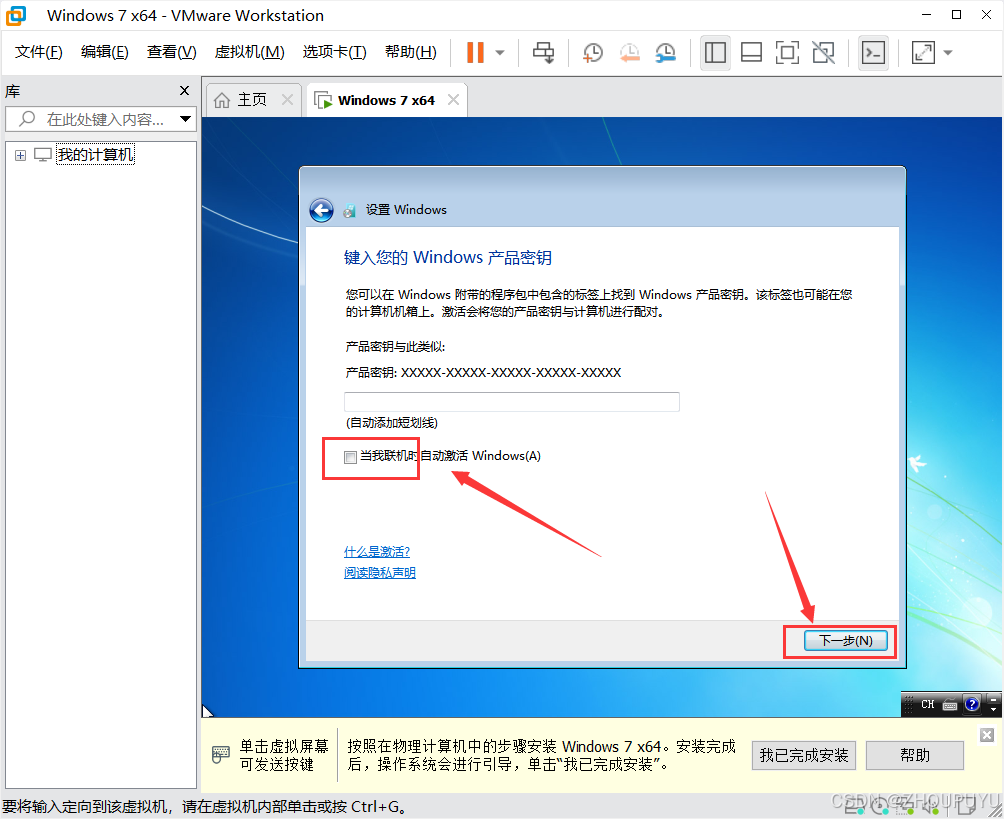
12.取消勾选【当我联机时自动激活Windows】,然后点击下一步。
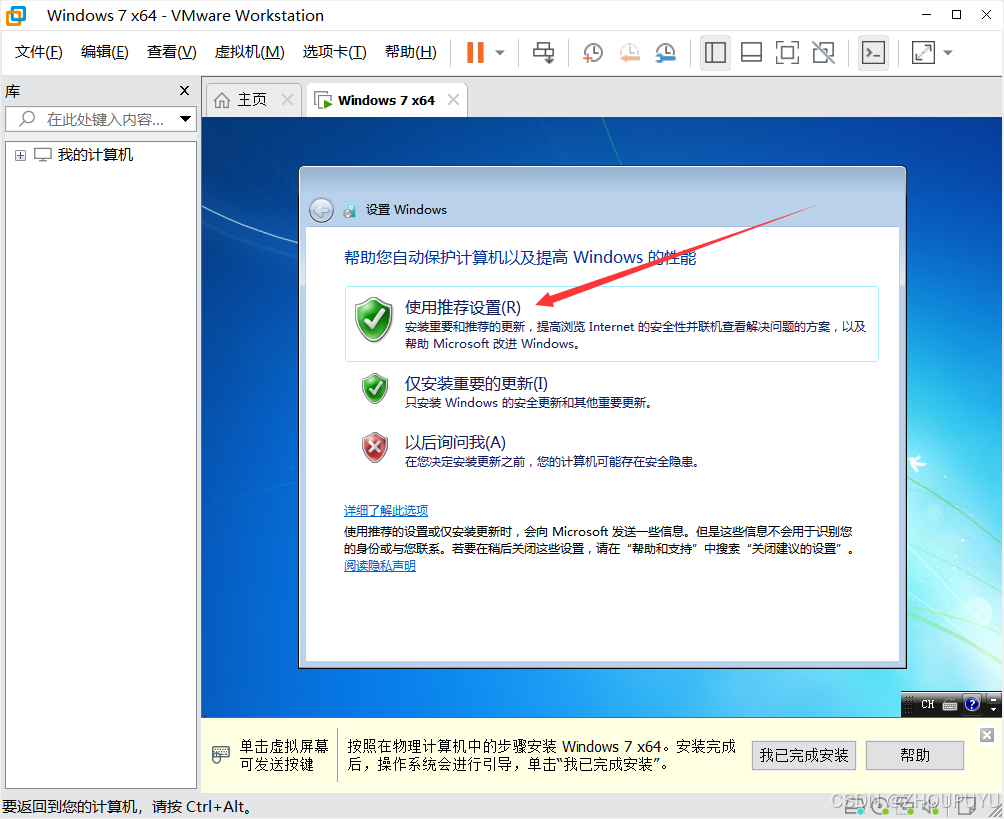
13.点击【使用推荐设置】。
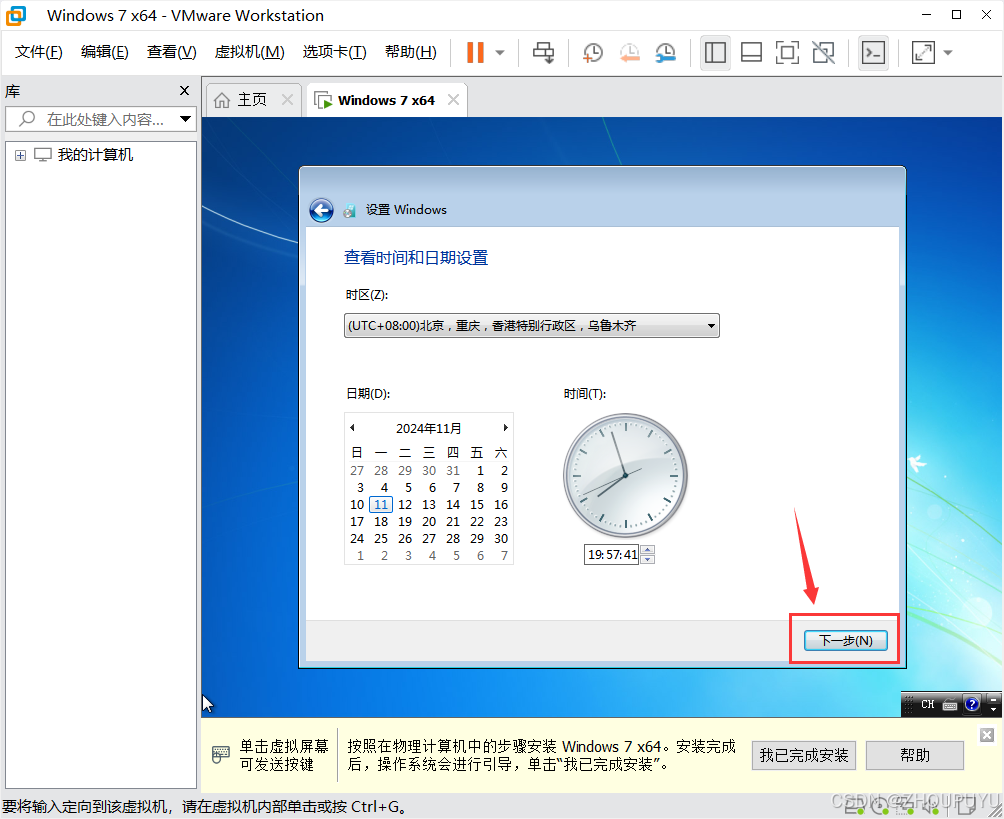
14.点击下一步。
设置时间默认选项即可
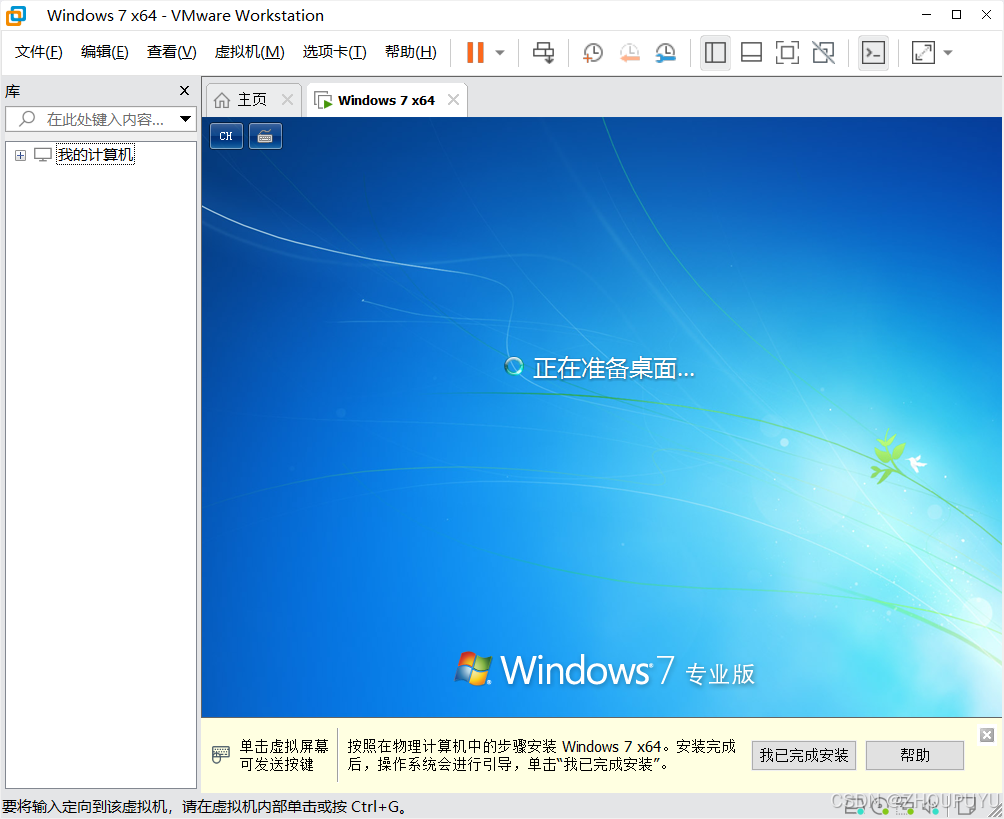
15.等待进入桌面。
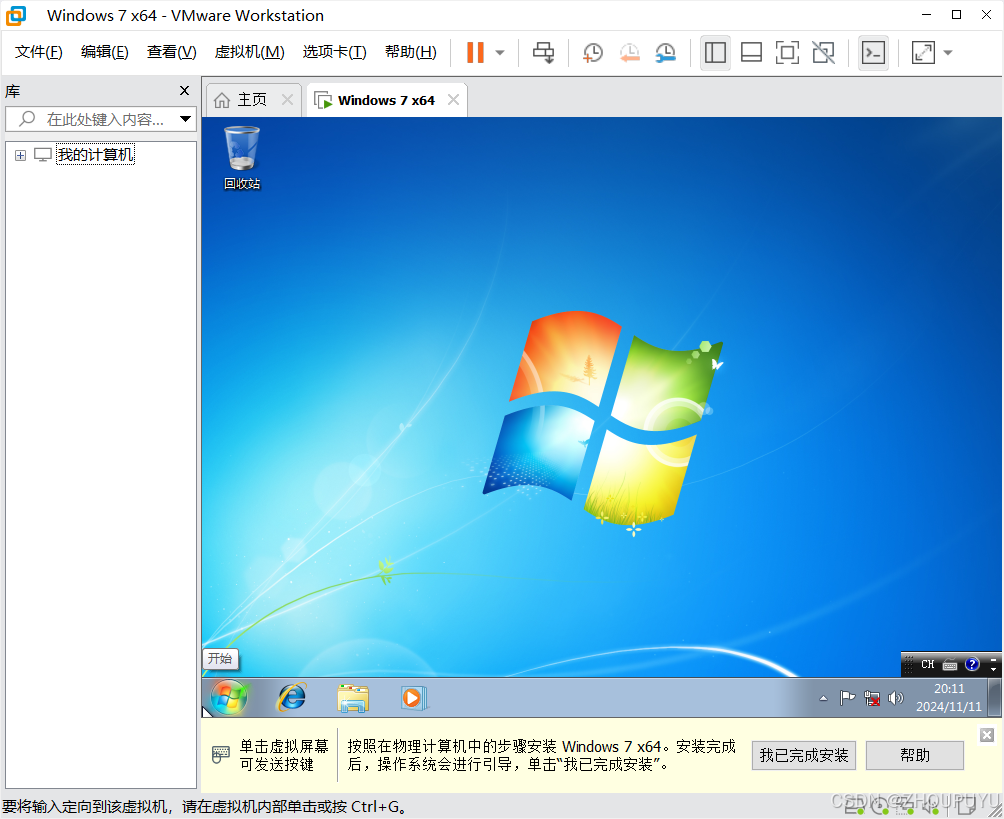
16.安装启动成功。
四、常见问题
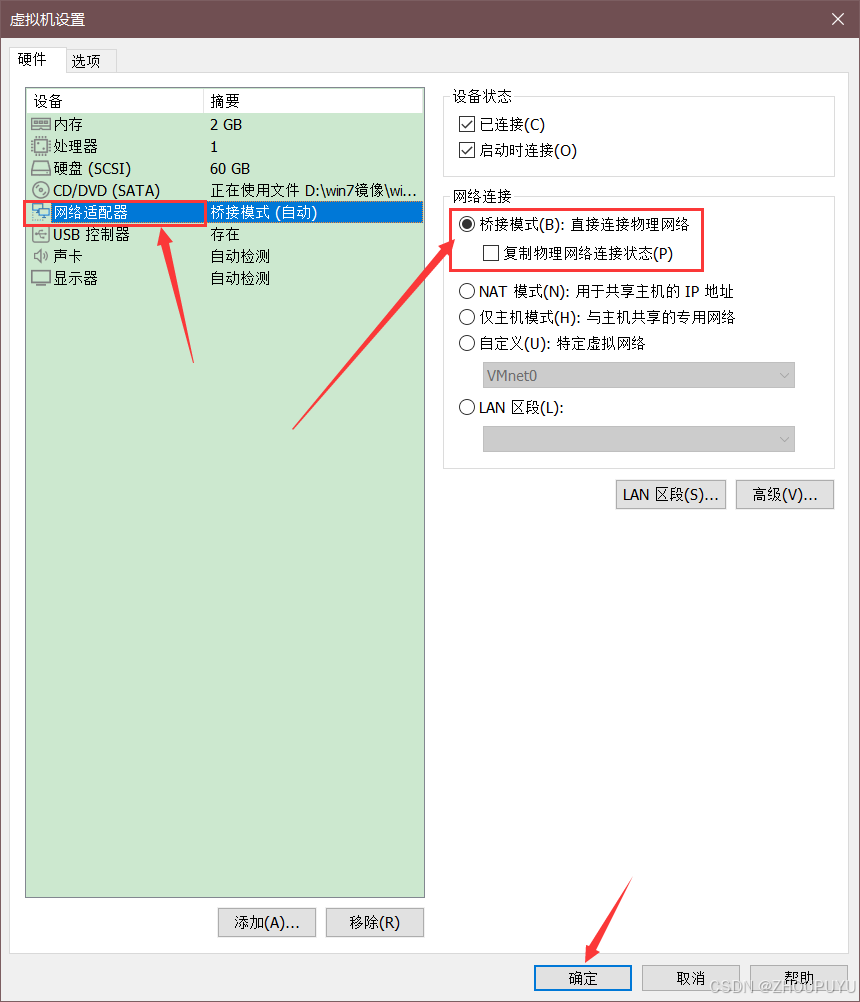
电脑没网,Windows7右下角网络显示红色×符号:
1.关闭虚拟机,打开虚拟机设置,网络模式设置为(桥接模式)。
2. 启动虚拟机,进入windows7桌面,点击家庭网络即可。
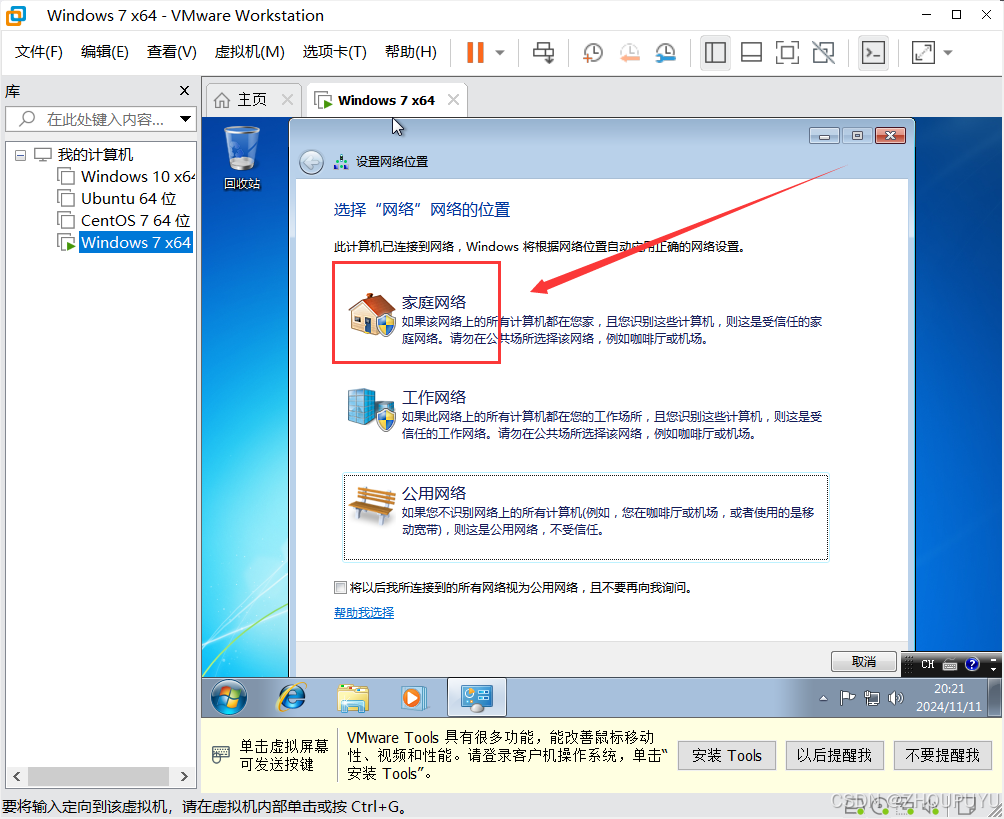
3.点击取消。

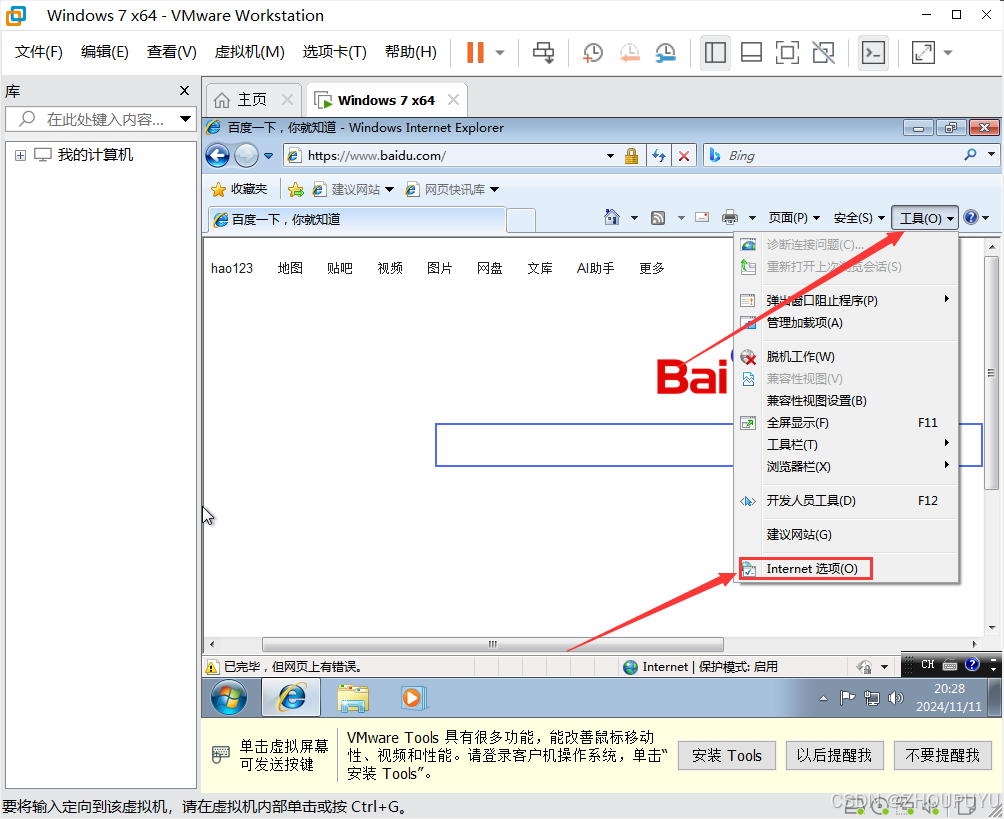
IE浏览器无法访问网页
1.打开IE浏览器,点击右上角【工具】-【Internet选项】。
2.点击【高级】,勾选下面选项卡内的5个选项【SSL2.0,SSL3.0,TLS1.0,TLS1.1,TLS1.2】,然后点击【应用】再点击【确定】。
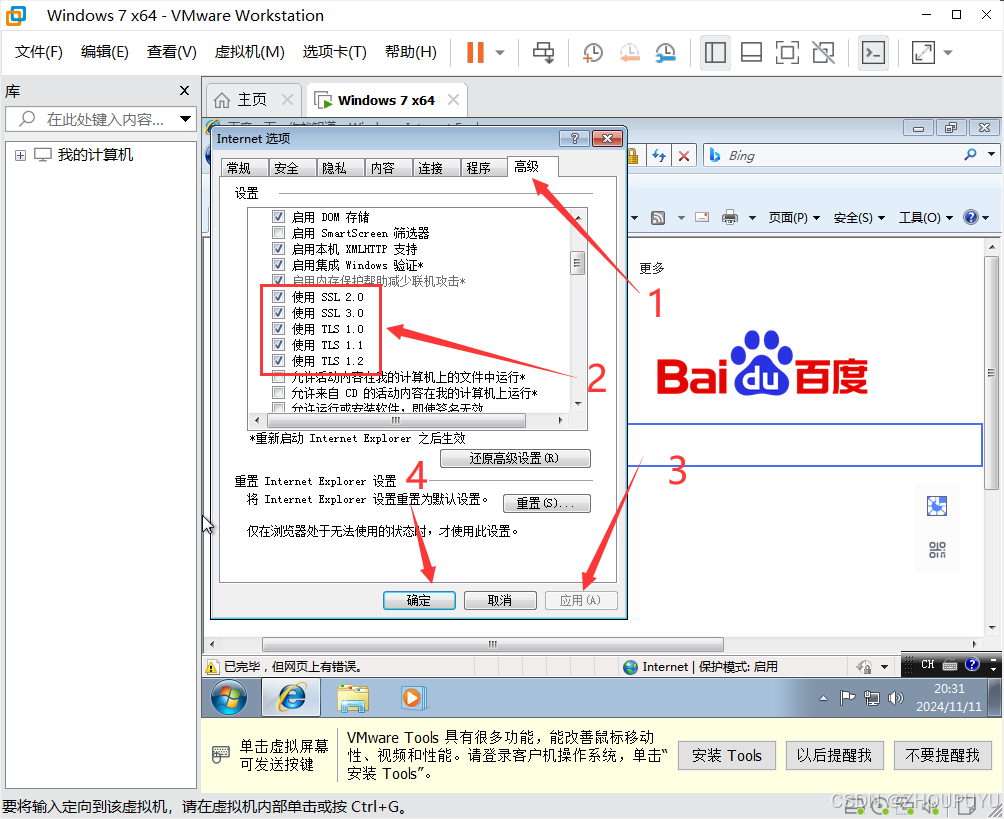
3.成功打开网页。
