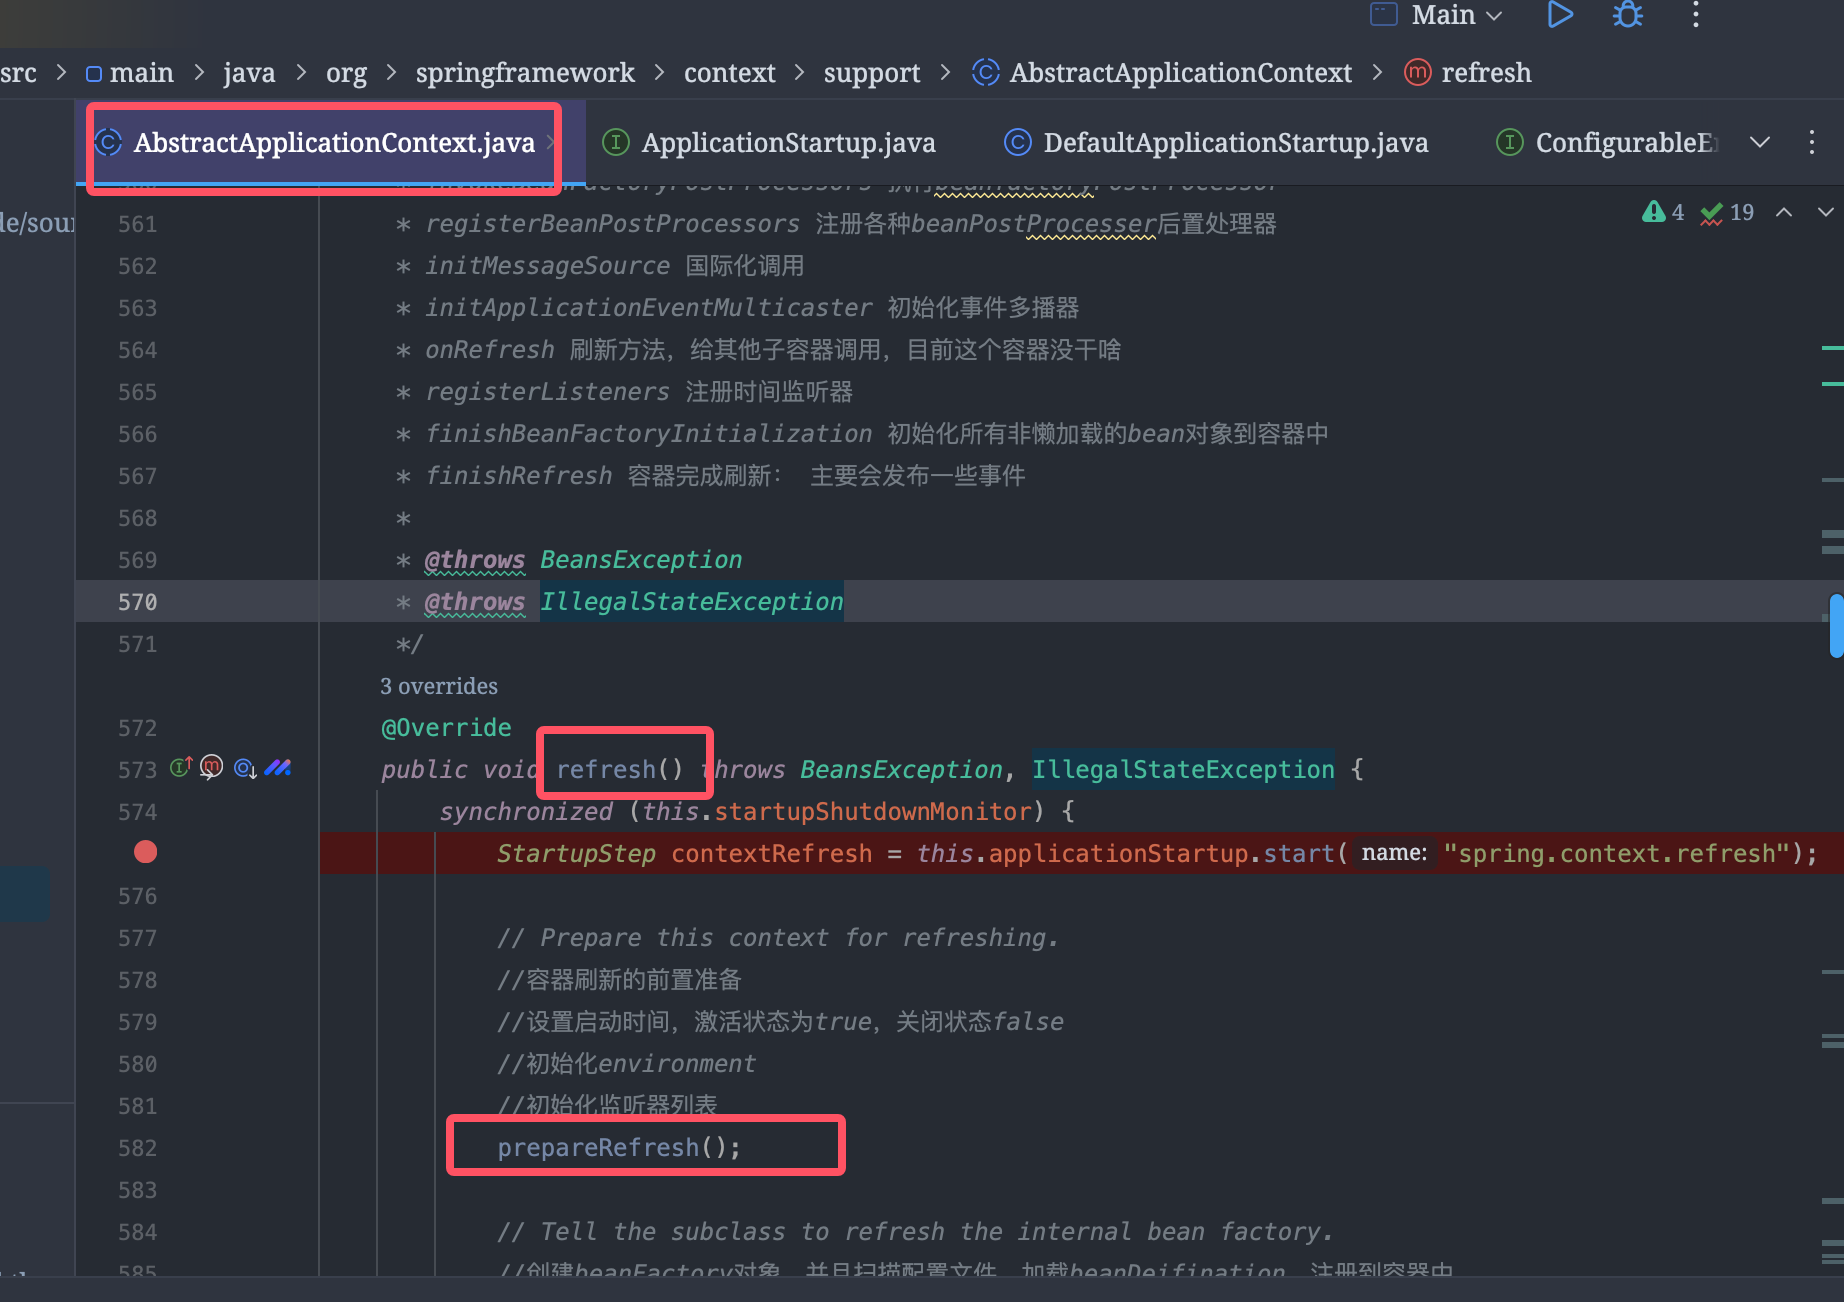
上一章刚好讲到了refresh容器刷新的方法,从本章开始就是对refresh中的每一个方法进行具体的解释。本章是针对第一个方法prepareRefresh:容器刷新前的前置准备、 第二个方法ConfigurableListableBeanFactory beanFactory = obtainFreshBeanFactory():创建beanFactory

1. prepareRefresh-容器预刷新
其实这个方法很简单,就是做了一些非常简单的准备工作,并没有做一些实际性的工作。比如设置容器的启动时间、设置激活状态为true,设置关闭状态为false、初始化监听器列表和事件等。
protected void prepareRefresh() {
    // 当前启动时间
    this.startupDate = System.currentTimeMillis();
    //设置关闭状态:AtomicBoolean原子类型设置为false
    this.closed.set(false);
    //设置激活状态:AtomicBoolean原子类型设置为true
    this.active.set(true);

    //输出日志信息
    if (logger.isDebugEnabled()) {
       if (logger.isTraceEnabled()) {
          logger.trace("Refreshing " + this);
       }
       else {
          logger.debug("Refreshing " + getDisplayName());
       }
    }

    // Initialize any placeholder property sources in the context environment.
    //初始化PropertySources。空实现,可用于初始化添加Environment里面的PropertySources属性
    initPropertySources();

    // Validate that all properties marked as required are resolvable:
    // see ConfigurablePropertyResolver#setRequiredProperties
    //getEnvironment,判断有没有environment对象,没有就创StandardEnvironment对象
    //并且验证是否必须的属性有没有存在,没有就抛错。这个不用理会
    getEnvironment().validateRequiredProperties();

    //初始化earlyApplicationListeners列表
    if (this.earlyApplicationListeners == null) {
       this.earlyApplicationListeners = new LinkedHashSet<>(this.applicationListeners);
    }
    else {
       //如果已经有设置了earlyApplicationListeners列表,
       //清空当前的applicationListeners设置添加
       // Reset local application listeners to pre-refresh state.
       this.applicationListeners.clear();
       this.applicationListeners.addAll(this.earlyApplicationListeners);
    }

    //初始化早期的容器事件集合earlyApplicationEvents
    this.earlyApplicationEvents = new LinkedHashSet<>();
}这里的代码非常简单😄,可以关注一下这个initPropertySources方法,其实这个方法是Spring留给我们扩展用的。其实学习Spring就是学习它的思想,特别是这些扩展,为什么要留个空实现在这里调用呢?其实目的还是为了灵活,方便用户自定义扩展。
接下来我们可以写个demo,来覆盖这个方法。
1.1. initPropertySources
1.1.1. 创建MyApplicationContext
public class MyApplicationContext extends ClassPathXmlApplicationContext {

    public MyApplicationContext(String... configLocations) {
       super(configLocations);
    }

    @Override
    protected void initPropertySources() {
       System.out.println("进入了自定义的initPropertySources方法....");
       String property = this.getEnvironment().getProperty("PATH");
       System.out.println(property);

    }
}
1.1.2. 启动MyApplicationContext
public class Main {
    public static void main(String[] args) throws Exception {
       System.out.println("测试启动spring容器!");

       ApplicationContext context = new MyApplicationContext("spring-context.xml");
       User user = context.getBean(User.class);
       System.out.println(user.getName());
       System.out.println(user.getAge());
    }
}
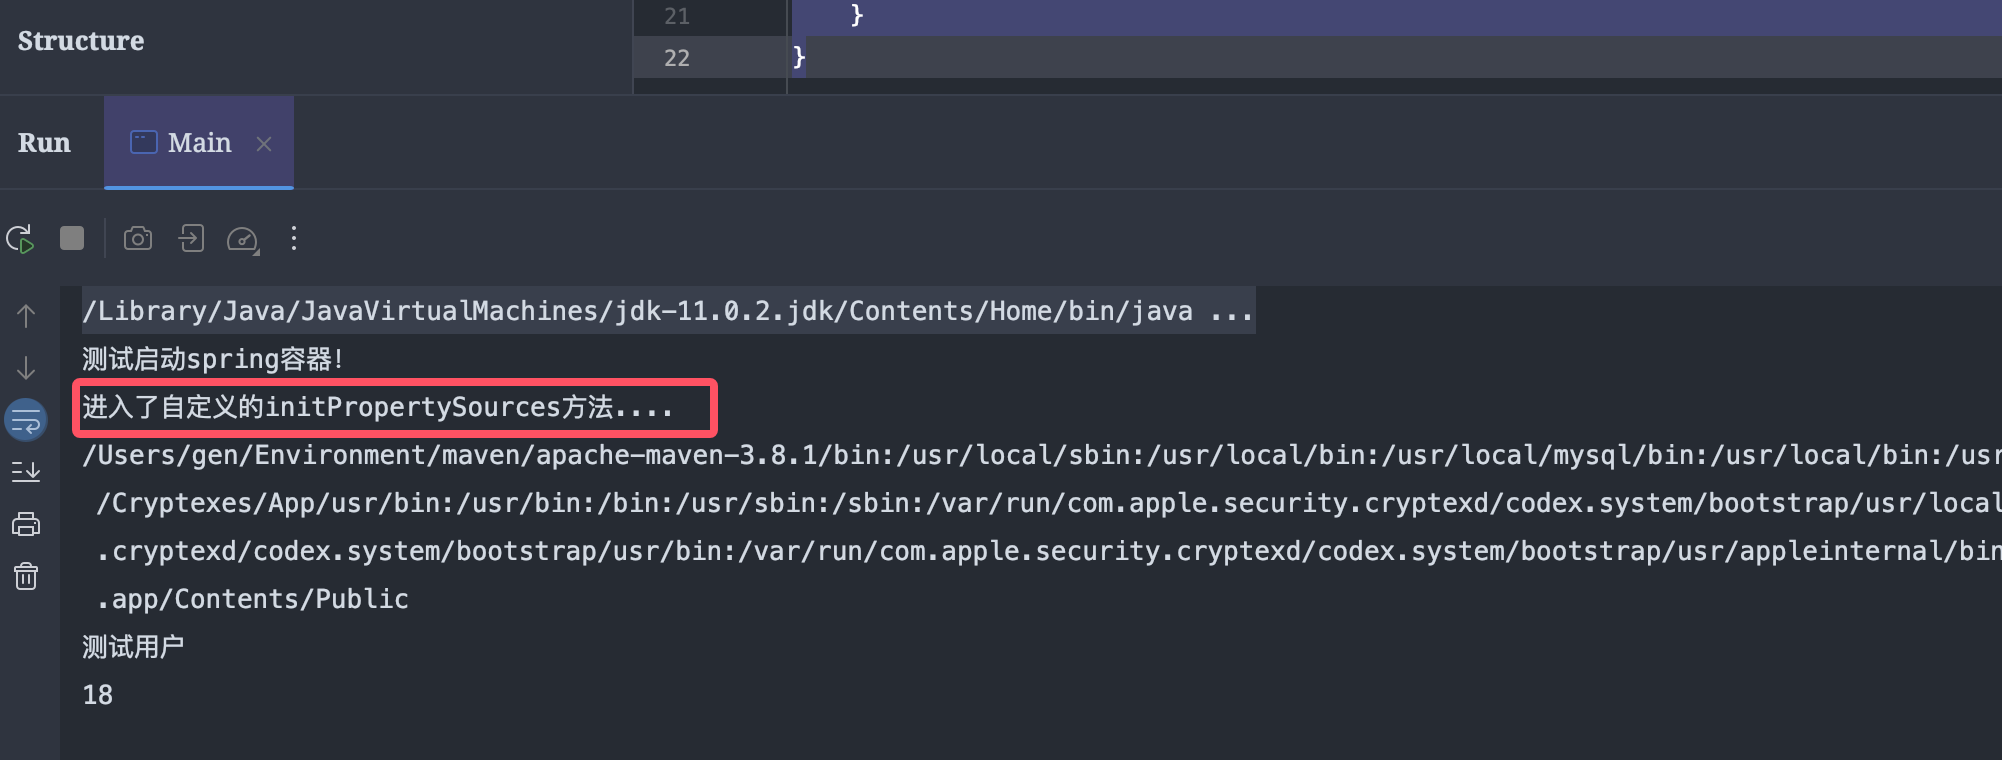
1.1.3. 结果

可以看到,确实进了我们自定义类重写的方法😄
1.2. obtainFreshBeanFactory
这个方法就非常关键了!他会创建BeanFactory对象,并且会去加载和解析xml配置文件,读取到对象的定义信息,封装成BeanDefinition对象。
本章我们就先不关注这个加载配置的过程。之前的章节也有稍微提到过。下章会详细讲解是怎么加载配置到封装bean定义信息的,到时候画图走起😄
protected ConfigurableListableBeanFactory obtainFreshBeanFactory() {
    //刷新beanFactory,会先创建DefaultListableBeanFactory对象
    //加载配置文件,通过loadBeanDefinitions方法解析并封装BeanDefinitions对象
    //有了bean定义信息,后面流程才能进行遍历从而实例化bean对象
    refreshBeanFactory();
    //返回当前beanFactory,这个方法没做啥,就是直接返回
    return getBeanFactory();
}
1.2.1. refreshBeanFactory
这里的refreshBeanFactory会调用到AbstractRefreshableApplicationContext这个父类。
一般是不会进到这个if方法里面的。其实就保证你的beanFactory是新创建的。如果启动的时候有了这个beanFactory,会去执行一些清除方法(不用怎么关注!)
protected final void refreshBeanFactory() throws BeansException {
    //判断当前applicationContext中是否存在beanFactory
    if (hasBeanFactory()) {
       //会清除三级缓存,清空实例好的bean对象
       //执行所有的destroy-method方法
       destroyBeans();
       //关闭BeanFactory,其实就是设置为空,等jvm自动回收
       closeBeanFactory();
    }
    try {
       //创建DefaultListableBeanFactory
       DefaultListableBeanFactory beanFactory = createBeanFactory();
       //设置id
       beanFactory.setSerializationId(getId());
       //定制化BeanFactory:是否设置bean定义可被重载,是否开启循环依赖
       customizeBeanFactory(beanFactory);
       //配置文件加载解析的地址,封装成BeanDefinition,注册到容器中
       loadBeanDefinitions(beanFactory);
       this.beanFactory = beanFactory;
    }
    catch (IOException ex) {
       throw new ApplicationContextException("I/O error parsing bean definition source for " + getDisplayName(), ex);
    }
}这里的refreshBeanFactory方法,主要是执行了3个方法:
1、createBeanFactory方法,会去创建一个新的DefaultListableBeanFactory,会去设置一些内置属性啥的
2、customizeBeanFactory方法,设置了bean定义可被重载,是否开启循环依赖(只是设置属性而已)
3、loadBeanDefinitions方法,这个方法就非常关键了,就是加载xml配置文件,封装beanDefinition对象
1.2.1.1. createBeanFactory
protected DefaultListableBeanFactory createBeanFactory() {
    return new DefaultListableBeanFactory(getInternalParentBeanFactory());
}默认的parentBeanFactory是Null的,然后会一直调用父类的构造方法。
最后调用到AbstractAutowireCapableBeanFactory的构造方法
public AbstractAutowireCapableBeanFactory() {
    //初始化一系列的容器,默认都是属性对象自动new的
    super();
    //忽略这三个aware接口,现在的地方只是添加到ignoredDependencyInterfaces列表而已,没做任何操作
    ignoreDependencyInterface(BeanNameAware.class);
    ignoreDependencyInterface(BeanFactoryAware.class);
    ignoreDependencyInterface(BeanClassLoaderAware.class);
    //设置实例化的策略,默认是采用cglib方式
    if (NativeDetector.inNativeImage()) {
       this.instantiationStrategy = new SimpleInstantiationStrategy();
    }
    else {
       this.instantiationStrategy = new CglibSubclassingInstantiationStrategy();
    }
}可看到其实这里也是没干啥,就是添加了忽略这三个Aware接口的class到ignoreDependencyInterface列表中:添加这个有啥用呢?
Aware接口之前也提到过,其实就是Spring为了提供能让我们获取到Spring的一些核心类到我们自己设置的bean对象中,而添加这些忽略方法,恰恰是为了在依赖注入的时候,如果是这些类型的属性,Spring会忽略注入,从而不会去帮我们自动注入这些对象。需要我们开发者可以实现这些Aware接口,然后通过回调方法的参数自己去set进去
1.2.1.2. customizeBeanFactory
定制化工厂,其实就是简单地设置了这两个属性。
其实对于这个方法,我们也可以自己创建applicationContext,然后去覆盖这个方法,这个方法中有beanFactory参数,我们可以自由地设置beanFactory的各种属性
protected void customizeBeanFactory(DefaultListableBeanFactory beanFactory) {
    if (this.allowBeanDefinitionOverriding != null) {
       //是否设置bean定义可被重载
       beanFactory.setAllowBeanDefinitionOverriding(this.allowBeanDefinitionOverriding);
    }
    //是否开启循环依赖
    if (this.allowCircularReferences != null) {
       beanFactory.setAllowCircularReferences(this.allowCircularReferences);
    }
}
我们继续自己扩展一下这个方法:
public class MyApplicationContext extends ClassPathXmlApplicationContext {

    public MyApplicationContext(String... configLocations) {
       super(configLocations);
    }

    @Override
    protected void initPropertySources() {
       System.out.println("进入了自定义的initPropertySources方法....");
       String property = this.getEnvironment().getProperty("PATH");
       System.out.println(property);

    }

    protected void customizeBeanFactory(DefaultListableBeanFactory beanFactory) {
       //调用父类构造方法
       super.customizeBeanFactory(beanFactory);
       System.out.println("定制化beanFactory.....");
       beanFactory.setSerializationId(UUID.randomUUID().toString());
       System.out.println("设置了id:" + beanFactory.getSerializationId());
    }
}
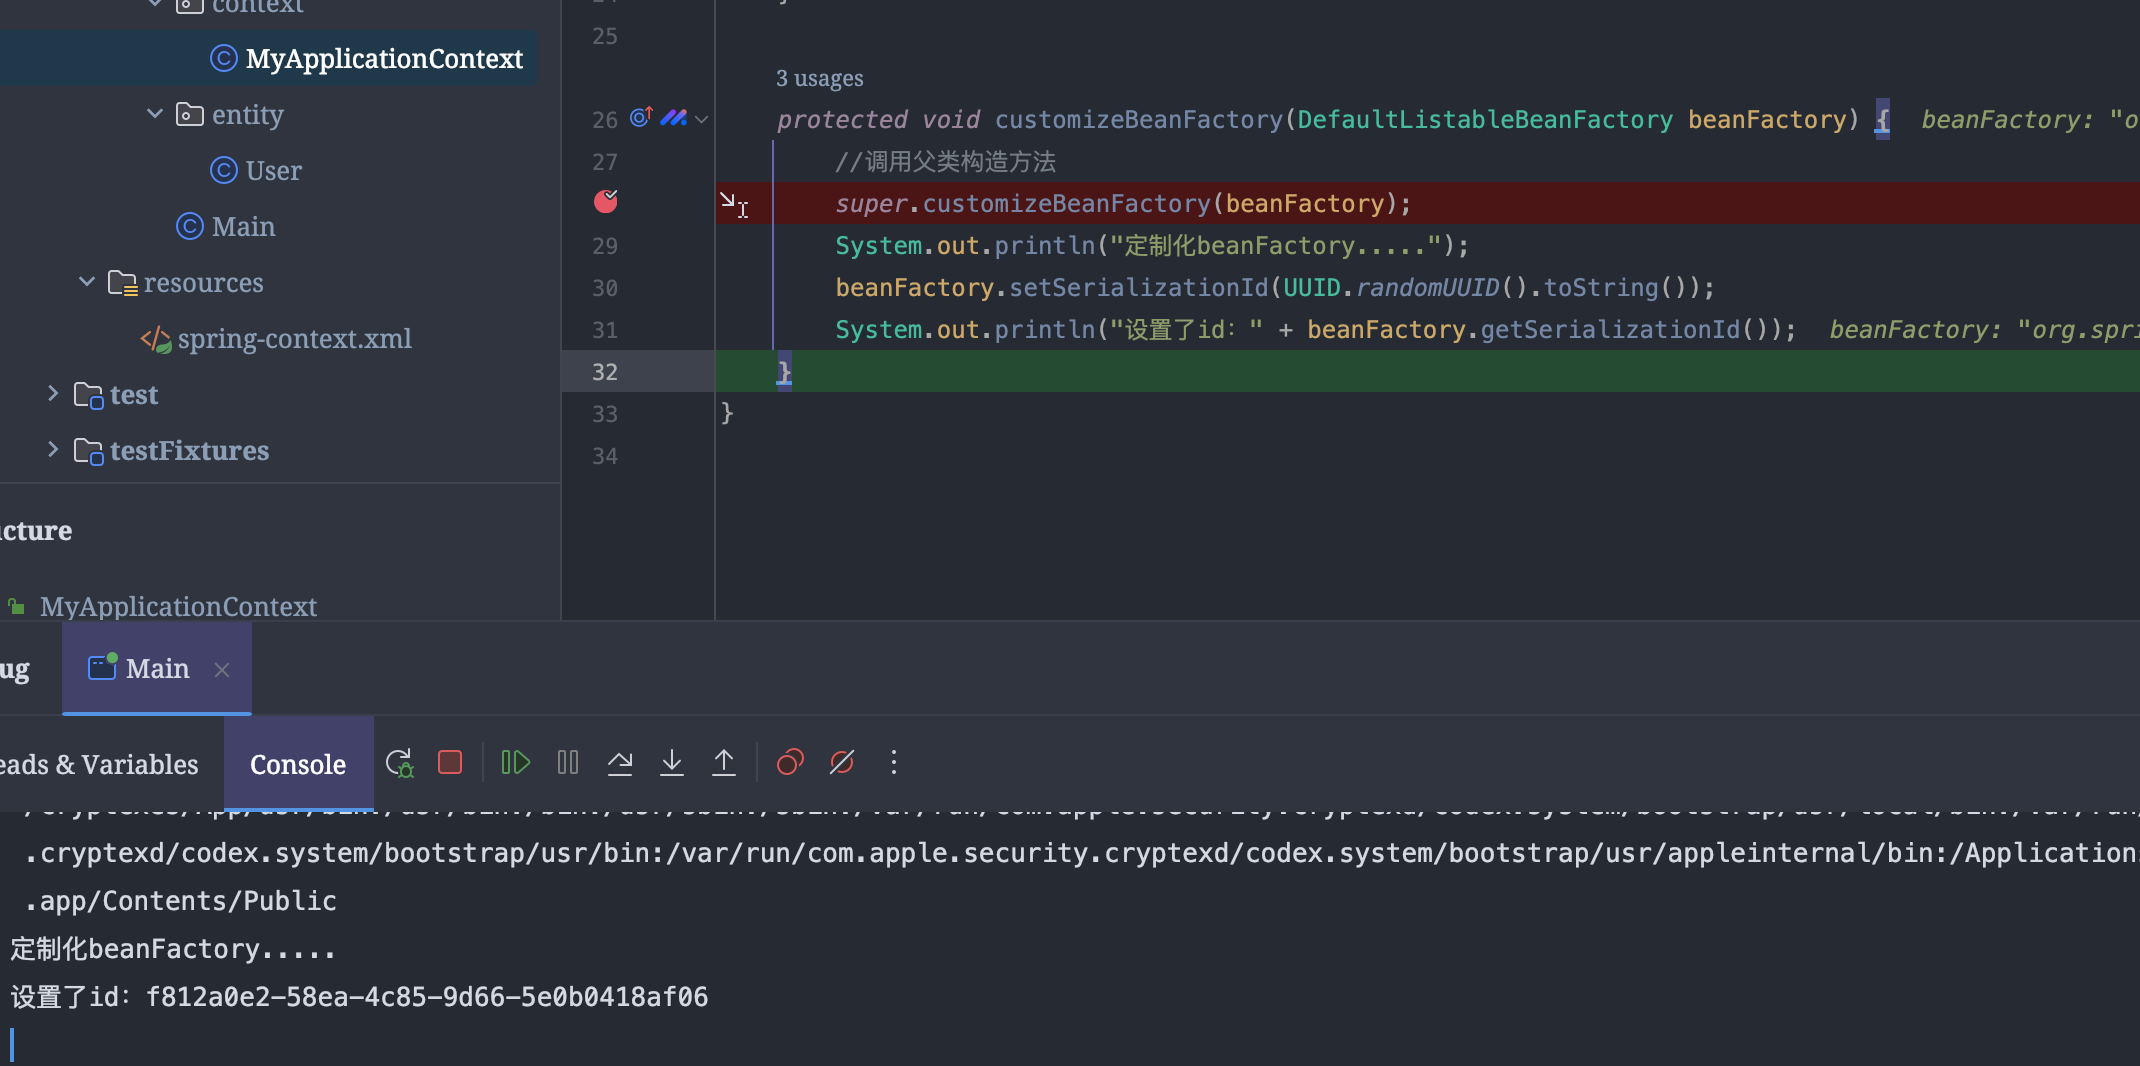
执行完,发现也是进入到我们自己的方法并成功修改了属性

1.2.1.3. loadBeanDefinitions
这个方法就非常难了😭,代码很复杂。接下来会单独起一两章来讲解如何解析xml配置文件,并且封装成BeanDefinition对象。准备画图ing💪🏻