目录
[1. 安装Home Assistant](#1. 安装Home Assistant)
前言
本文主要介绍如何在windows 10 上用VMware Workstation 17 Pro搭建 Home Assistant OS
Host os version:Windows 10 Pro, 64-bit (Build 19045.5247) 10.0.19045
VMware version:VMware Workstation 17 Pro
1. 安装Home Assistant OS
这里使用vmwhere player 17虚拟机进行安装,通过Home Assistant官网的下载链接下载,下载后解压。
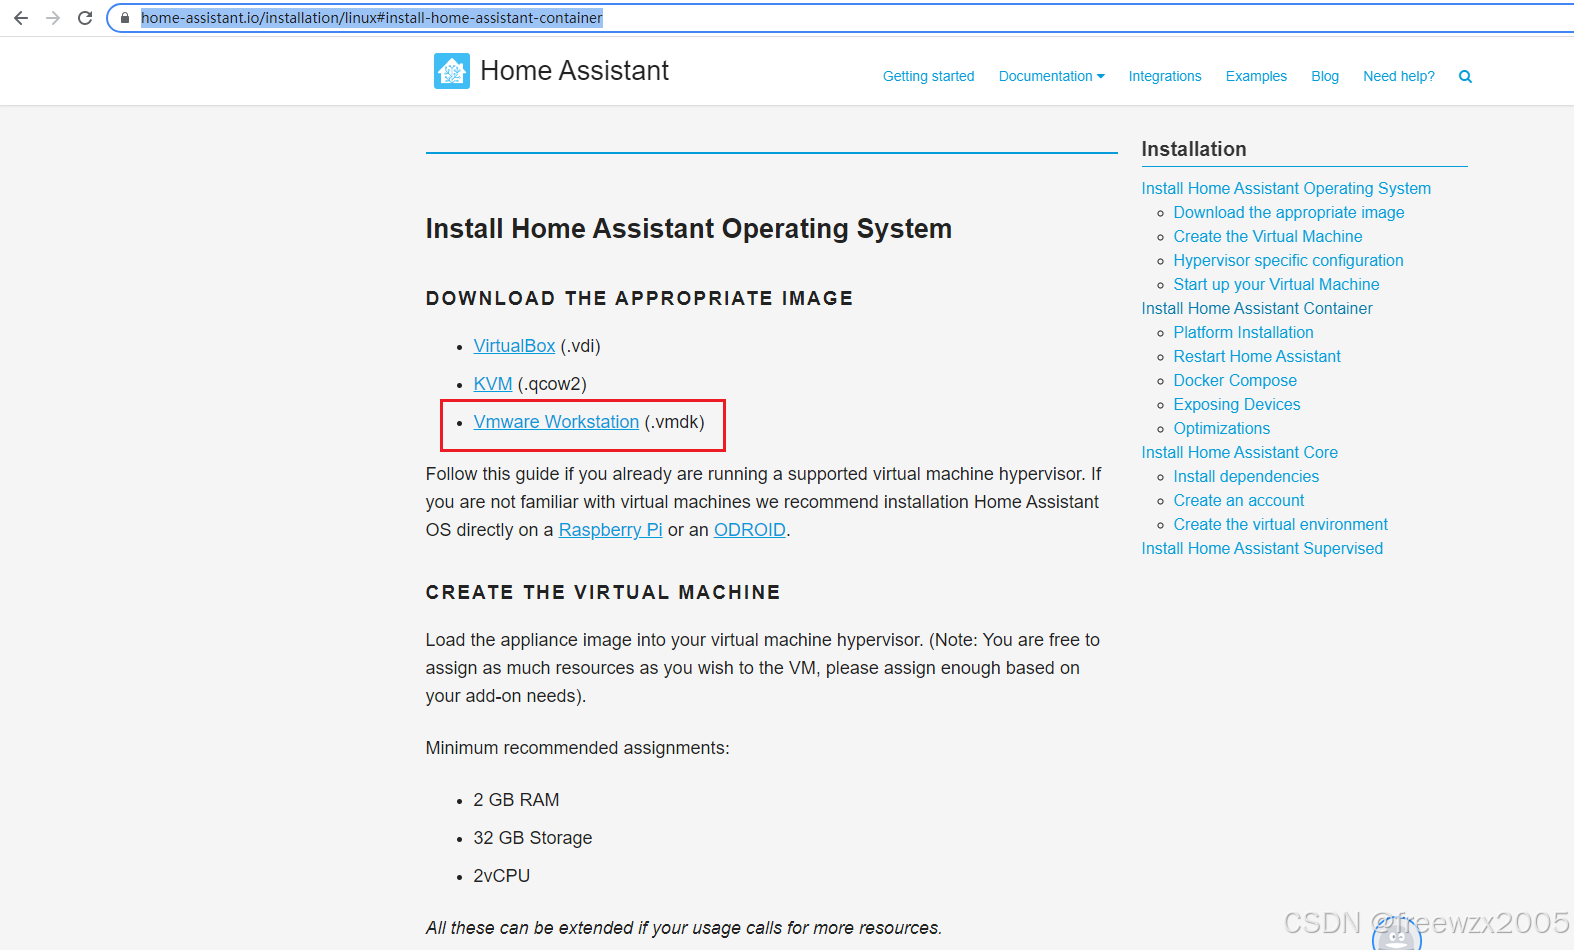
vmdk文件:https://www.home-assistant.io/installation/linux#install-home-assistant-container
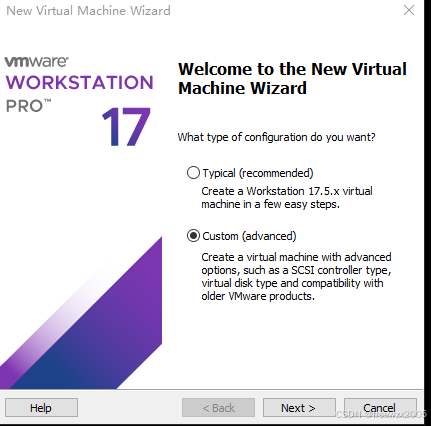
然后创建一个虚拟机
选择自定义虚拟机
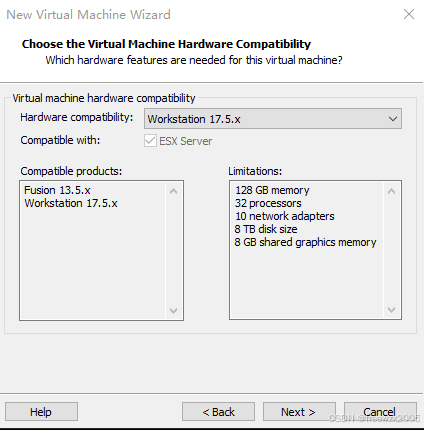
直接下一步
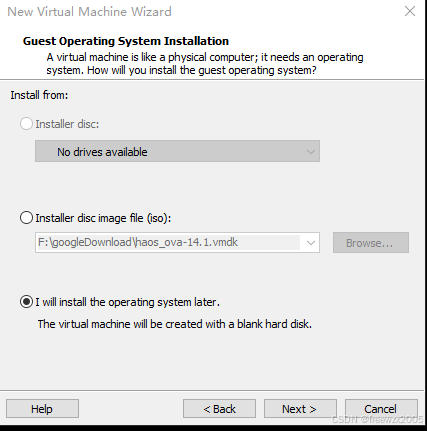
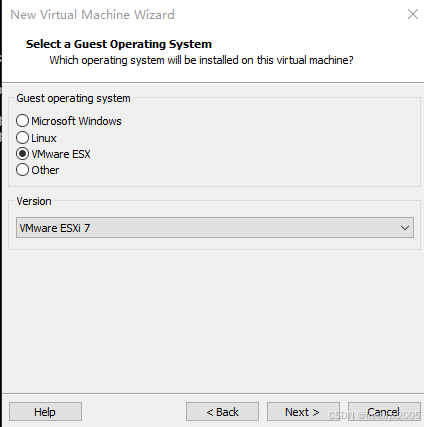
选择稍后安装操作系统
然后选择VMWare ESXi
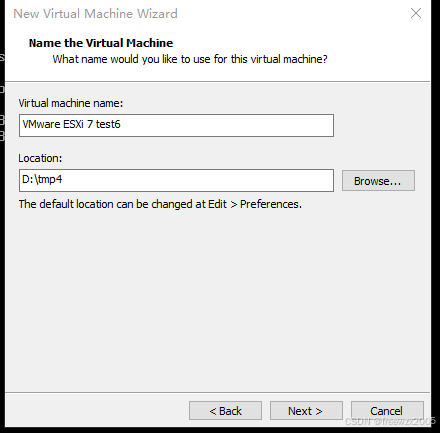
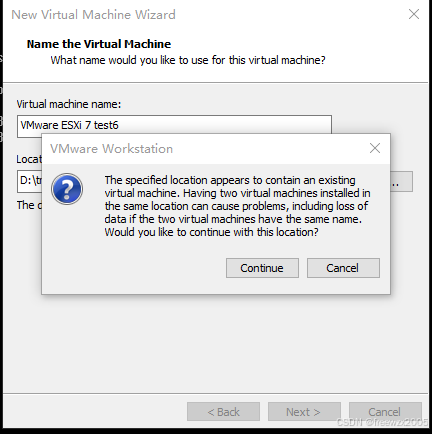
设置一下虚拟机名称,然后下面安装的位置可以自己选择,也可以默认
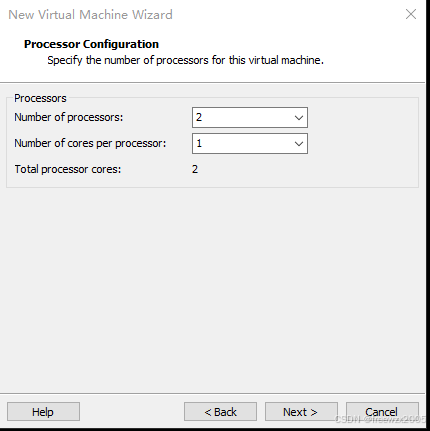
处理器可以选择1个,内核选择两个,这里配置的数量越多,消耗电脑性能越大,可根据本机配置设置
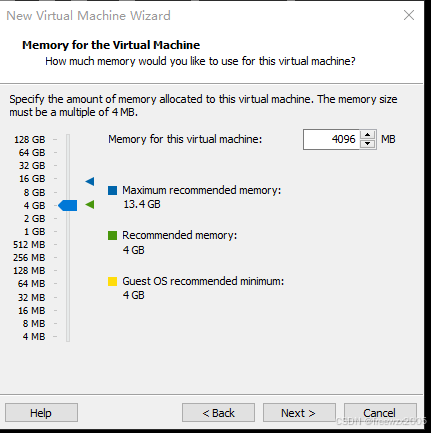
按照官网的要求,需2G以上,这里选择3G
选择NET网络模式
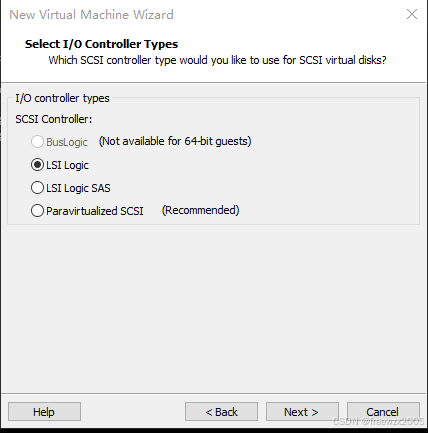
直接下一步
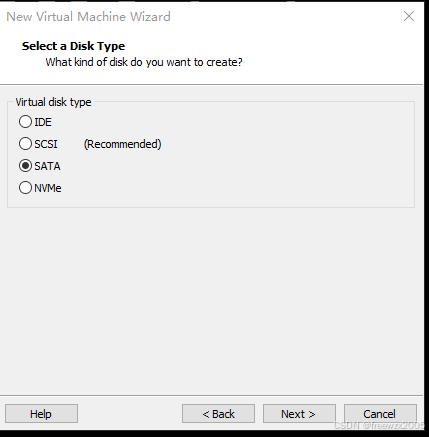
磁盘类型可以默认,也可以选择SATA
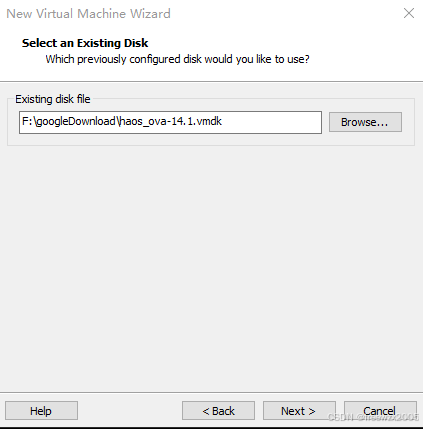
这里需要选择现有磁盘
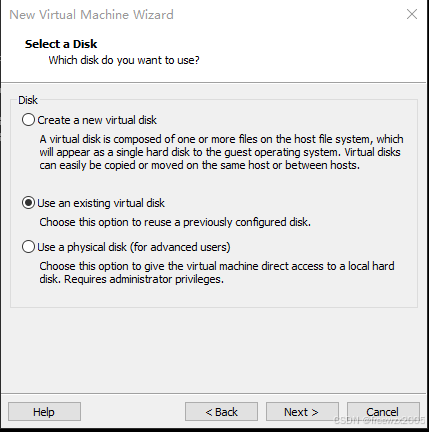
这里选择我们上面官网下载的.vmdk文件
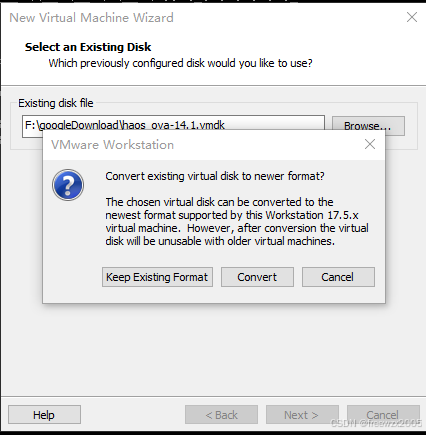
然后选择转换为新的格式
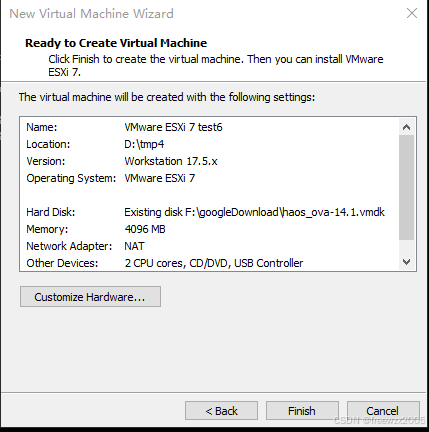
最后,点击完成即可
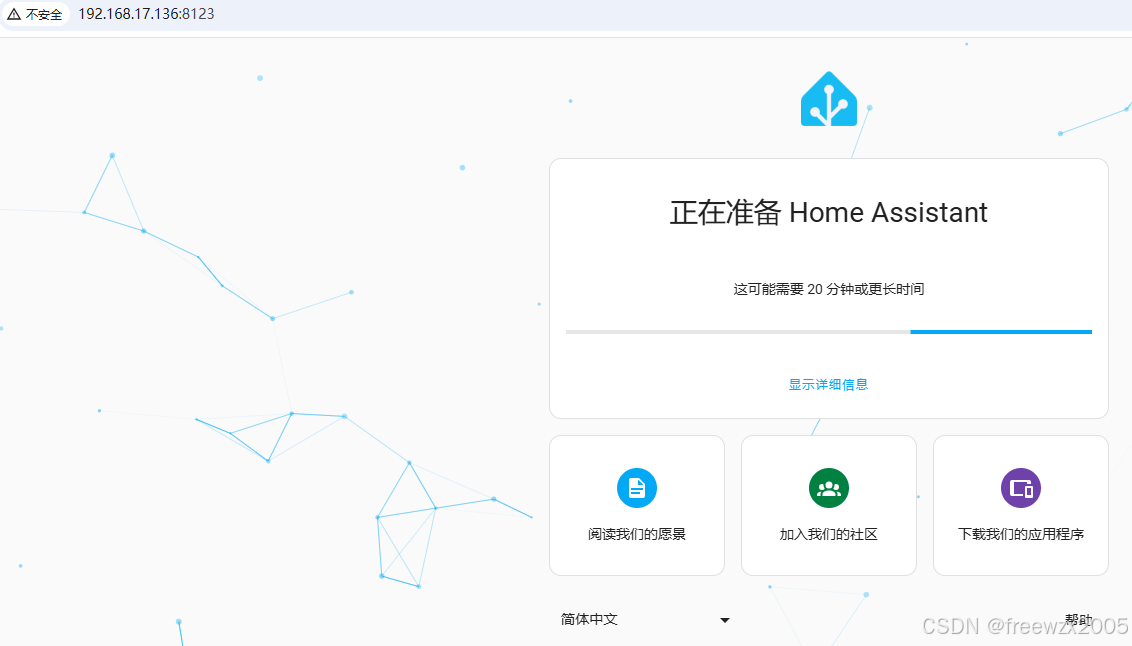
安装成功后启动虚拟机,启动完成后我们可以看到局域网ip地址和端口信息,8123就是管理面板的端
版权声明:本文为博主原创文章,遵循 CC 4.0 BY-SA 版权协议,转载请附上原文出处链接和本声明。
原文链接: