目录
[三、 设置自定义topic](#三、 设置自定义topic)
[1) 然后点击返回旧版](#1) 然后点击返回旧版)
3)命名规则,数据类型选择JSON命名规则,数据类型选择JSON)
4)点击查看,然后 编写SQL语句,选择做发送端的设备名称点击查看,然后 编写SQL语句,选择做发送端的设备名称)
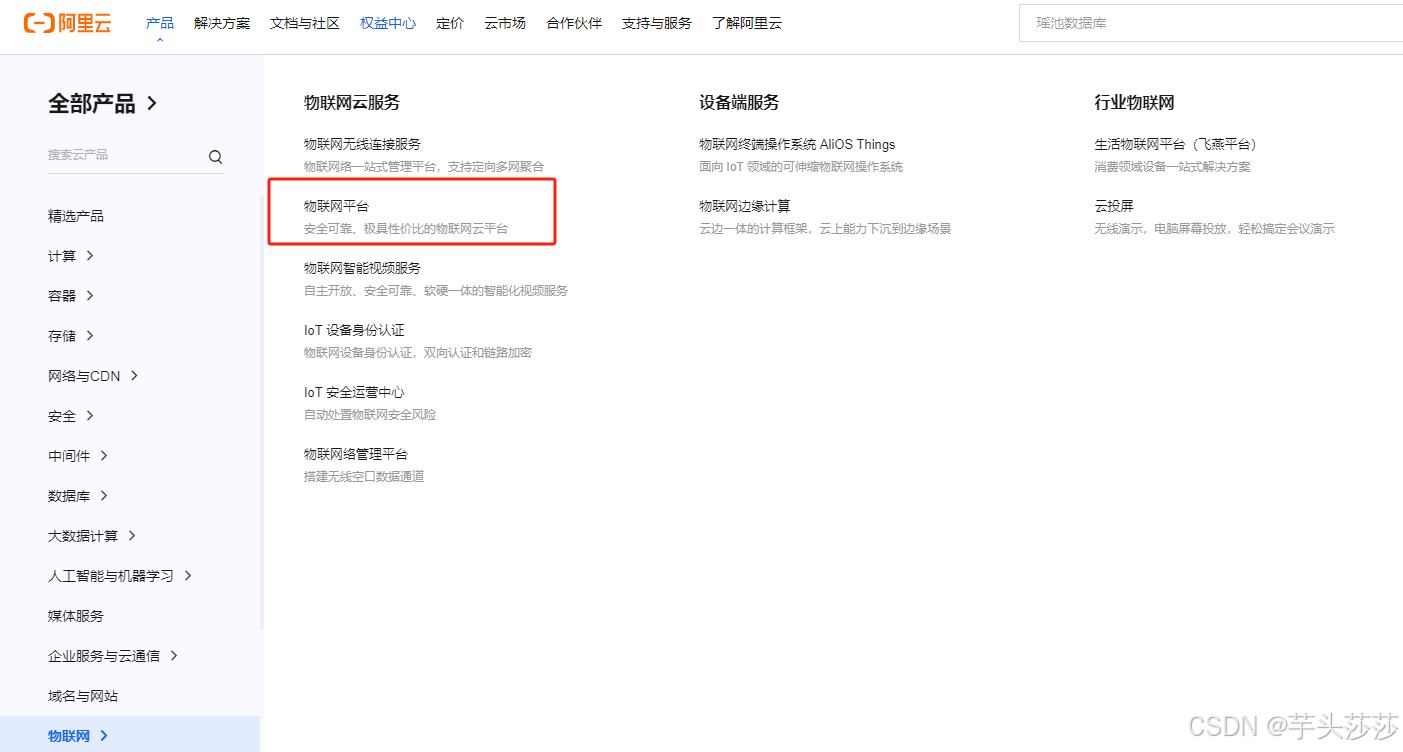
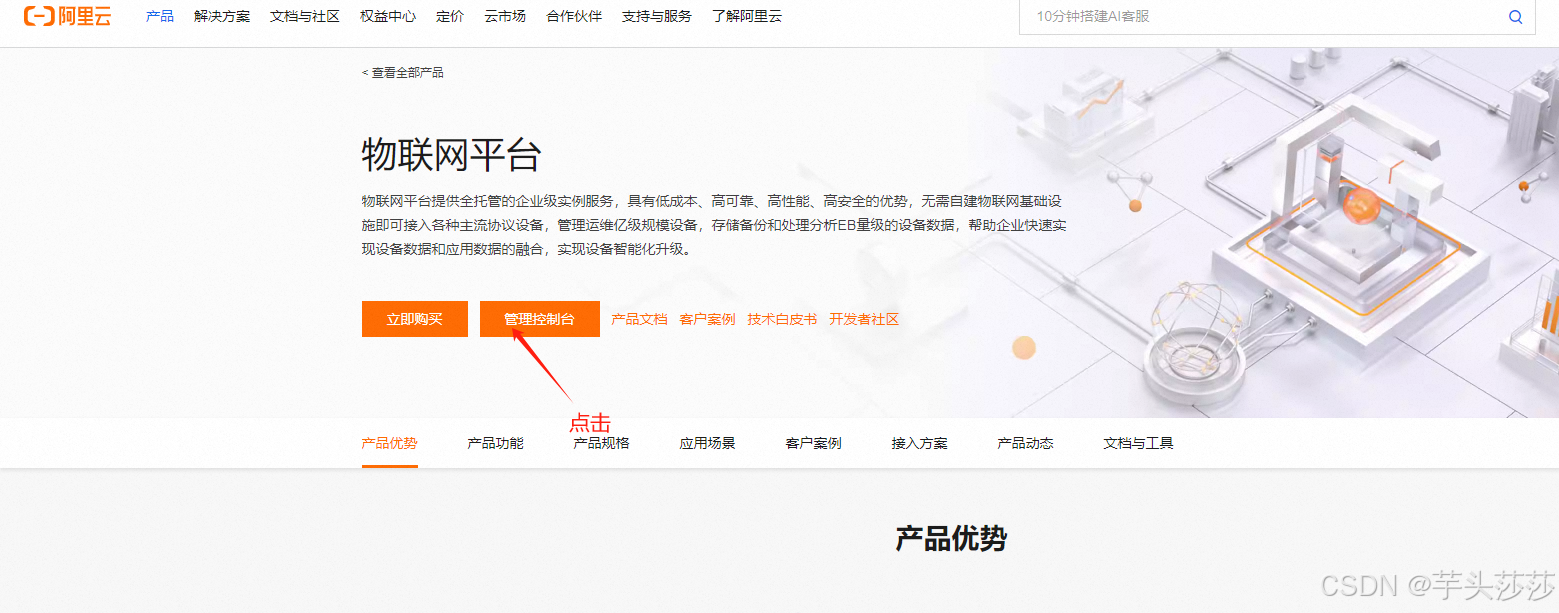
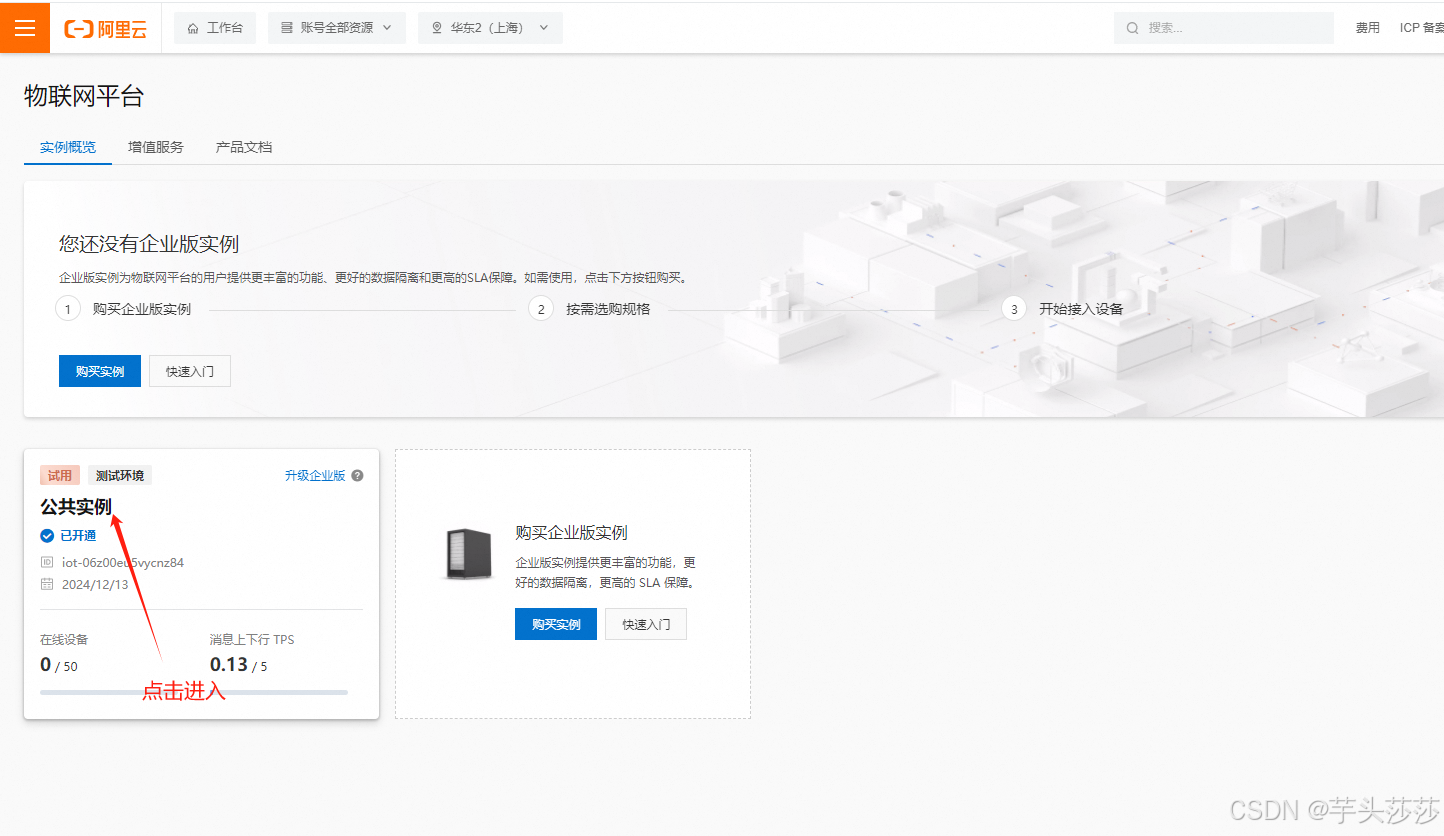
一、登录平台进入物联网平台
二、创建产品与设备
1.产品创建
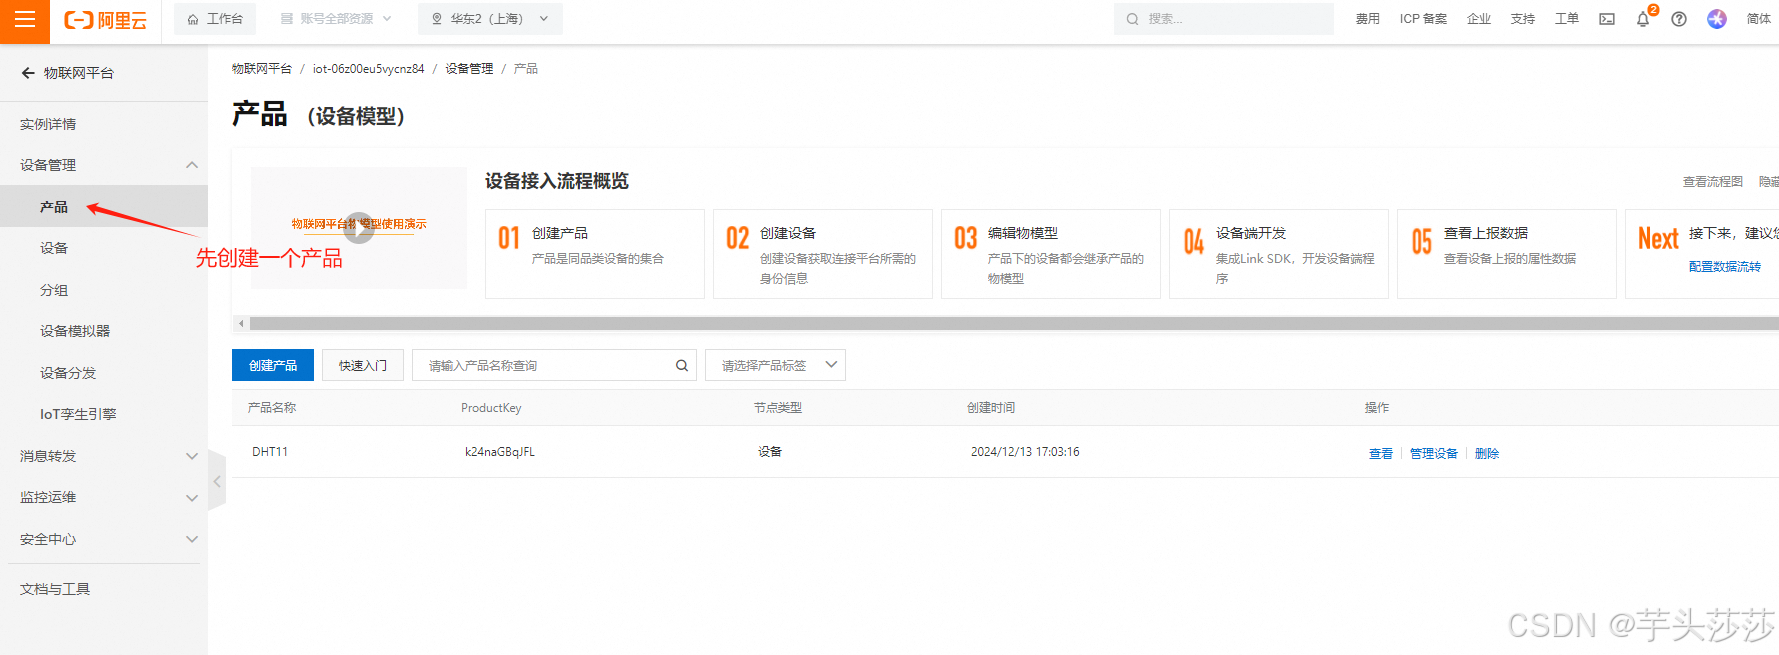
在这里产品创建在阿里云第一篇系列讲解了:跳转: STM32】+【ESP8266】从零开始上阿里云云平台【一】_stm32+esp8266阿里云物联网-CSDN博客
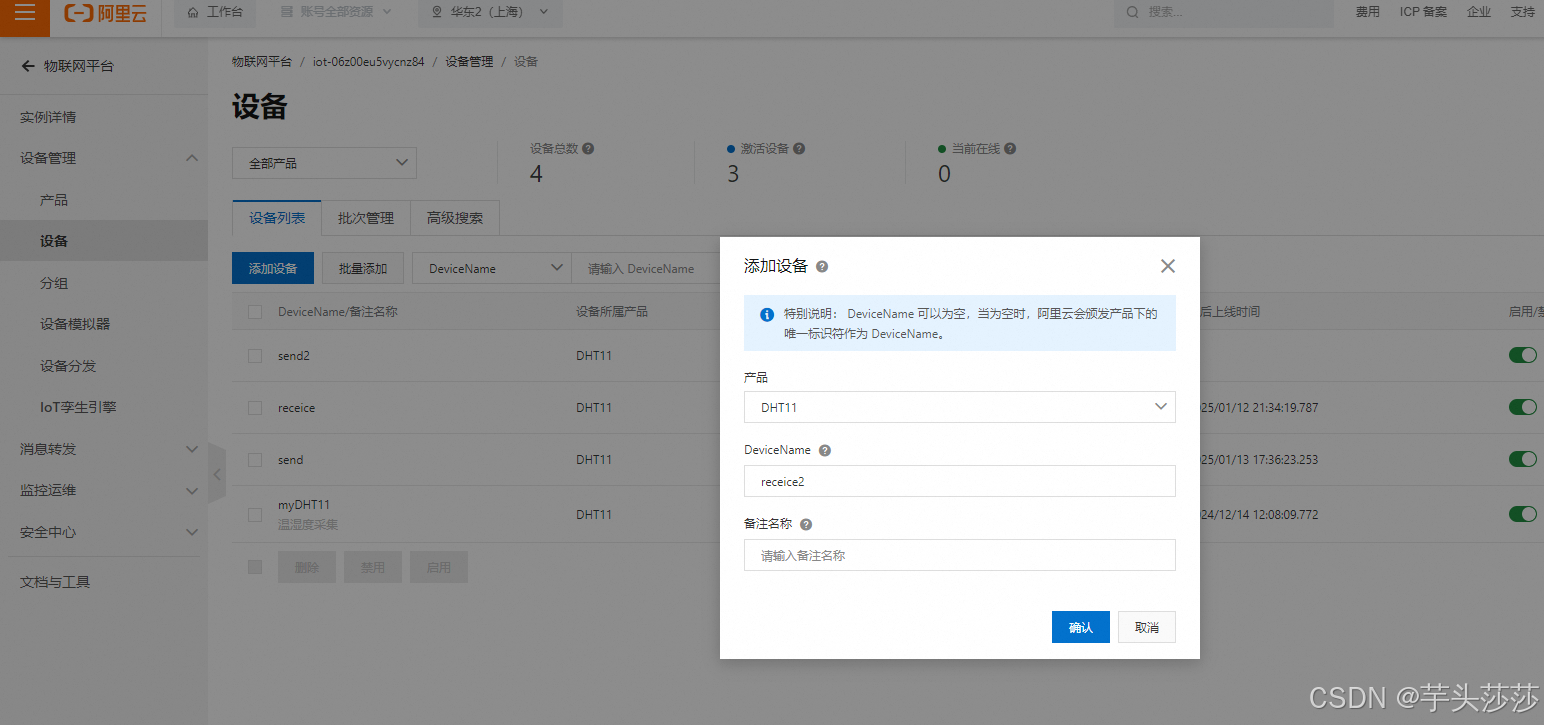
2.设备创建
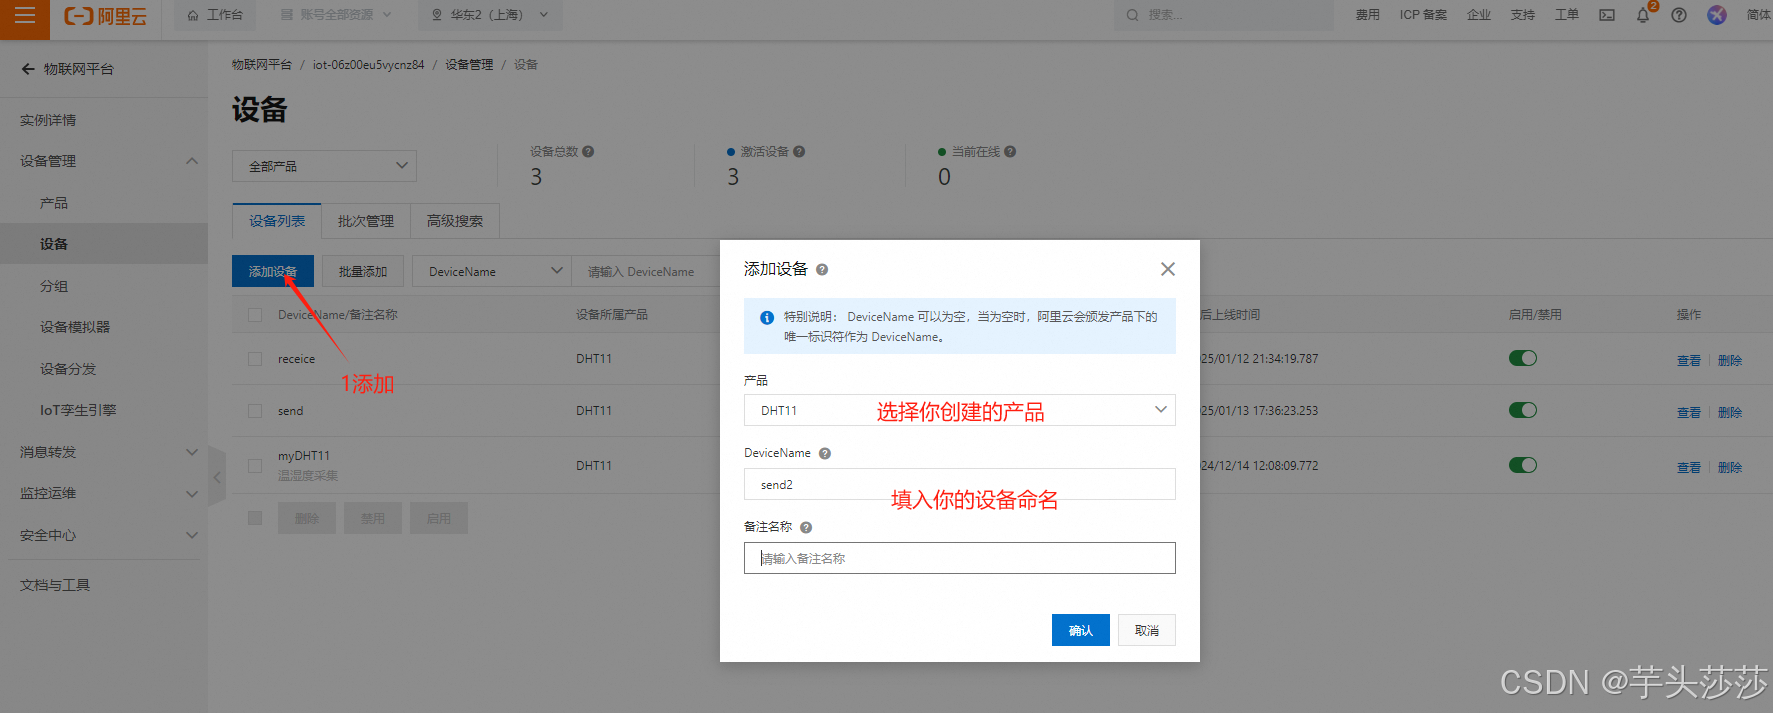
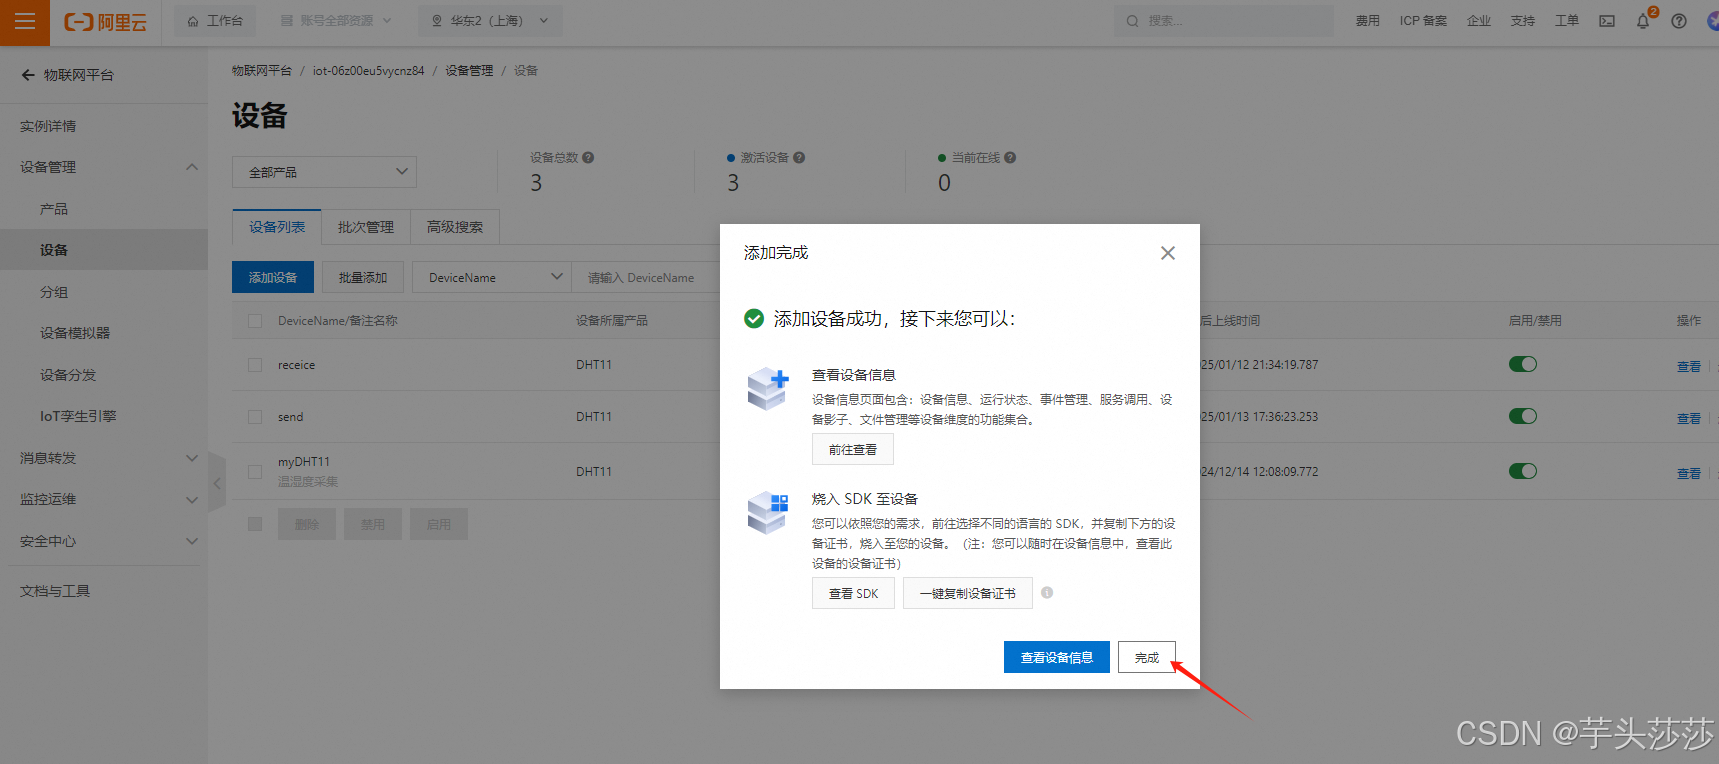
在创建第二个设备
三、 设置自定义topic
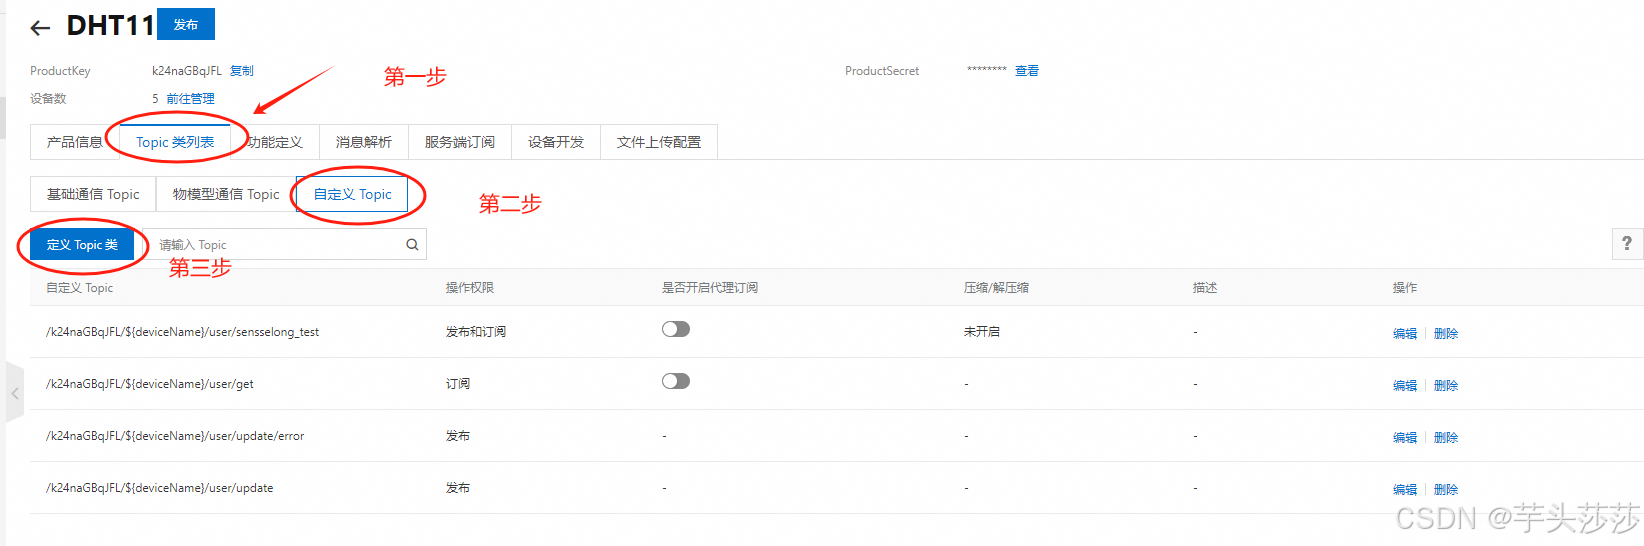
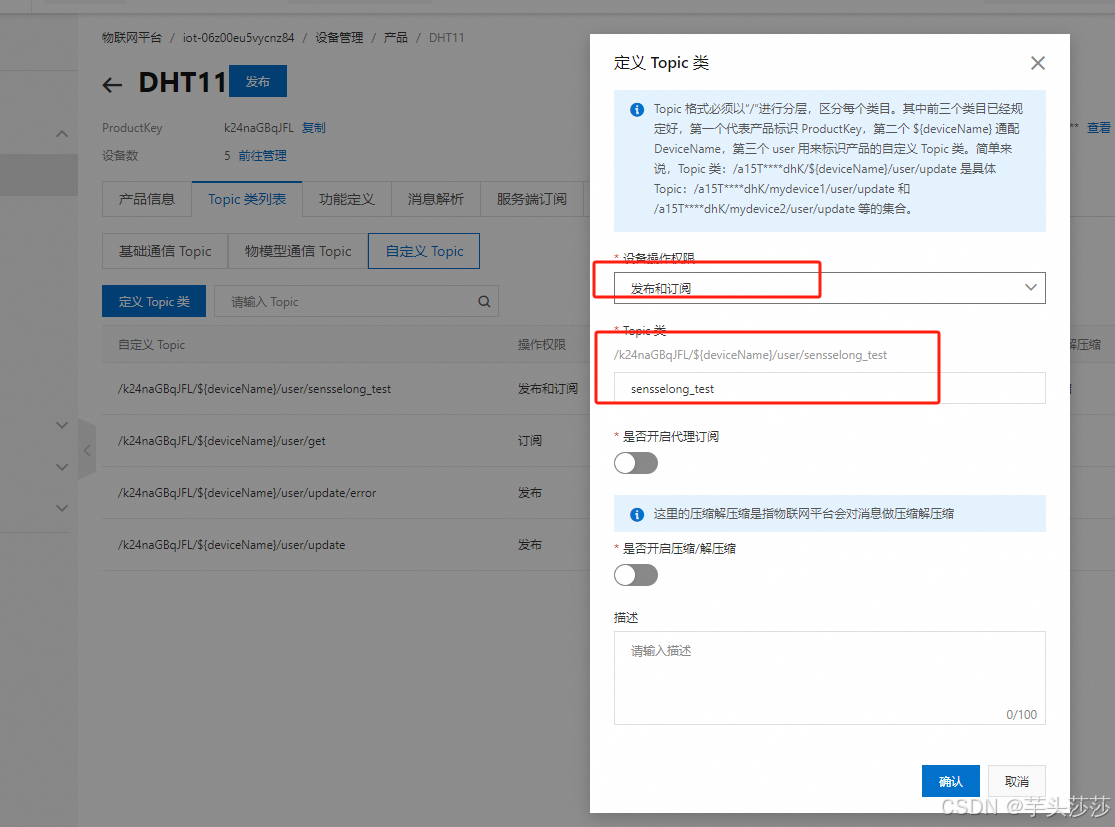
这样子,发布和订阅那就是同个指令了
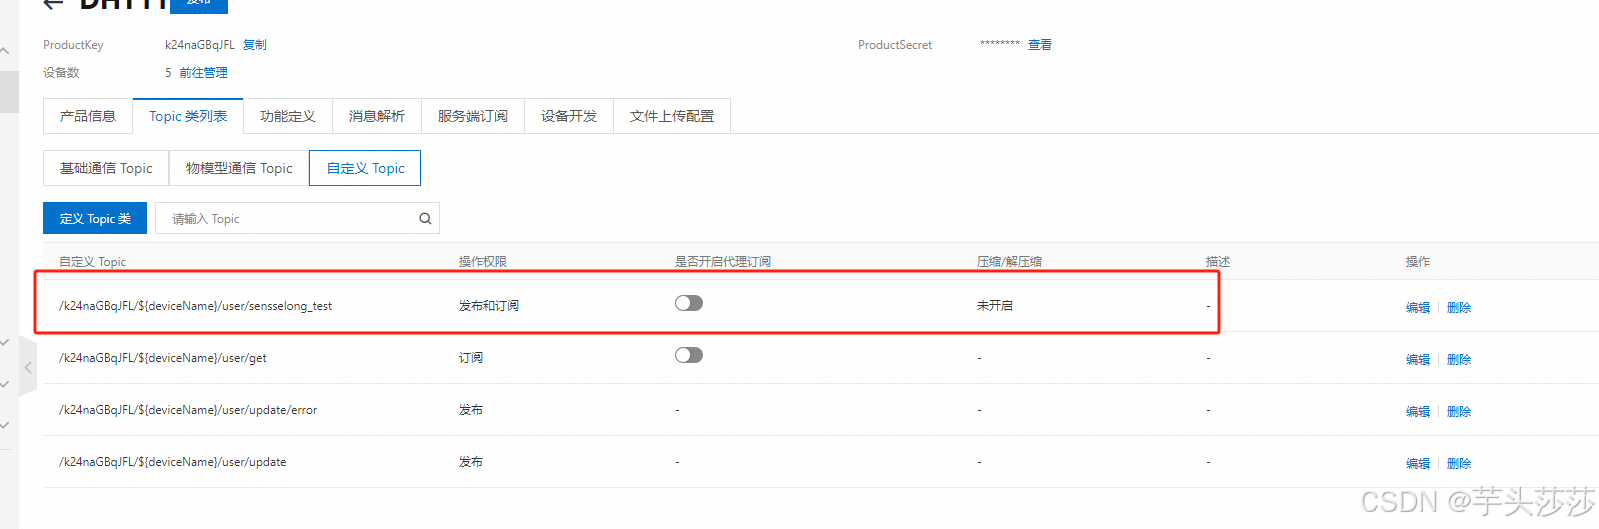
设置好后,在列表就会出现这个列表信息
四、设置云产品流转
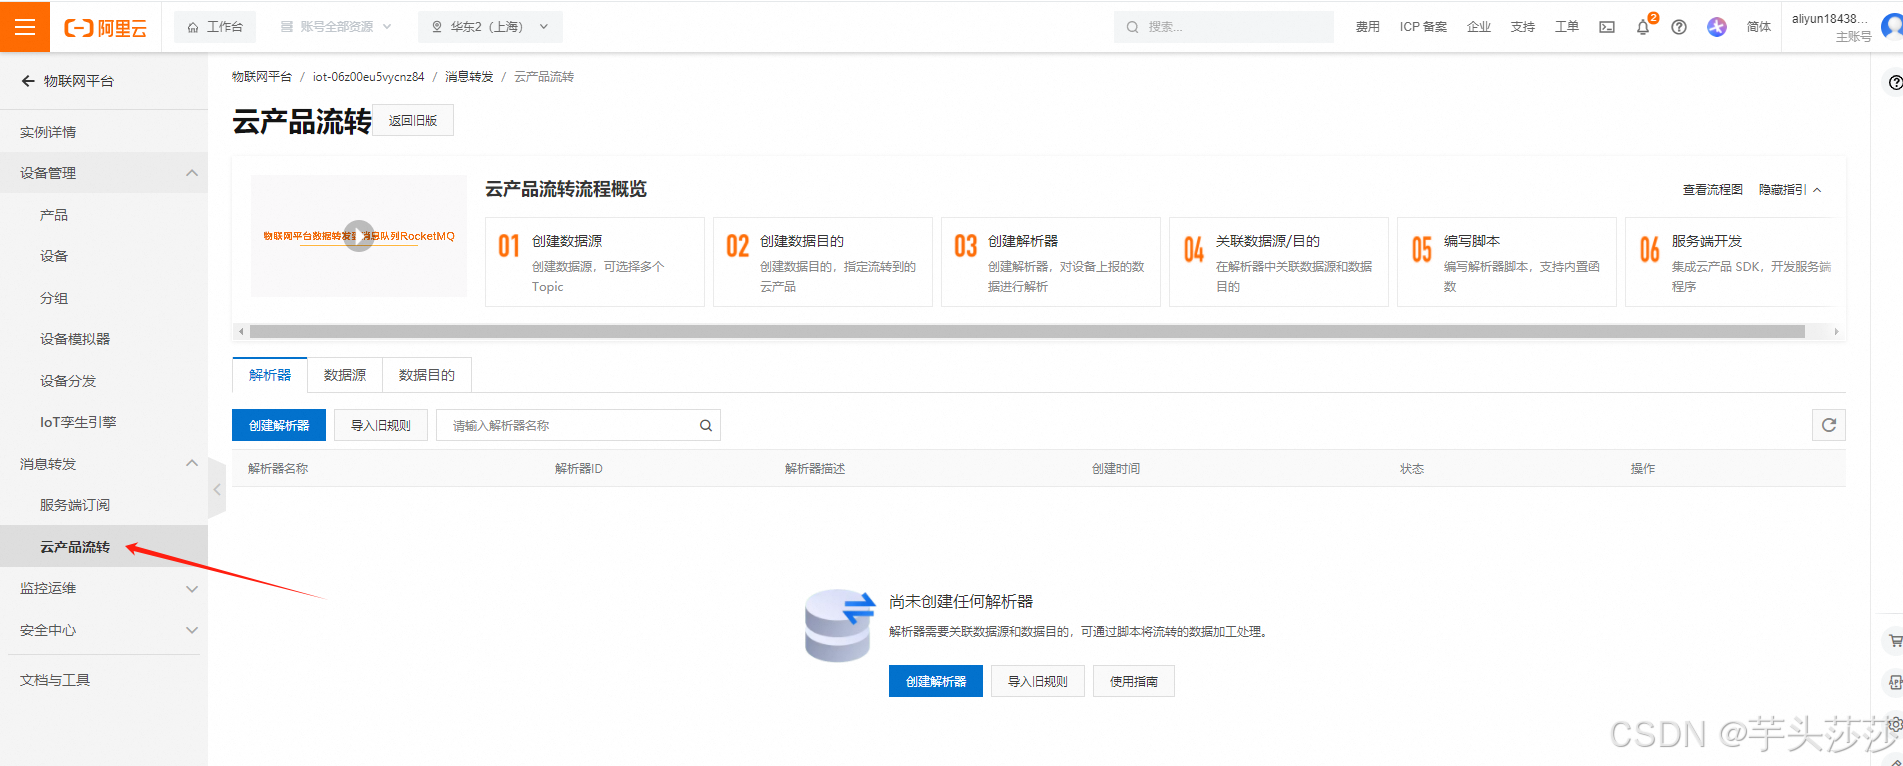
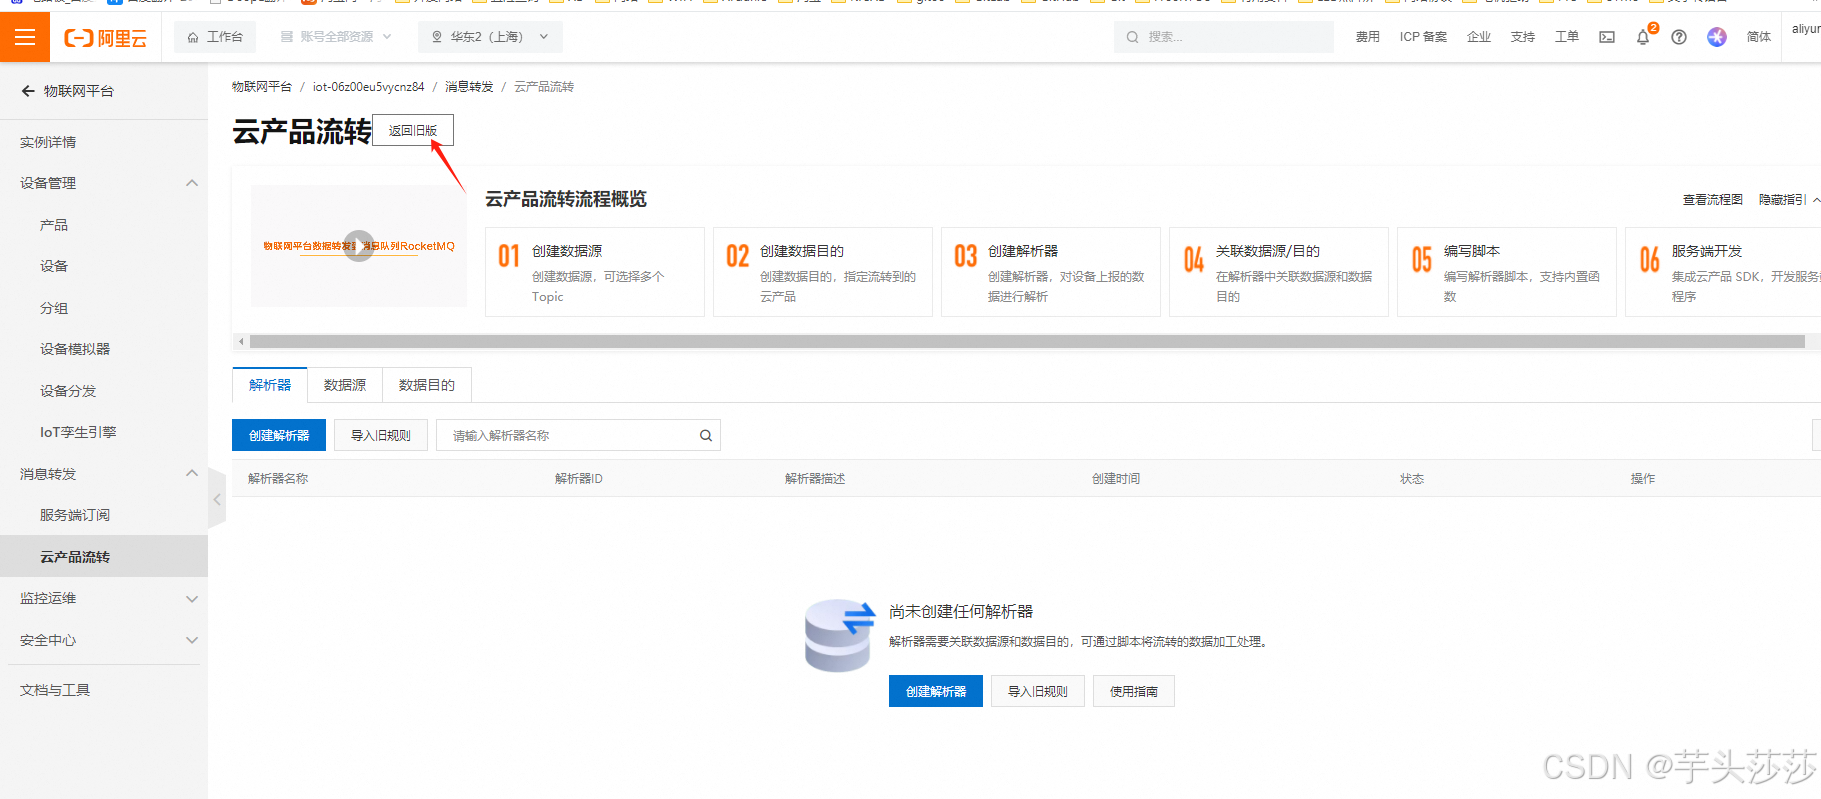
1) 然后点击返回旧版
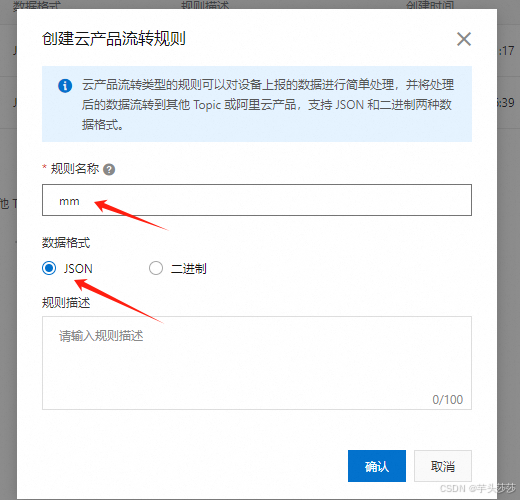
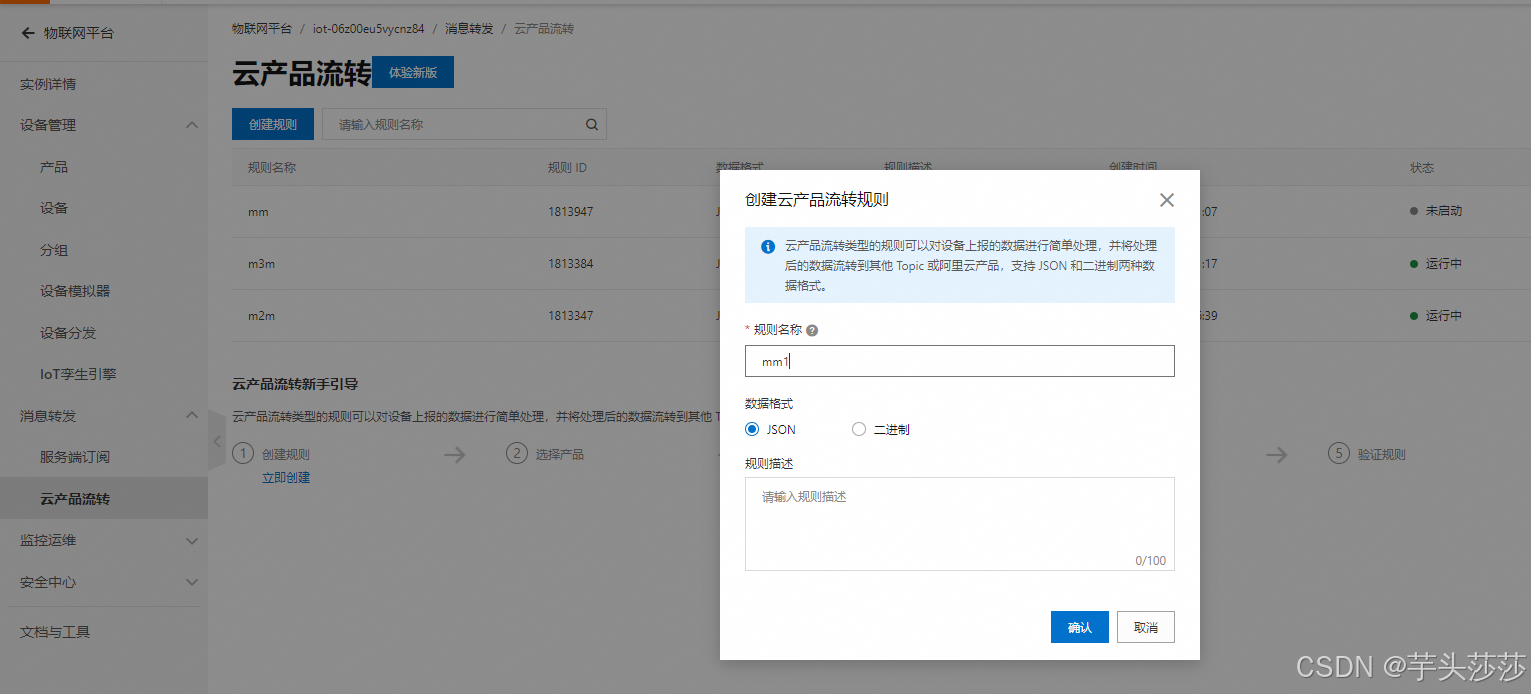
2)创建规则

3)命名规则,数据类型选择JSON
我这里选择JSON,看你自己要二进制还是JSON
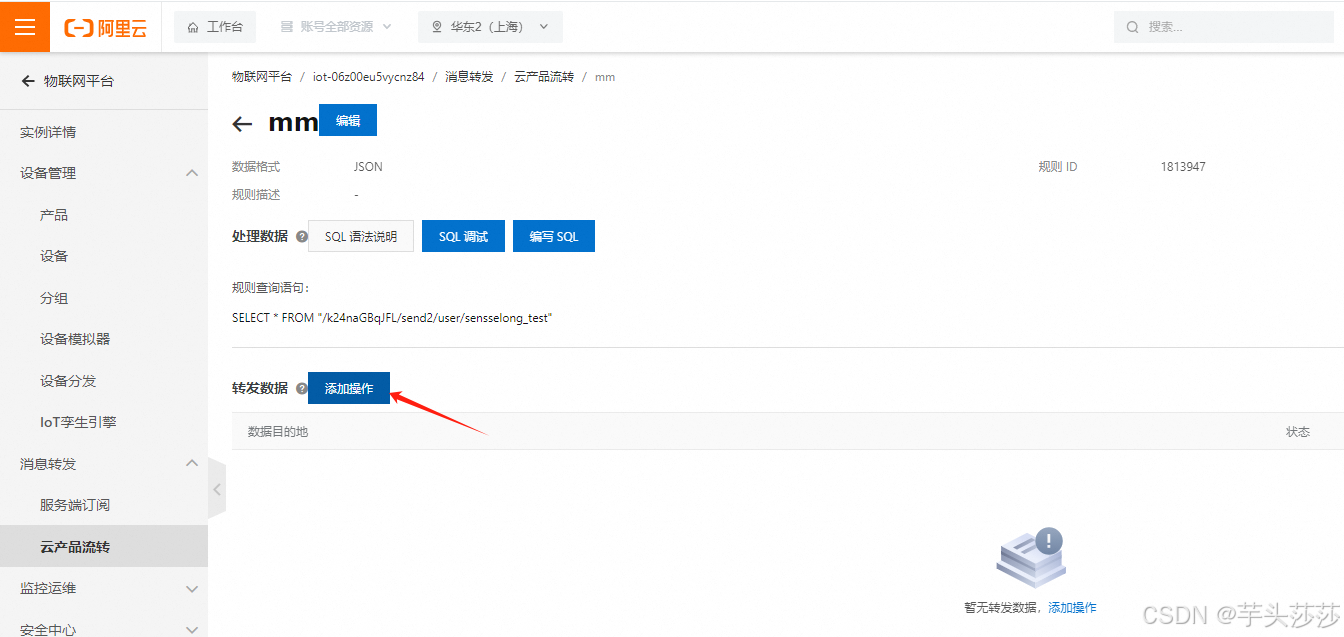
4)点击查看,然后 编写SQL语句,选择做发送端的设备名称


5)添加操作
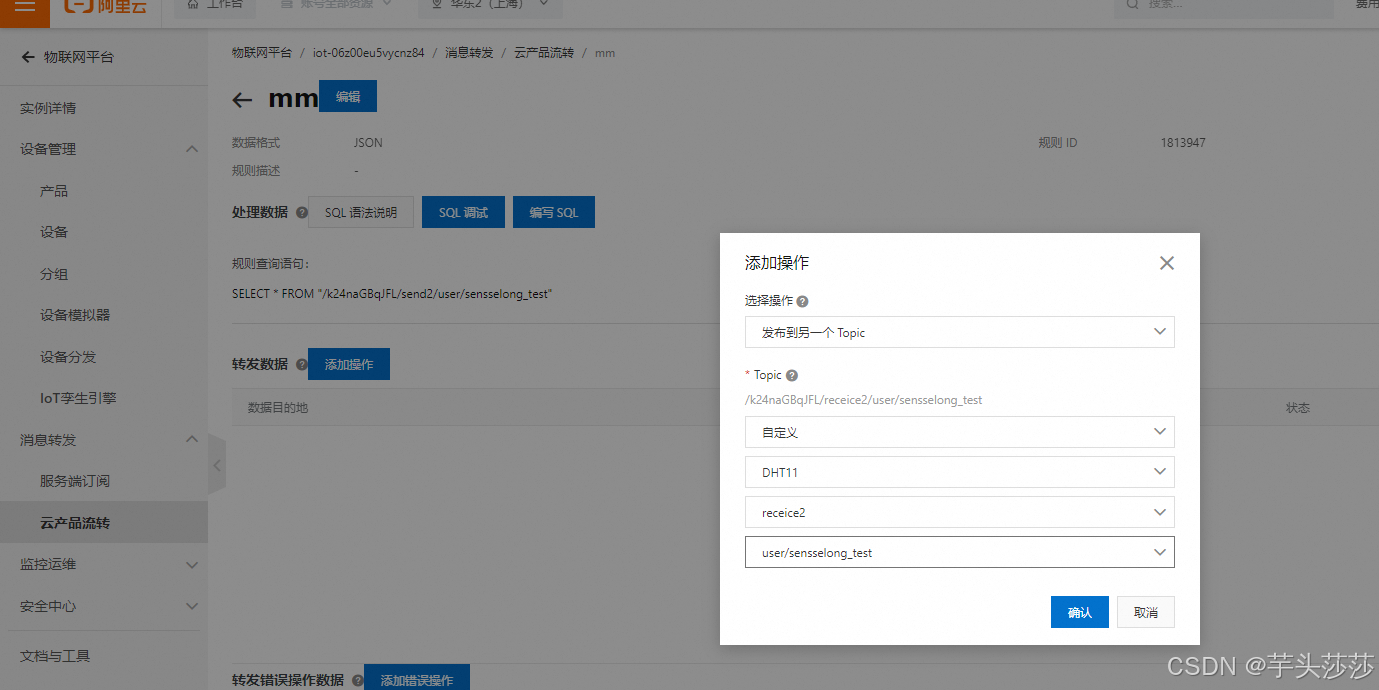
现在完成了send2->receice2 数据通讯,我们还需要receice2->send2 数据通讯,操作还是一样,顺序变换一下就好。


这个样子完成了,receice2->send2 数据通讯,
5)启动流转


五、记录查看MQTT参数
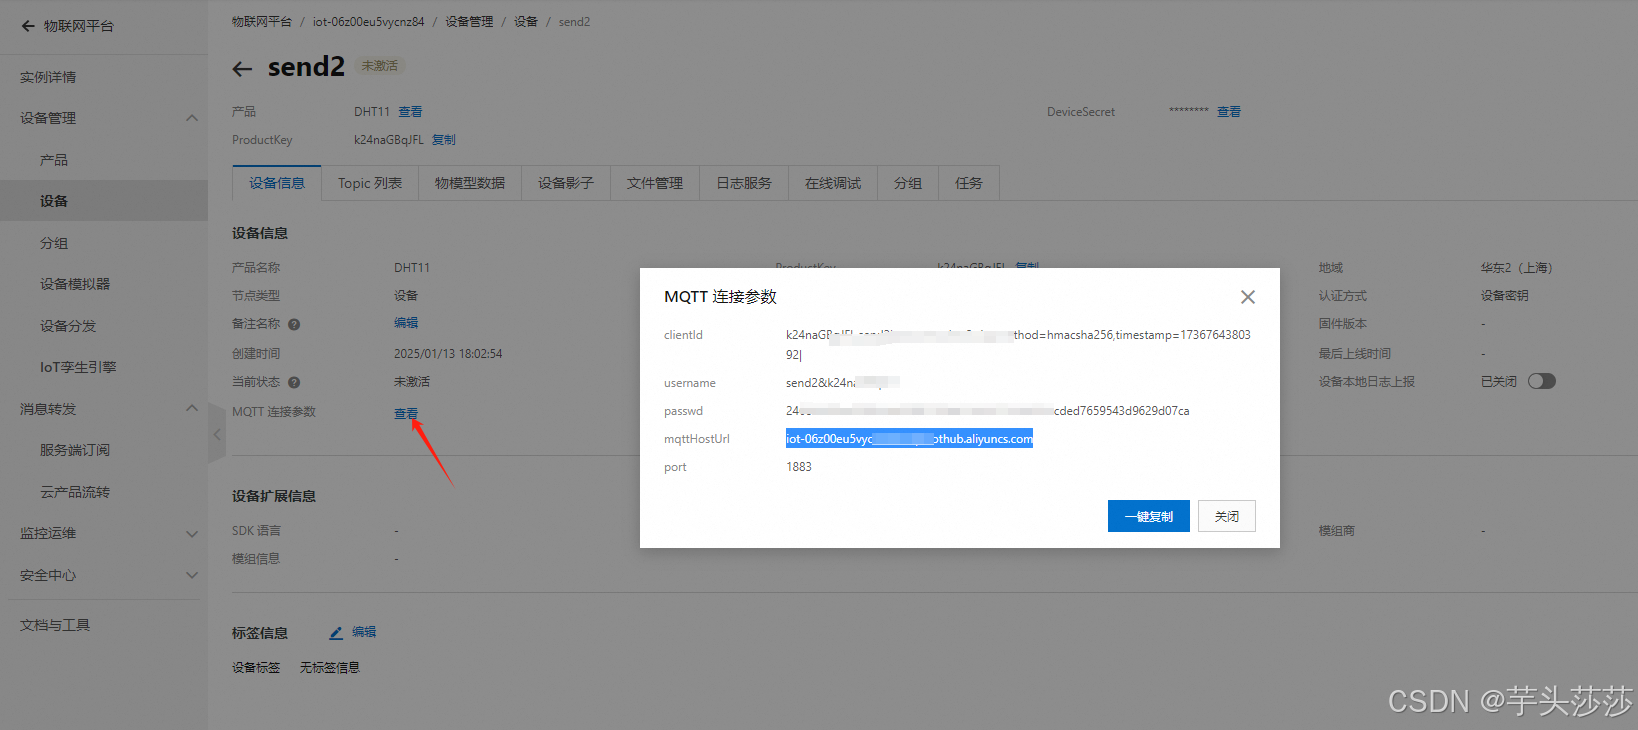
查看send2 和receice2 MQTTQ参数,牛逍遥记录下来,不然每次打开查看MQTT参数都会随机变化,一变化你就需要改程序了,所以记录下来最好
六、打开MQTTX,软件双开,填入两个设备
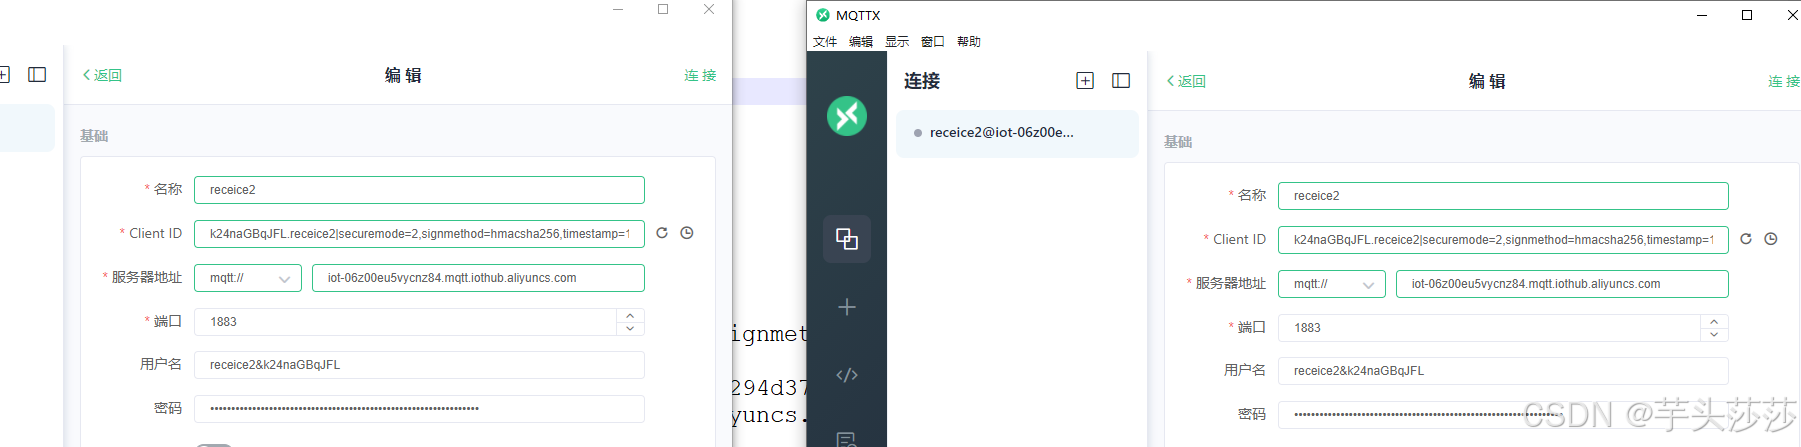
填写好,在填入订阅和发布指令
就可以互相连接了