文章目录
一、需求概述


maven需要3.6.0以上版本
二、开发授权服务器
1、pom依赖
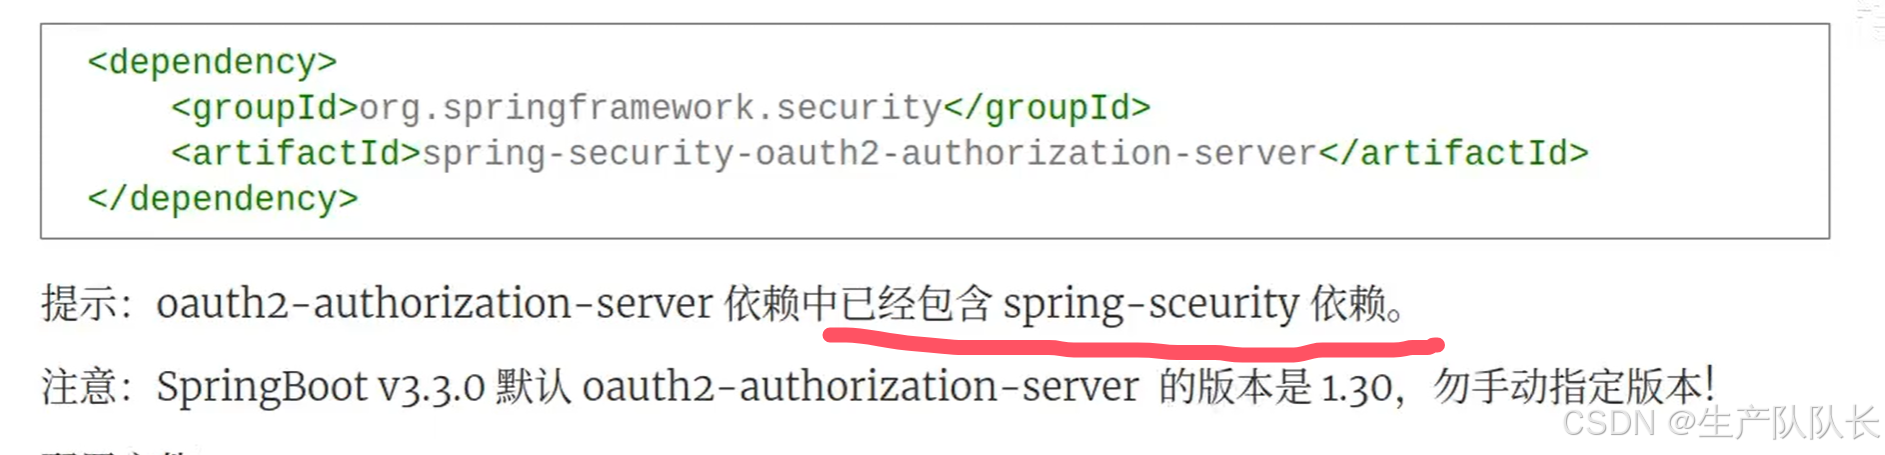
xml
        <dependency>
            <groupId>org.springframework.security</groupId>
            <artifactId>spring-security-oauth2-authorization-server</artifactId>
        </dependency>
2、yml配置
yml
server:
  port: 9000

logging:
  level:
    org.springframework.security: trace

spring:
  security:
    # 授权服务器的账号密码
    user:
      name: admin
      password: 1111
    oauth2:
      authorizationserver:
        # 客户端配置
        client:
          myclient:
            registration:
              client-id: pzj
              client-secret: "{noop}123456"
              client-authentication-methods:
                - "client_secret_basic"
              authorization-grant-types:
                - "authorization_code"
                - "refresh_token"
              # 客户端的回调地址
              redirect-uris:
                - "http://localhost:8080/login/oauth2/code/myclient"
              # 客户端的应用首页
              post-logout-redirect-uris:
                - "http://localhost:8080/"
              scopes:
                - "openid"
                - "profile"
            require-authorization-consent: true
3、启动服务端
三、开发客户端应用
1、pom依赖
xml
        <!-- spring security 安全认证 -->
        <dependency>
            <groupId>org.springframework.boot</groupId>
            <artifactId>spring-boot-starter-security</artifactId>
        </dependency>

        <!-- oauth2 客户端 -->
        <dependency>
            <groupId>org.springframework.boot</groupId>
            <artifactId>spring-boot-starter-oauth2-client</artifactId>
        </dependency>
2、yml配置
yml
# Spring配置
spring:
  security:
    oauth2:
      client:
        registration:
          myclient:
            provider: sas
            client-id: pzj
            client-secret: 123456
            # 重定向的url地址,这个地址为默认的
            redirect-uri: http://localhost:8080/login/oauth2/code/myclient
            authorization-grant-type: "authorization_code"
            scope:
              - openid
              - profile
        provider:
          sas:
            # 以下地址是默认配置在 AuthorizationServerSettings builder方法中
            # 授权服务器地址
            authorization-uri: http://oauth2-server:9000/oauth2/authorize
            # 获取token的地址
            token-uri: http://oauth2-server:9000/oauth2/token
            # 用于验证JWT签名的、oauth2授权服务器的公钥集合
            jwk-set-uri: http://oauth2-server:9000/oauth2/jwks
3、SecurityConfig
java
@EnableWebSecurity
@Configuration
public class SecurityConfig {

	@Bean
	protected SecurityFilterChain filterChain(HttpSecurity http) throws Exception
	{
		http.authorizeHttpRequests(auth -> auth.anyRequest().authenticated());
		http.oauth2Login(Customizer.withDefaults());
		return http.build();
	}
}
4、接口
java
@RestController
public class HelloController {

	@GetMapping("/hello")
	public String hello(){
		return "<h1>hello,spring authorization server!</h1>";
	}
}
5、测试
浏览器访问:http://localhost:8080/hello
会跳转到

点击浏览器的×,进入登陆页

登陆后,进入授权确认页面

点击submit按钮,就会访问到我们的hello接口

工程名:authorization-project