打包前
共 3 个文件

dist\index.html
html
<!DOCTYPE html>
<html lang="en">

<head>
    <meta charset="UTF-8">
    <meta name="viewport" content="width=device-width, initial-scale=1.0">
    <title>Webpack 示例</title>
</head>

<body>
    <h1>Webpack 示例</h1>
    <!-- 引入打包后的 JavaScript 文件 -->
    <script src="bundle.js"></script>
</body>

</html>
src\hello.js
cpp
export function hello() {
  alert("你好");
}
src\index.js
cpp
import { hello } from "./hello";
hello();
使用 Webpack 打包
新建文件 package.json
json
{
  "name": "webpack_demo",
  "version": "1.0.0",
  "main": "index.js",
  "scripts": {
    "build": "webpack --config webpack.config.js"
  },
  "keywords": [],
  "author": "",
  "license": "ISC",
  "description": "",
  "devDependencies": {
    "webpack": "^5.97.1",
    "webpack-cli": "^6.0.1"
  }
}
新建文件 webpack.config.js
cpp
const path = require("path");

module.exports = {
  // 入口文件
  entry: "./src/index.js",
  // 输出配置
  output: {
    filename: "bundle.js",
    path: path.resolve(__dirname, "dist"),
  },
};
安装依赖
cpp
pnpm i开始打包


打包后
将 hello.js 和 index.js 合并成了一个文件 dist\bundle.js
cpp
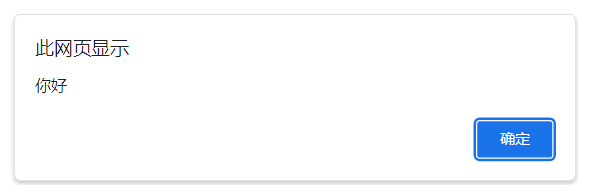
(()=>{"use strict";alert("你好")})();最终效果为

浏览器访问 dist\index.html 可见程序正常运行,表示打包成功!
总结 Webpack 的打包过程
-
Webpack 通过 webpack.config.js 中的 entry 配置,找到打包的入口文件 src/index.js
-
沿着入口文件 src/index.js,找到导入的关联文件 src\hello.js
-
根据 webpack.config.js 中的 output 配置,Webpack 会将所有找到的文件 ( hello.js 和 index.js )打包成一个名为 bundle.js 的文件,并输出到 dist 文件夹中
-
dist\index.html 则直接加载的打包后的 bundle.js 文件,实现预期效果
html<!-- 引入打包后的 JavaScript 文件 --> <script src="bundle.js"></script>