06QMainWindow
知识点1: QMainWindow概述
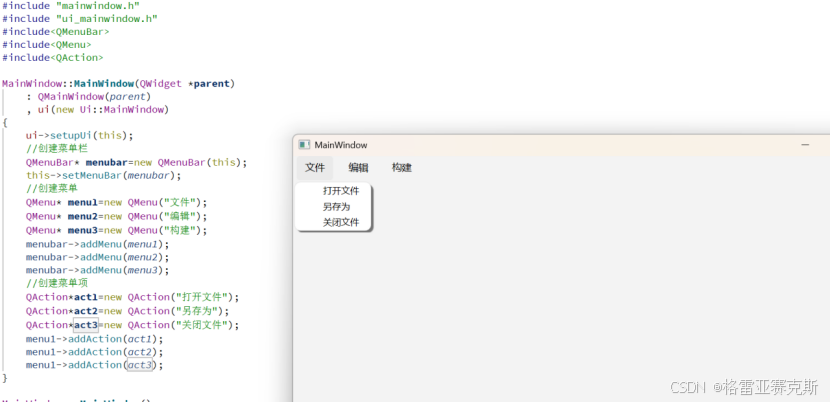
QMainWindow是一个为用户提供主窗口程序的类,包含一个菜单栏,多个工具栏,多个铆接部件,一个状态栏及一个中心部件
知识点2:菜单栏
菜单栏类QMenuBar
菜单类QMenu
QAction类:充当子菜单(菜单项)
补充:
另一种创建菜单栏的方式(成员函数)
QMenuBar*menubar=menuBar();点击菜单项,实现对应功能
connect(act3,&QAction::triggered,this,&QMainWindow::close);知识点3:工具栏
工具栏类QToolBar:
QAction类:充当子工具(工具项)
//创建工具栏
    QToolBar*toolbar=new QToolBar(this);
    this->addToolBar(Qt::LeftToolBarArea,toolbar);
    QAction*act4=new QAction("工具");
    toolbar->addAction(act1);
    toolbar->addAction(act2);
    toolbar->addAction(act3);
    toolbar->addAction(act4);
    toolbar->setAllowedAreas(Qt::LeftToolBarArea|Qt::RightToolBarArea);
    toolbar->setMovable(false);
    toolbar->setFloatable(false);
知识点4:状态栏
状态栏QstatusBar:
//创建状态栏
    QStatusBar*statusbar= new QStatusBar(this);
    this->setStatusBar(statusbar);
状态栏信息分类:
临时信息
正式信息
永久
//创建状态栏
    QStatusBar*statusbar= new QStatusBar(this);
    this->setStatusBar(statusbar);
    QLabel*label1=new QLabel("打开文件",this);
    statusbar->addWidget(label1);
    QLabel*label2=new QLabel("www.qf.com",this);
    statusbar->addWidget(label2);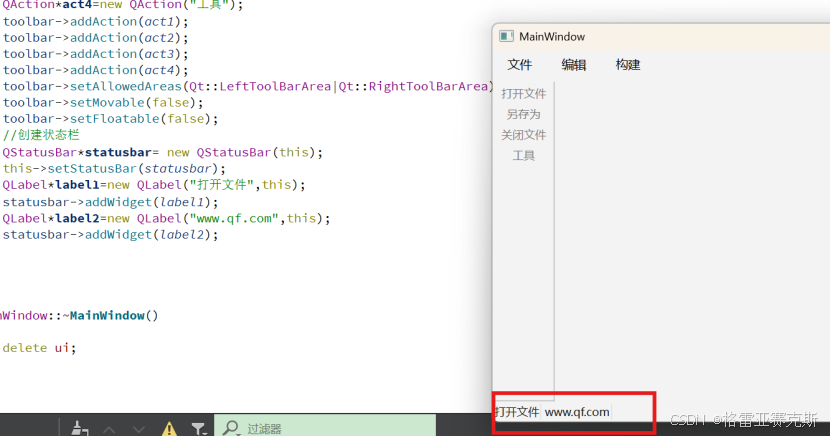
知识点5:铆部件
//创建铆部件
    QDockWidget*dockwidget=new QDockWidget("firs",this);
    this->addDockWidget(Qt::TopDockWidgetArea,dockwidget);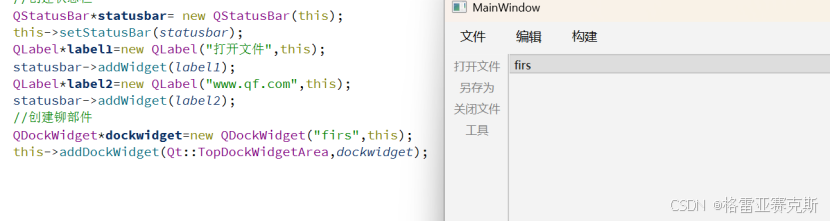
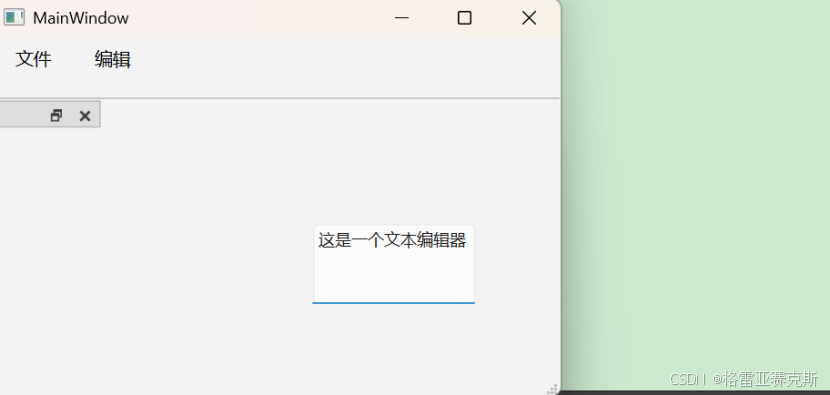
知识点6:核心部件
除了以上部件以外,我们可以创建其它部件作为核心部件
//创建记事本作为核心部件
    QTextEdit*edit=new  QTextEdit("文本编辑器",this);
    this->setCentralWidget(edit);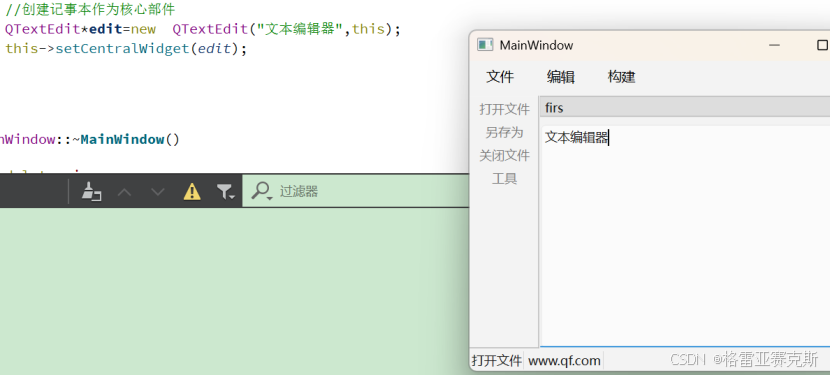
知识点7:资源文件
步骤1:新增资源文件
步骤2:给资源文件增加前缀
步骤3:给资源文件增加资源(图片)
步骤4:起别名(选用)
1.给菜单项加载图片
QPixmap pix;
pix.load(":/Selfie/open.png");
act1->setIcon(QIcon(pix));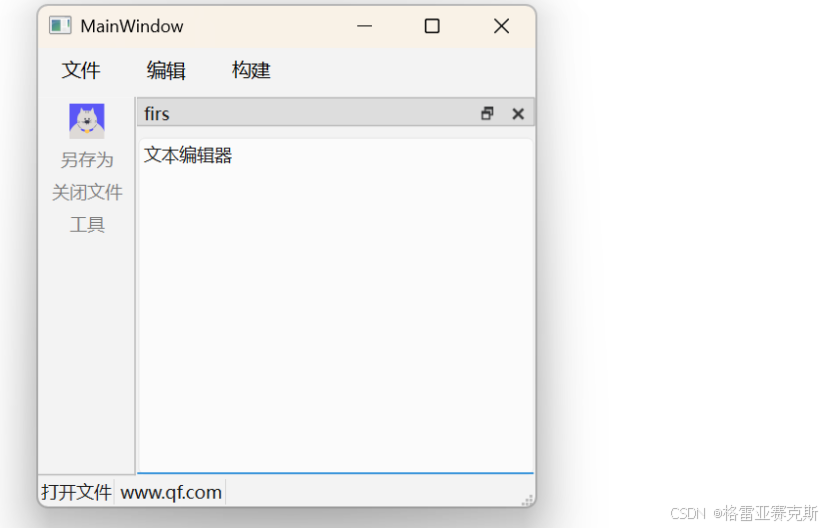
2.增加背景图
this->setFixedSize(400,300);
QPixmap pix=QPixmap(":/Selfie/open.png").scaled(this->size());
QPalette palette;
palette.setBrush(QPalette::Window,QBrush(pix));
this->setPalette(palette);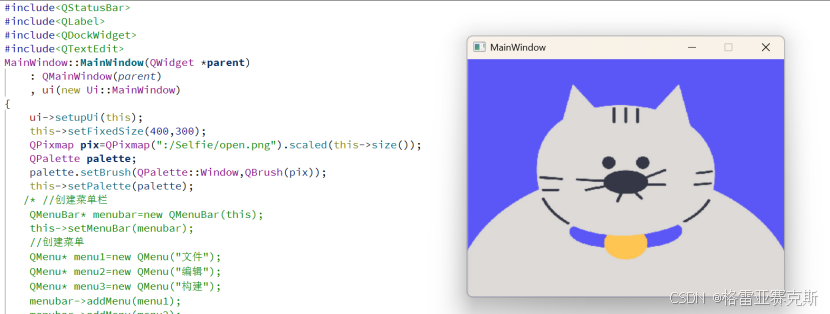
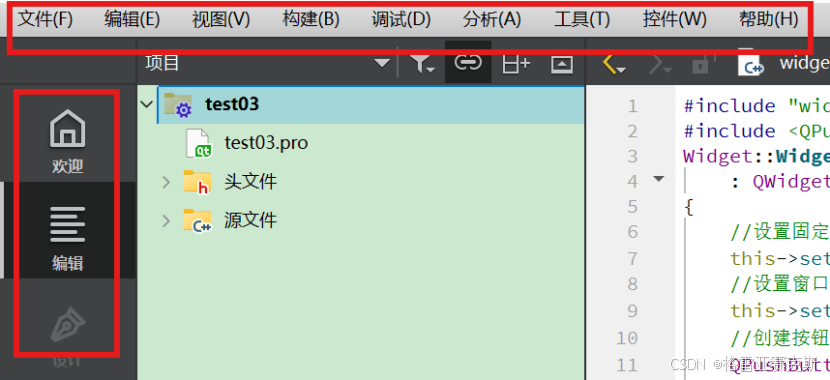
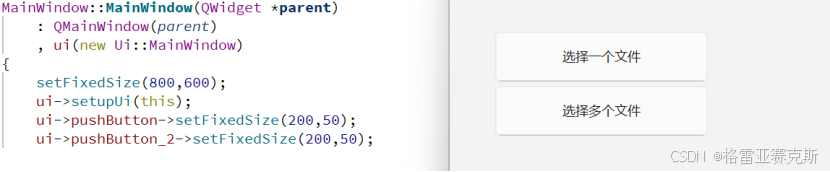
知识点8:UI
Ui功能:绘制界面(通过拖拽控件)
打开文件
关闭文件
另存为文件
07QDialog
知识点1:QDialog概述
概念:对话框是GUI程序中不可或缺的组成部分。很多不能或者不适合放入主窗口的功能组件都必须放在对话框中设置。对话框通常会是一个顶层窗口,出现在程序最上层,用于实现短期任务或者简洁的用户交互。
分类:
模拟对话框:就是会阻塞同一应用程序中其他窗口的输入
非模拟对话框:就是不会阻塞同一应用程序中其他窗口的输入
知识点2:QDialog对话框创建
模拟对话框:
#include<QDialog>
QDialog dialog;
dialog.setWindowTitle(tr("hello,dialog"));
dialog.exec();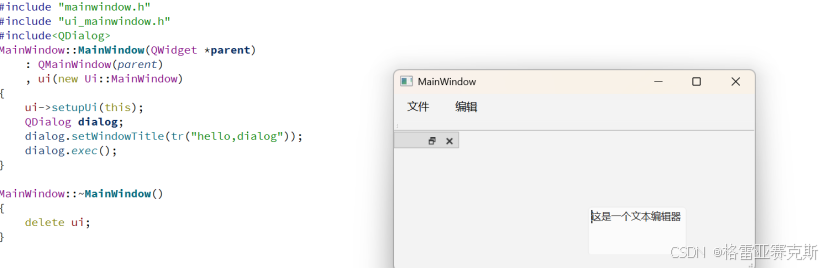
非模拟对话框:
注意:
1.对话框创建要在堆区创建
2,由于对话框的特性,可以设置对话框关闭,自动销毁对话框
QDialog dialog;
dialog.setWindowTitle(tr("hello,dialog"));
dialog.show();
知识点3:标准对话框
概念:标准对话框,是Qt内置的一系列对话框。
知识点4:文件对话框

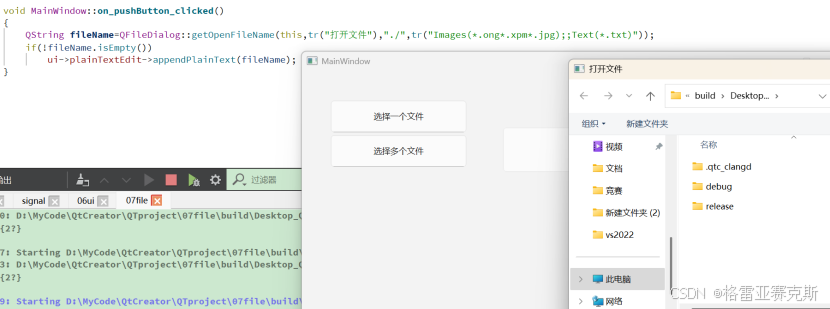
//打开单个文件
void MainWindow::on_pushButton_clicked()
{
    QString fileName=QFileDialog::getOpenFileName(this,tr("打开文件"),"./",tr("Selfie(*.ong*.xpm*.jpg);;Text(*.txt)"));
    if(!fileName.isEmpty())
        ui->plainTextEdit->appendPlainText(fileName);
}
//打开多个文件


void MainWindow::on_pushButton_2_clicked()
{
    QString filesName=QFileDialog::getOpenFileName(this,"打开文件","./","Selfie(*.ong*.xpm*.jpg)");
    for(int i=0;i<filesName.count();i++)
    {
        qDebug()<<filesName.at(i);
    }
}
总结:
1.文件对话框使用,参考帮助文档
2.getOpenFileName,getOpenFileNames参数;父类对象指针,文件对话框的标题,打开文件路径,文件过滤器
3.文件过滤器:
例:
"Selfie(*.ong*.xpm*.jpg)"
"Selfie(*.ong*.xpm*.jpg);;Text(*.txt)"
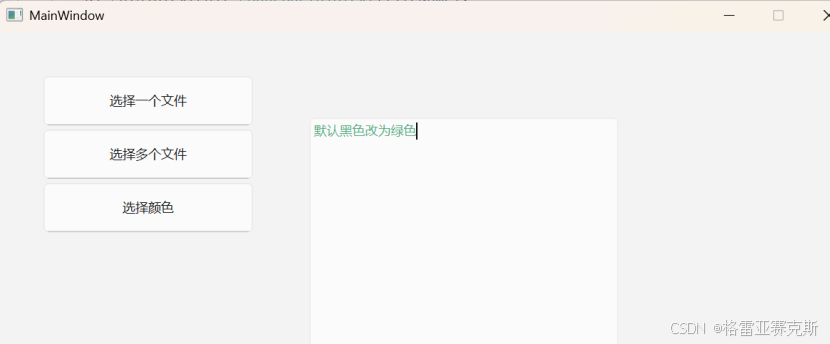
知识点5:颜色对话框
QColorDialog::getColor生成颜色对话框
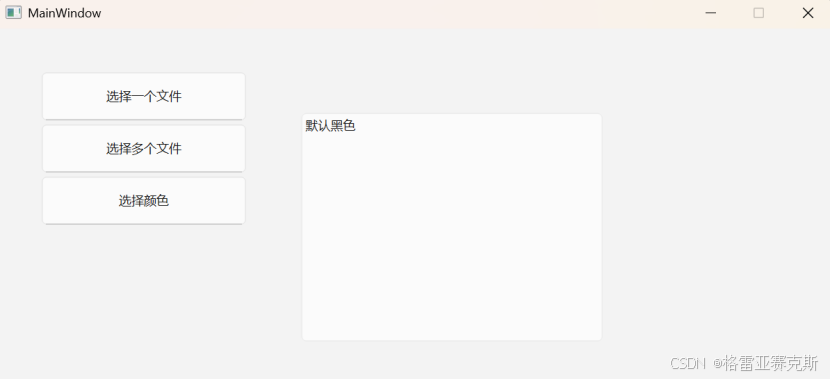
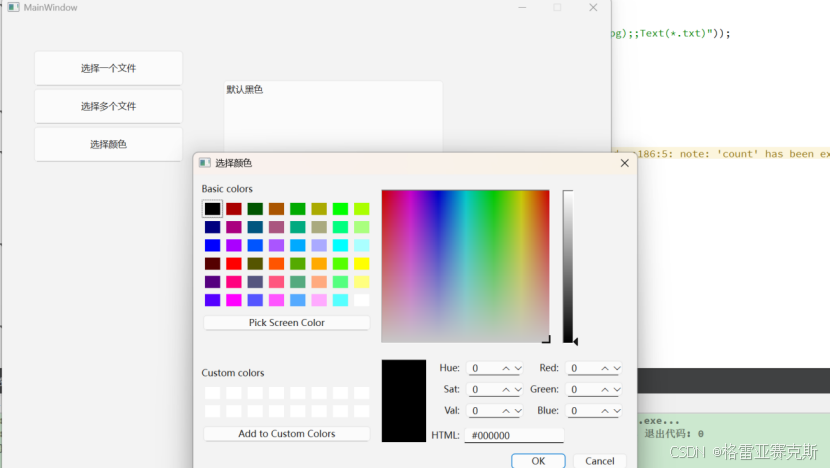
总结:
1.颜色对话框使用,参考帮助文档
2.getColor生成颜色对话框,返回值是一个颜色变量,如果在颜色对话框选择取消,返回值无效,反之有效
知识点6:选择字体对话框
QFontDialog::getFont生成选择字体
bool ok;
    QFont font=QFileDialog::get(&ok,QFont("Times",12),this);
    if(ok){
        ui->plainTextEdit->setFont(font);
    }
总结:
1.选择字体对话框使用,参考帮助文档
2.getFont生成选择字体对话框,返回值不能判断有效

知识点7:消息对话框
QMessageBox::StandardButton result;
    result=QMessageBox::question(this,"选择消息框","文件已修改,是否保存",QMessageBox::Yes|QMessageBox::No|QMessageBox::Cancel,QMessageBox::NoButton);
    if(result==QMessageBox::Yes)
        qDebug()<<"正在保存";
    else if(result==QMessageBox::No)
        qDebug()<<"不保存";
    else
        qDebug()<<"取消操作";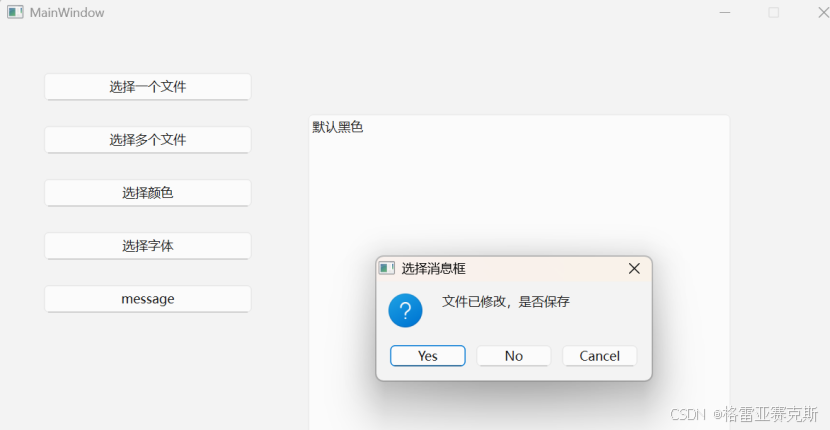
知识点8:输入对话框
QInputDialog:输入文本/整型数据/对话框
//生成输入文字对话框
    bool ok;
    QString text= QInputDialog::getText(this,tr("输入文字对话框"),tr("请输入文字"),QLineEdit::Normal,"demo",&ok);
    if(ok&&!text.isEmpty())
    ui->plainTextEdit->appendPlainText(text);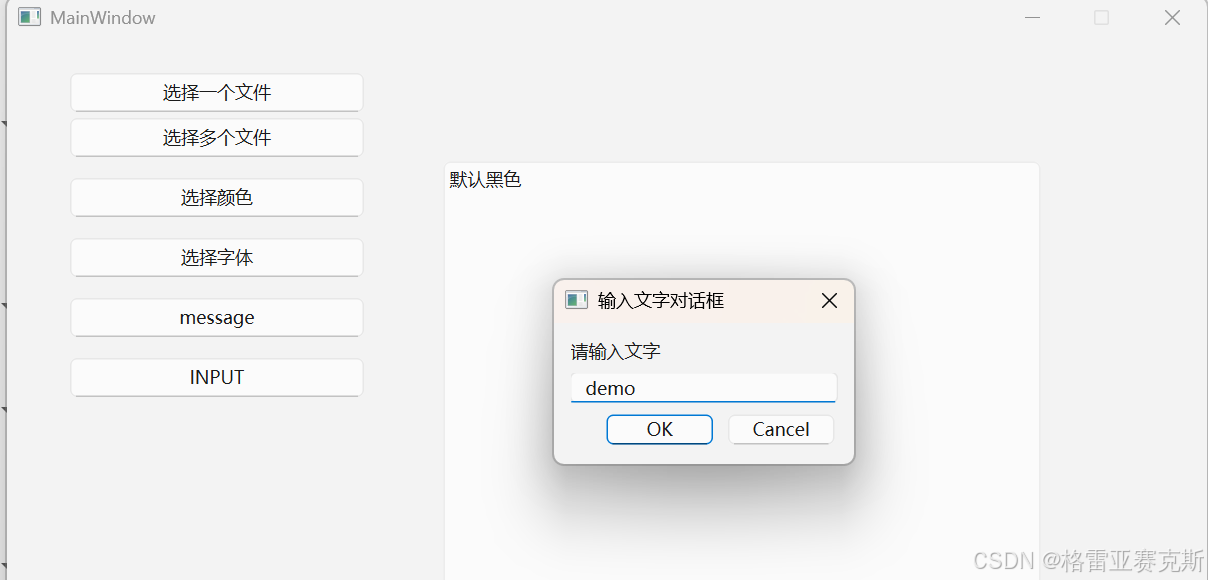
08布局管理器
知识点1:布局概述
Qt提供了两种组件定位机制;绝对定位和布局定位。
绝对定位:需要提供组件的长高,坐标值。
布局定位:需要指定使用哪种布局(垂直,水平,网状,表格)
布局分类:
系统自带的四种布局,一般不使用。
widget中的四种布局,一般使用。
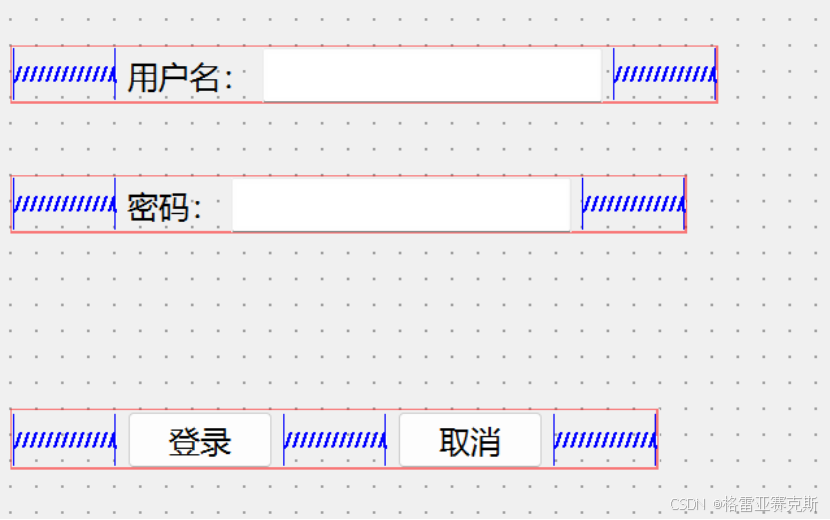
知识点2:布局使用
登录页面绘制
登录页面--主页面
主页面--登录页面
09常用控件
知识点1:QLabel使用
创建标签:
方式1:代码
QLabel *label=new QLabel(this);方式2:ui
拖拽显示文字/html
abel->setText("这是代码创建的标签");
ui->label->setText("<h1><a href=\"https://www.baidu.com\">百度</a></h1>");
ui->label->setOpenExternalLinks(true);
显示图片
QPixmap pixmap;
    pixmap.load(":/image/open.png");
    ui->label->setPixmap(pixmap);
显示动图
QMovie*movie=new QMoive(":/image/mario.gif");
ui->label_gif->setMovie(movie);
movie->start();
connect(ui-pushButon,&QPushButton::clicked,this,[=](){
    movie->stop();
});
知识点2:QLineEdit使用
创建QLineEdit
QLineEdit*edit=new QLineEdit(this);设置内容
edit->setText("这是代码创建的编辑框");获取内容
QString str=ui->lineEdit->text();
qDebug()<<str;
设置输入模式
ui->lineEdit->setEchoMode(QLineEdit::Password);知识点3:自定义控件
自定义控件一般是重复性使用的窗口或者窗口中的模块。
解决问题:将许多重复性使用的窗口或者窗口中的模块封装成自定义控件,可以减少创建次数,仅创建一次,使用时提升。
其它控件:
spinBox和horizontalslider
10事件
知识点1:事件概述
事件经过以下:事件派发--》事件过滤器--》事件分发--》事件处理阶段
事件:系统或者Qt本身在不同的时刻发出的
事件循环开始:exec()函数。
知识点2:常见事件函数
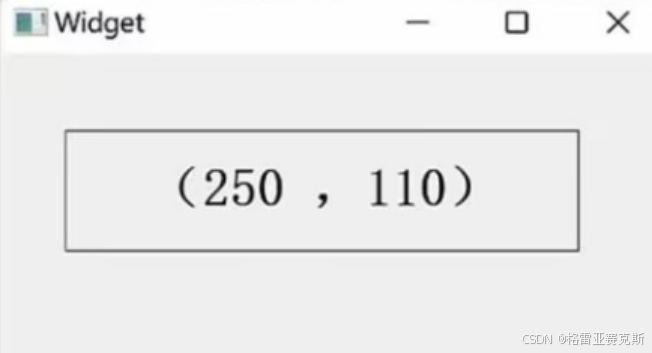
知识点3:重写窗口关闭,窗口新设置大小事件
步骤1:新增一个类继承于QWidget(新建工程)
步骤2:子类.h声明重写的事件函数
protected:
void closeEvent(QCloseEvent*event);
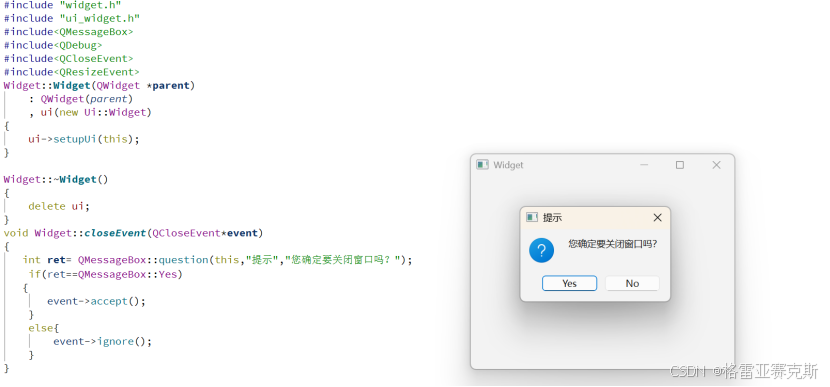
void resizeEvent(QResizeEvent*event);步骤3:子类的.cpp去实现事件函数
void Widget::closeEvent(QCloseEvent*event)
{
   int ret= QMessageBox::question(this,"提示","您确定要关闭窗口吗?");
    if(ret==QMessageBox::Yes)
   {
       event->accept();
    }
    else{
        event->ignore();
    }
}
知识点4:鼠标按下,释放,移动事件
步骤1:新建label类继承QLabel(新建工程,ui绘制abel,新增C++类继承QWidget
步骤2:查看帮助文档

步骤3:在mylabel.h声明事件函数
void mouseMoveEvent(QMouseEvent *ev);
void mousePressEvent(QMouseEvent *ev);
void mouseReleaseEvent(QMouseEvent *ev);
步骤4:在mylabel.cpp声明事件函数
#include<QDebug>
#include<QWouseEvent>
QLabel::MyLabel(QWidget*parent):QLabel(parent)
{
    this->qSetMessageTracking(true);
}
void mouseMoveEvent(QMouseEvent *ev)
{
    qDebug()<<"鼠标移动"<<ev->x()<<","<<ev->y();
}
void mousePressEvent(QMouseEvent *ev)
{
    if(ev->button()==Qt::LeftButton){
        qDebug()<<"鼠标左键按下了";
    }
    else if(ev->button()==Qt::RightButton){
         qDebug()<<"鼠标右键按下了";
    }
    else{
        qDebug()<<"鼠标其他键按下了";
    }
}
void mouseReleaseEvent(QMouseEvent *ev)
{
    qDebug()<<"在标签上的鼠标释放了";
}
知识点5:重写事件分发函数
案例:键盘事件:监听tab按键
步骤1:.h声明event
bool event(QEvent*event)步骤2:.cpp实现event
bool Widget::event(QEvent*event)
{
    if(event->type()==QEvent::KeyPress)
    {
        QKeyEvent*keyEvent=static_cast<QKeyEvent*> (event);
        if(keyEvent->key()==Qt::key_Tab)
        {
            qDebug()<<"TAB被按下";
            return true;
        }
    }
    return QWidget::event(event);
}
注意:
事件分发函数的返回值bool
知识点6:事件过滤器(很少重写)
使用:重写
步骤1:声明
virtual bool QObject::eventFilter(QObject*watched,QEvent*event)步骤2:实现(先判断是否是要过滤的组件,如果是要过滤的组件,再去判断事件是否过滤,如果过滤返回true,如果不过滤返回false;如果不是要过滤事件的组件。返回父类的事件过滤函数)
bool MainWindow::eventFilter(QObject*obj,QEvent*event)
{
    if(obj==textEdit)
    {
        if(event->type()==QEvent::KeyPress)
        {
             QKeyEvent*keyEvent=static_cast<QKeyEvent*> (event);
             qDebug()<<"Ate key press"<<keyEvent();
             return true;
        }
        else{
            return false;
        }
    }else{
        return QMainWindow::eventFilter(obj,event);
    }
}
步骤3:安装
void QObject::installEventFilter(QObject*filterObj)步骤4:移除
void QObject::removeEventFilter(QObject*filterObj)知识点7:事件总结
事件处理有以下四个过程:
事件处理:重写鼠标按下事件,鼠标释放事件这个是最简单的形式及功能
事件分发:重写event函数
事件过滤:重写eventFilter,过滤特定对象的事件,或者所有对象的所有事件(QCoreApplication::instance)
时间派发:(QCoreApplication::notify)