常用指令
.\vcpkg install 库名

.\vcpkg install 库名@版本号

.\vcpkg install 库名 --trip x86-windows

.\vcpkg list

.\vcpkg search 库名
.\vcpkg x-all-installed --7zip

PS G:\vcpkg> .\vcpkg help
usage: vcpkg <command> [--switches] [--options=values] [arguments] @response_file
  @response_file         Contains one argument per line expanded at that location

Package Installation:
  export                 Creates a standalone deployment of installed ports
  install                Installs a package
  remove                 Uninstalls a package
  x-set-installed        Installs, upgrades, or removes packages such that that installed matches
                         exactly those supplied
  upgrade                Rebuilds all outdated packages

Package Discovery:
  x-check-support        Tests whether a port is supported without building it
  depend-info            Displays a list of dependencies for ports
  list                   Lists installed libraries
  owns                   Searches for the owner of a file in installed packages
  x-package-info         Display detailed information on packages
  portsdiff              Diffs changes in port versions between commits
  search                 Searches for packages available to be built
  update                 Lists packages that can be upgraded

Package Manipulation:
  add                    Adds dependency to manifest
  x-add-version          Adds a version to the version database
  create                 Creates a new port
  edit                   Edits a port, optionally with %EDITOR%, defaults to "code"
  env                    Creates a clean shell environment for development or compiling
  format-manifest        Prettyfies vcpkg.json
  hash                   Gets a file's SHA256 or SHA512
  x-init-registry        Creates a blank git registry
  new                    Creates a new manifest
  x-update-baseline      Updates baselines of git registries in a manifest to those registries' HEAD
                         commit

Other:
  ci                     Tries building all ports for CI testing
  x-ci-verify-versions   Checks integrity of the version database
  contact                Displays contact information to send feedback
  fetch                  Fetches something from the system or the internet
  integrate              Integrates vcpkg with machines, projects, or shells

For More Help:
  help topics            Displays full list of help topics
  help <topic>           Displays specific help topic
  help commands          Displays full list of commands, including rare ones not listed here
  help <command>         Displays help detail for <command>

For more help (including examples) see https://learn.microsoft.com/vcpkg
1.设置 vcpkg
1.克隆存储库
-
从 GitHub 克隆 vcpkg 存储库。 存储库包含用于获取 vcpkg 可执行文件的脚本,以及由 vcpkg 社区维护的特选开放源代码库的注册表。 要执行此操作,请运行:
控制台复制
git clone https://github.com/microsoft/vcpkg.gitvcpkg 特选注册表是一组数量超过 2000 个的开源库。 这些库已通过 vcpkg 的持续集成管道进行验证,可以协同工作。 虽然 vcpkg 存储库不包含这些库的源代码,但它保存方案和元数据,以便在系统中生成和安装它们。
2.运行启动脚本
现在,你已经克隆了 vcpkg 存储库,请导航到 vcpkg 目录并执行启动脚本:
控制台复制
cd vcpkg; .\bootstrap-vcpkg.bat启动脚本执行先决条件检查并下载 vcpkg 可执行文件。
就这么简单! vcpkg 已安装并可供使用。
2.采用经典模式或者清单模式安装对应库
这里采用经典模式
通过powershell来调用vcpkg指令.
打开第一步设置的vcpkg仓库文件夹, 按住shift+右键, 调用powershell窗口.
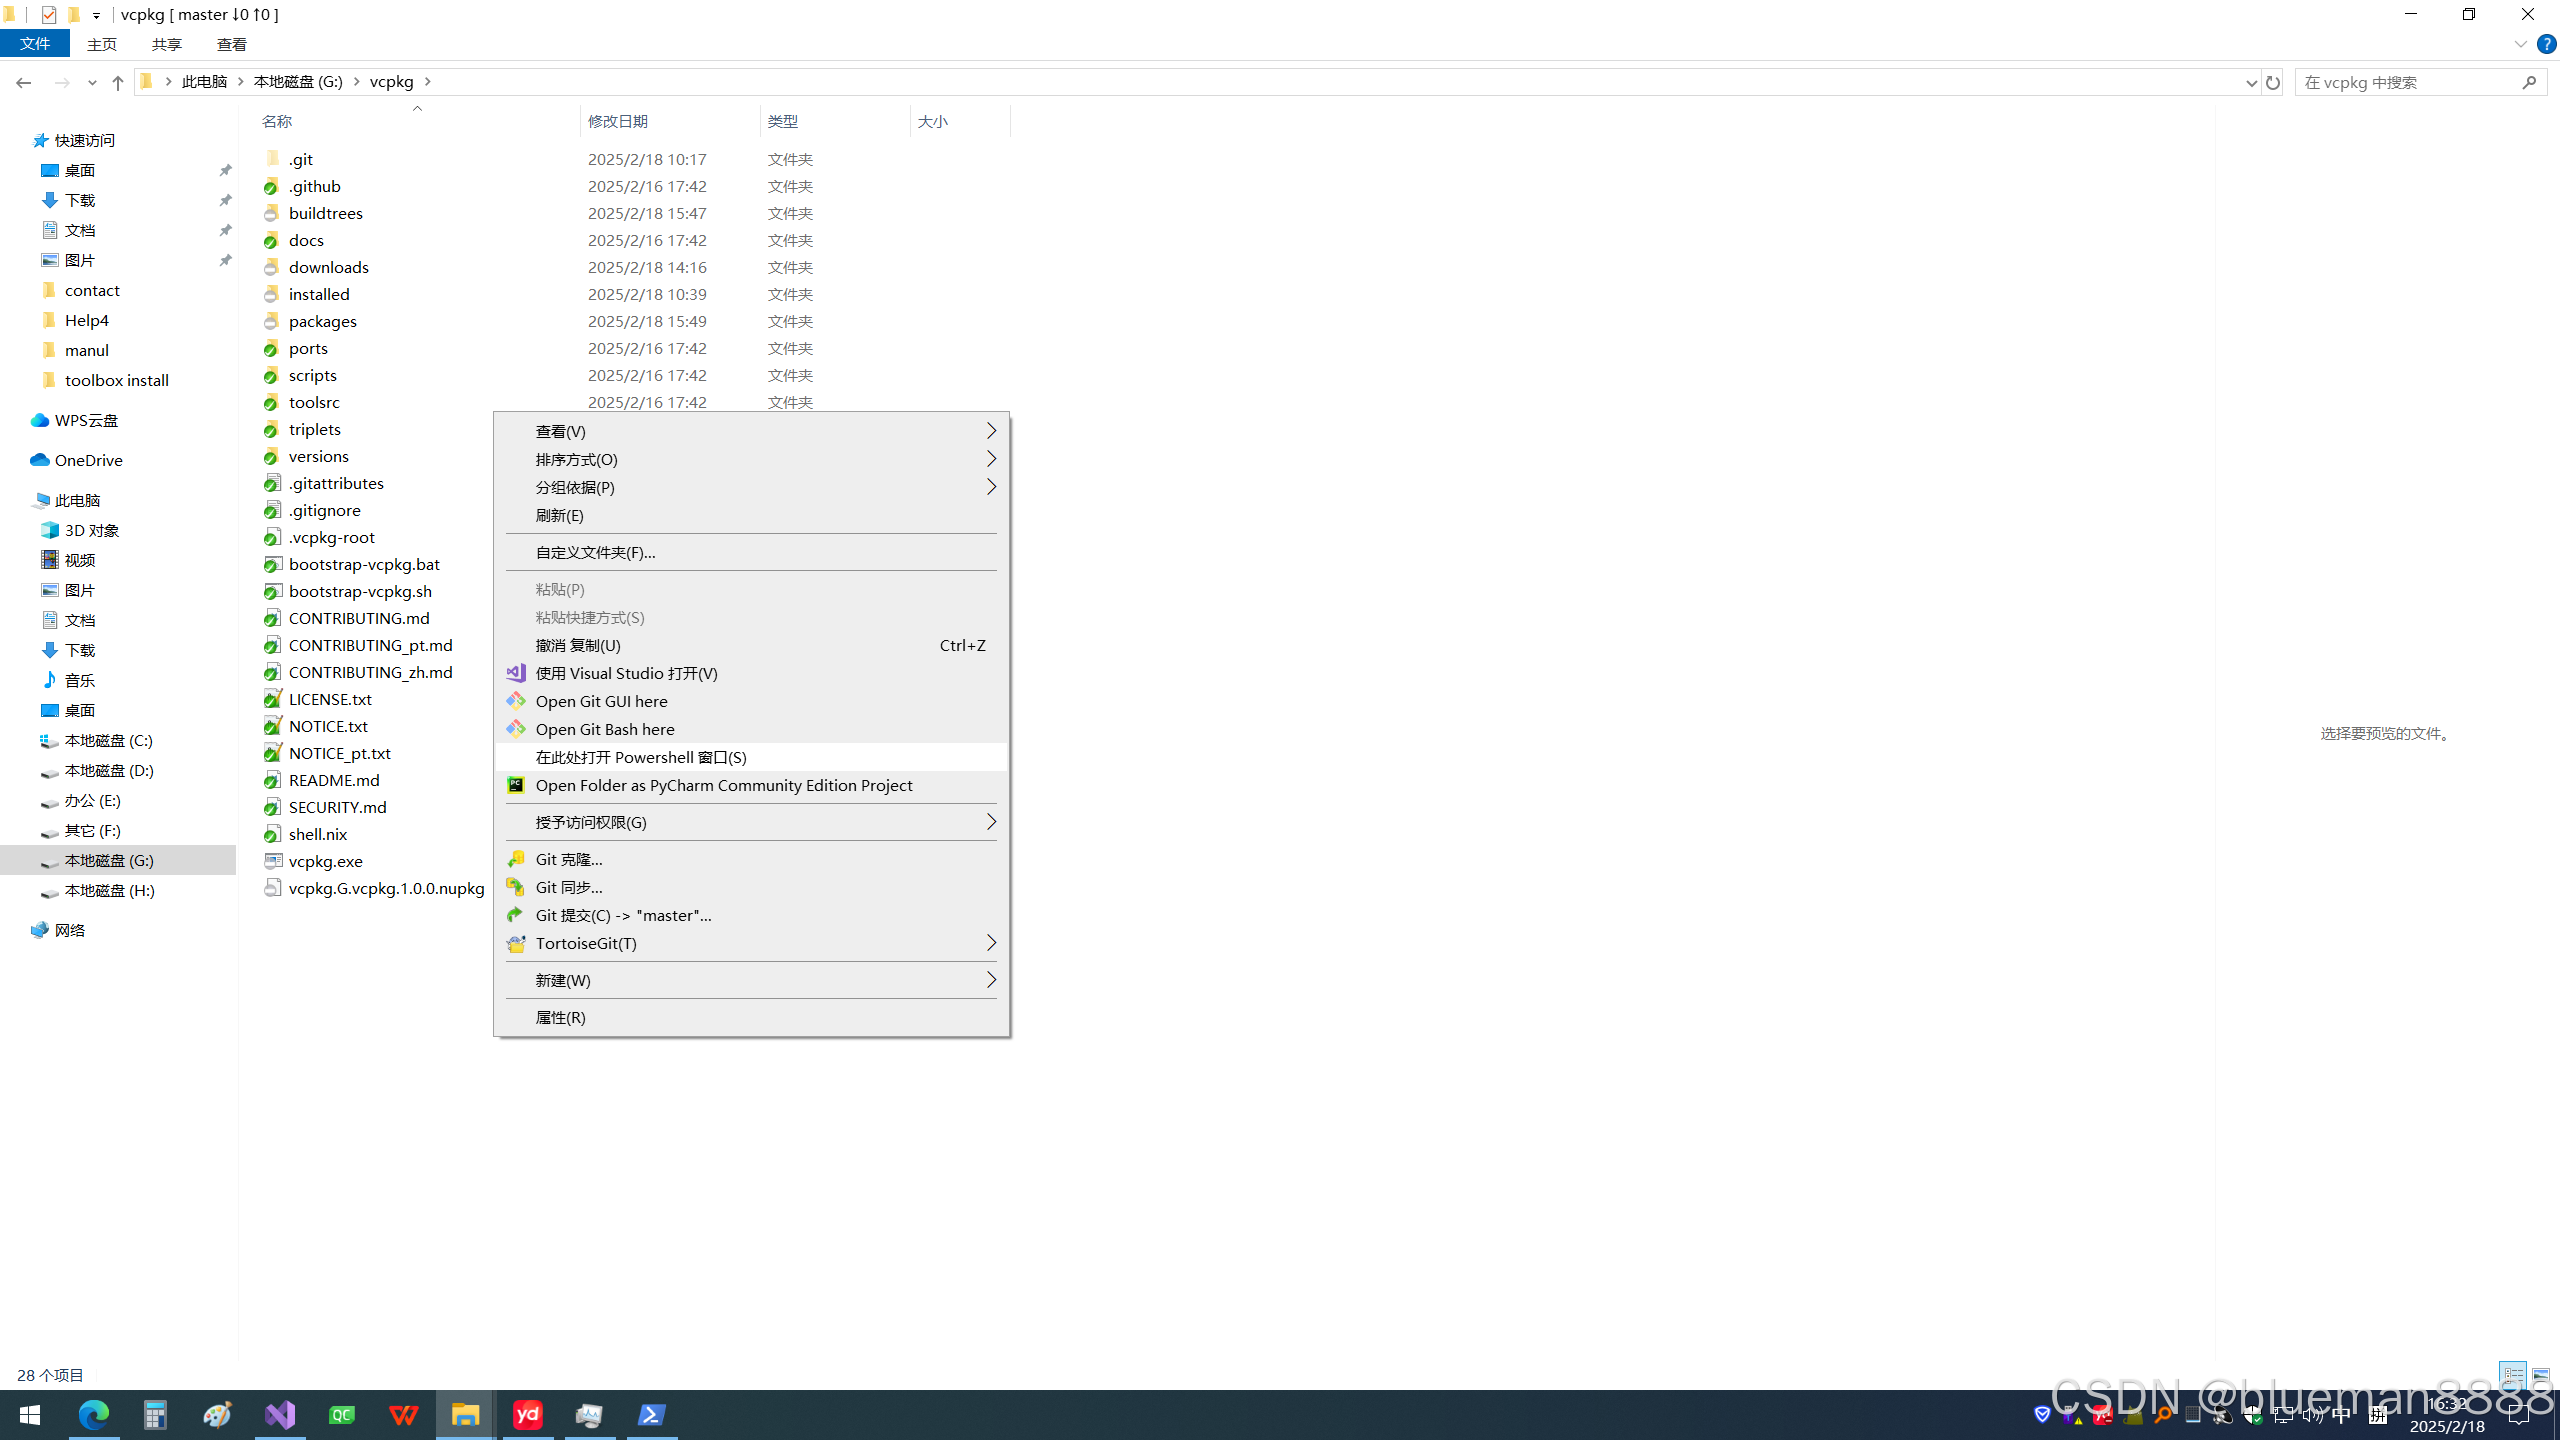
输入
查看当前vcpkg中的库列表
.\vcpkg list安装qt5 (最好开启网络代理,因为需要用到github中的库,所以国内的网络基本难搞)
默认64bit
.\vcpkg install qt532bit
.\vcpkg install qt5 --triplet x86-windows等完成, 完成后也可以再次查看list中库
安装qt中的其他库
.\vcpkg install qt5-remoteobjects qt5-serialbus等待完成.
整体的速度要比自己下载源代码快很多,1个多小时就可以搞定.
完成后可在vcpkg文件夹中看到如下文件夹
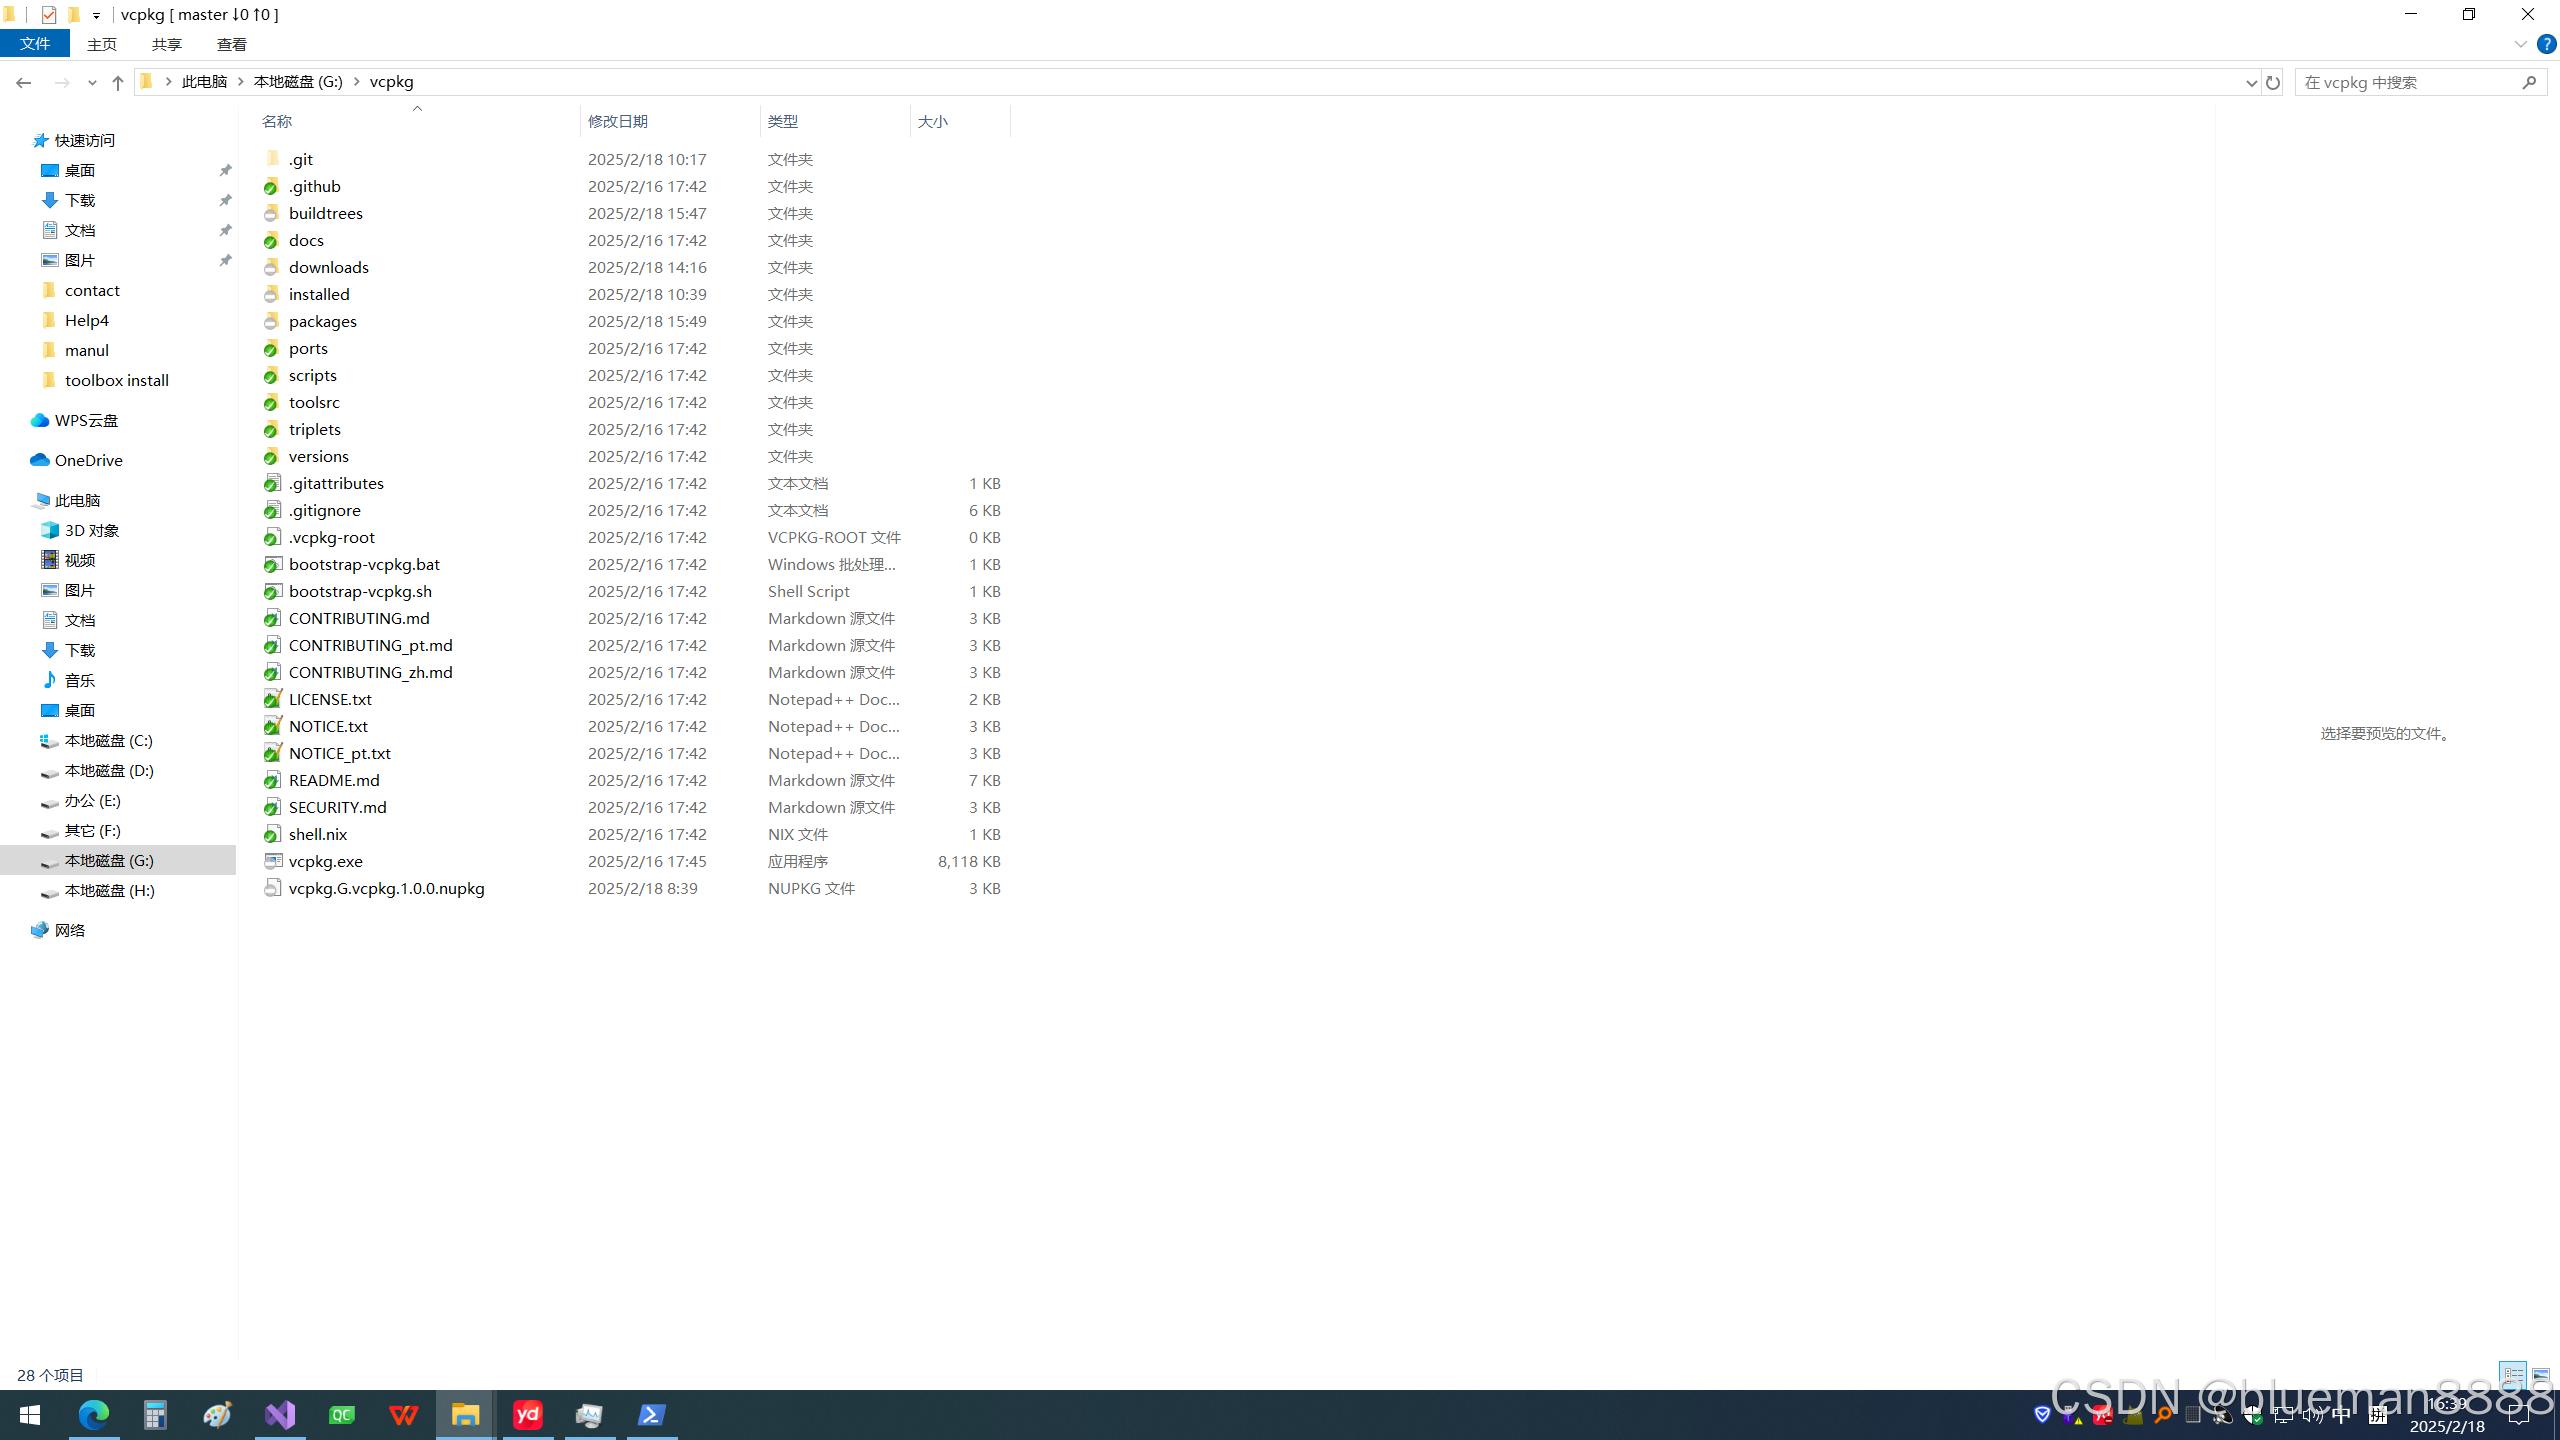
可以看到比原来多了4个文件夹,buildtrees,downloads,installed,packages.
buildtrees中是所有库的源代码.
installed所有库汇总的编译完成后,头文件,lib文件,dll文件都在这里.(主要用这个)
packages编译完后的独立的头文件头文件,lib文件,dll文件都在这里.
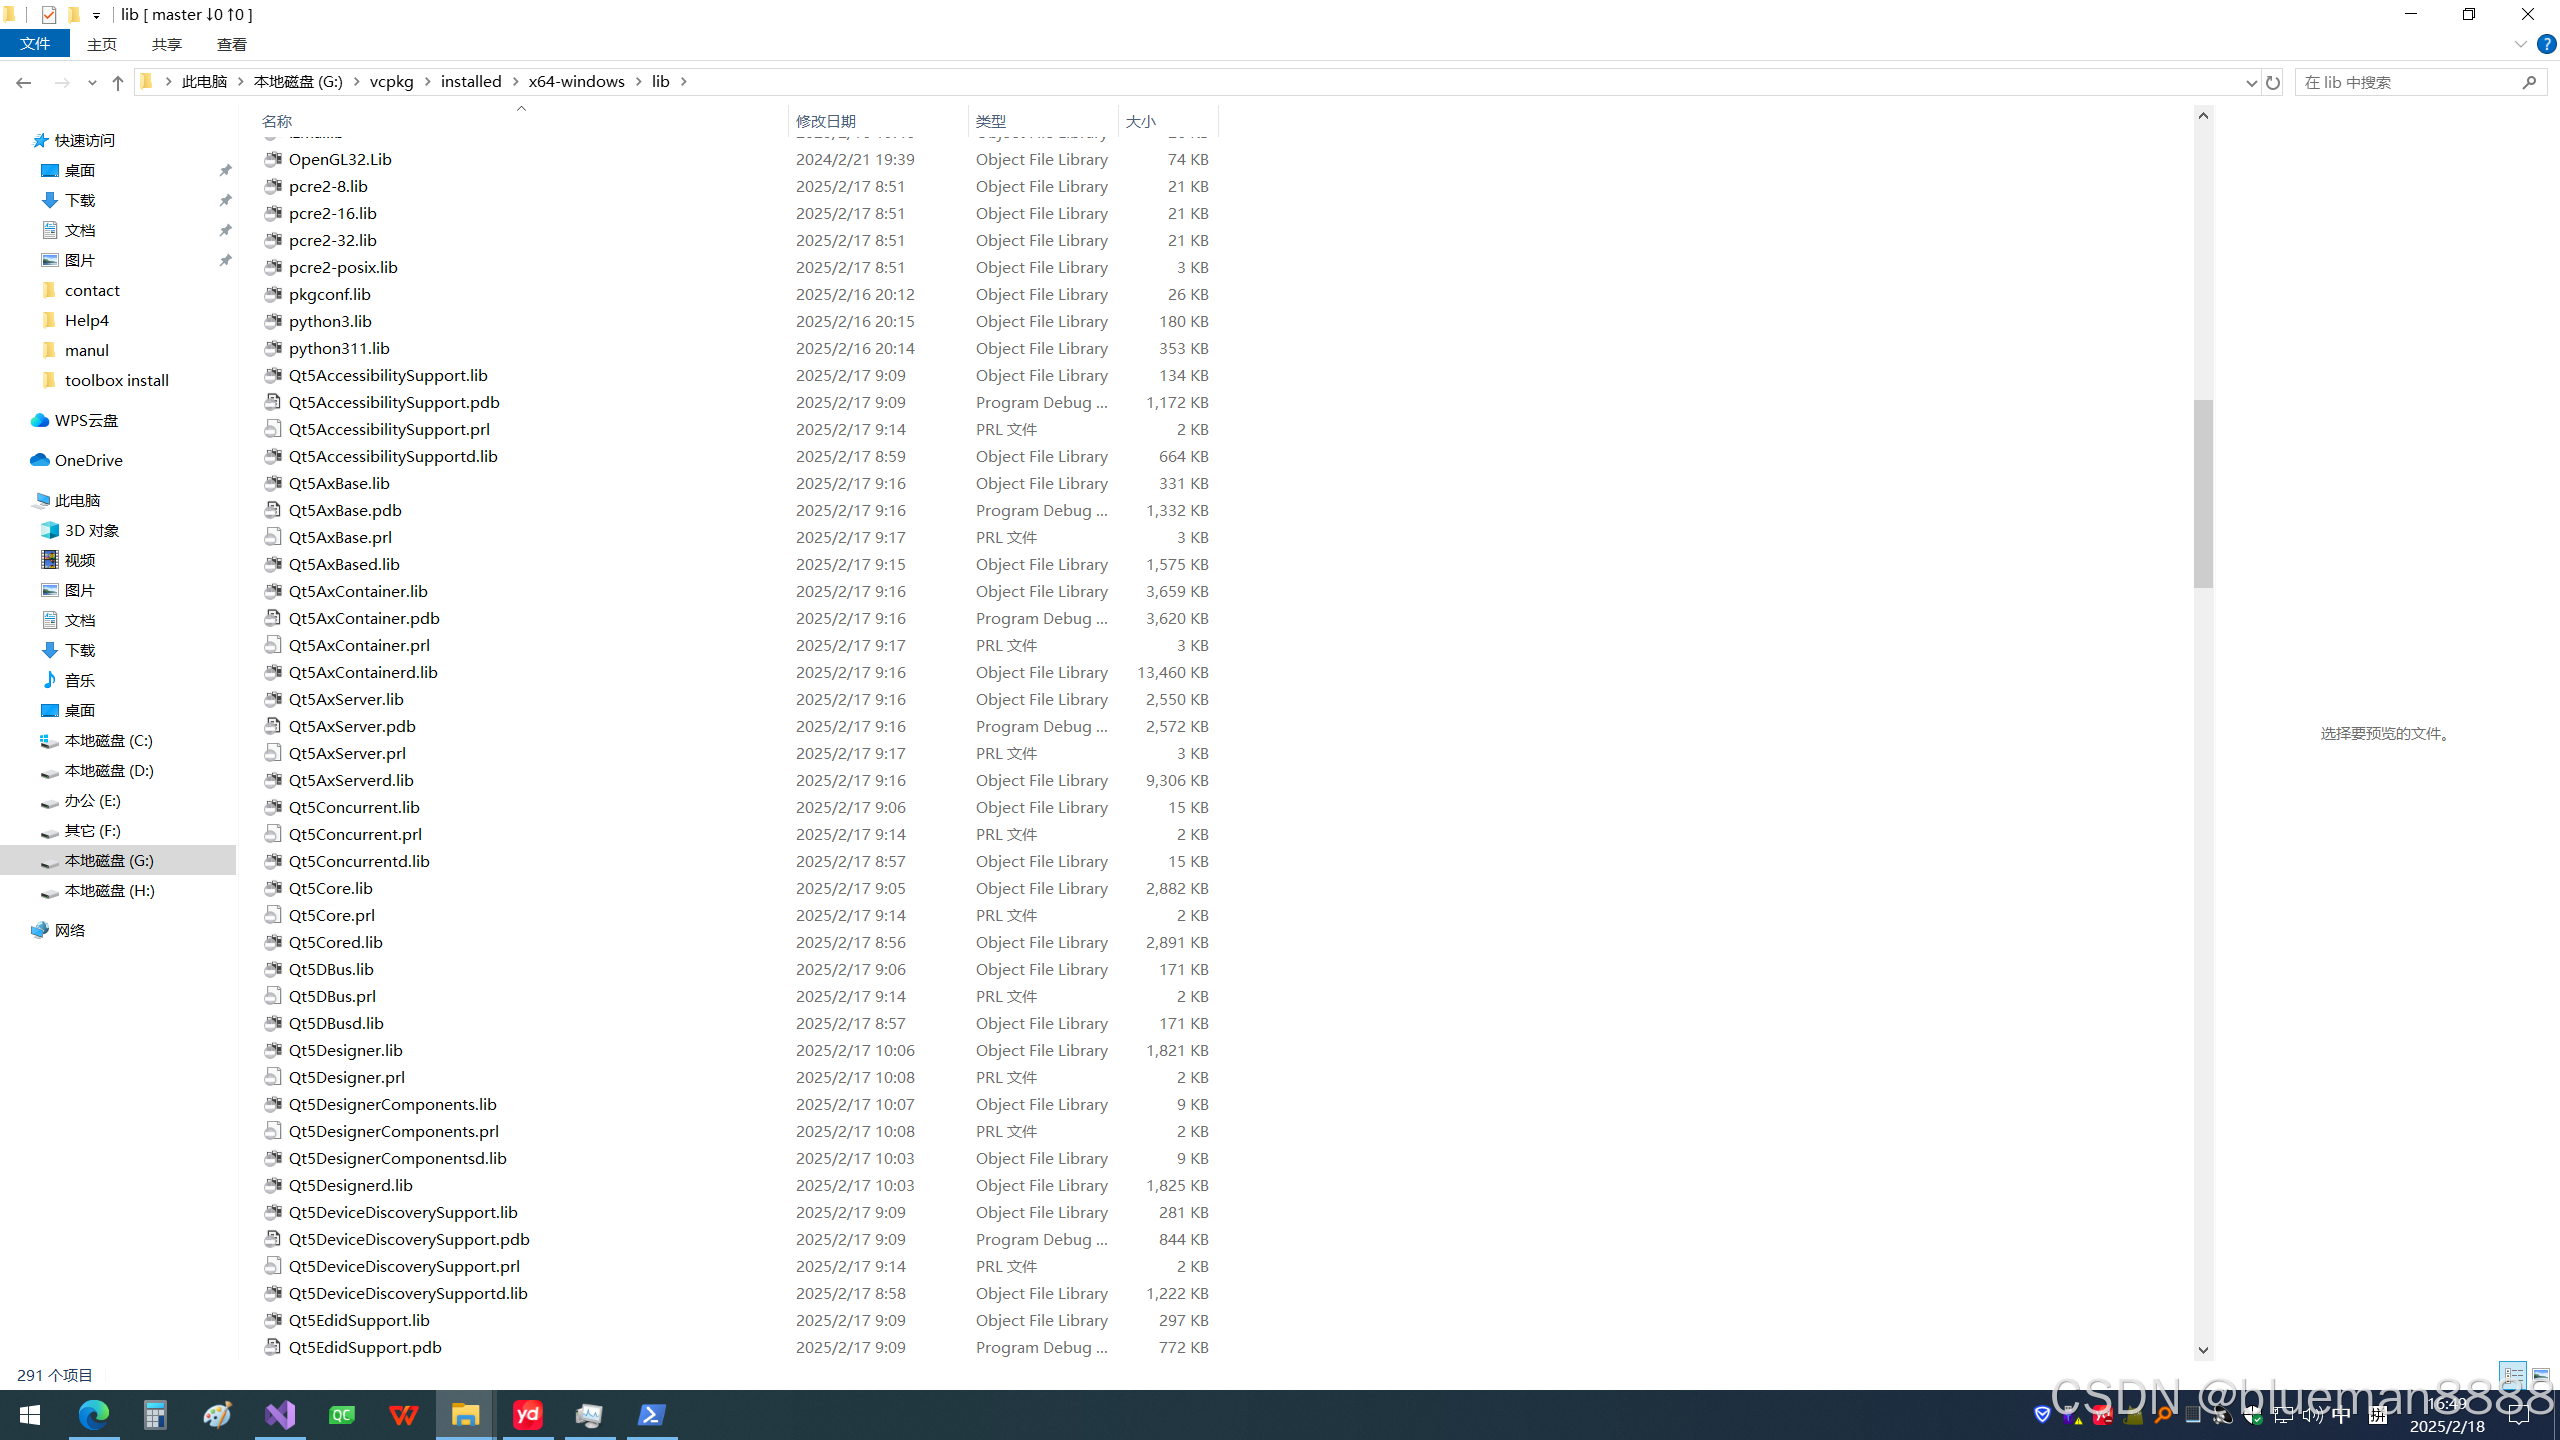
在vs中采用qt-addin插件来编写qt时,需要将debug中生成的qt相关的lib文件(后面都带个d的文件)放置到release的lib路径下才能正常调试debug, 可能因为插件的关系.(cmake方式编译可能不需要,未验证)
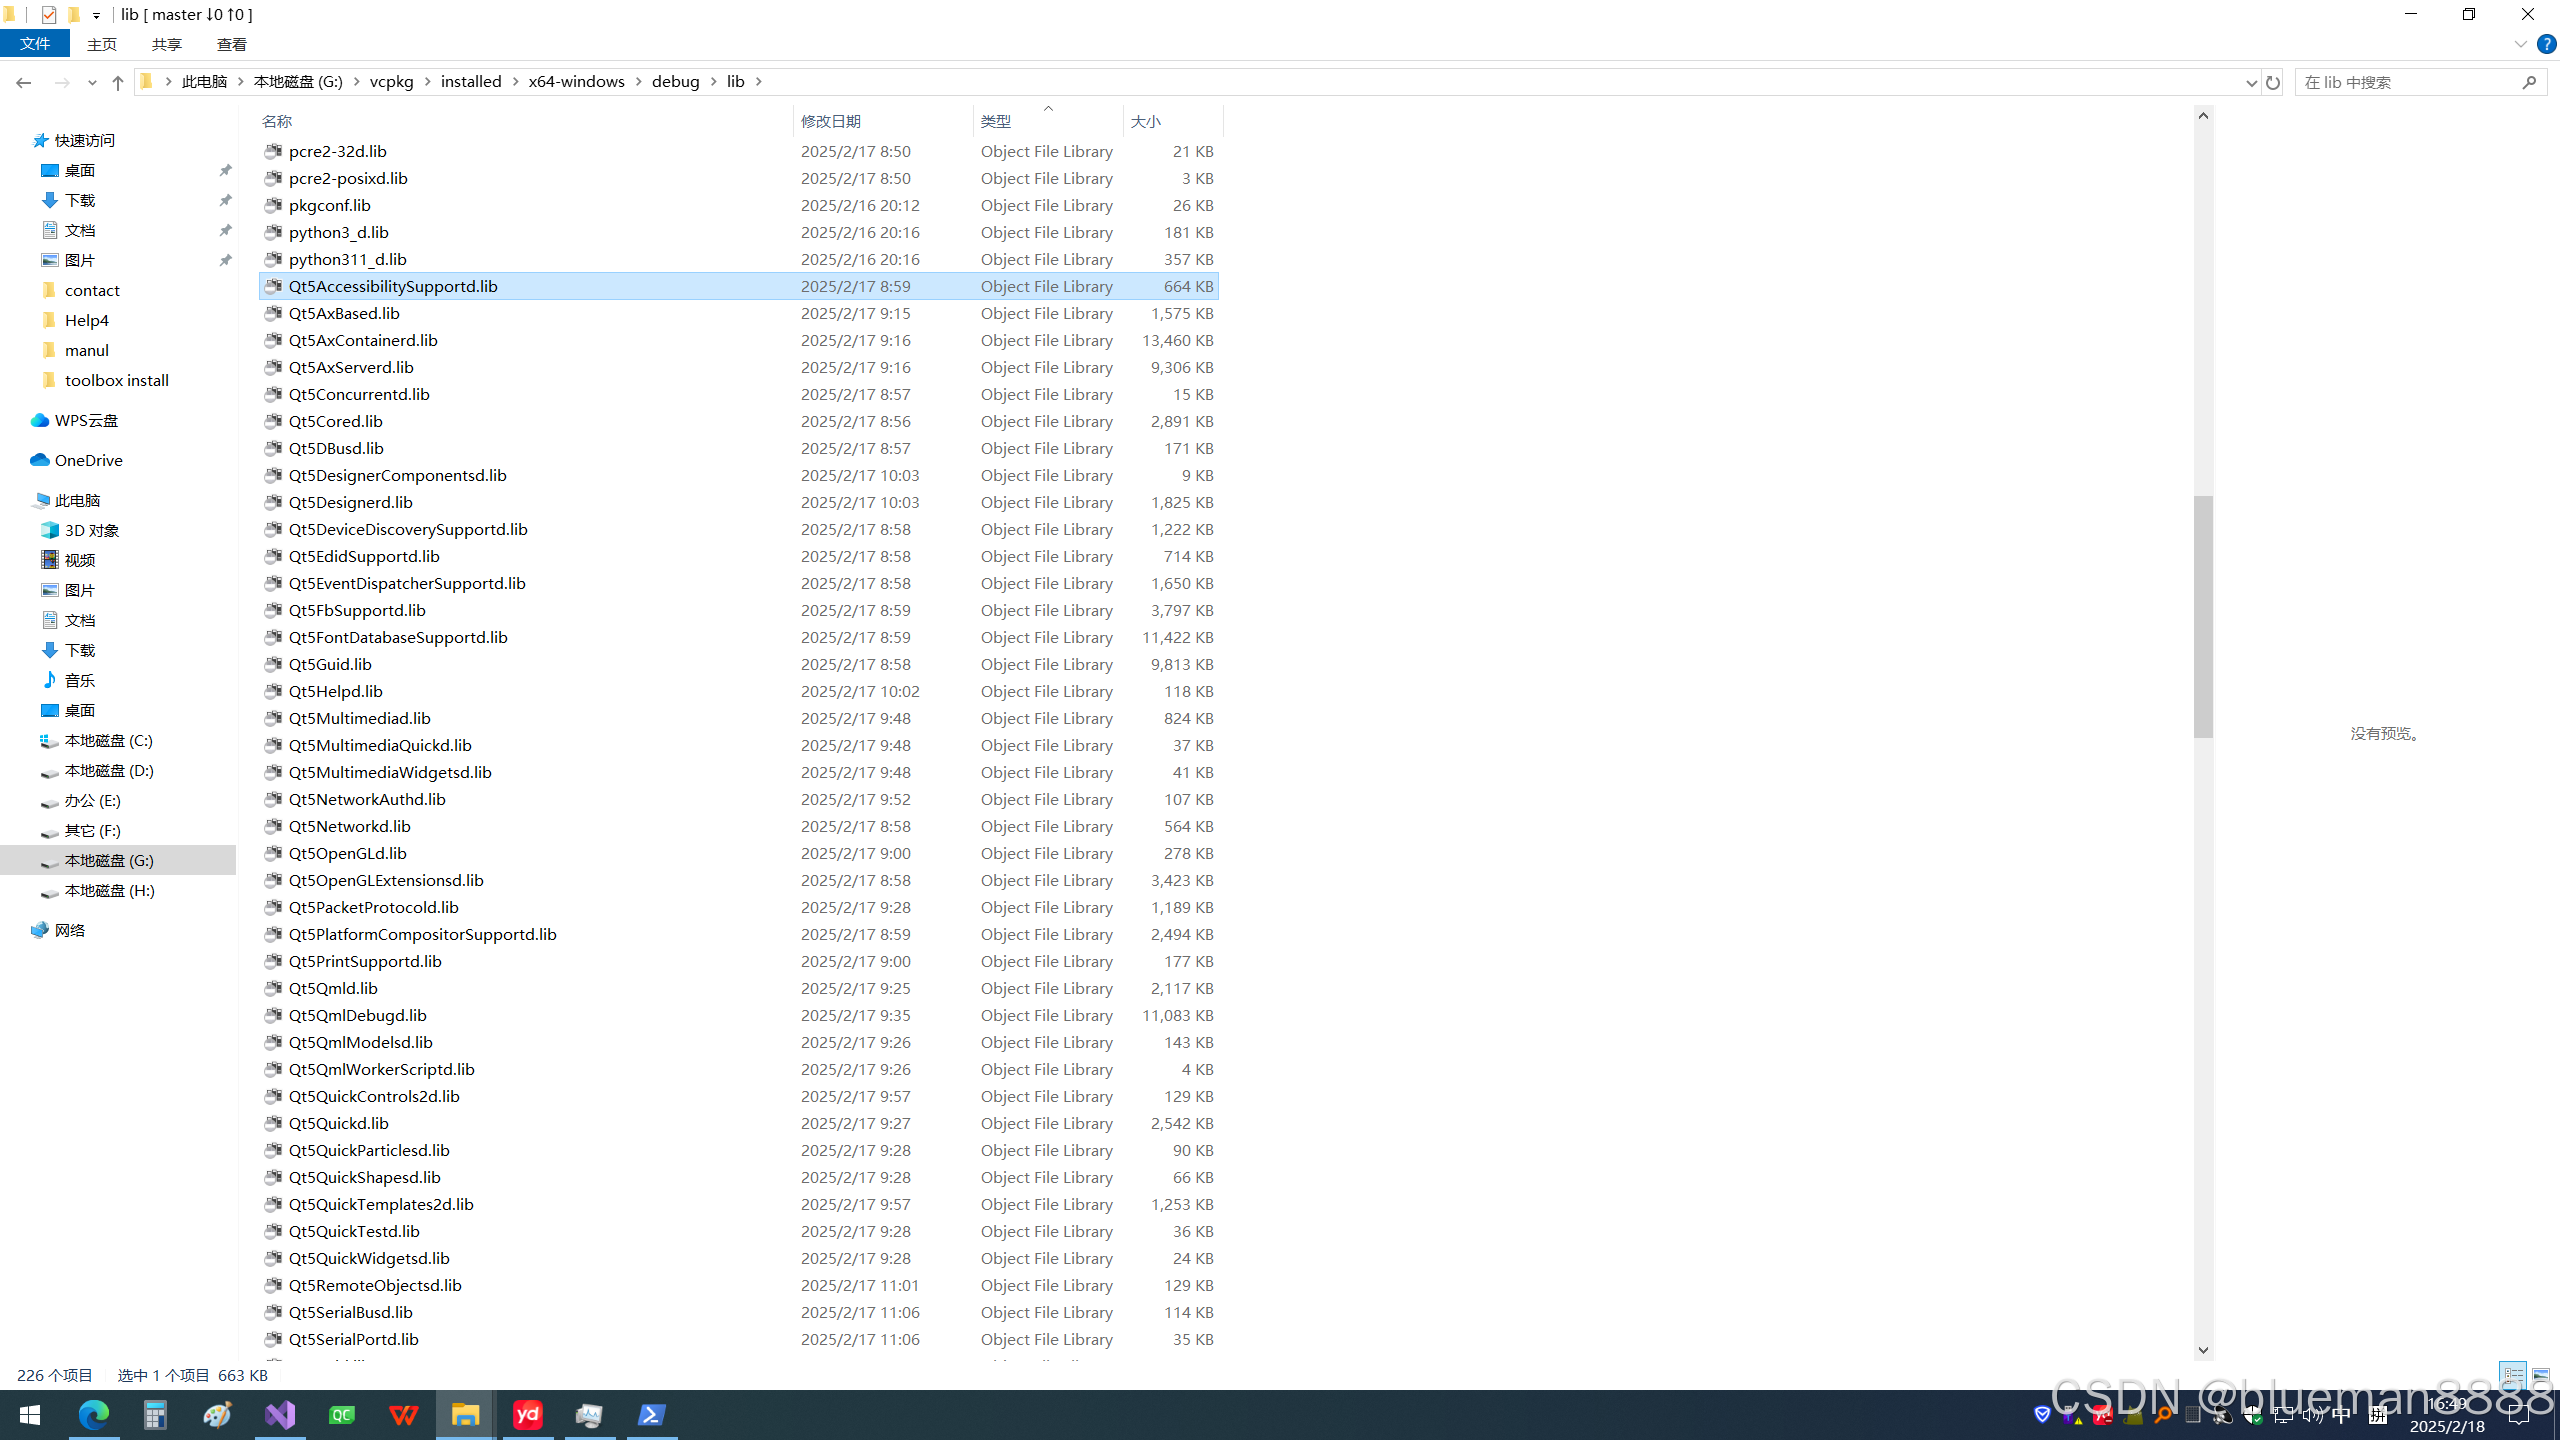
debug下的qt所有lib文件复制到release下的lib文件夹
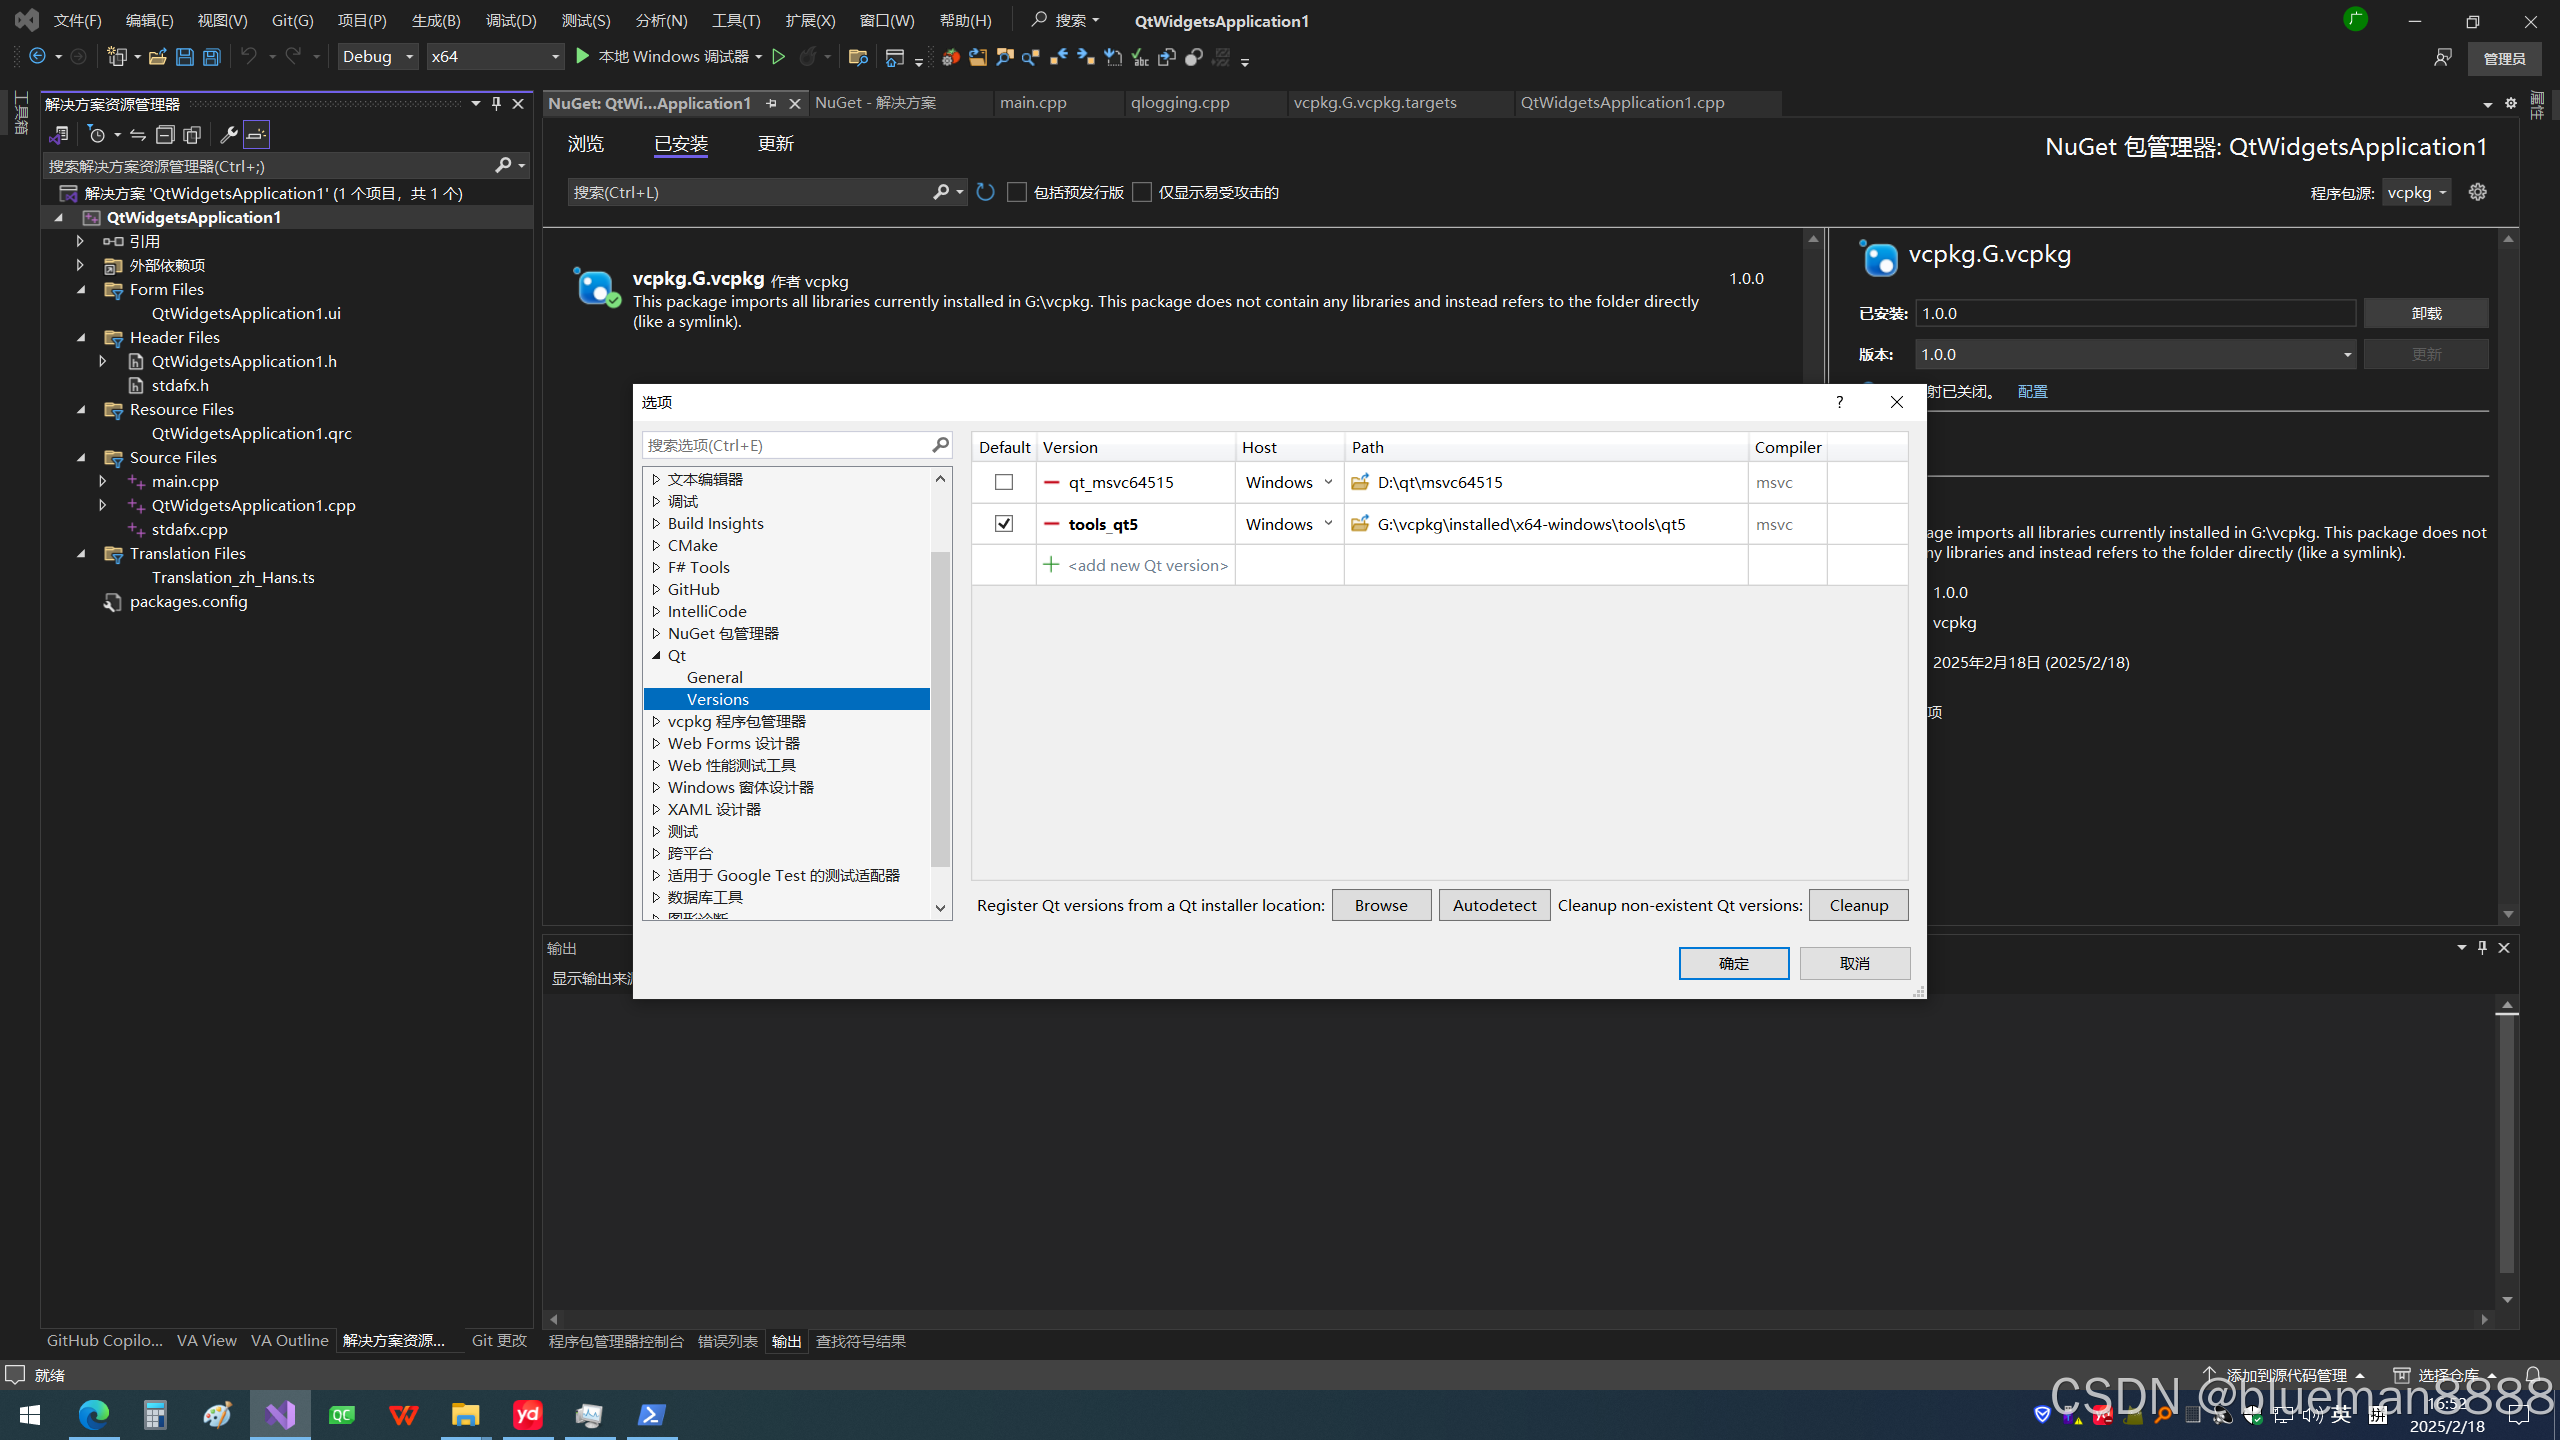
3.将qt-Addin插件中的qt版本设置为vcpkg中版本
将qmake路径设置为G:\vcpkg\installed\x64-windows\tools\qt5
这里路径根据自己电脑的设置设置<vcpkg路径>\installed\x64-windows\tools\qt5
4.将vcpkg包管理设置到项目中
1.在vcpkg安装目录下, 按2步中开启powershell的方式开启
输入如下指令,生成一个nuget包源文件
.\vcpkg integrate project2.在VS中设置,通过nuget增加一个包源
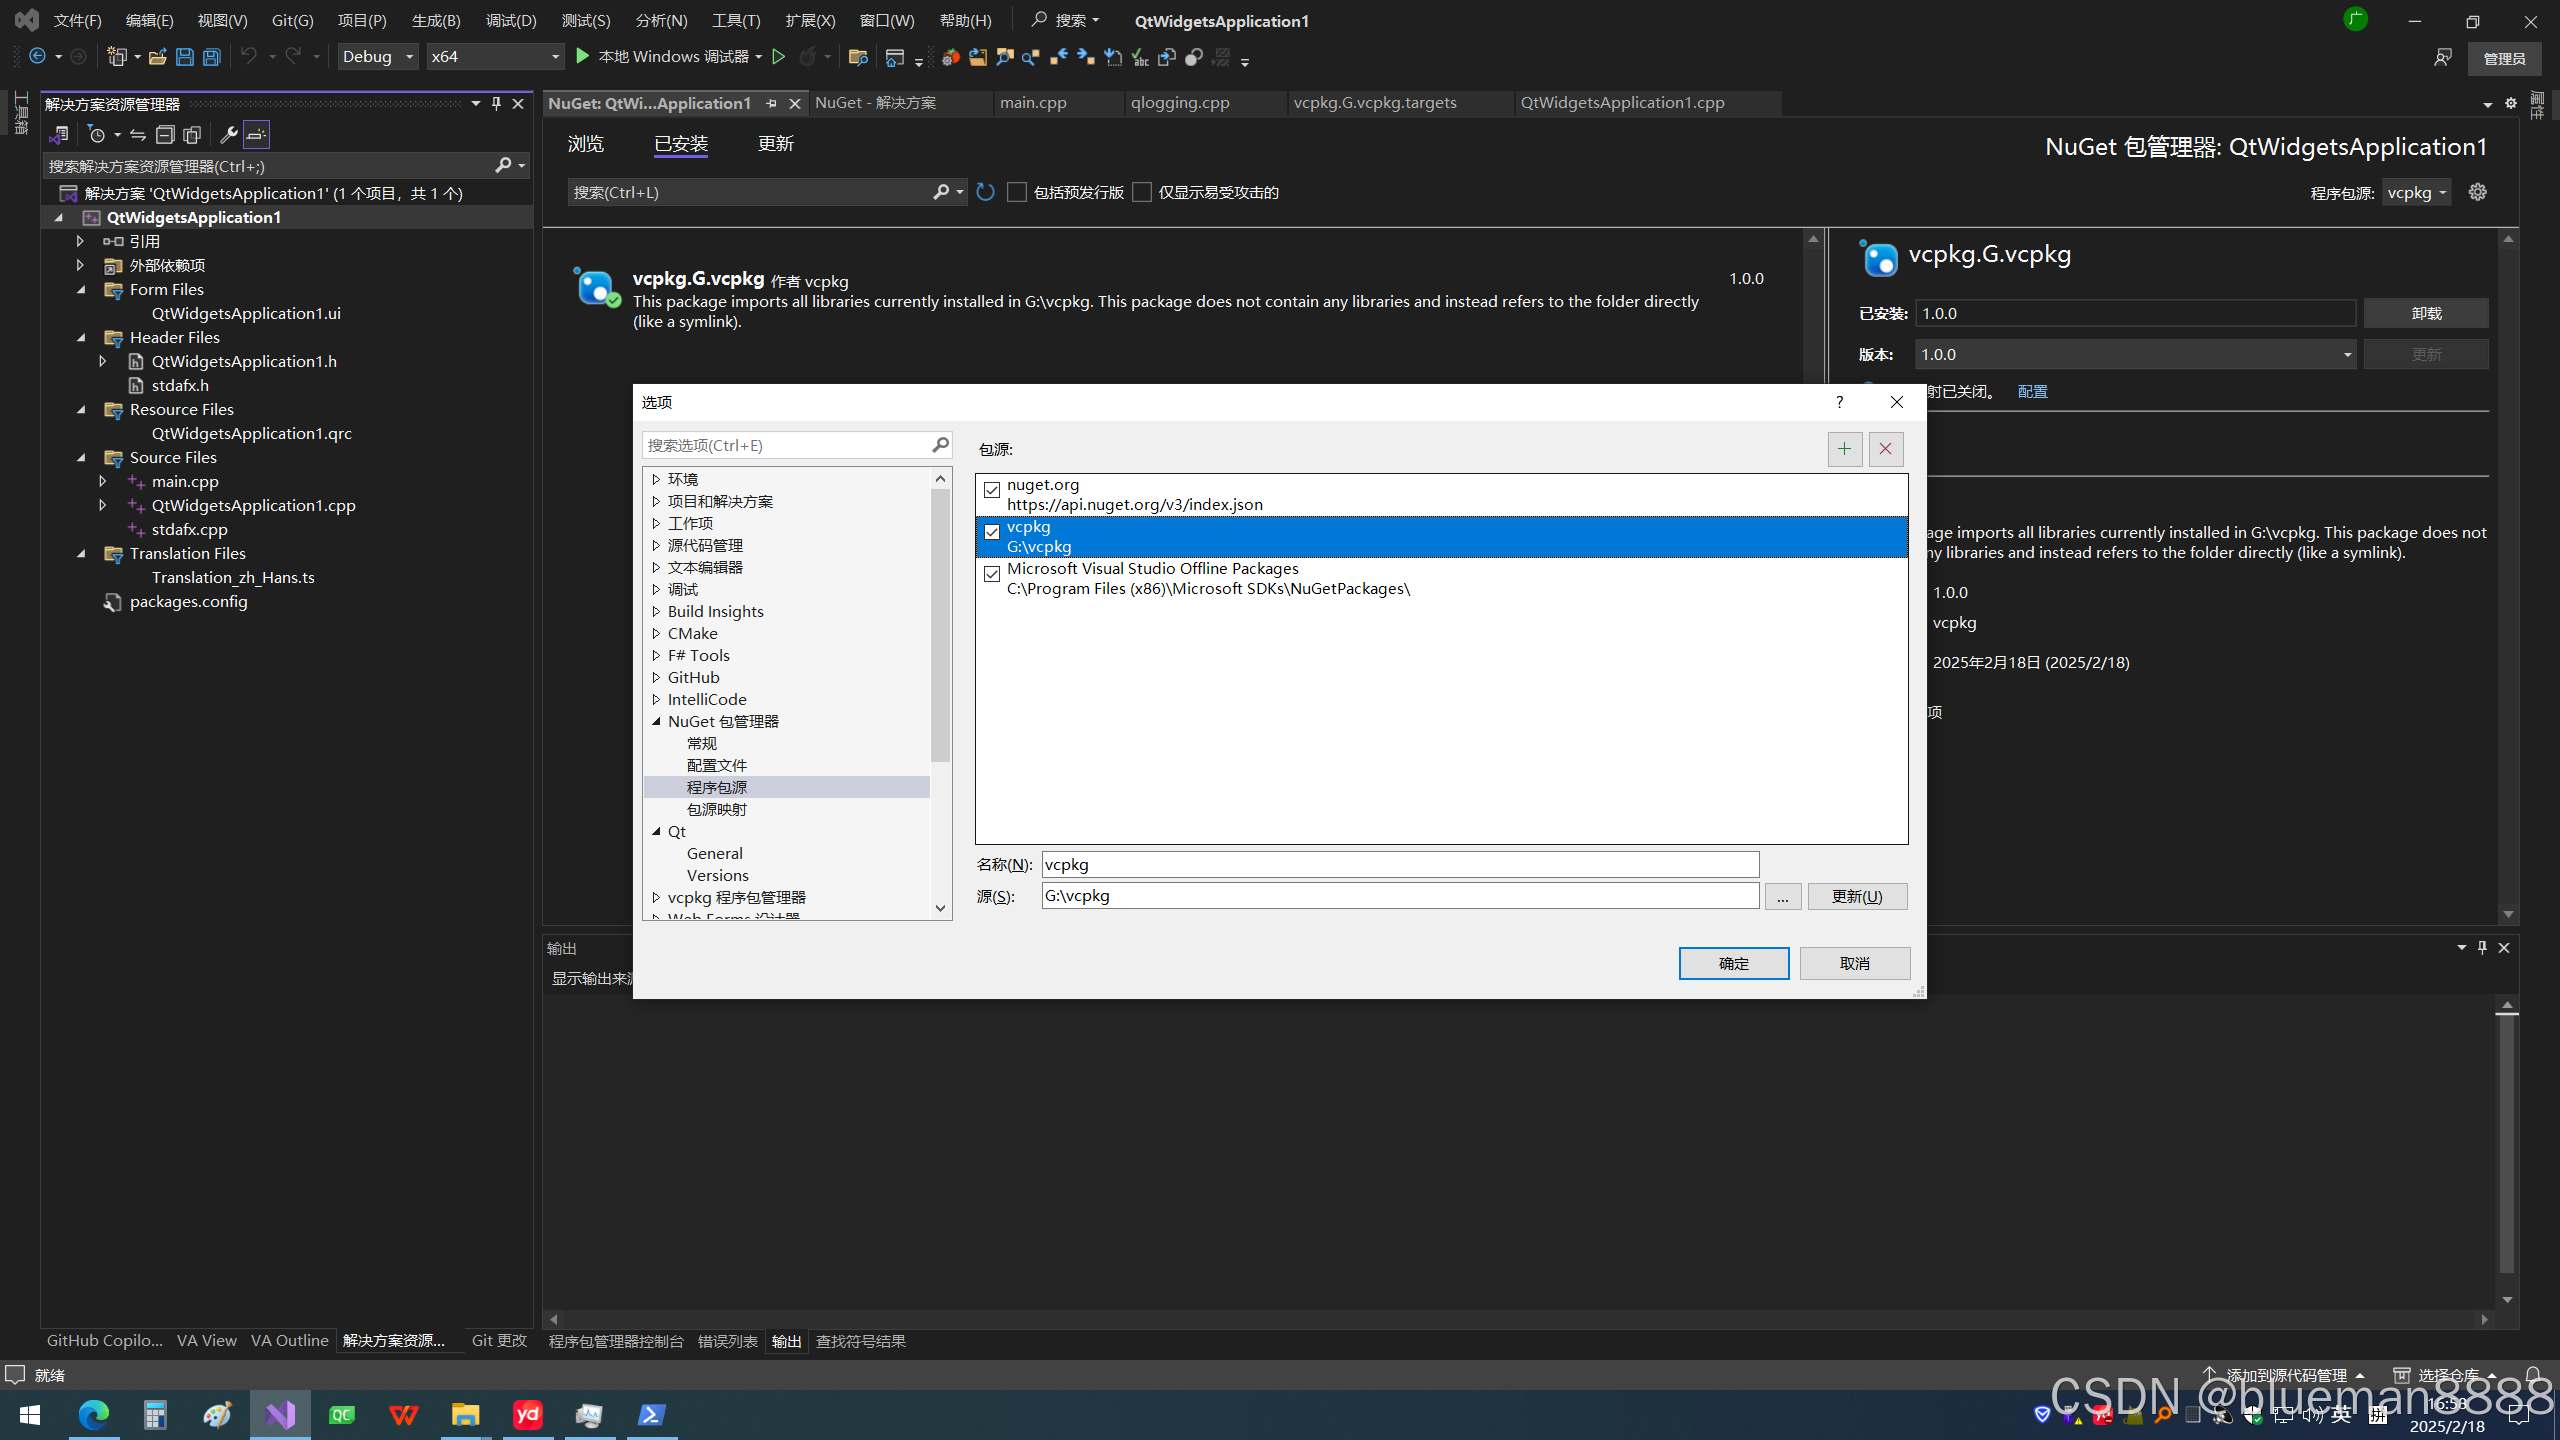
路径设置为vcpkg的安装路径
3.安装vcpkg包到当前的解决方案中


4.在工程项目-属性-vcpkg中设置
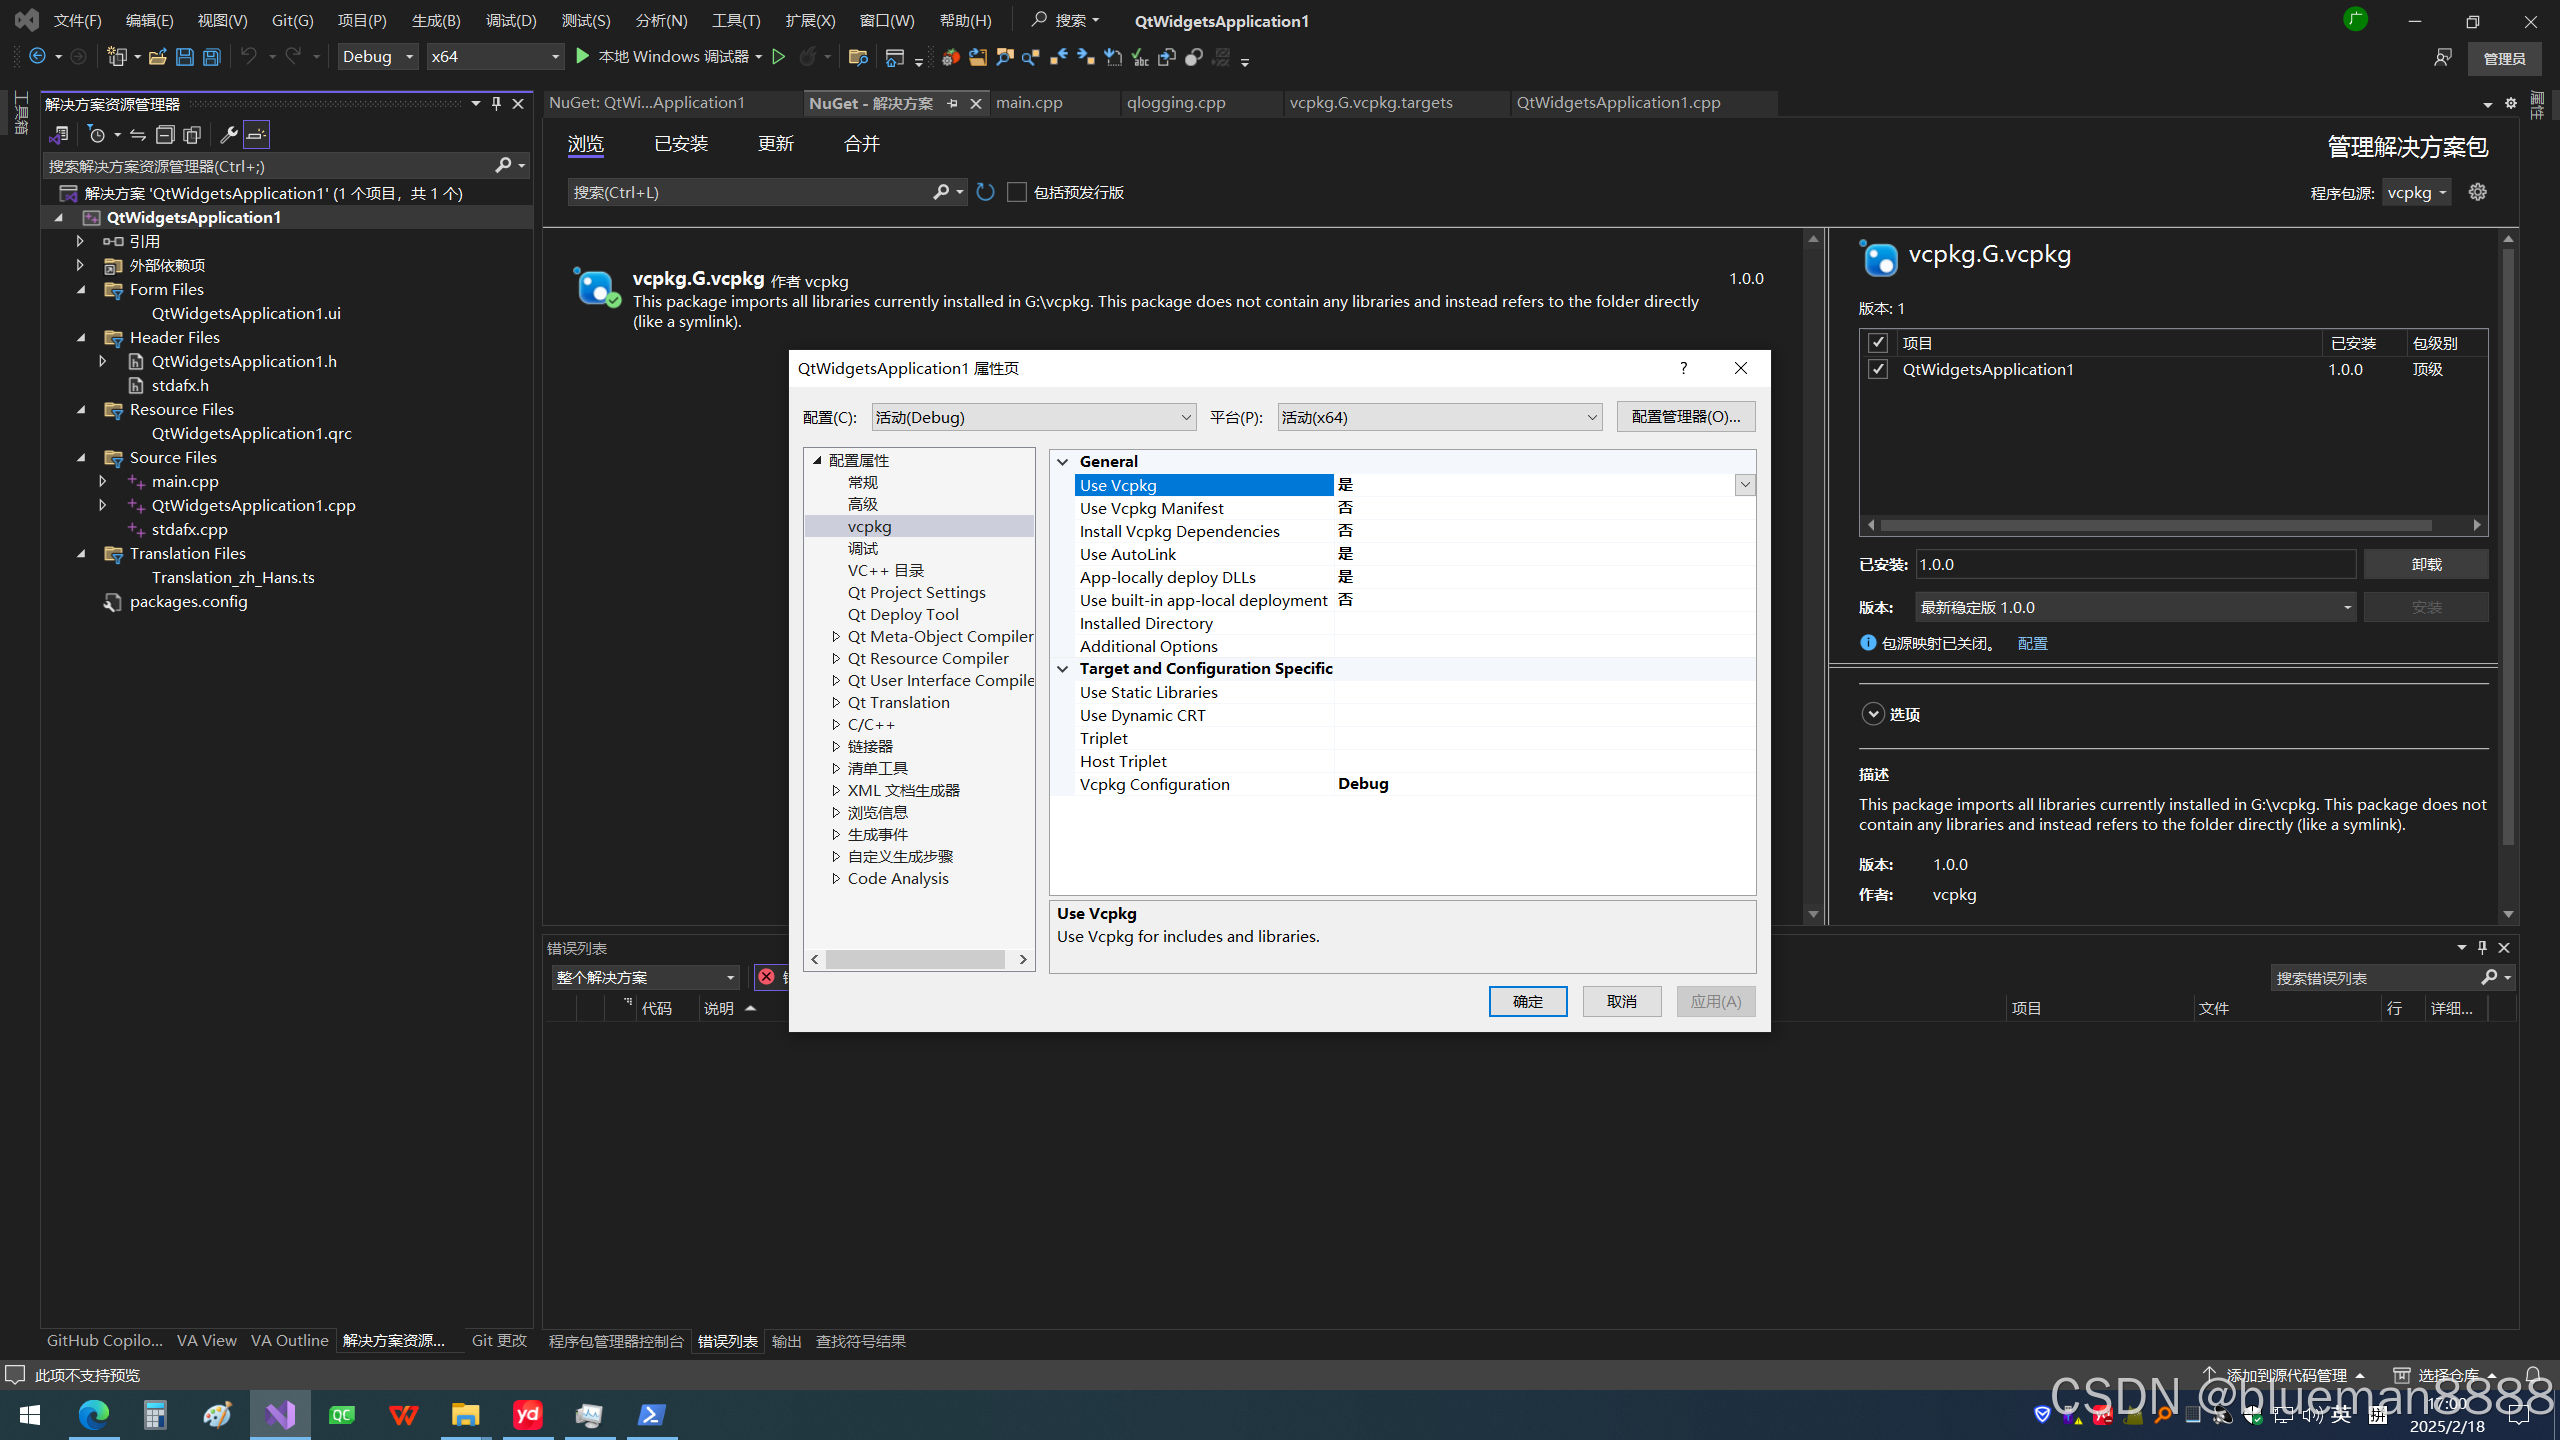
根据当前配置设置对应vcpkg版本,这里只用了经典模式,所以不要选清单开启.
基本完成,省去了头文件,lib,dll的相关设置了.
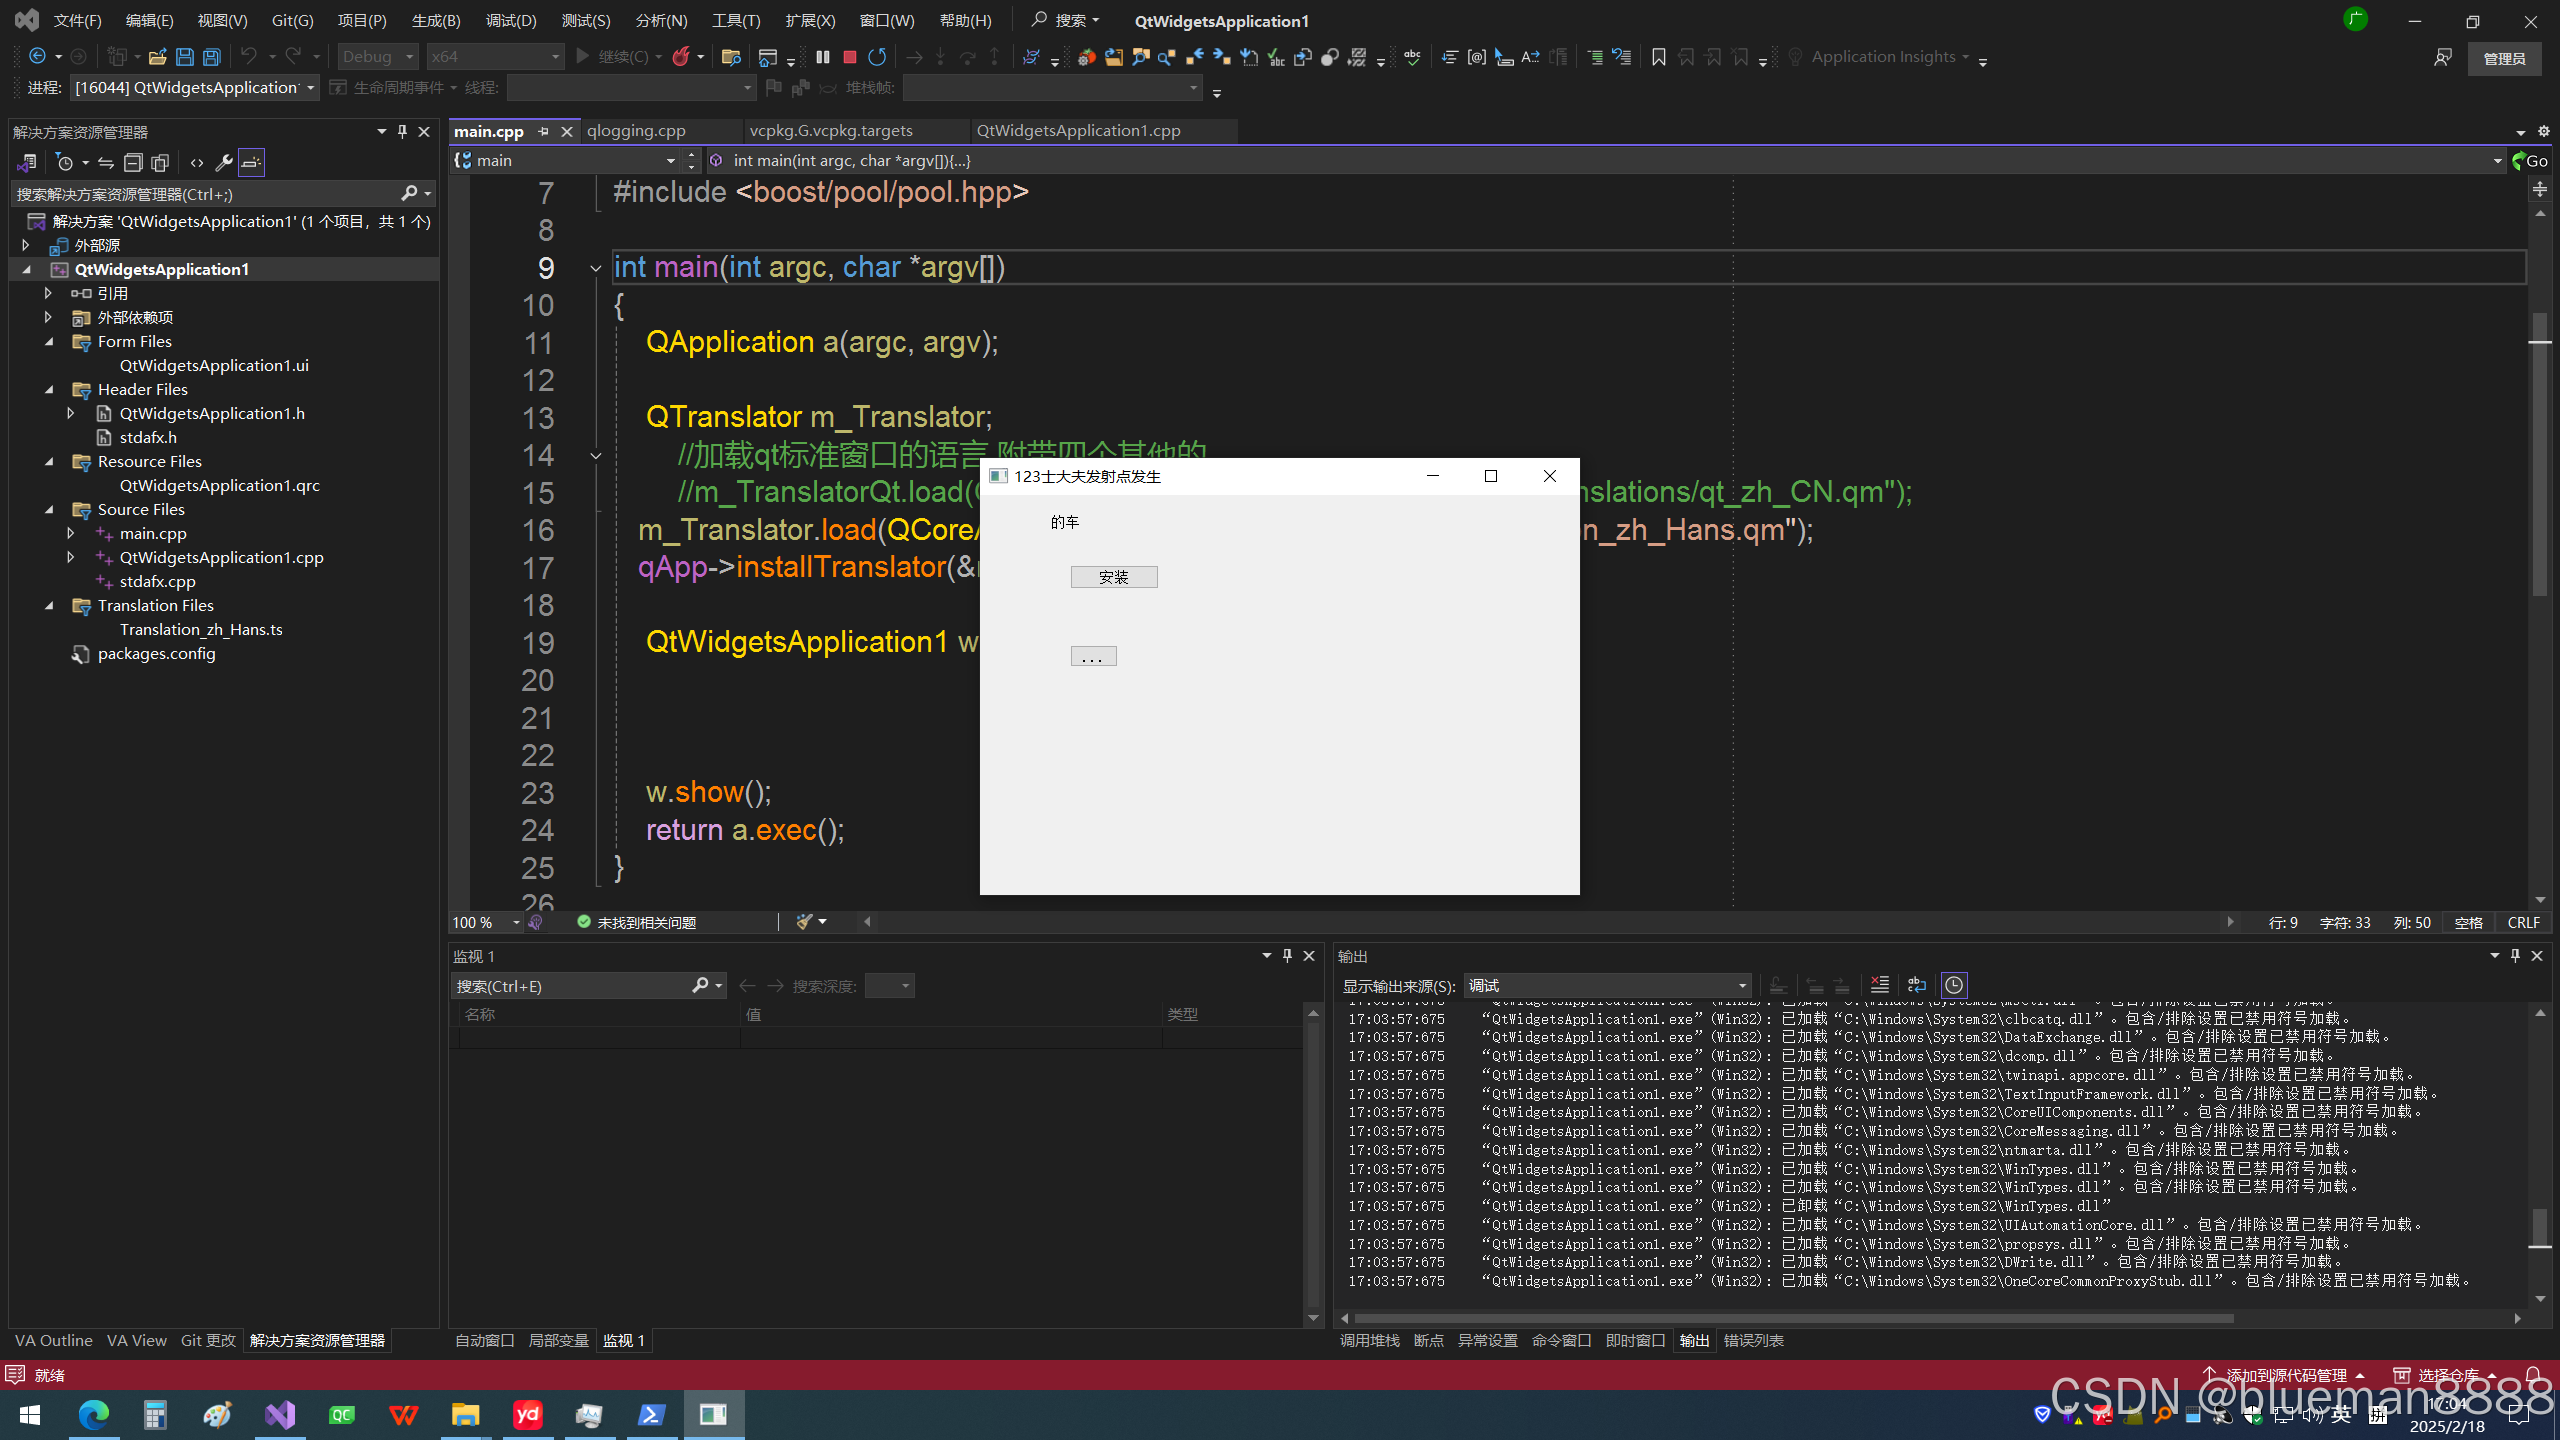
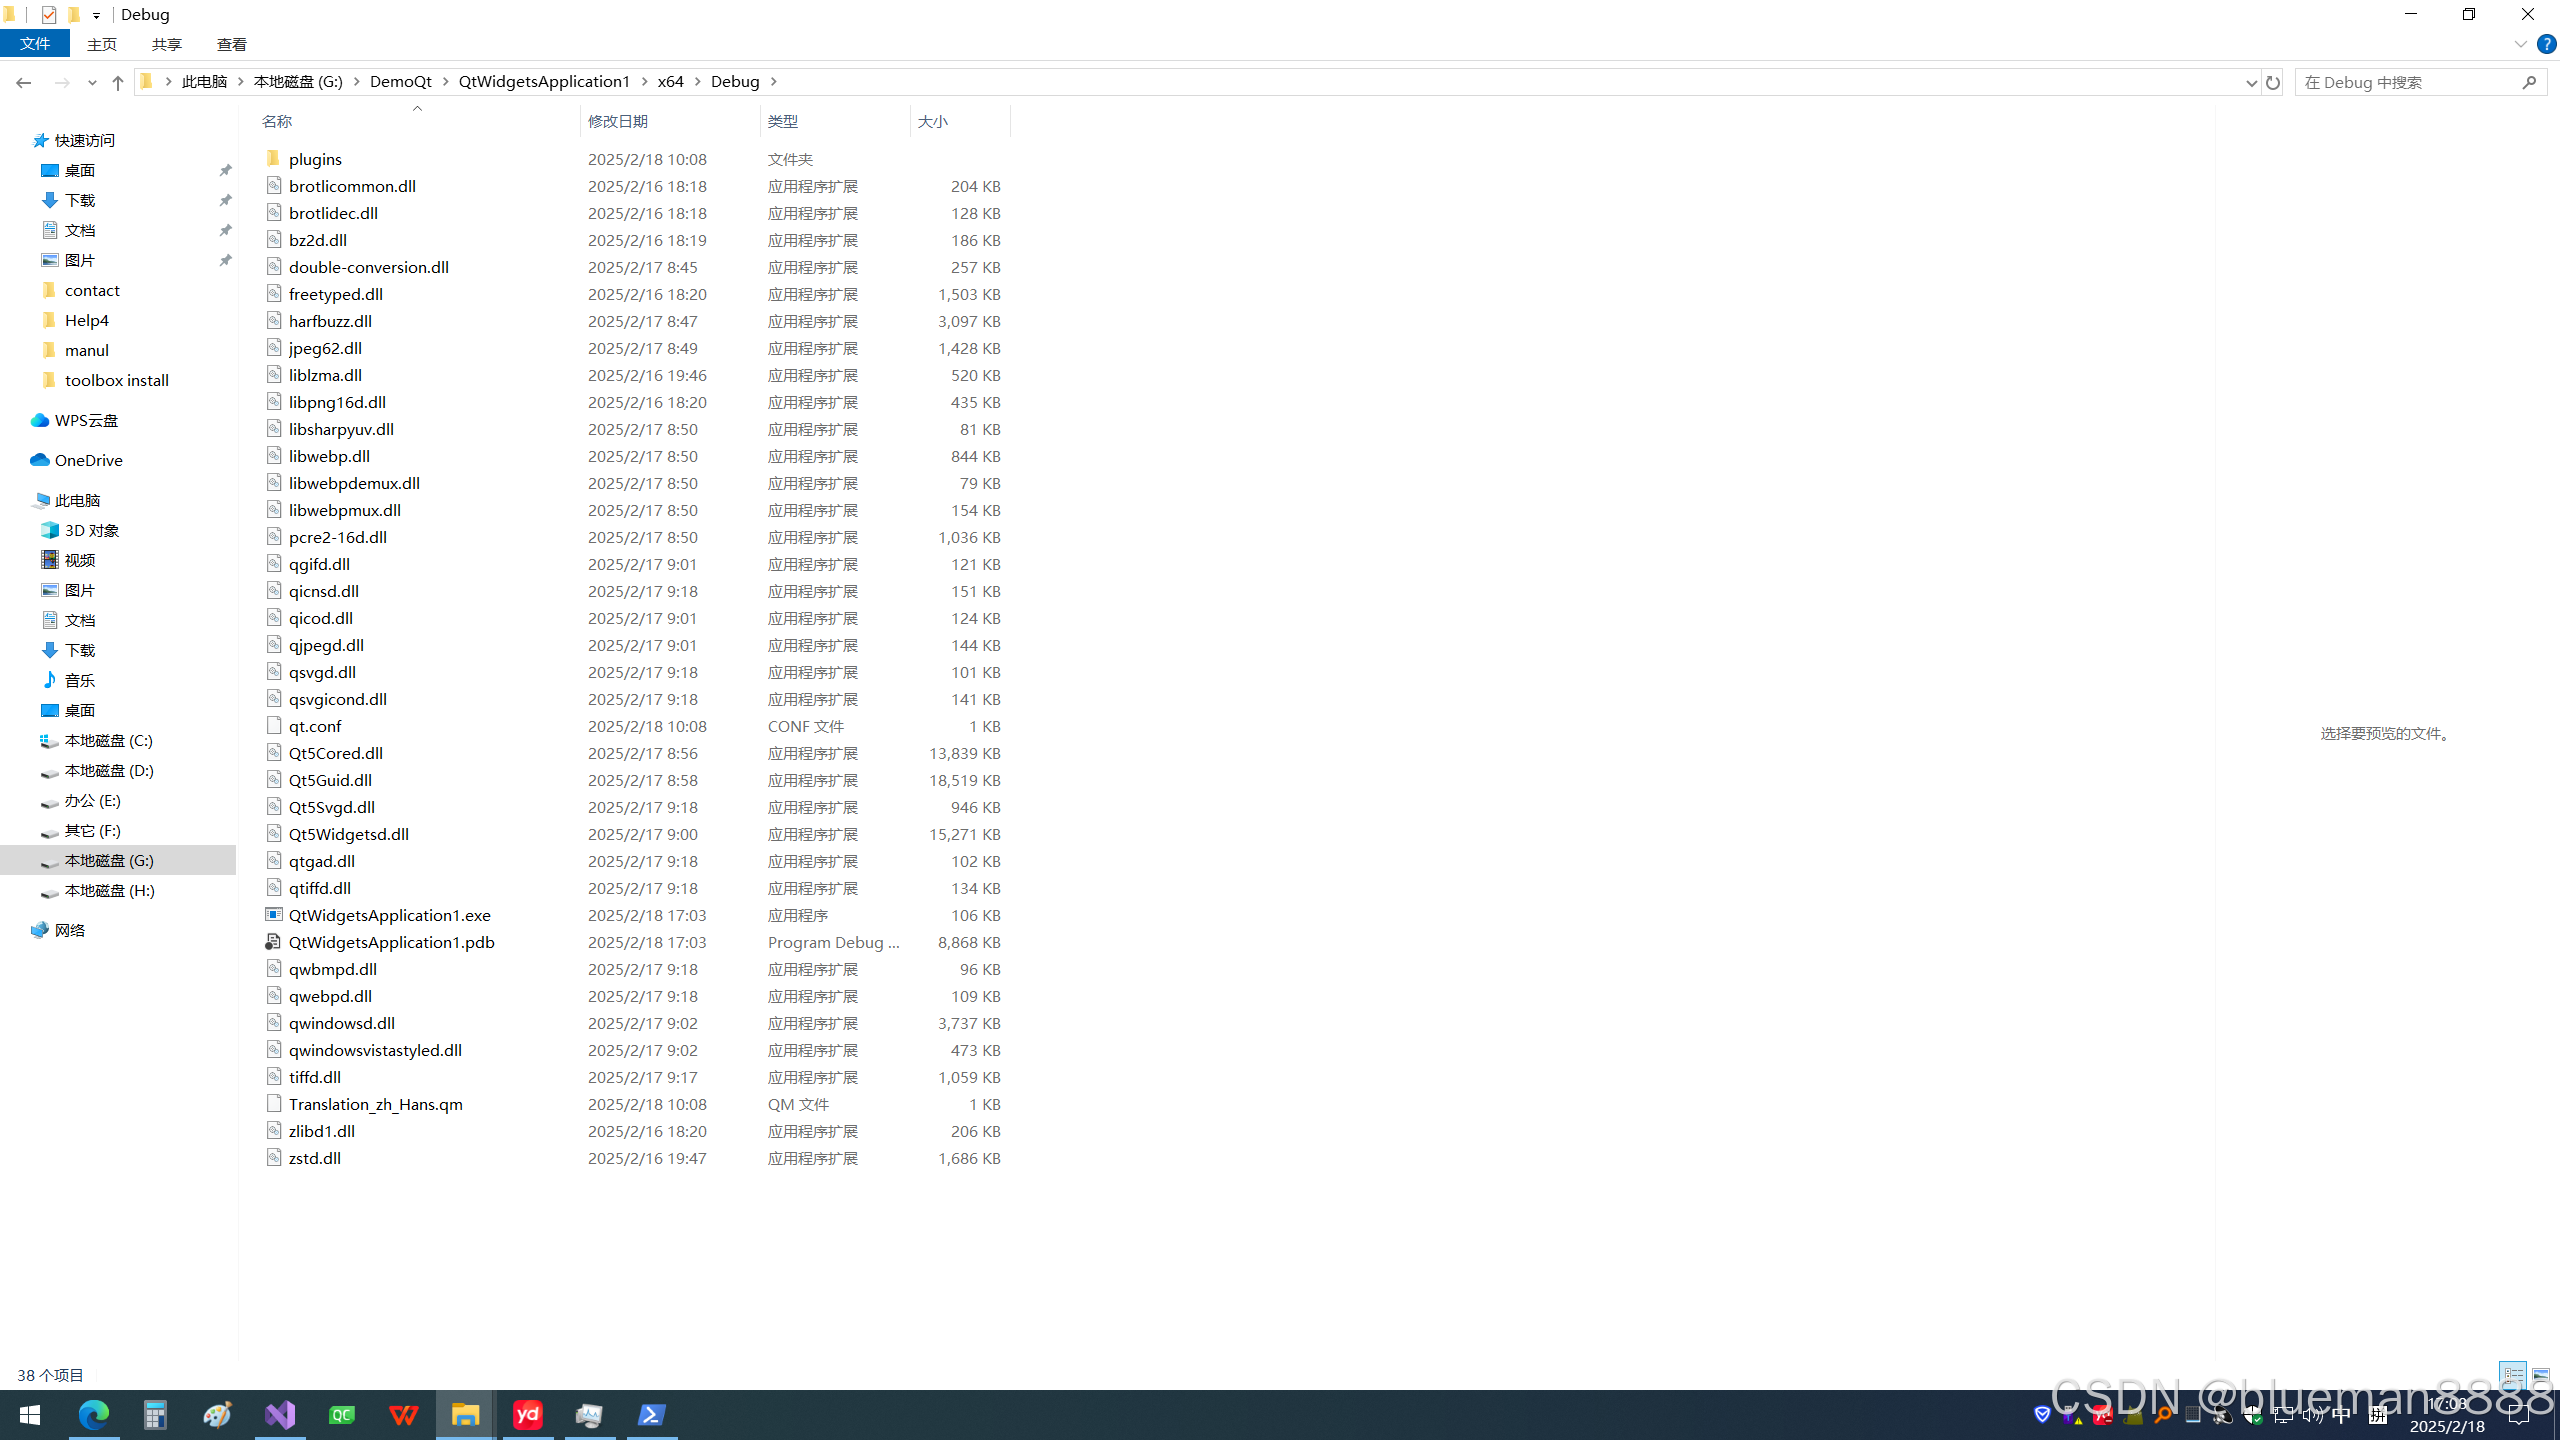
vcpkg会直接将用的所有dll直接copy到exe文件路径下.方便很多了, 比windeployqt的方式要方便.
5.将当前电脑中的库文件导出到另外一台电脑中
1.在vcpkg仓库目录下,调用powershell窗口,
输入
.\vcpkg export --x-all-installed --zip将所有的库文件打包为zip文件, 将把installed中的所有库打包为zip文件
2.将打包好的zip文件复制到新电脑中
在新电脑中也同样按步骤1创建vcpkg仓库,然后将解压后的文件放置到vcpkg目录下即可
installed文件夹及scripts文件夹.
由于没有package文件夹,所以通过 list查看当前仓库列表,里面是空的,但是好像也不影响vcpkg的功能.
在VS按2,3,4步骤重新在新电脑设置即可.