一、场景举例(为啥需要免密连接)
1.服务集群间文件复制、通信
2.执行定时触发自动化脚本
3.本地连接远程服务器操作
服务器台数有很多,以上举例都是属于服务器之间的通信,如果每次执行上面操作都要输入账号密码岂不是效率太高了,容易被开除。
ssh默认端口号是22,当然也可以自行指定,这么可靠性的功能传输层肯定是TCP协议
二、执行命令
1.我host连接你host(默认方式)
默认是用我的用户名去连接你host
假设我host有'wocao' 用户,默认我host的wocao连你是用wocao用户名的,但是你服务器里没有用户叫wocao,所以得在你服务器创建个用户叫'wocao'
(1)新增用户命令:
adduser wocao -- 新增用户wocao
passwd wocao -- 为wocao用户设置密码 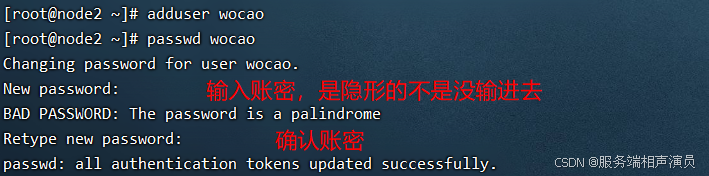
好了已经创建好了wocao用户在你host了,所以我现在要wocao连接你wocao用户了
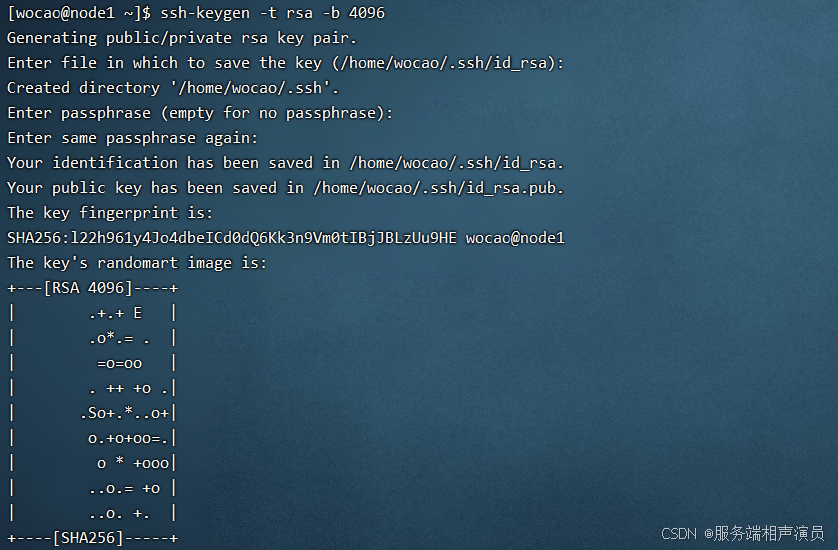
(2)创建公钥密钥
bash
ssh-keygen -t rsa -b 4096-t:加密方式 -b:密钥长度位数
输入完然后一路回车即可结束
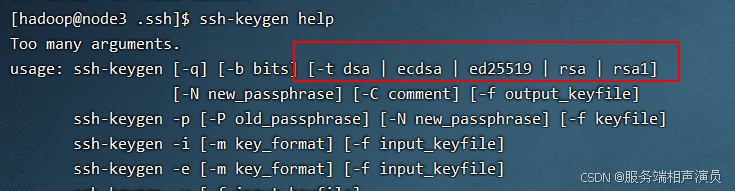
其他加密方式请ssh-keygen help来查看(选读)
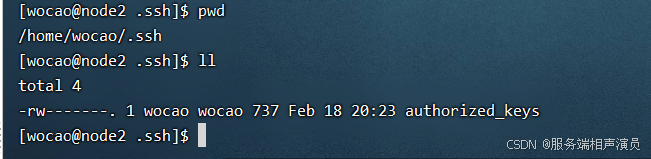
进入目录查看公钥密钥是否生成(下图红框即为完成)
bash
cd /home/wocao/.ssh
ls
(3)上传公钥到目标服务器
把(源)我的公钥上传到你服务器(目标)
bash
ssh-copy-id [目标IP、域名] 此时在目标主机上可以看到你上传的公钥

(4)ssh连接
bash
ssh [ip]或[域名]
主机名变了证明我已经使用的是你的wocao用户了,我这里主机名是node1变成了你的node2
此时我可以打开一个新的ssh窗口连接我host,不耽误上面的连接你的ssh
退出ssh命令: 可以发现主机名又变了回来
bash
exit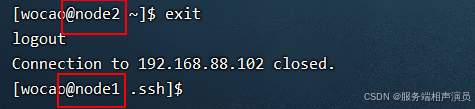
2.我host连接你host(指定账户方式)
(1)为我的主机创建公钥密钥
我连接你,得我创建(host1连接host2得host1的用户创建公钥私钥)
bash
ssh-keygen -t rsa -b 4096-t:加密方式 -b:密钥长度位数
输入完然后一路回车即可结束
(2)上传公钥到目标服务器
把(源)我的公钥上传到你服务器(目标)
bash
ssh-copy-id [目标IP、域名]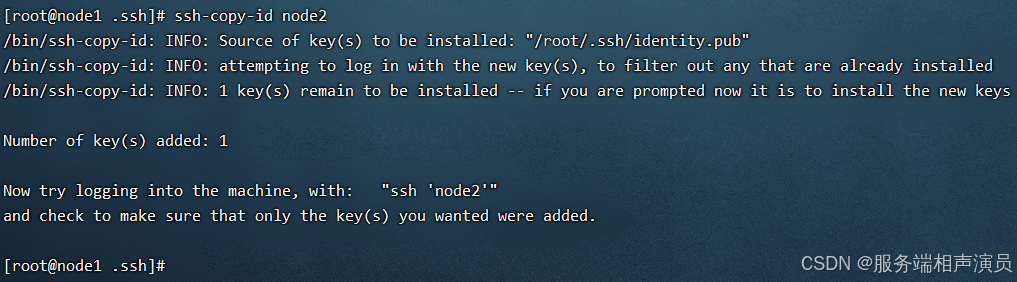
(3)ssh指定账户登录
bash
ssh [账户名]@[主机IP、域名]
如果你host1通过 SSH 登录到 host2 ,并且一直保持连接(即不退出),那么在这段时间内,host1 的用户 (例如 user1)相当于拥有了 host2 的用户 (例如 user2)的权限。你可以在 host2 上执行所有 user2 用户的操作,直到你退出该 SSH 会话(通过 exit 或断开连接)。
三、其他信息(上面仅为操作)
1.指纹
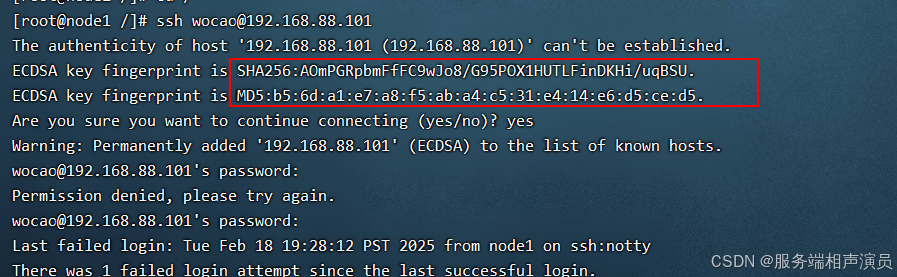
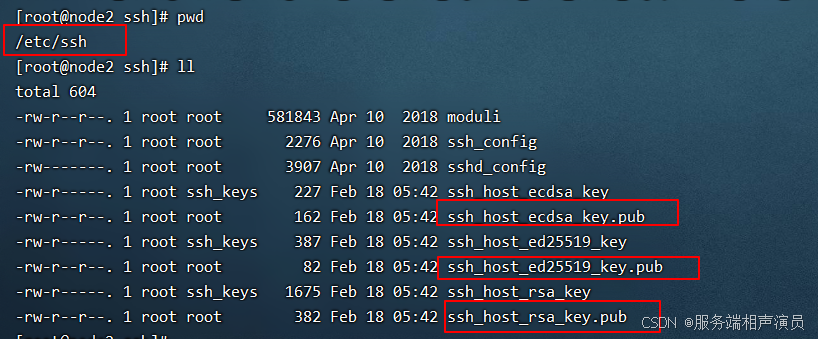
host1想连接host2(目标主机),host2会发给host一段指纹供host1确认身份,host2发来的指纹是将/etc/ssh目录下的公钥生成的哈希值(sha256和md5)告诉host2确认
如果输入yes,证明你信任该指纹,会把它存到know_hosts文件,以后host1再连接host2时就不用验证指纹了
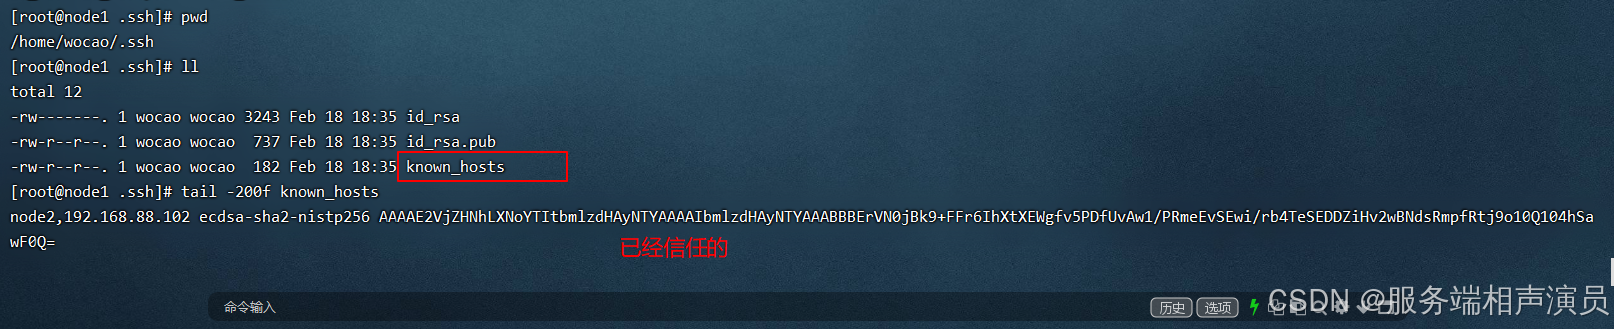
上次exit后尝试第二次连接 :发现不用再次输入yes信任host2指纹了,只输入密码即可

2.host1公钥发送
私钥 用于 host1 进行身份验证,保持在 host1
公钥 用于 host2 验证 host1 的身份,必须复制到 host2 的 authorized_keys 文件中
