文章目录
代码
html
<!DOCTYPE html>
<html lang="zh-CN">

<head>
    <meta charset="UTF-8">
    <meta http-equiv="X-UA-Compatible" content="IE=edge">
    <meta name="viewport" content="width=device-width, initial-scale=1.0">
    <title>页面标题</title>
    <link rel="stylesheet" href="styles.css">
    <script src="script.js" defer></script>
    <style>
        .box {
            width: 200px; /* 设置宽度 */
            height: 200px; /* 设置高度 */
            background-color: lightblue; /* 设置背景颜色 */
            border: 1px solid #000; /* 可选: 添加边框 */
            display: flex; /* 使内容居中 */
            justify-content: center; /* 水平居中 */
            align-items: center; /* 垂直居中 */
            font-size: 24px; /* 设置字体大小 */
        }
    </style>
</head>

<body>
    <div class="box"></div>
    <script>
        // 1. 利用防抖实现性能优化
        // 需求: 鼠标在盒子上移动,里面的数字就会变化 +1
        const box = document.querySelector('.box');
        let i = 1;

        function mouseMove() {
            box.innerHTML = i++;
            console.log(i);
        }

        // 添加事件
        box.addEventListener('mousemove', mouseMove);
    </script>
</body>

</html>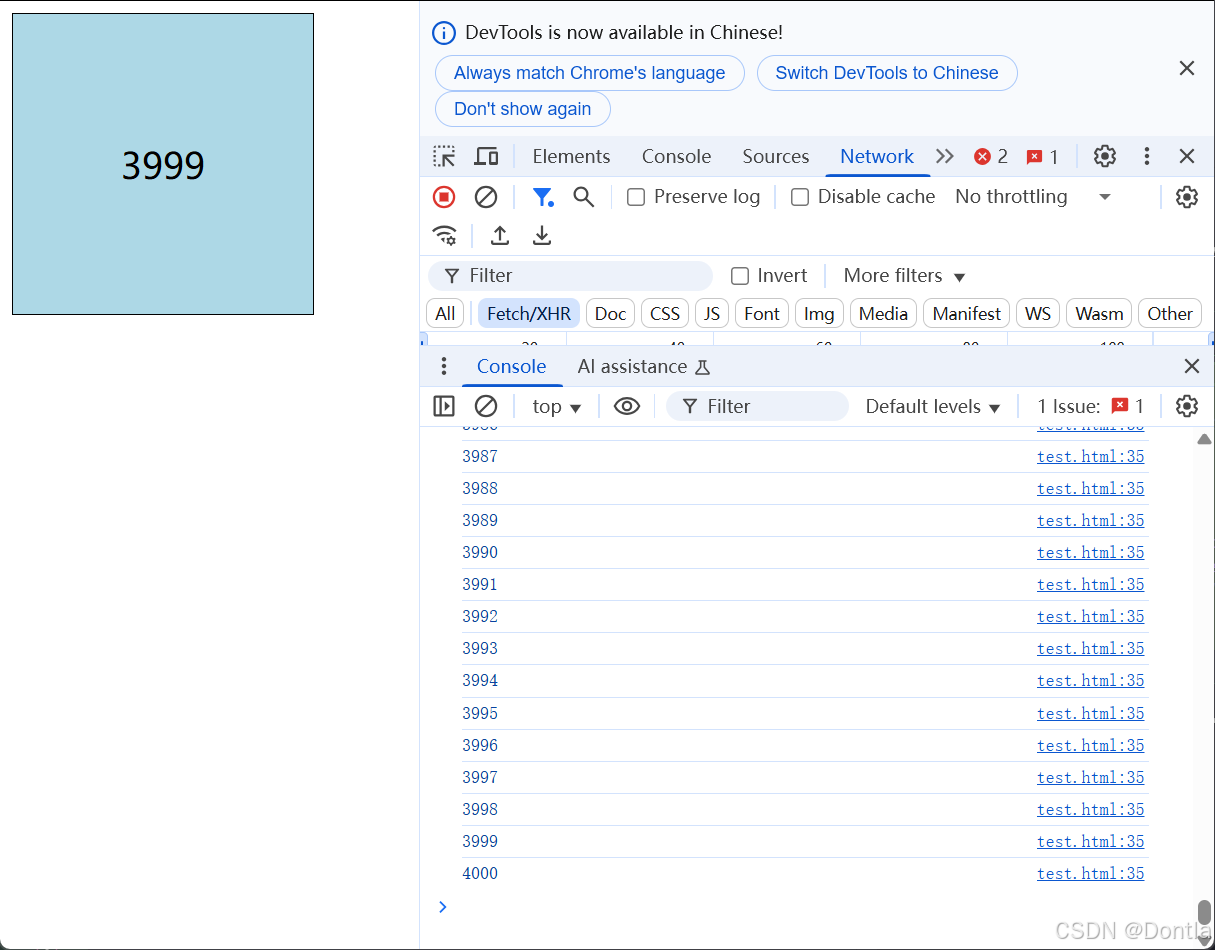
使用lodashjs库debounce函数做防抖处理(只有鼠标移动停止并超过一定时间,才会触发)
html
<!DOCTYPE html>
<html lang="zh-CN">

<head>
    <meta charset="UTF-8">
    <meta http-equiv="X-UA-Compatible" content="IE=edge">
    <meta name="viewport" content="width=device-width, initial-scale=1.0">
    <title>页面标题</title>
    <link rel="stylesheet" href="styles.css">
    <!-- 引入 lodash 库,用于实现防抖效果 -->
    <script src="https://cdn.jsdelivr.net/npm/lodash@4.17.21/lodash.min.js"></script>
    <script src="script.js" defer></script>
    <style>
        .box {
            width: 200px; /* 设置盒子的宽度 */
            height: 200px; /* 设置盒子的高度 */
            background-color: lightblue; /* 设置盒子的背景颜色 */
            border: 1px solid #000; /* 可选: 添加边框 */
            display: flex; /* 使用 flexbox 布局 */
            justify-content: center; /* 水平居中内容 */
            align-items: center; /* 垂直居中内容 */
            font-size: 24px; /* 设置字体大小 */
        }
    </style>
</head>

<body>
    <div class="box"></div> <!-- 创建一个盒子元素 -->
    <script>
        // 选择盒子元素
        const box = document.querySelector('.box');
        let i = 1; // 初始化计数器

        // 使用 lodash 的 debounce 方法创建防抖函数
        // 当鼠标移动时,只有在停止移动 300 毫秒后,才会更新盒子中的数字
        const mouseMove = _.debounce(function() {
            box.innerHTML = i++; // 更新盒子中的内容为当前计数器的值,并自增
        }, 300); // 设置防抖时间为 300 毫秒

        // 为盒子添加鼠标移动事件监听器
        box.addEventListener('mousemove', mouseMove);
    </script>
</body>

</html>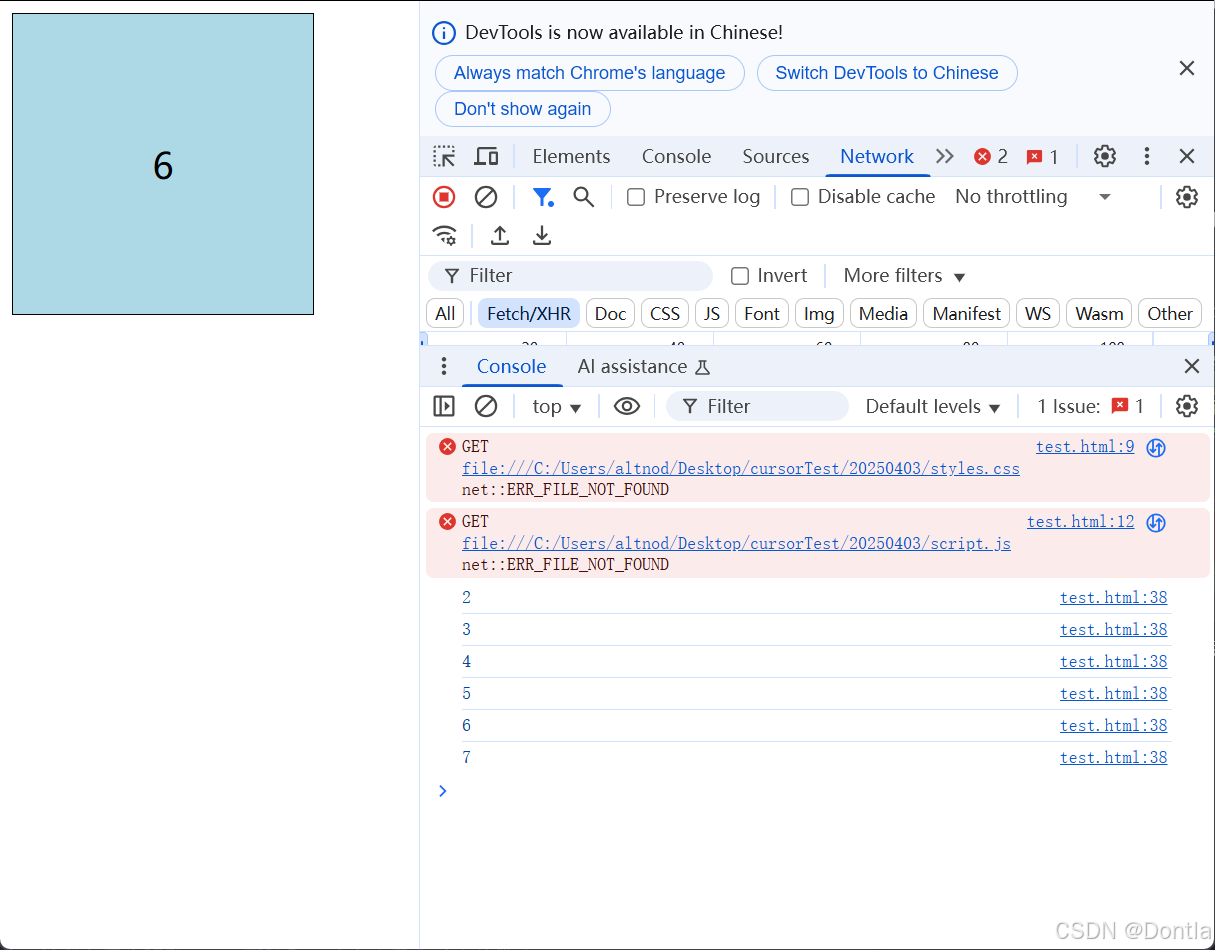
手写防抖函数
html
// 手写防抖函数
// 核心是利用 setTimeout定时器来实现
// 1.声明定时器变量
// 2.每次鼠标移动(事件触发)的时候都要先判断是否有定时器,如果有先清除以前的定时器
// 3.如果没有定时器,则开启定时器,存入到定时器变量里面
// 4.定时器里面写函数调用
写法1
html
<!DOCTYPE html>
<html lang="zh-CN">

<head>
    <meta charset="UTF-8">
    <meta http-equiv="X-UA-Compatible" content="IE=edge">
    <meta name="viewport" content="width=device-width, initial-scale=1.0">
    <title>页面标题</title>
    <link rel="stylesheet" href="styles.css">
    <!-- 引入 lodash 库(可选,已不再使用) -->
    <script src="script.js" defer></script>
    <style>
        .box {
            width: 200px; /* 设置盒子的宽度 */
            height: 200px; /* 设置盒子的高度 */
            background-color: lightblue; /* 设置盒子的背景颜色 */
            border: 1px solid #000; /* 可选: 添加边框 */
            display: flex; /* 使用 flexbox 布局 */
            justify-content: center; /* 水平居中内容 */
            align-items: center; /* 垂直居中内容 */
            font-size: 24px; /* 设置字体大小 */
        }
    </style>
</head>

<body>
    <div class="box"></div> <!-- 创建一个盒子元素 -->
    <script>
        // 选择盒子元素
        const box = document.querySelector('.box');
        let i = 1; // 初始化计数器
        let timer; // 声明定时器变量

        // 手写防抖函数
        const mouseMove = function() {
            // 每次鼠标移动(事件触发)的时候都要先判断是否有定时器
            if (timer) {
                clearTimeout(timer); // 如果有,先清除以前的定时器
            }
            // 开启定时器,存入到定时器变量里面
            timer = setTimeout(() => {
                box.innerHTML = i++; // 更新盒子中的内容为当前计数器的值,并自增
                console.log(i); // 输出当前计数器的值
            }, 300); // 设置防抖时间为 300 毫秒
        };

        // 为盒子添加鼠标移动事件监听器
        box.addEventListener('mousemove', mouseMove);
    </script>
</body>

</html>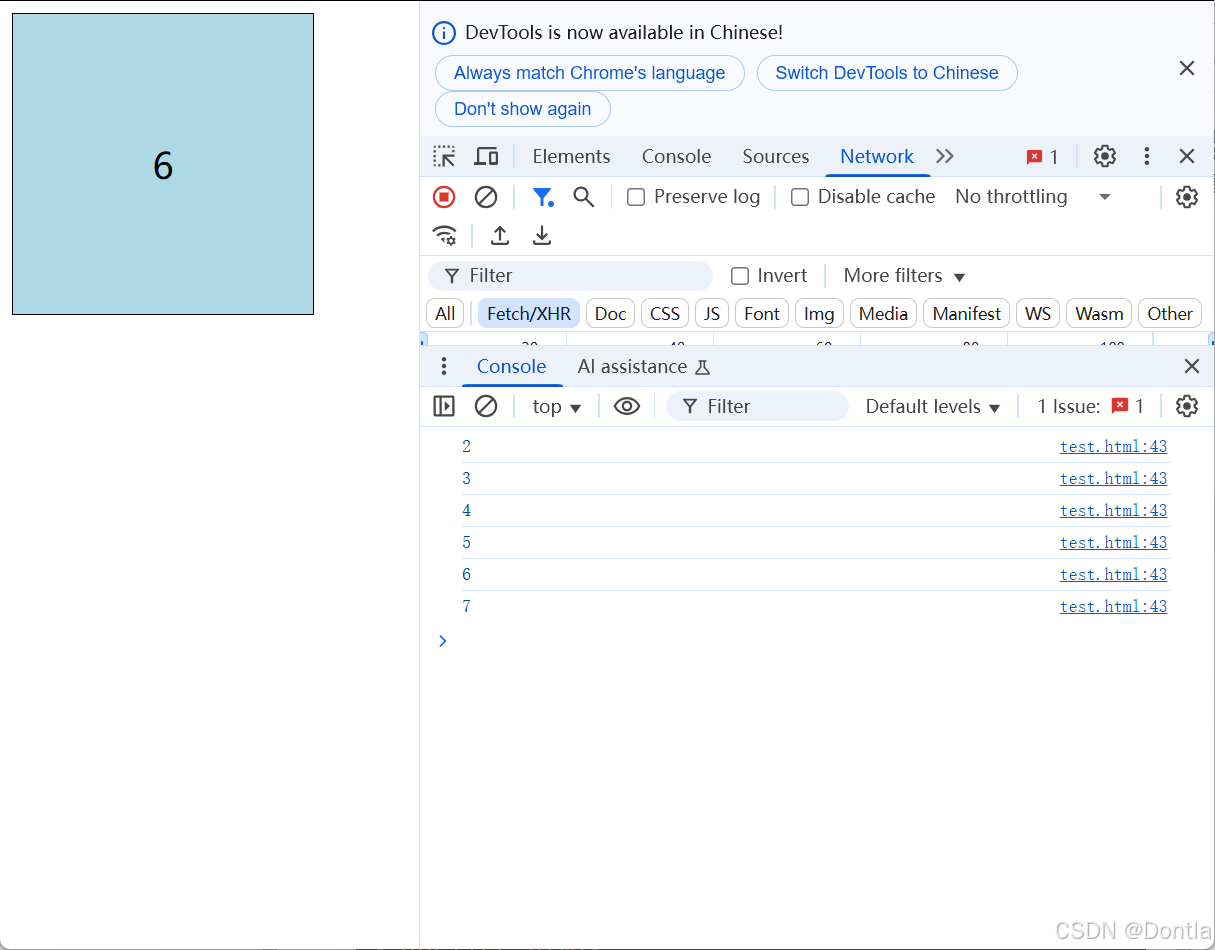
写法2(注意addEventListener监听函数的第二个参数接收的是一个函数,需要构造一个匿名返回函数)
html
<!DOCTYPE html>
<html lang="zh-CN">

<head>
    <meta charset="UTF-8">
    <meta http-equiv="X-UA-Compatible" content="IE=edge">
    <meta name="viewport" content="width=device-width, initial-scale=1.0">
    <title>页面标题</title>
    <!-- <link rel="stylesheet" href="styles.css"> -->
    <!-- <script src="script.js" defer></script> -->
    <style>
        .box {
            width: 200px;
            /* 设置盒子的宽度 */
            height: 200px;
            /* 设置盒子的高度 */
            background-color: lightblue;
            /* 设置盒子的背景颜色 */
            border: 1px solid #000;
            /* 可选: 添加边框 */
            display: flex;
            /* 使用 flexbox 布局 */
            justify-content: center;
            /* 水平居中内容 */
            align-items: center;
            /* 垂直居中内容 */
            font-size: 24px;
            /* 设置字体大小 */
        }
    </style>
</head>

<body>
    <div class="box"></div> <!-- 创建一个盒子元素 -->
    <script>
        // 选择盒子元素
        const box = document.querySelector('.box');
        let i = 1; // 初始化计数器
        let timer; // 声明定时器变量

        // 鼠标移动事件
        function mouseMove() {
            box.innerHTML = i; // 显示当前计数器值
            i++; // 更新计数器
            console.log(i);
        }

        // 防抖函数
        function debounce(fn, delay) {
            return function () {
                console.log("防抖函数被调用"); // 添加调试信息
                if (timer) {
                    clearTimeout(timer);
                }
                timer = setTimeout(() => {
                    fn(); // 调用传入的函数
                }, delay);
            };
        }

        // 为盒子添加鼠标移动事件监听器
        box.addEventListener('mousemove', debounce(mouseMove, 300));
    </script>
</body>

</html>