一、搭建环境
1.1 下载源码到本地
在github中找到spring-framework项目,或者这个地址(https://github.com/spring-projects/spring-framework)
然后把项目下载到本地目录,如图

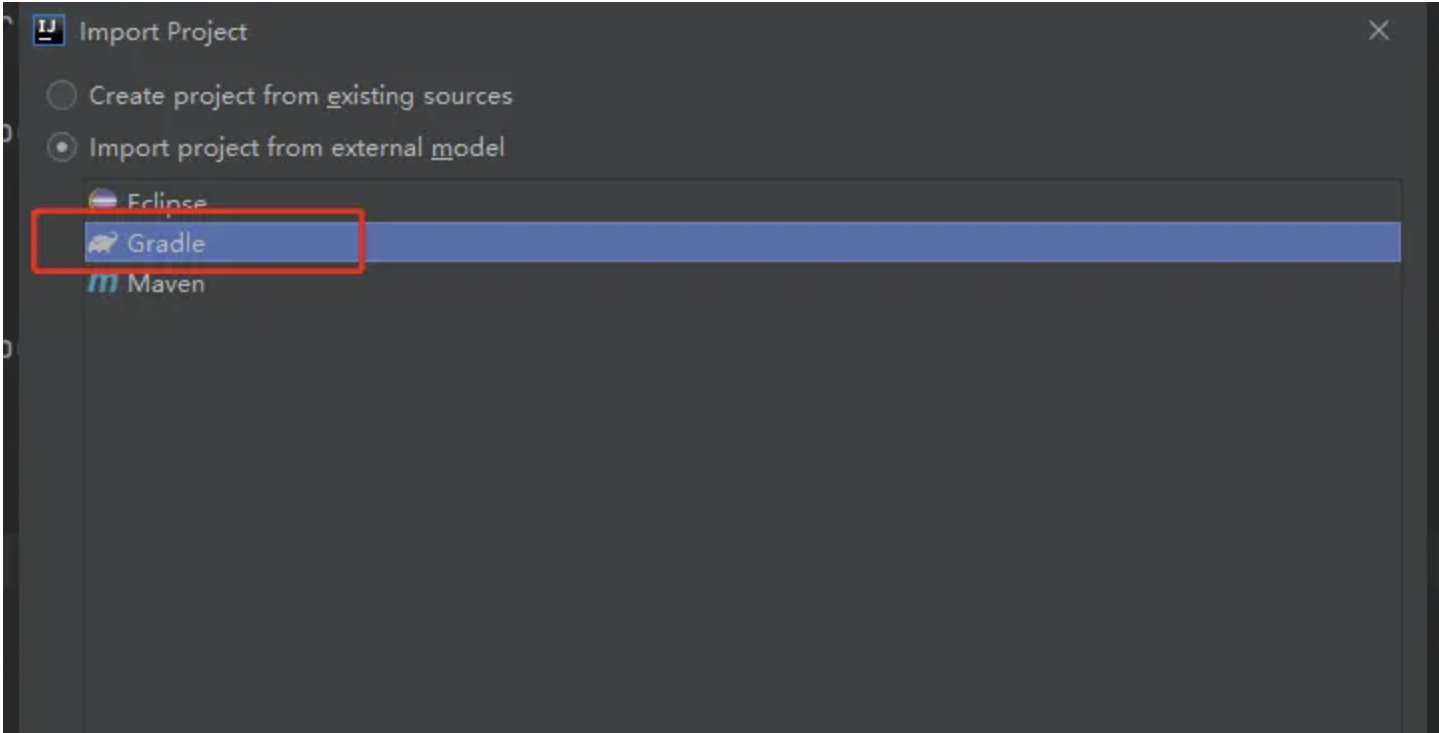
1.2 然后用idea打开这个项目
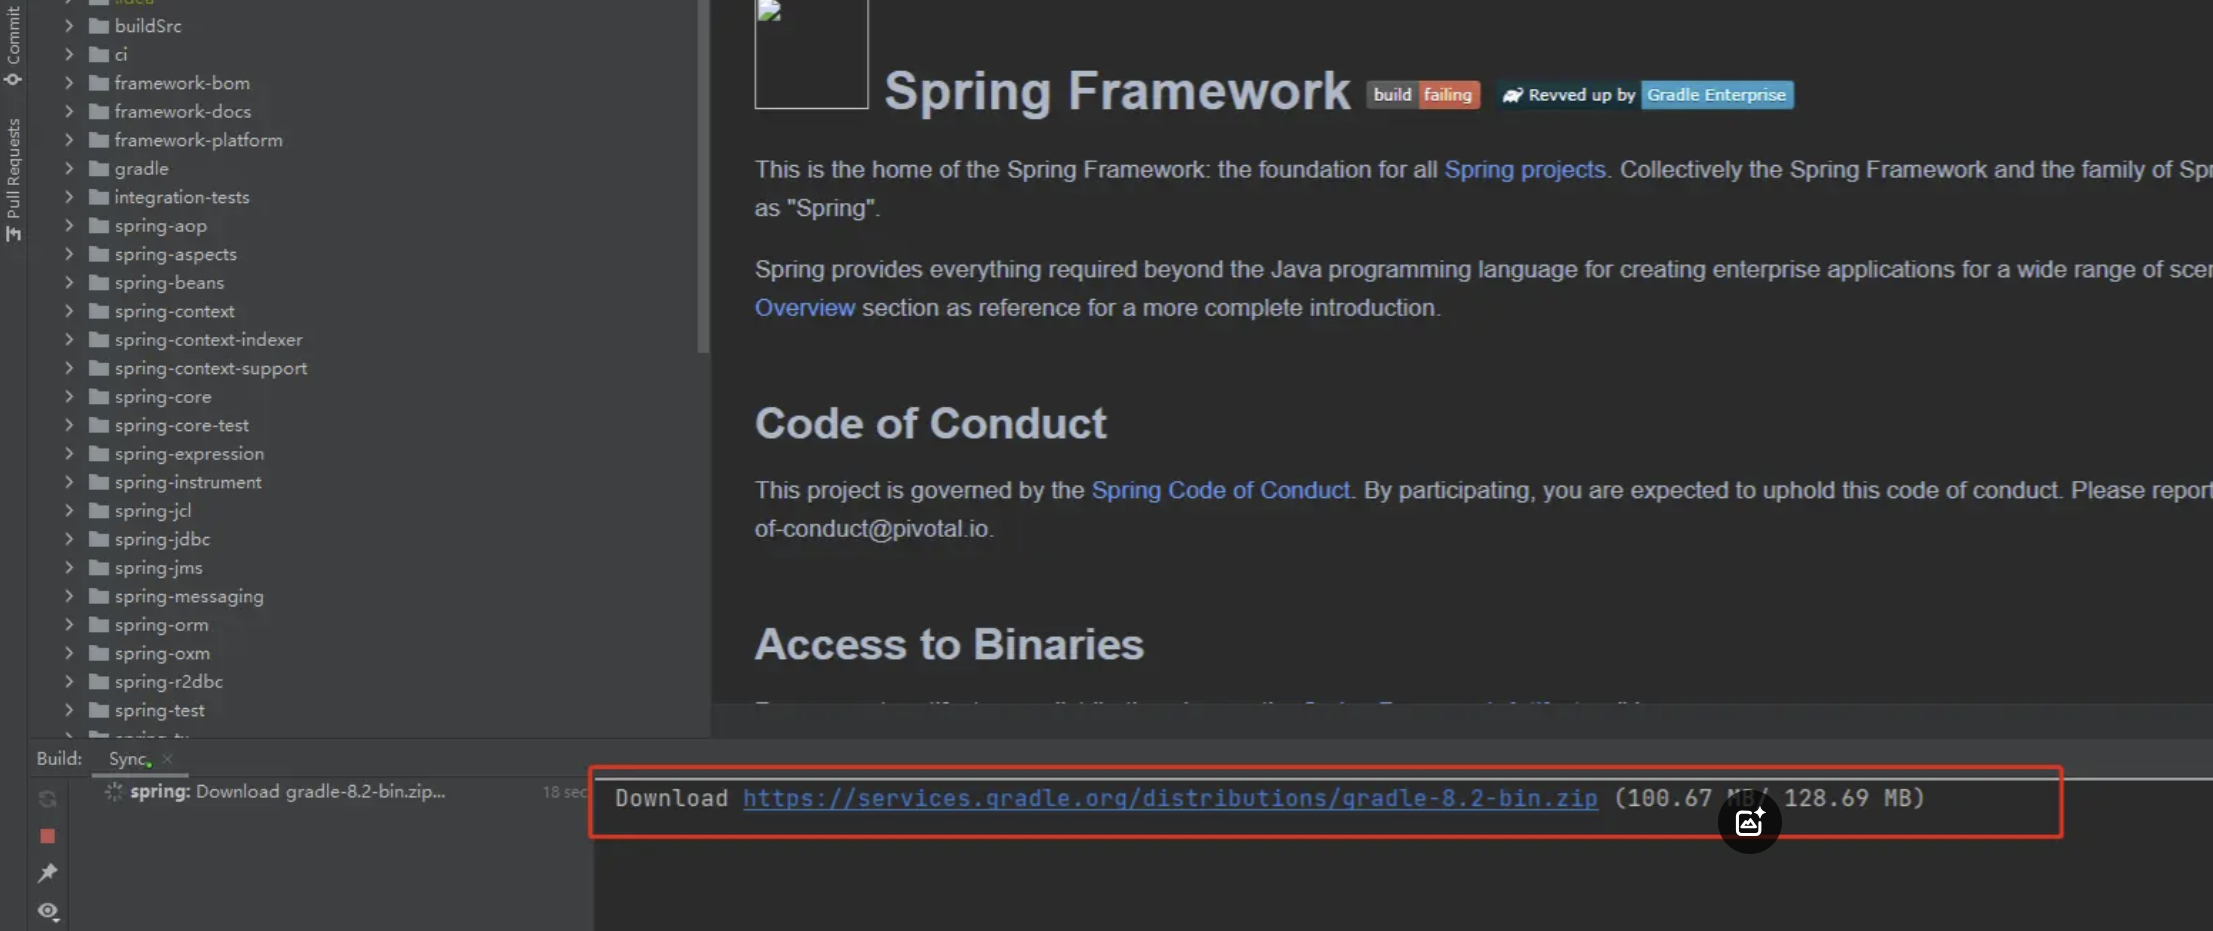
1.3 然后等构建,我这里耗时比较久,要等构建成功

二、新增模块
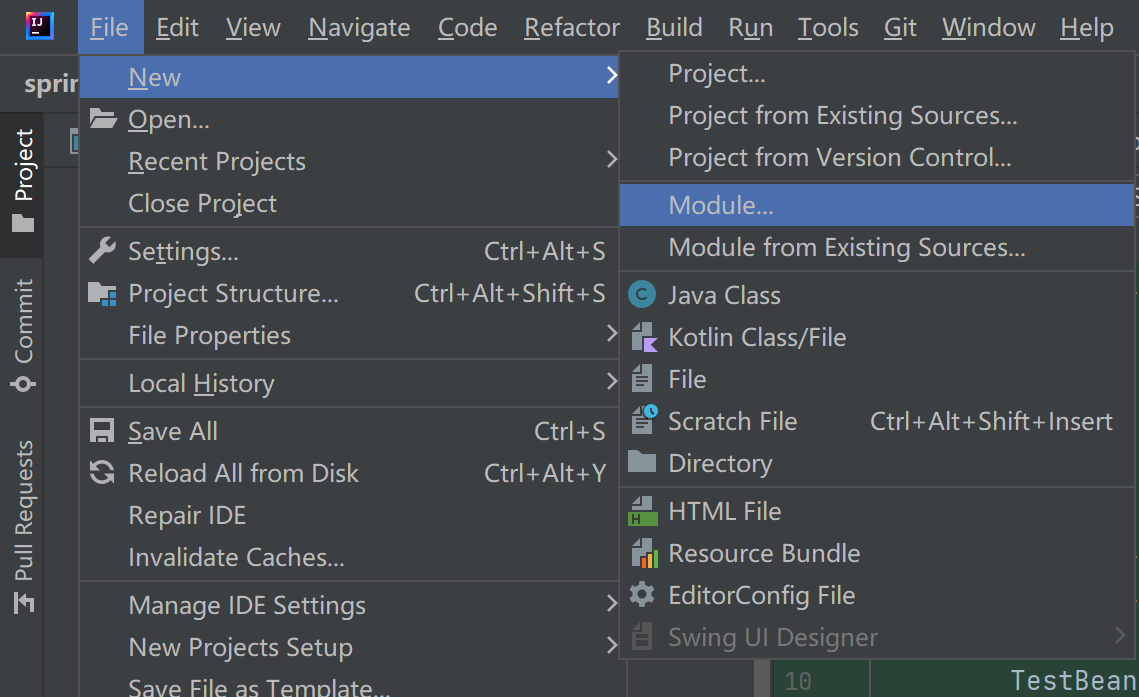
2.1 新增模块,命名my-spring
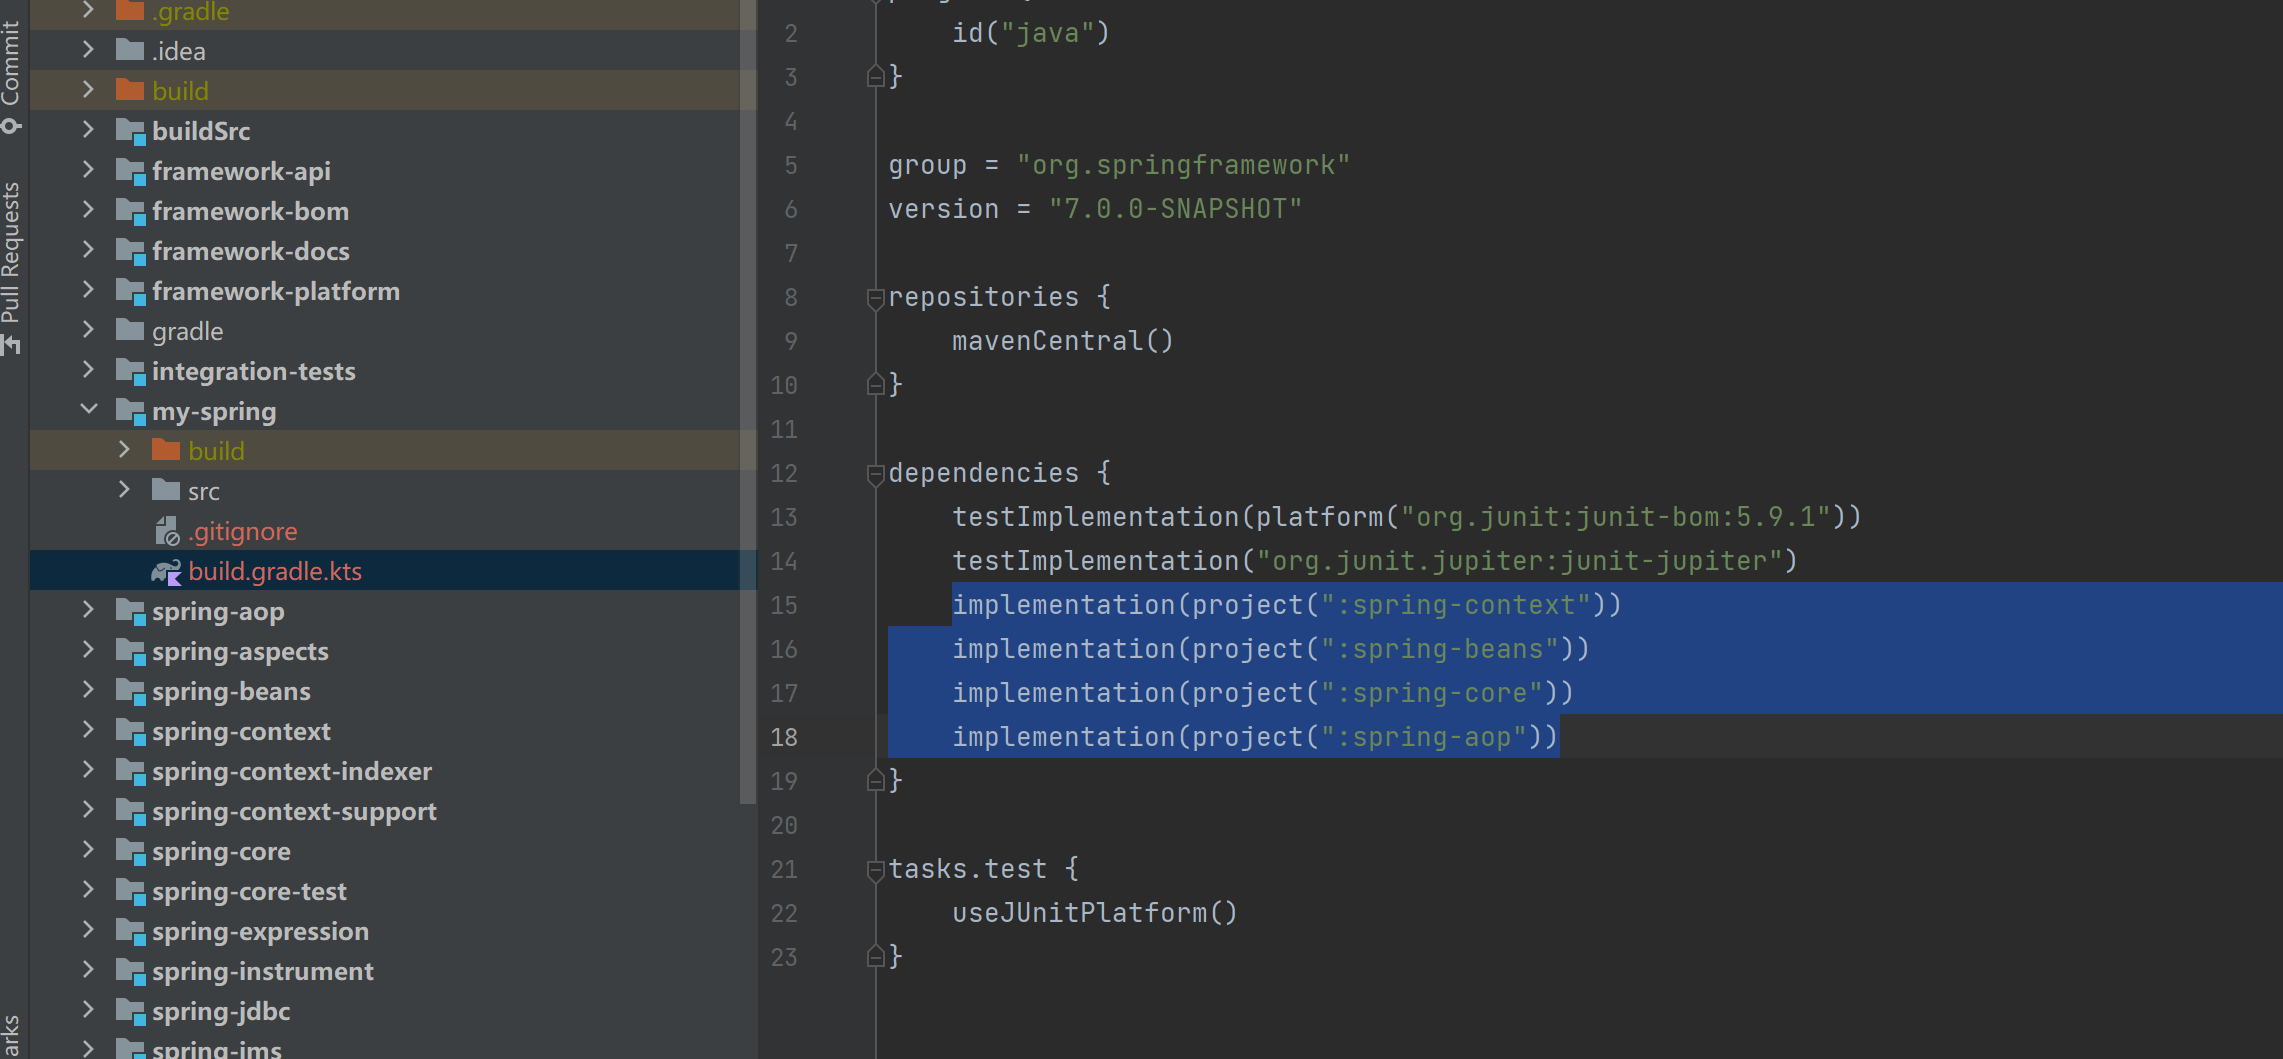
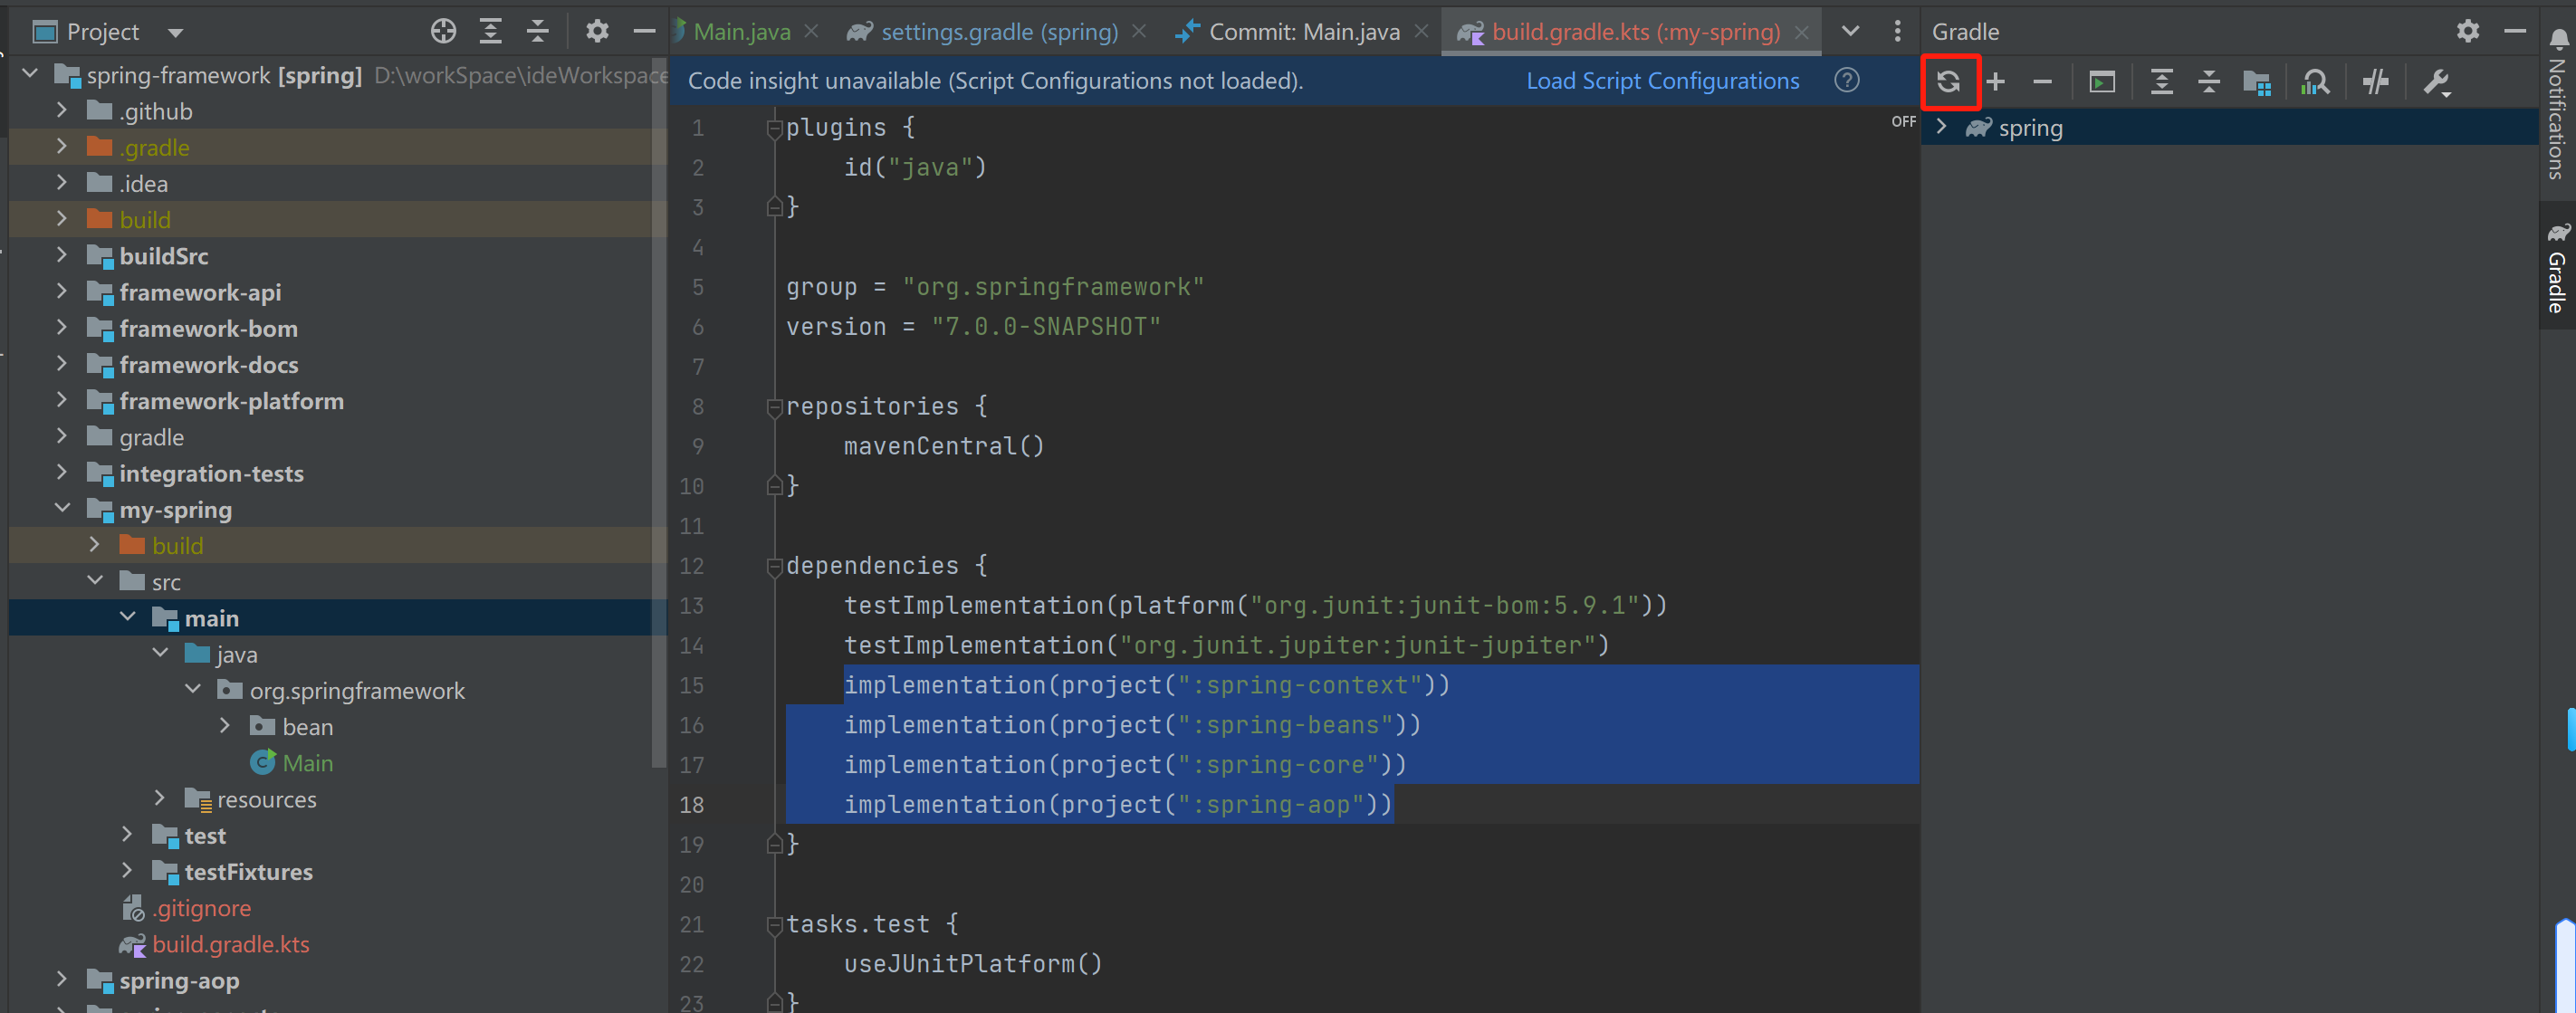
2.2 在新建模块的build.gradle.kts文件添加依赖
    implementation(project(":spring-context"))
	implementation(project(":spring-beans"))
	implementation(project(":spring-core"))
	implementation(project(":spring-aop"))
如图:
2.3 更新依赖,如图
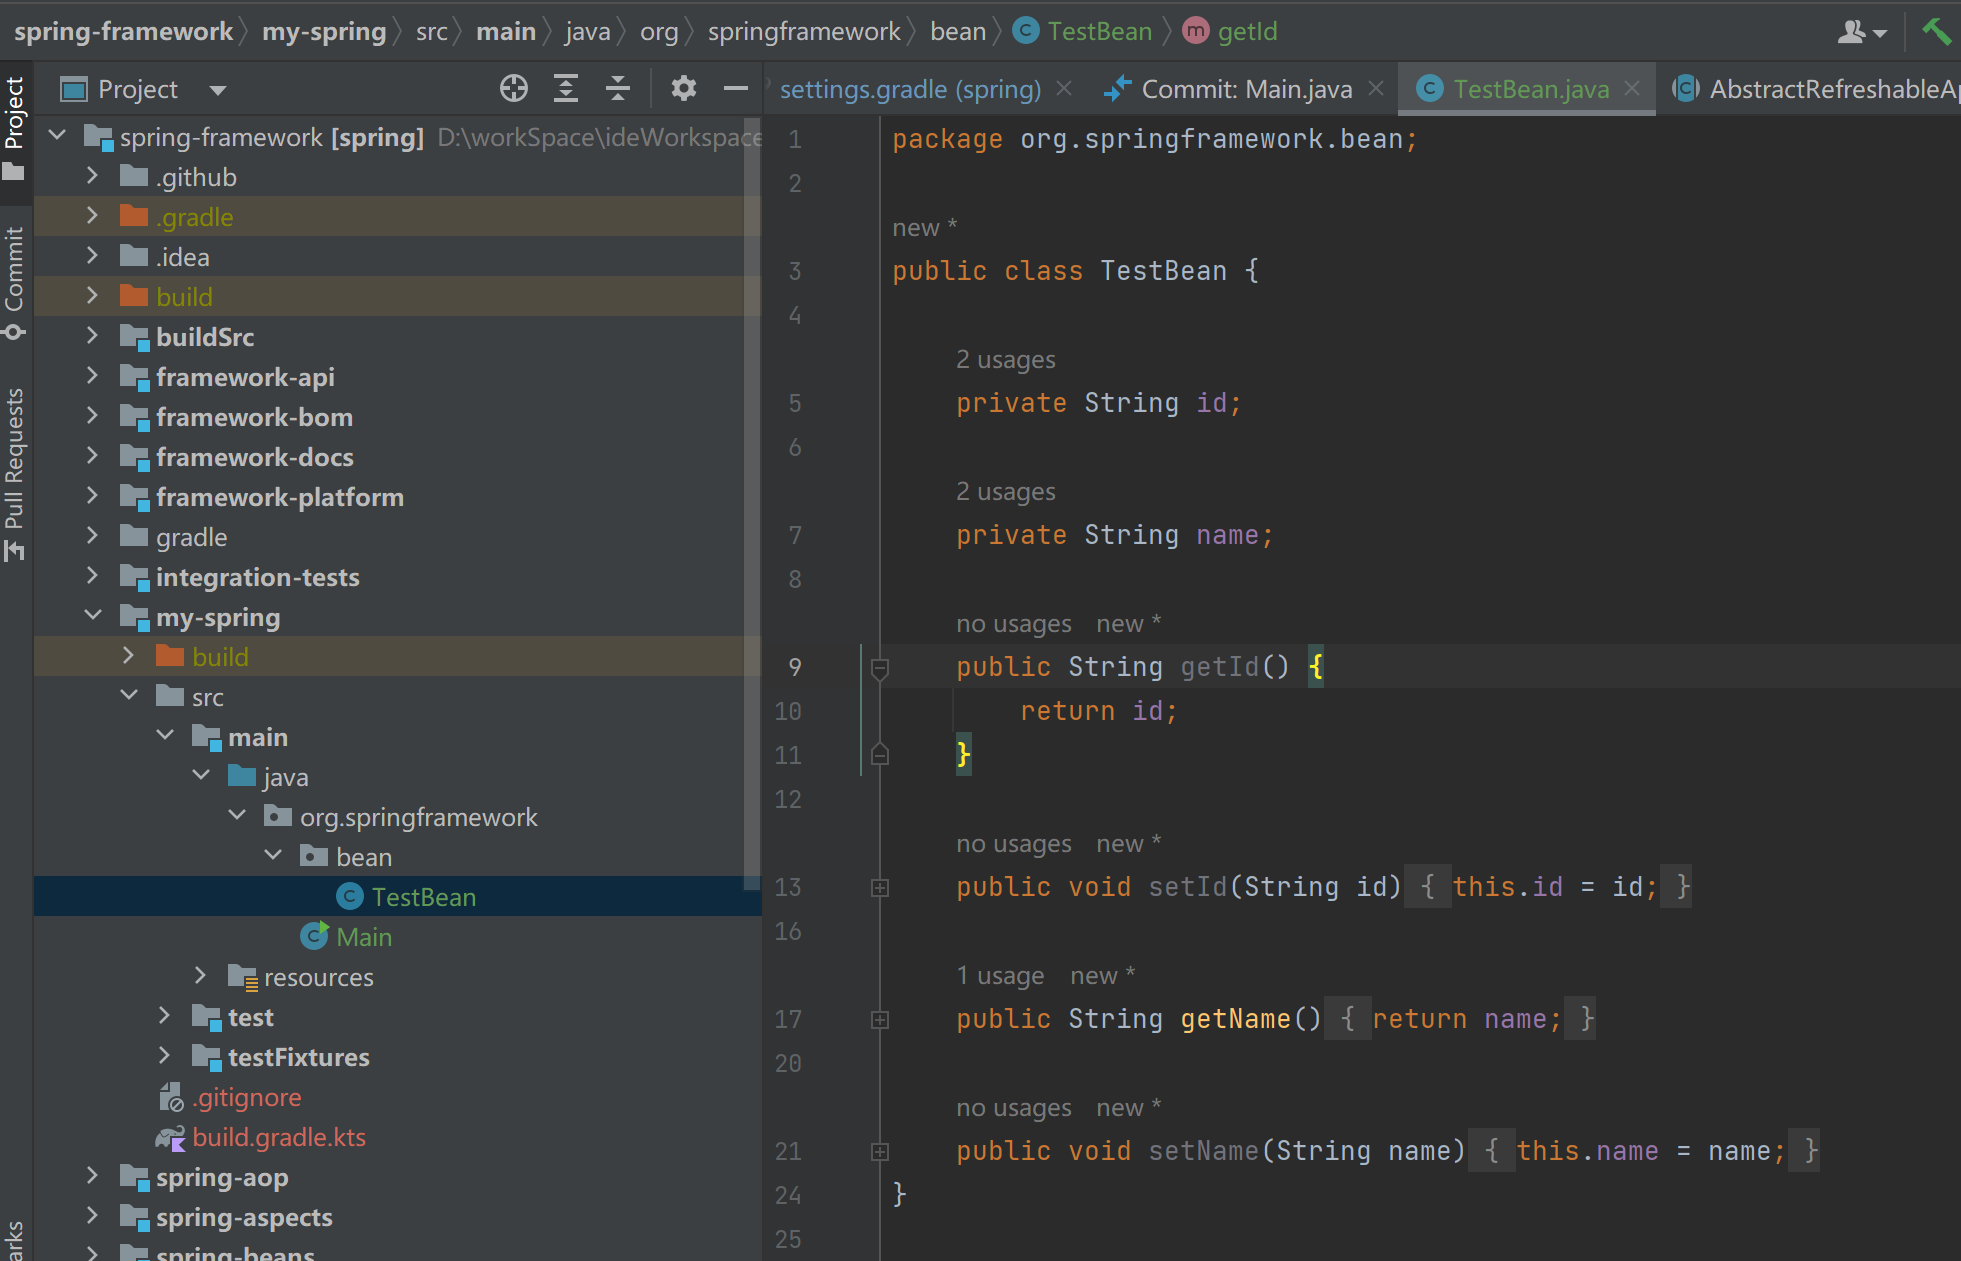
2.4 创建实体类TestBean,如图
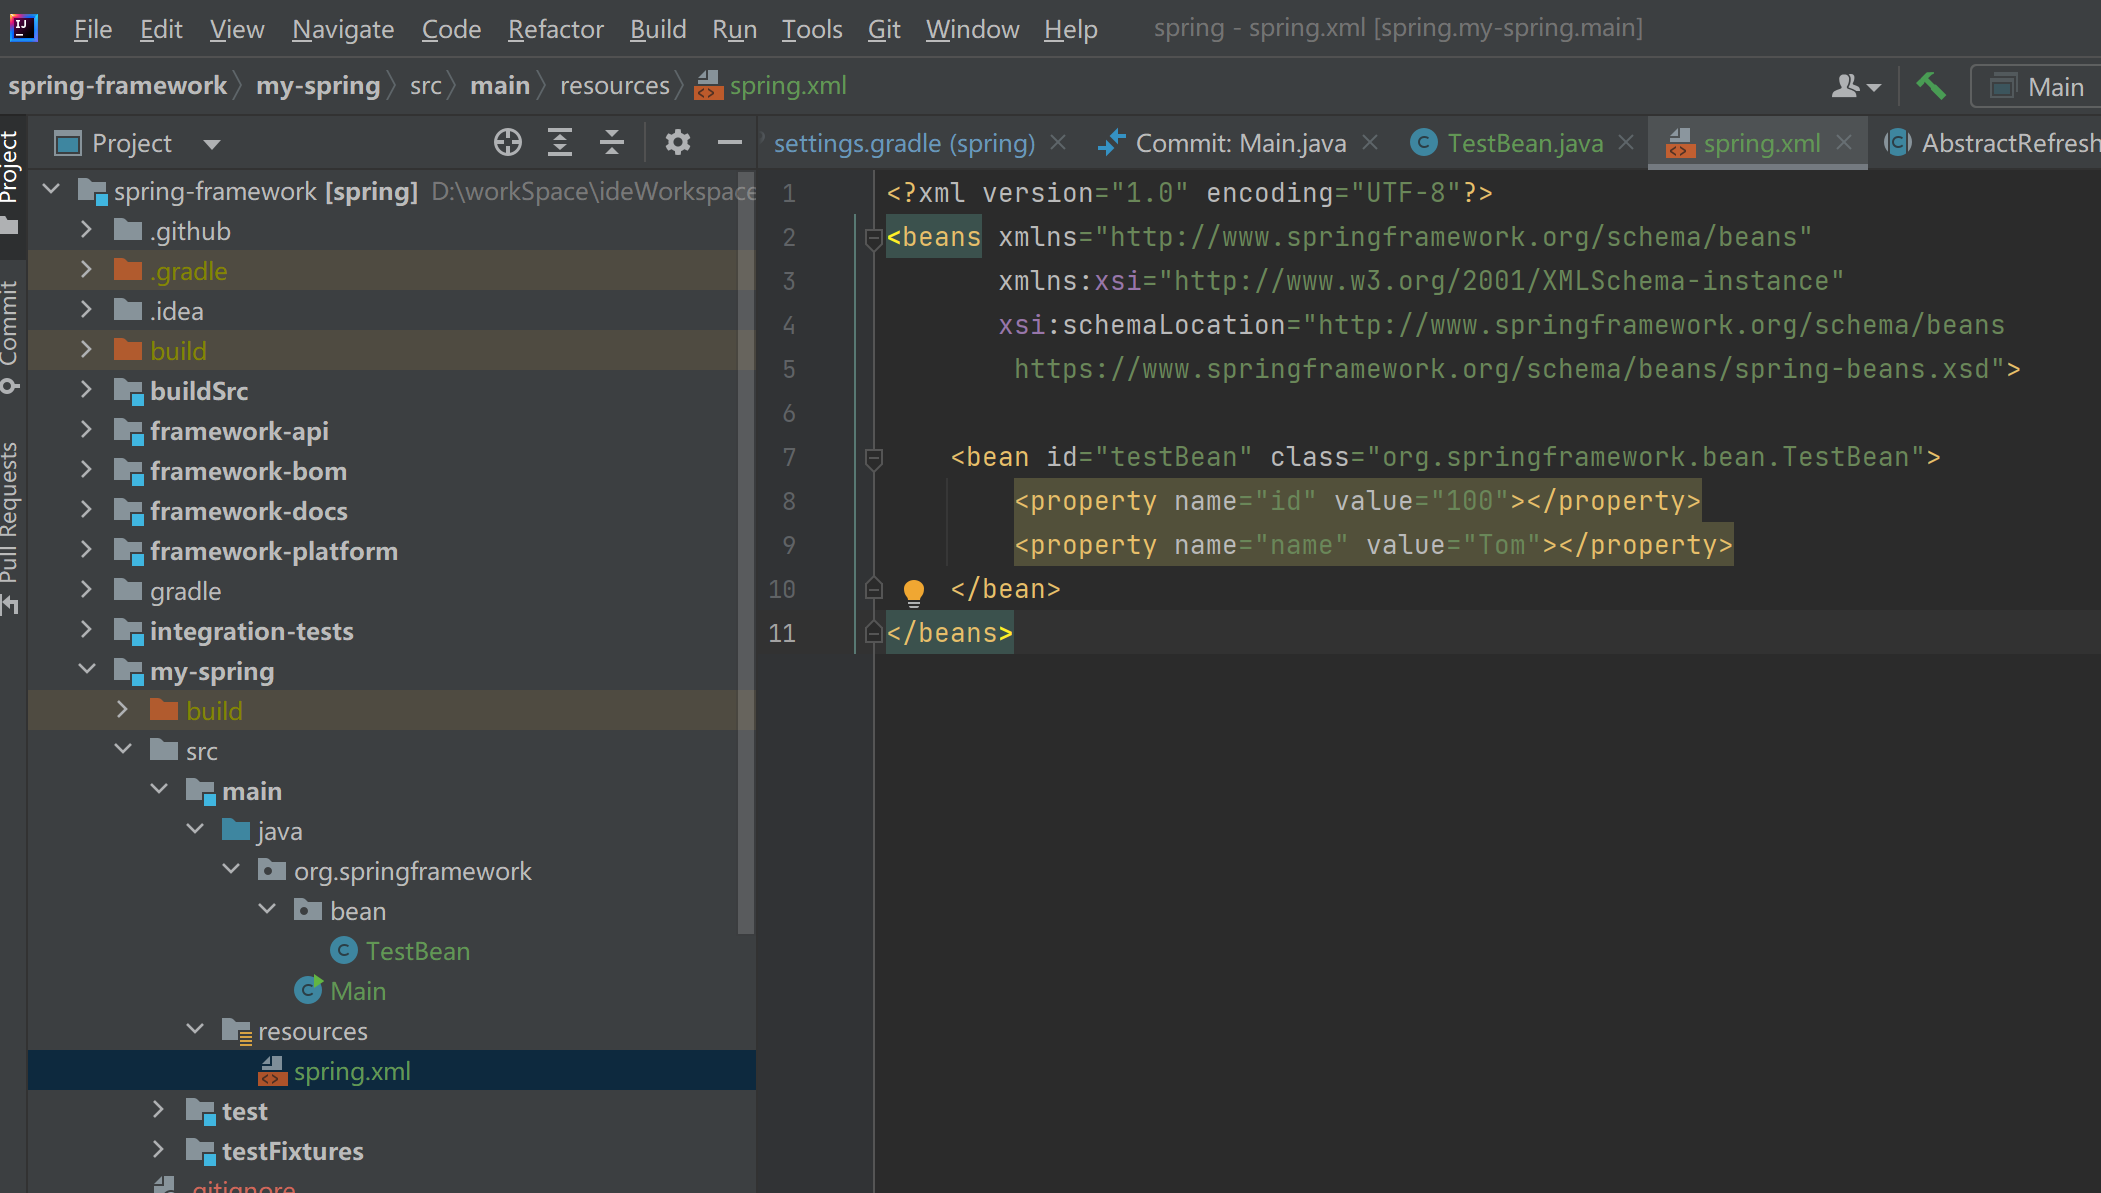
2.5 增加spring.xml文件
XML
<?xml version="1.0" encoding="UTF-8"?>
<beans xmlns="http://www.springframework.org/schema/beans"
	   xmlns:xsi="http://www.w3.org/2001/XMLSchema-instance"
	   xsi:schemaLocation="http://www.springframework.org/schema/beans
        https://www.springframework.org/schema/beans/spring-beans.xsd">

	<bean id="testBean" class="org.springframework.bean.TestBean">
		<property name="id" value="100"></property>
		<property name="name" value="Tom"></property>
	</bean>
</beans>如图
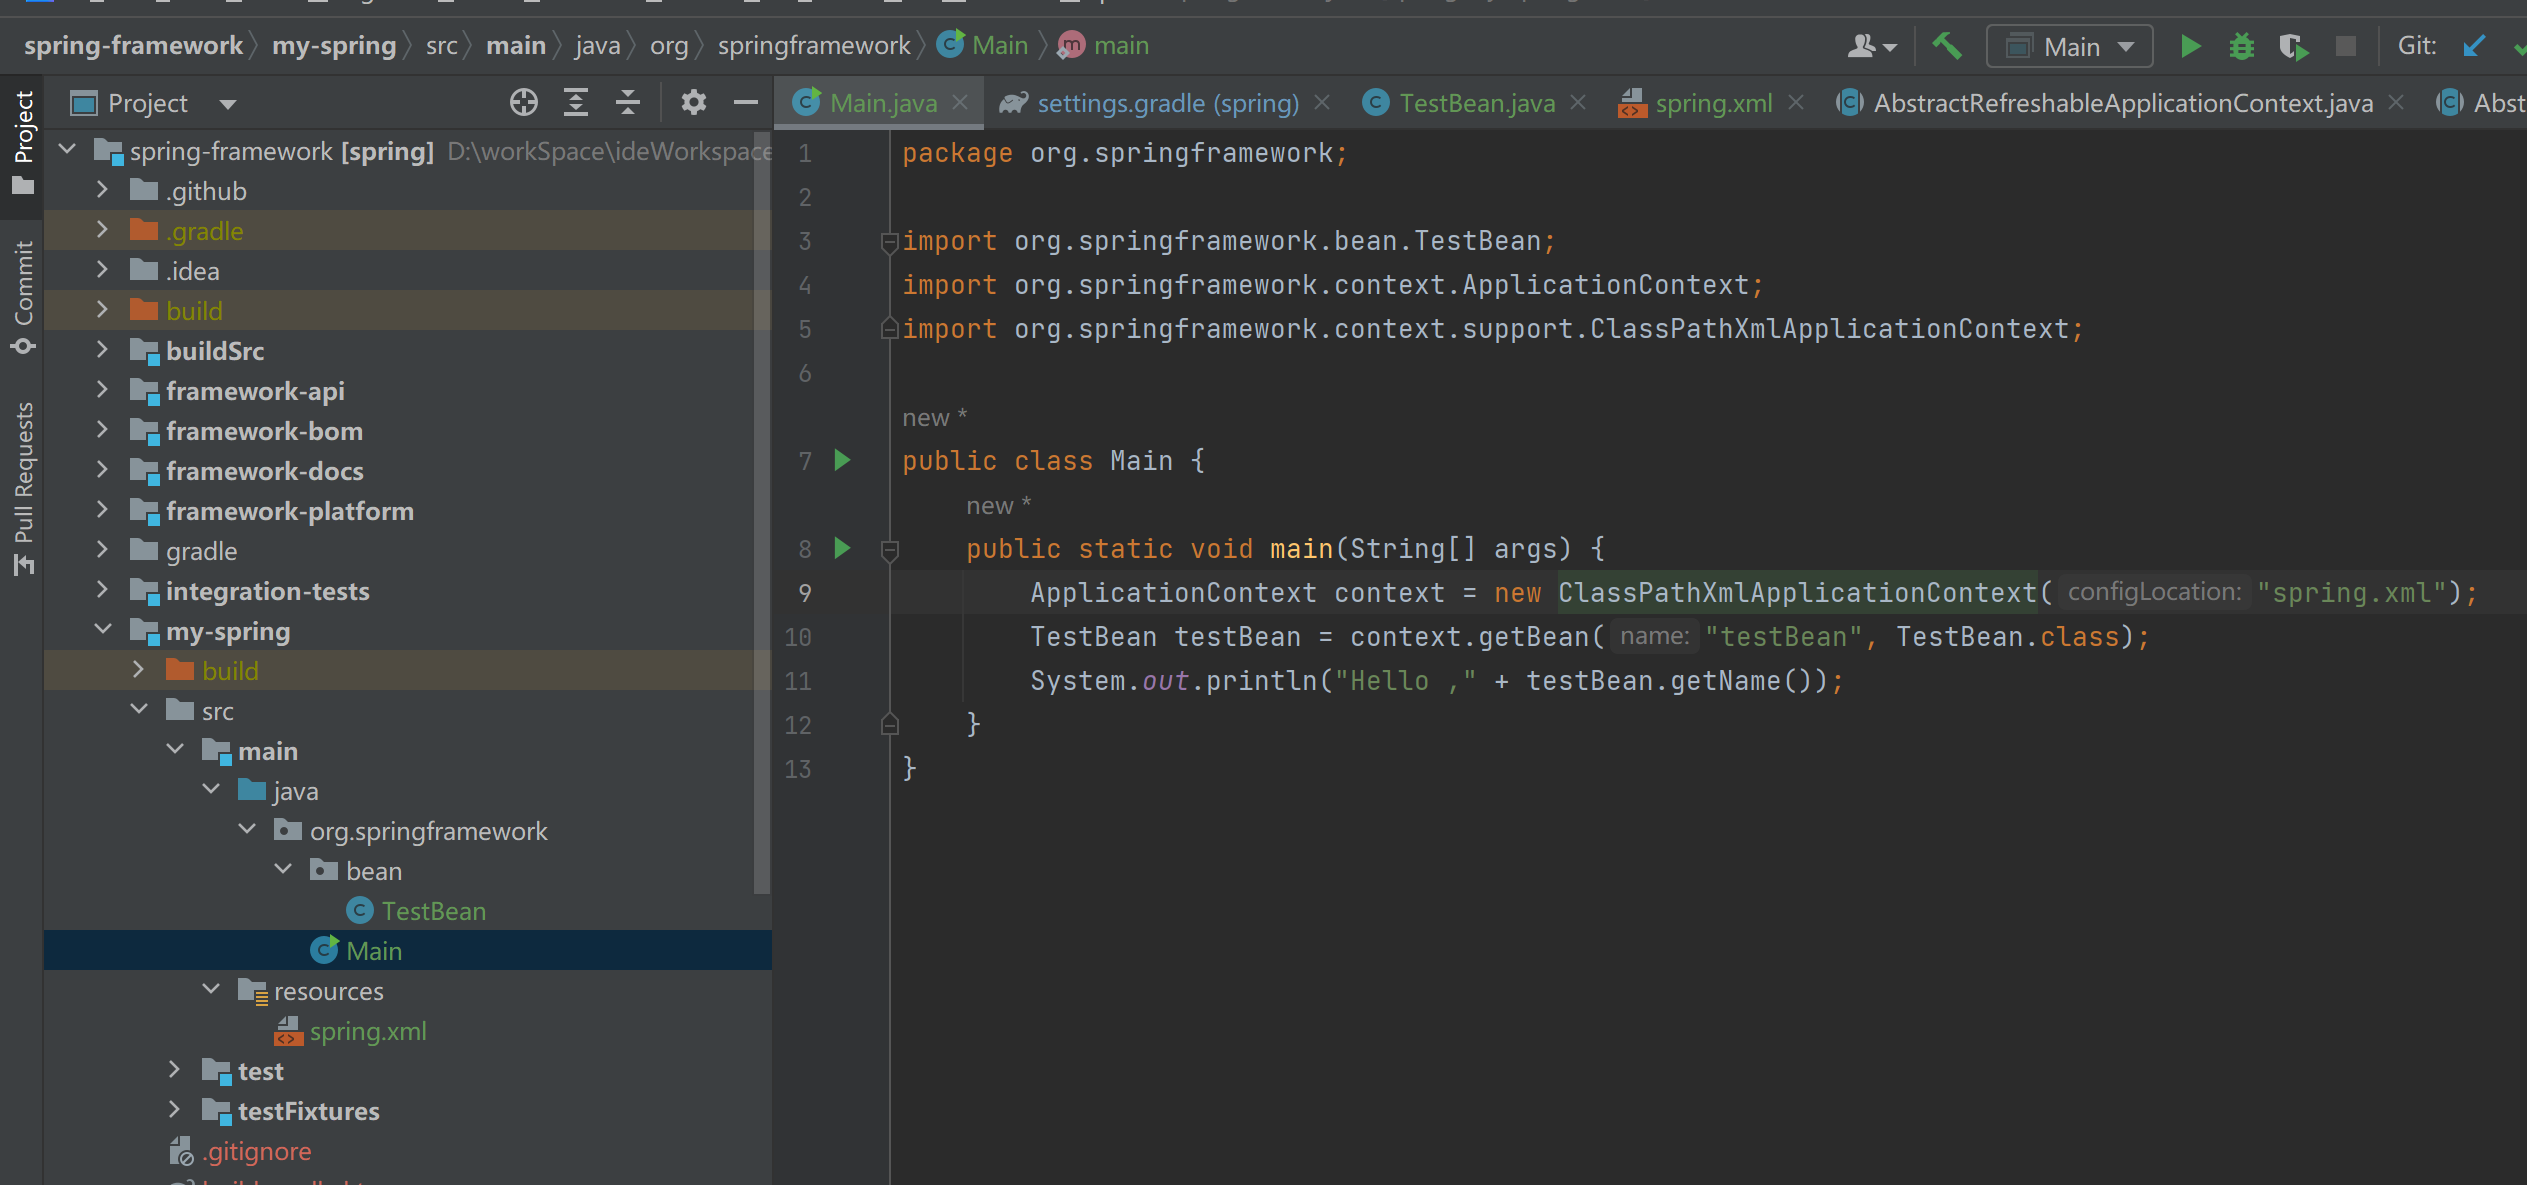
2.6 在main方法加载xml
XML
package org.springframework;

import org.springframework.bean.TestBean;
import org.springframework.context.ApplicationContext;
import org.springframework.context.support.ClassPathXmlApplicationContext;

public class Main {
	public static void main(String[] args) {
		ApplicationContext context = new ClassPathXmlApplicationContext("spring.xml");
		TestBean testBean = context.getBean("testBean", TestBean.class);
		System.out.println("Hello ," + testBean.getName());
	}
}如图
三、查看源码
3.1 debug ClassPathxmlapplicationContext类,启动程序,进入该类。
3.2 进入该类后,一直往下走,走到AbstractApplicationContext类的refresh()方法,这块就是spring的核心代码了,如图
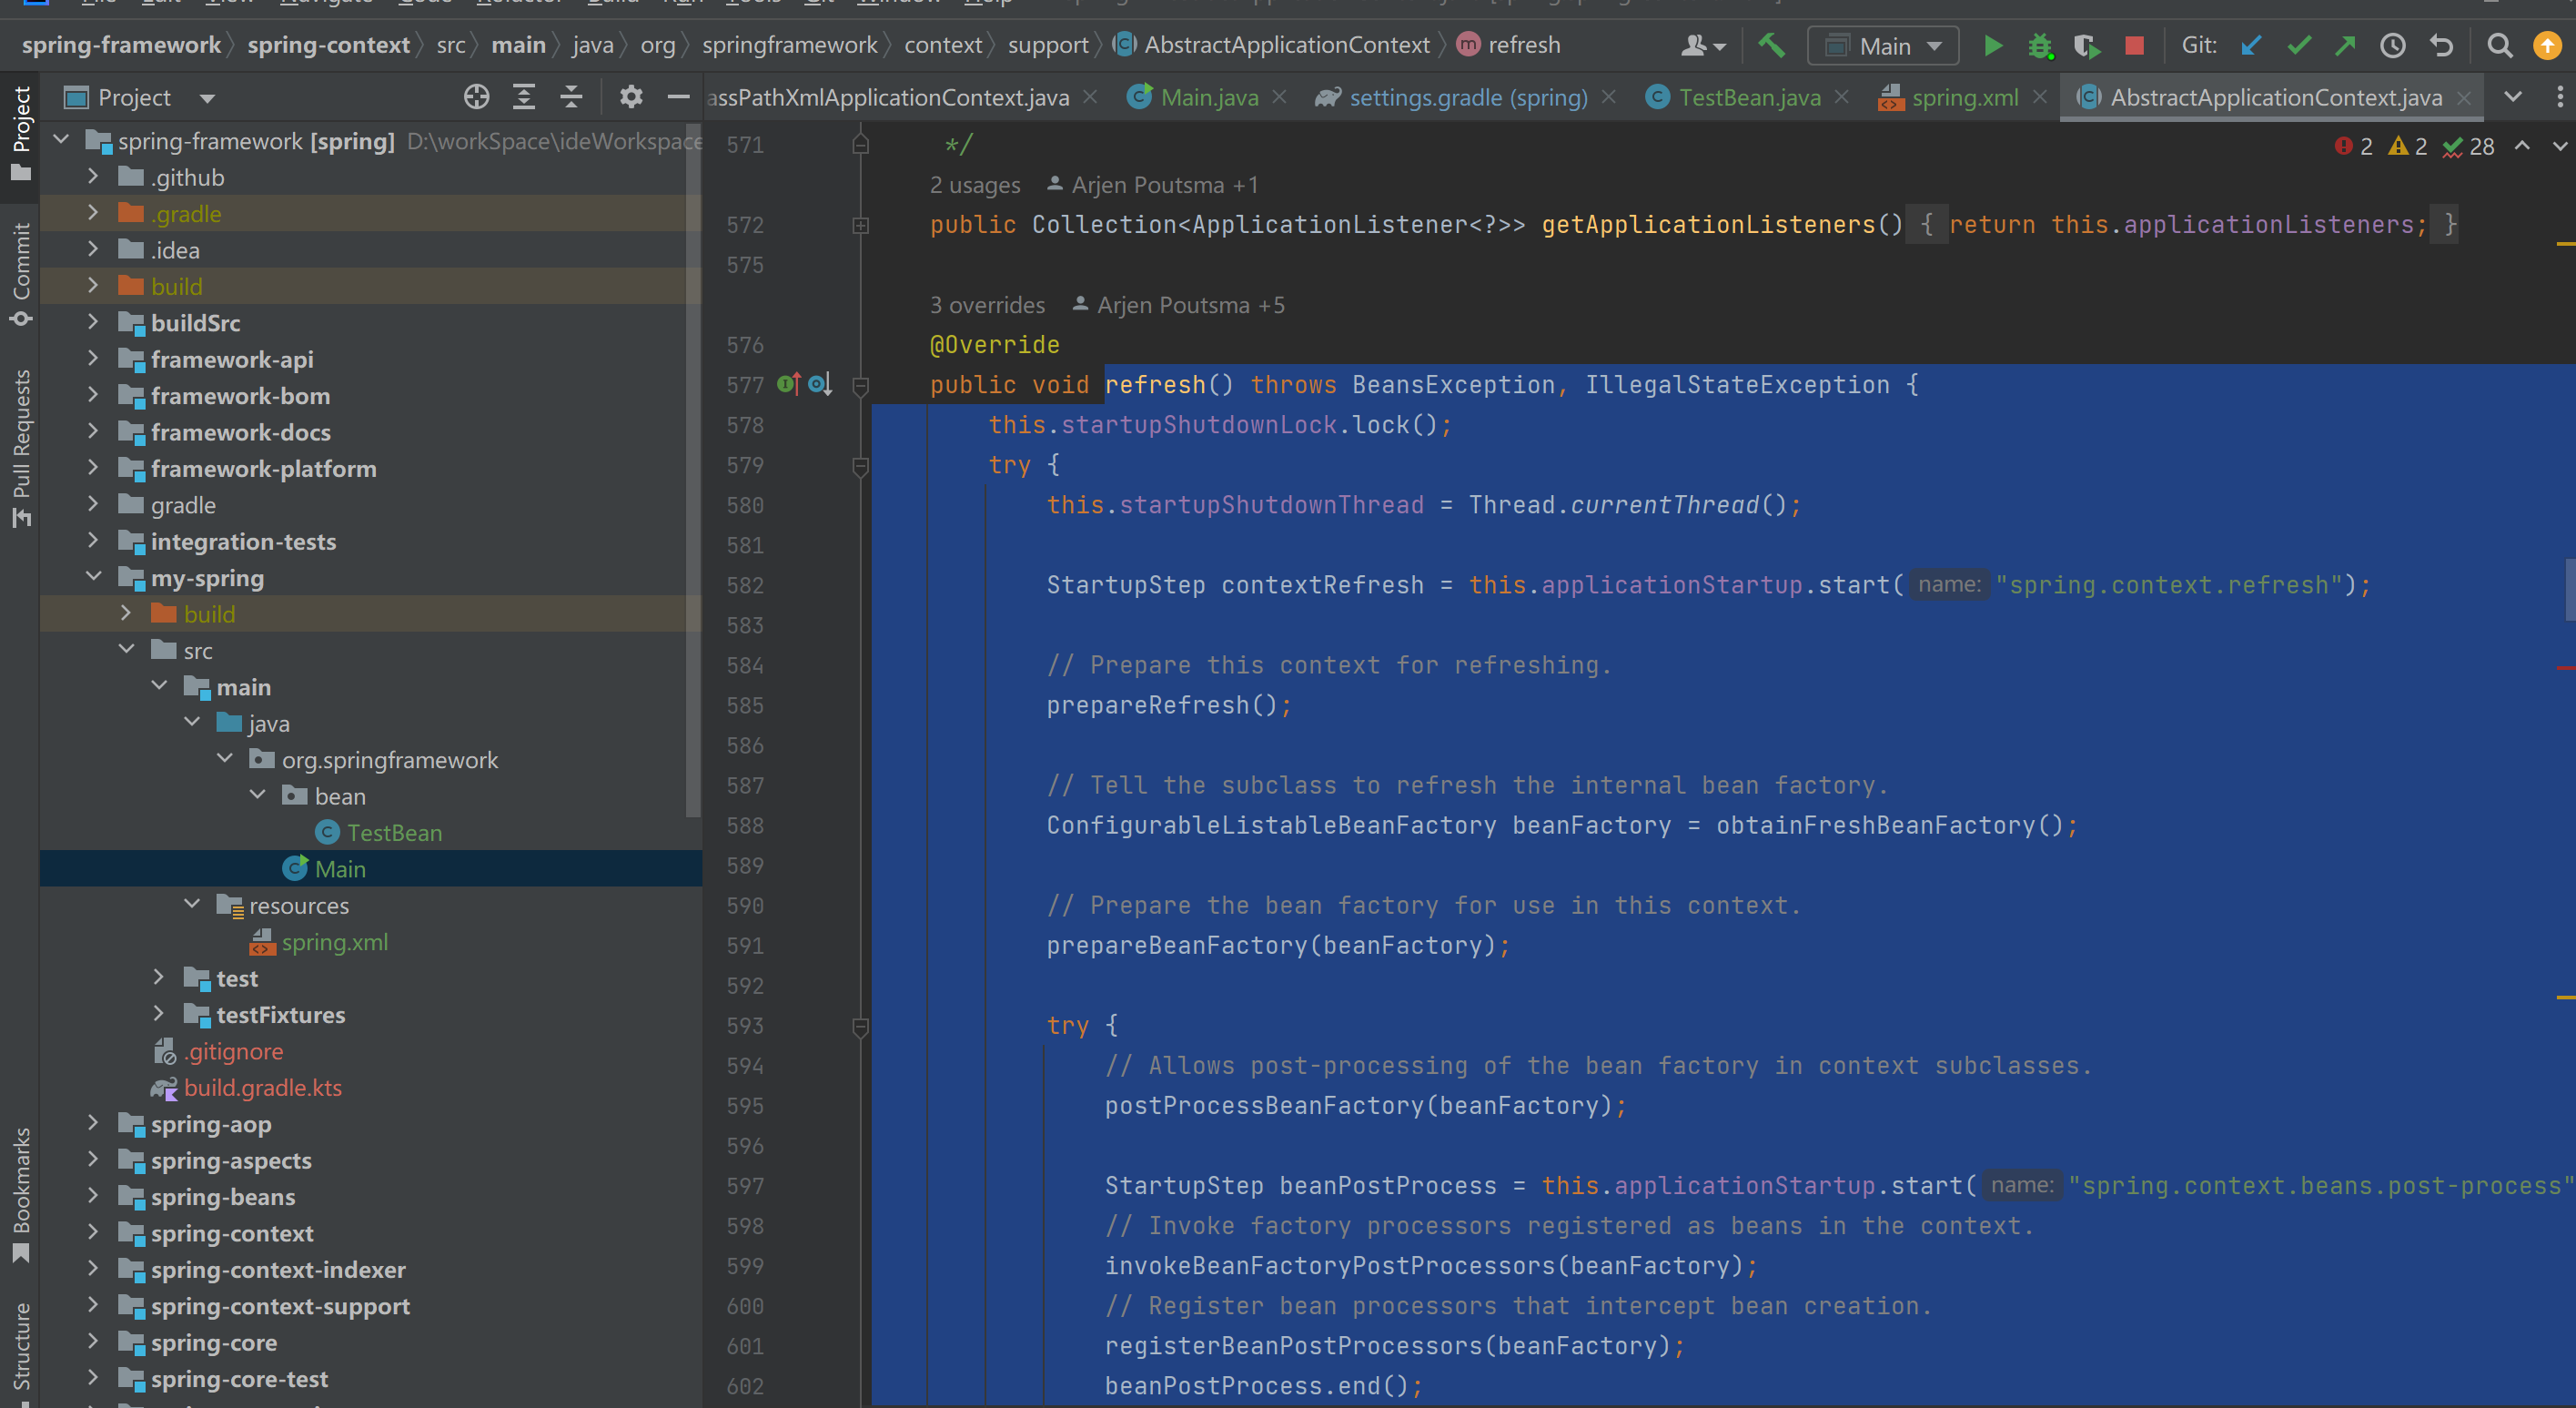
到这步就可以慢慢看spring的核心代码了!