在完成了Oracle Linux 9的初始化配置之后,我们准备安装Oracle 19c数据库软件。
Oracle数据库支持两种主要的安装方式:图形化安装和静默安装。这两种方法各有优缺点,选择哪种取决于你的具体需求、环境配置以及个人偏好。
- 图形化安装
图形化安装(Graphical Installation)是通过Oracle Universal Installer (OUI)进行的,它提供了一个直观的用户界面来引导你完成整个安装过程。
- 静默安装
静默安装(Silent Installation)是一种无需人工干预的安装方式,适用于自动化部署场景。它通过响应文件(response file)来定义所有安装参数。
接下来我们会将这两种安装方式做一个详细的演示
一、 DB安装
1.1 上传软件并解压
上传软件包的方式有多种,可以通过sftp或虚拟机tools,这里不做详细介绍。
cpp
su -- oracle
cd /soft/
unzip LINUX.X64_193000_db_home.zip -d $ORACLE_HOME
1.2 图形化安装数据库软件
cpp
--如果安装过程中出现版本适配问题,调整以下参数
export CV_ASSUME_DISTID=RHEL7.6
[oracle@db1 ~]$ cd $ORACLE_HOME
[oracle@db1 dbhome_1]$ ./runInstaller
ERROR: Unable to verify the graphical display setup. This application requires X display. Make sure that xdpyinfo exist under PATH variable.
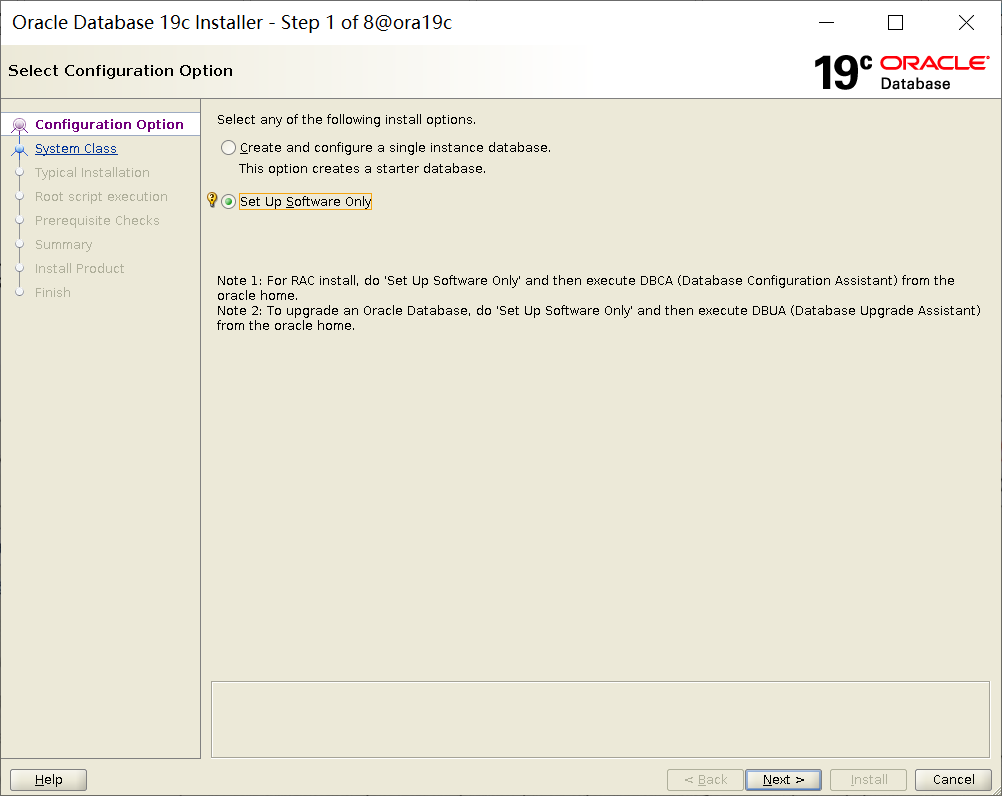
Launching Oracle Database Setup Wizard...1.3 选择只安装 database 软件
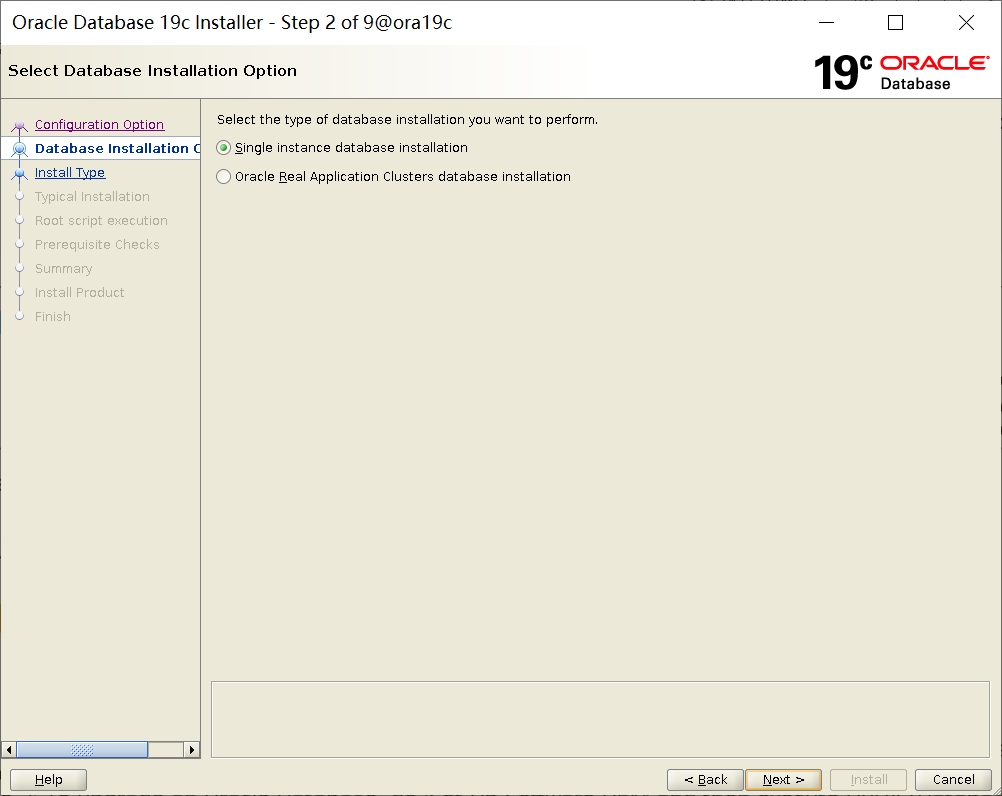
1.4 选择单实例数据库安装
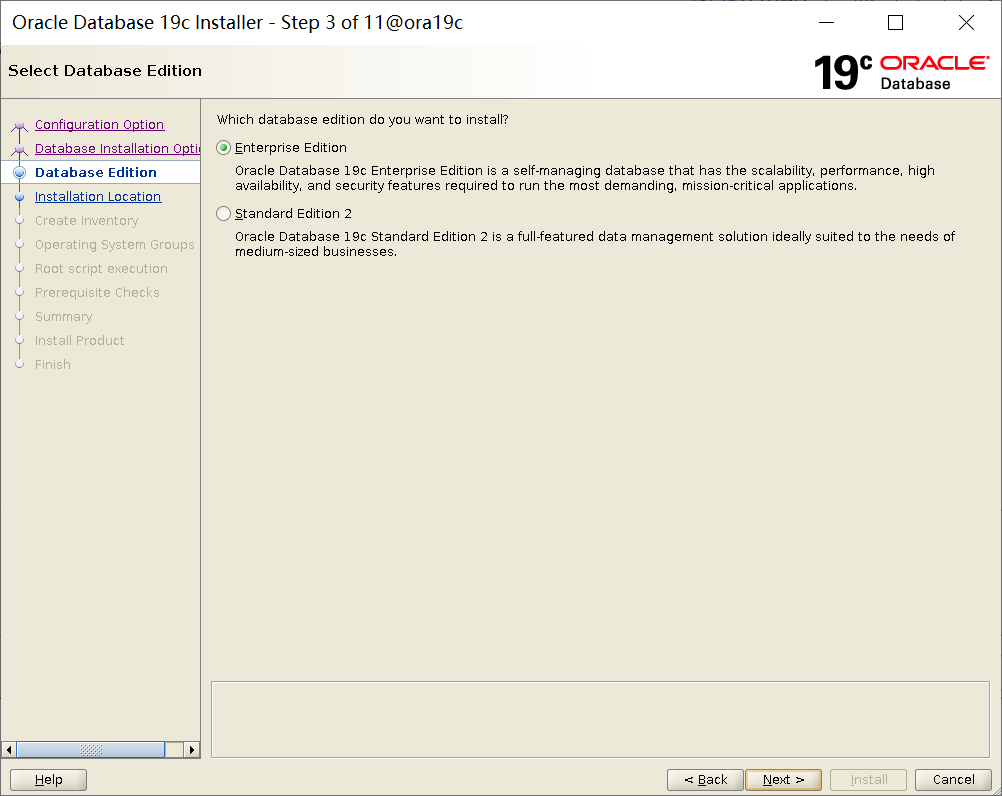
1.5 选择企业版
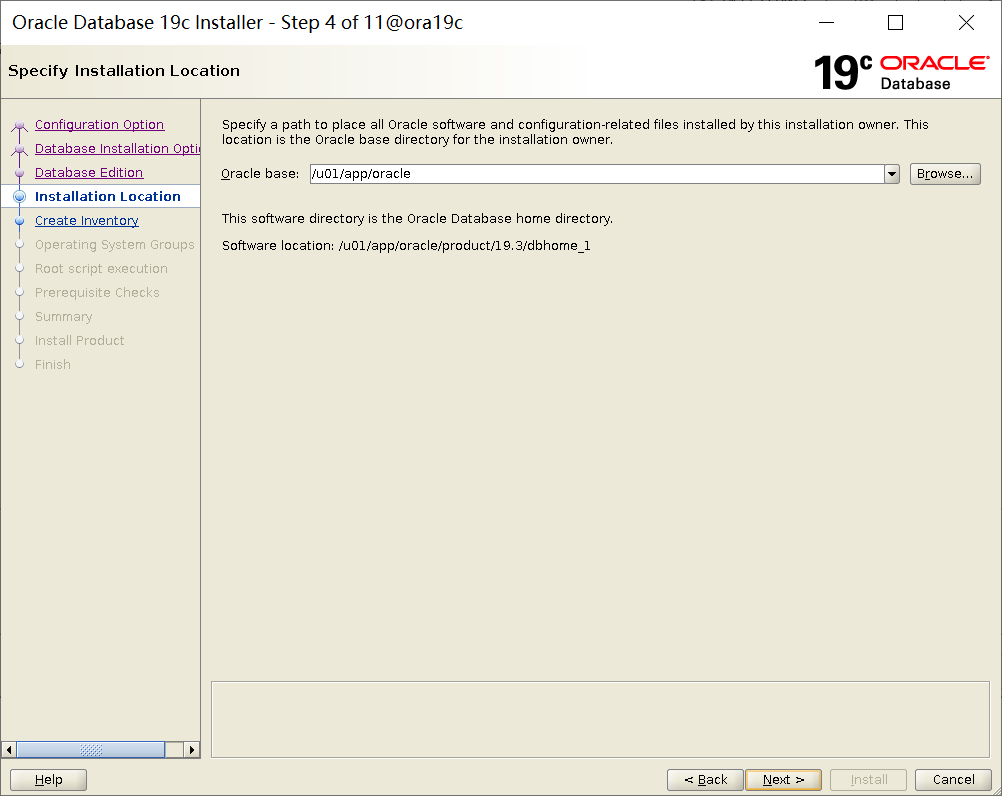
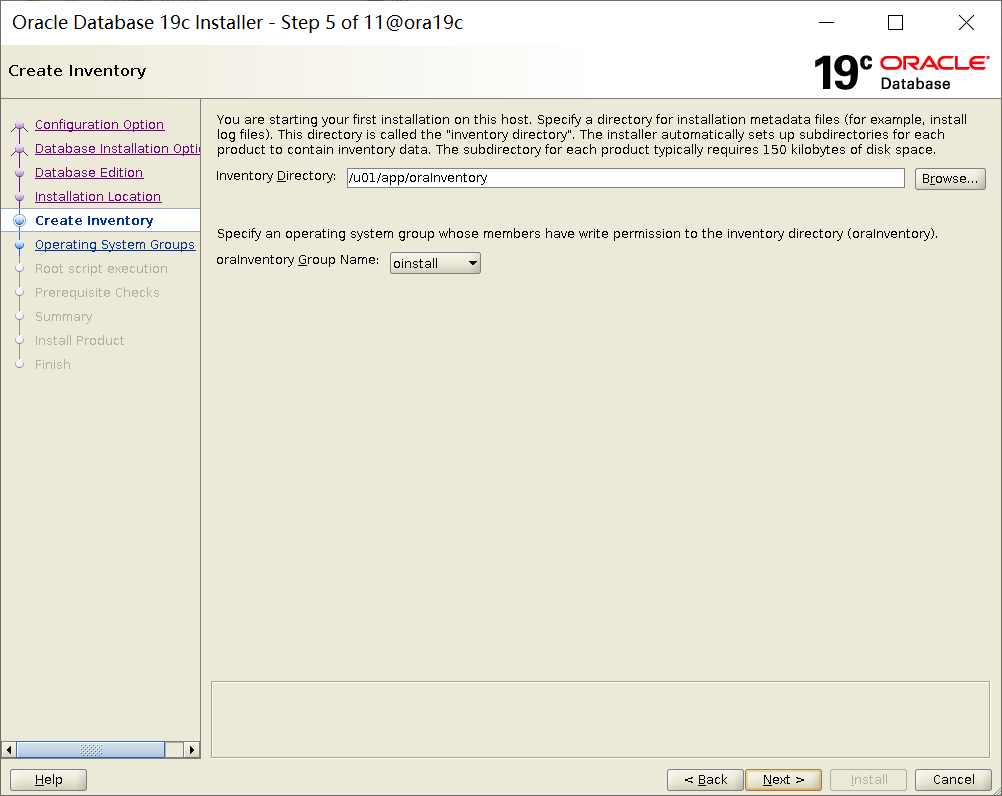
1.6 配置database的base和inventory目录
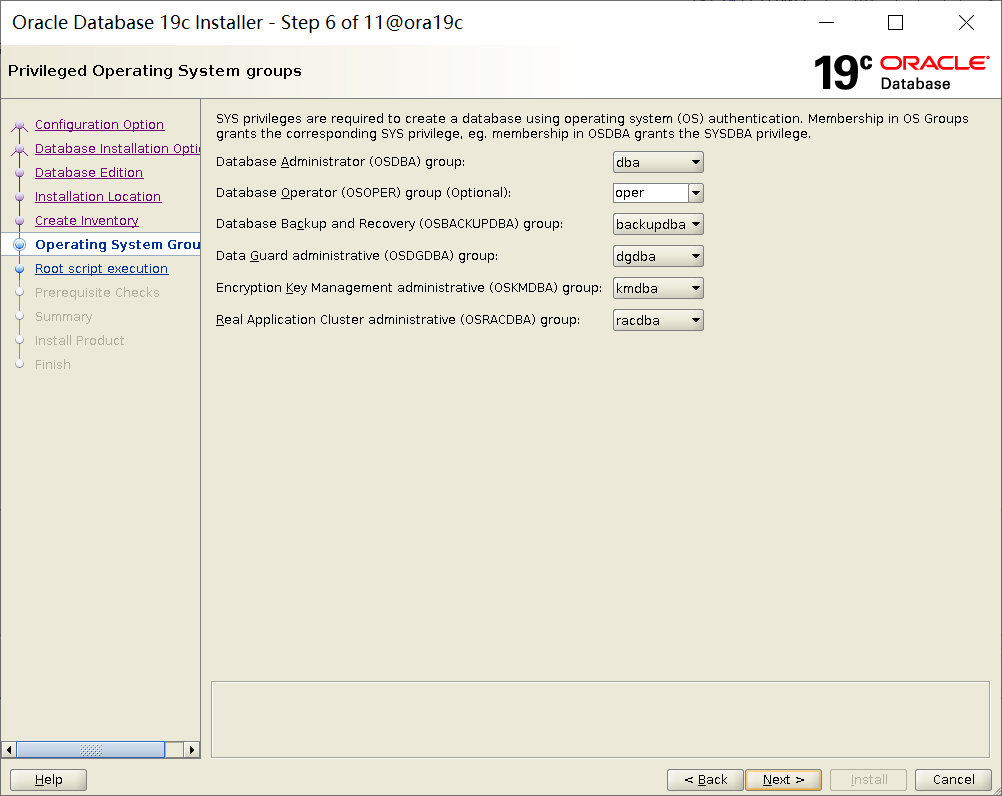
1.7 配置database 软件用户组
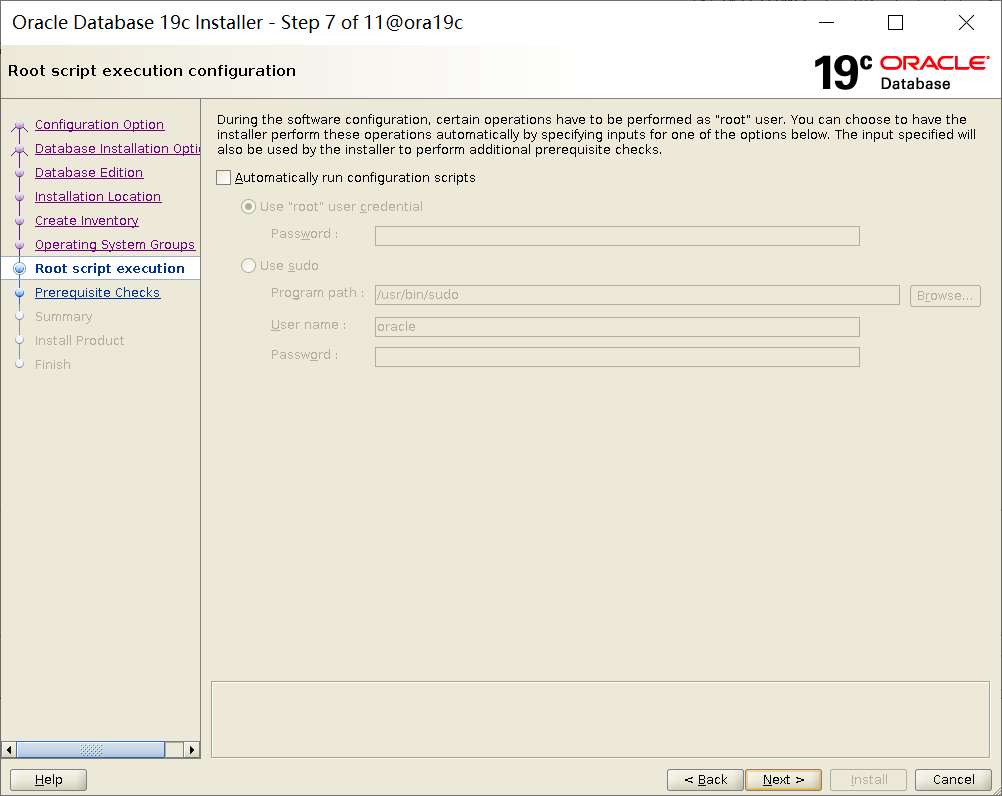
1.8 配置安装脚本自动执行
略过,不需要配置
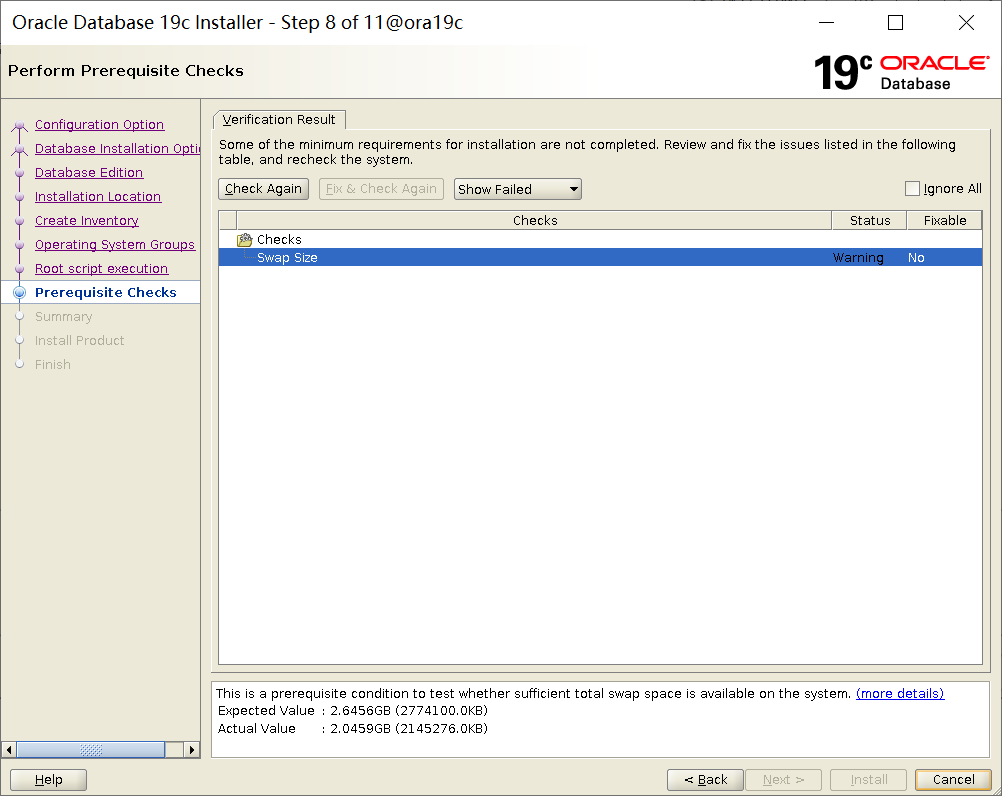
1.9 安装前检查
swap检查可以忽略继续安装,等安装完之后再做调整。
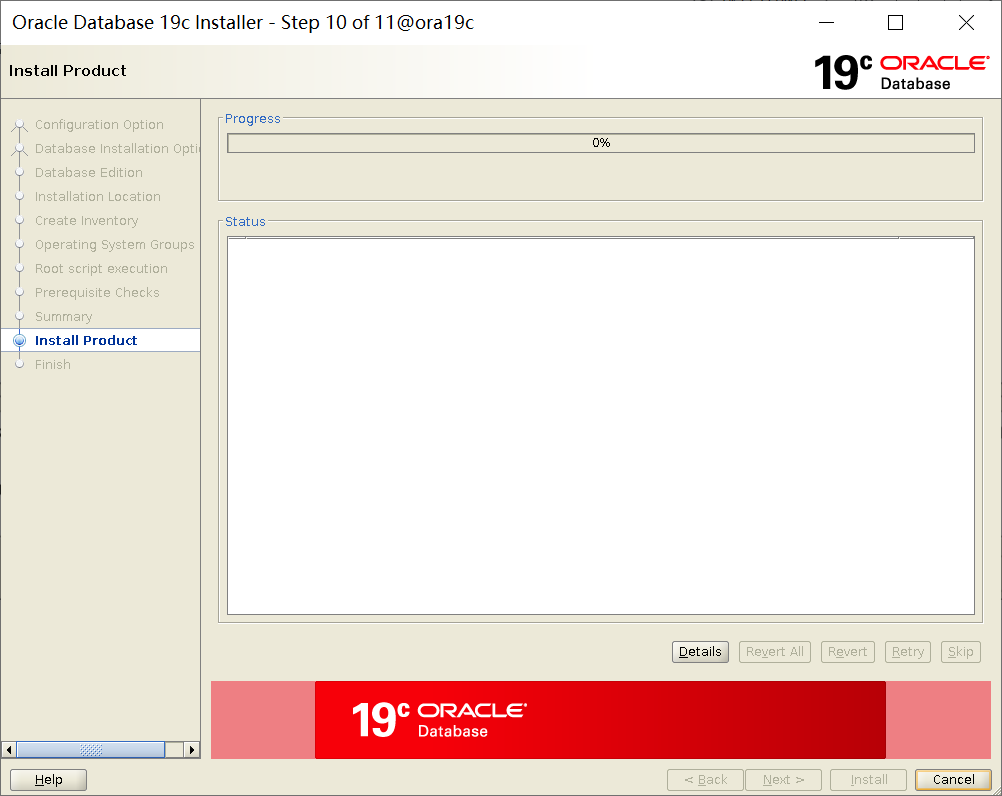
1.10 开始安装数据库软件
1.11 执行root.sh脚本
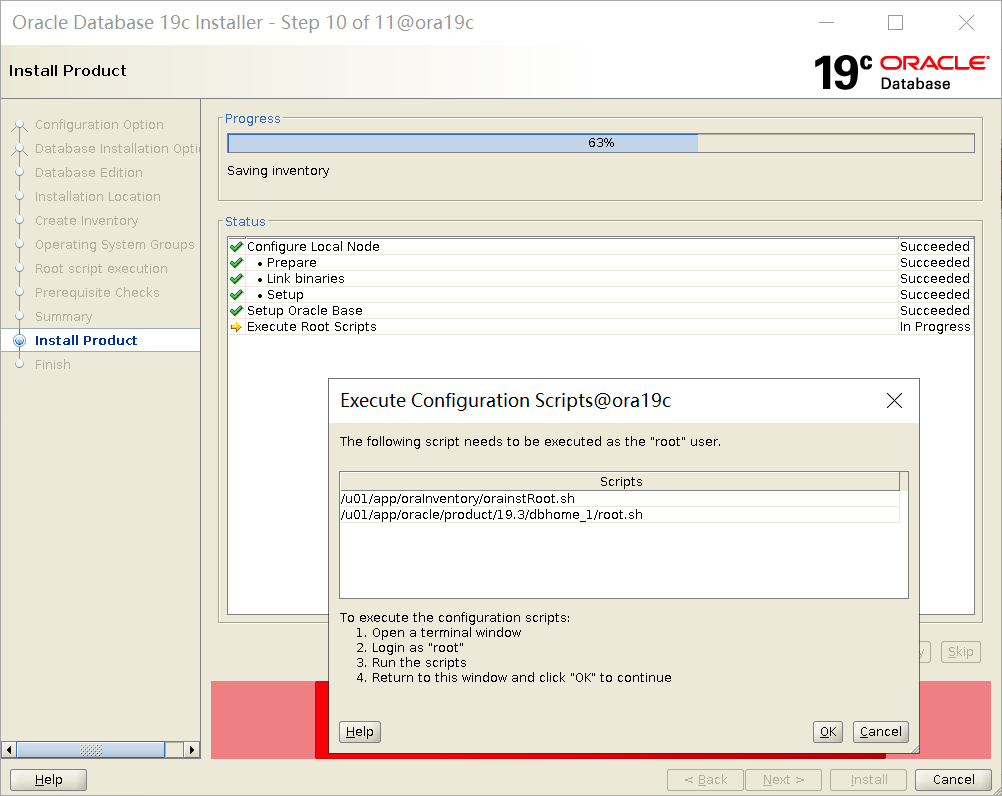
在root用户下执行完上面两个脚本,安装完成
二、 DB安装及初始化实例(静默)
2.1 解压oracle soft
同图形化安装
2.2 安装db soft
1)配置rsp文件,静默安装db
cpp
$ORACLE_HOME/install/response/db_install.rsp模版如下:
cpp
oracle.install.responseFileVersion=/oracle/install/rspfmt_dbinstall_response_schema_v19.0.0
oracle.install.option=INSTALL_DB_SWONLY
UNIX_GROUP_NAME=oinstall
INVENTORY_LOCATION=/u01/app/oraInventory
ORACLE_HOME=/u01/app/oracle/product/19.3/dbhome_1
ORACLE_BASE=/u01/app/oracle
oracle.install.db.InstallEdition=EE
oracle.install.db.OSDBA_GROUP=dba
oracle.install.db.OSOPER_GROUP=oper
oracle.install.db.OSBACKUPDBA_GROUP=backupdba
oracle.install.db.OSDGDBA_GROUP=dgdba
oracle.install.db.OSKMDBA_GROUP=kmdba
oracle.install.db.OSRACDBA_GROUP=racdba
oracle.install.db.rootconfig.executeRootScript=false
上面的模板参数,在图形化安装的过程中,可以手工保存下来,用于静默安装时使用。
2)安装前检查
cpp
cd $ORACLE_HOME
./runInstaller -executePrereqs -silent -responseFile /u01/app/oracle/product/19.3/dbhome_1/install/response/db_install.rsp
针对检查失败的项,需要重点关注
3)执行静默安装
cpp
cd $ORACLE_HOME

--安装DB软件
./runInstaller -silent -responseFile /u01/app/oracle/product/19.3/dbhome_1/install/response/db_install.rsp -skipPrereqs

--执行root.sh脚本
[root@db1 ~]# /u01/app/oraInventory/orainstRoot.sh
Changing permissions of /u01/app/oraInventory.
Adding read,write permissions for group.
Removing read,write,execute permissions for world.

Changing groupname of /u01/app/oraInventory to oinstall.
The execution of the script is complete.
[root@db1 ~]# /u01/app/oracle/product/19.3/dbhome_1/root.sh
Performing root user operation.

The following environment variables are set as:
    ORACLE_OWNER= oracle
    ORACLE_HOME=  /u01/app/oracle/product/19.3/dbhome_1

Enter the full pathname of the local bin directory: [/usr/local/bin]:
The contents of "dbhome" have not changed. No need to overwrite.
The contents of "oraenv" have not changed. No need to overwrite.
The contents of "coraenv" have not changed. No need to overwrite.


Creating /etc/oratab file...
Entries will be added to the /etc/oratab file as needed by
Database Configuration Assistant when a database is created
Finished running generic part of root script.
Now product-specific root actions will be performed.
Oracle Trace File Analyzer (TFA - Standalone Mode) is available at :
    /u01/app/oracle/product/19.3/dbhome_1/bin/tfactl

Note :
1. tfactl will use TFA Service if that service is running and user has been granted access
2. tfactl will configure TFA Standalone Mode only if user has no access to TFA Service or TFA is not installed
三、安装故障
3.1、安装DB软件时提示OS不支持
- 提示信息如下
cpp
[INS-08101] Unexpected error while executing the action at state: 'supportedOSCheck'- 解决方案
报错的主要原因是OS 操作系统不兼容问题,配置以下参数
cpp
export CV_ASSUME_DISTID=RHEL7.6清理环境重新安装 即可
cpp
    rm -rf /u01/app
    rm -rf /etc/oracle
    rm -f /etc/init.d/init.cssd
    rm -f /etc/init.d/init.crs
    rm -f /etc/init.d/init.crsd
    rm -f /etc/init.d/init.evmd
    rm -f /etc/oraInst.loc
    rm -f /u01/app/oracle/oraInventory
    rm -rf /etc/oratab
    rm -rf /tmp/Ora*
3.2 安装前检查,提示SWAP空间配置不合理问题
1)swap的作用
系统管理和DBA都知道,在Linux和UNIX系统上都有一个SWAP分区,该分区,例似于于Windows系统上的虚拟内存。
当系统的物理内存不够用的时候,就需要将物理内存中的一部分空间释放出来,临时转移到SWAP上,供当前运行的程序提供物理内存空间,当程序需要再访问被转移到了SWAP空间上的数据时,再从SWAP中恢复到物理内存中。从此工作原理不难看出来,SWAP要有,但是尽量不要使用,使用了就会发生内存交换,必然影响系统性能。
2) swap设置问题
有经验的系统管理员和DBA,往往会给系统建设一个适中大小的SWAP大小,但实际生产系统中,也经常发现有一些,因为SWAP设置过小的原因,而导致物理内存、SWAP全部耗尽,导致DOWN机的情况;也有发现一因为SWAP设置太大太大而浪费必要的存储空间的情况,SWAP到底该设置多大,可以参考一下ORACLE官方的建议。
3)ORACLE官方建议swap设置标准
对于运行ORACLE数据库的操作系统,ORACLE官方是有设置大小建议的,在此以从ORACLE 官方文档中提取的建议大小为例:
(1)ORACLE官方要求最小1GB的RAM,建议2GB或更大
(2)SWAP与RAM的大小配置关系
- 1)RAM为1-2GB时,SWAP大小建议为RAM大小的1.5倍
- 2)RAM为2-16GB时,SWAP大小建议与RAM大小相等
- 3)RAM大于16GB时,SWAP大小建议为16GB
4)如何调整SWAP空间
(1)创建swapfile
root权限下,创建swapfile,假设当前目录为"/",执行如下命令:
#dd if=/dev/zero of=swapfile bs=1024 count=500000
则在根目录下创建了一个swapfile,名称为"swapfile",大小为500M
(2)将swapfile设置为swap空间
#mkswap swapfile
(3)启用交换空间
swapon swapfile
可以使用free命令查看swap空间大小是否发生变化;
示例如下
cpp
[root@db1~]# cat /proc/swaps
Filename                                Type            Size    Used    Priority
/dev/nvme0n1p2                          partition       2145276 668672  -2
/root/swapfile                          file            499996  0       -3
[root@db1~]# free -m
              total        used        free      shared  buff/cache   available
Mem:           2814         623         700           0        1489         720
Swap:          2583         653        1930