【HTML5】显示-隐藏法 实现网页轮播图效果
实现思路:先将所有图片在页面中设置好,然后给放置图片的元素li添加display:none属性将其隐藏,然后通过js获取到放置图片的元素li,再一个一个的给li元素添加display:block属性将其显示出来,从而达到轮播图的效果。
1.页面布局
(1)页面中主要使用相对定位和绝对定位将左右按钮和滚动标签按钮设置到图片上,相关代码如下:
<--页面设置-->
<div class="div1">
<div class="container">
<div class="content">
<div class="ads">
<ul class="ads-list">
<li class="show"><a href="###"><img src="./images/ad1.avis" /></a></li>
<li><a href="###"><img src="./images/ad2.avis" /></a></li>
<li><a href="###"><img src="./images/ad3.avis" /></a></li>
</ul>
<div class="ads-btn">
<span class="active">1</span>
<span>2</span>
<span>3</span>
</div>
<!--<小于 >大于  ;空格 -->
<a href="javascript:;" class="btn-left btn"><</a>
<a href="javascript:;" class="btn-right btn">></a>
</div>
</div>
</div>
</div>(2)对应的css样式如下:
*{
    margin: 0;
    padding: 0;
    box-sizing: border-box;
}
.div1{
    background-color: aliceblue;
}
a {
    /* 设置字体颜色 */
    color: #172c45;
    /* 取消a标签的下划线 */
    text-decoration: none
}

li {
    /* 取消li前面的图标 */
    list-style: none
}

/* 公共样式 */
.container {
    width: 1100px;
    /* 盒子模型 */
    margin: 0 auto;
    height: 100%;
    border: 1px solid red;
}
content {
    border: 1px solid yellow;
    display: flex;
    justify-content: space-between;
}

.ads {
    /* 父容器设置为弹性盒子之后,可以使用该属性设置弹性项目所占比例 */
    flex: 1;
    border: 2px solid fuchsia;
    position: relative;
}

/* 3.轮播图和切换按钮 */
 .ads-list {
    width: 100%;
    height: 100%;
}

.ads-list li img {
    /* 图片将会扩展来填满其父元素的宽度 */
    width: 100%;
}

/* 轮播图隐藏和显示 */
.ads-list li {
    display: none;
}

.ads-list .show {
    display: block;
}

/* 页码标签 */
.ads-btn {
    width: 100px;
    height: 10px;
    position: absolute;
    bottom: 10px;
    left: 50%;
    margin-left: -50px;
    display: flex;
    justify-content: space-between;
}

.ads-btn span {
    background-color: #007d4f;
    /* 文本首行缩进 */
    text-indent: -99999px;
    border-radius: 4px;
    width: 30px;
}

.ads-btn .active {
    background-color: white;
}

/* 换页按钮 */
.btn {
    width: 30px;
    height: 30px;
    position: absolute;
    top: 50%;
    margin-top: -15px;
    font-size: 30px;
    border-radius: 50%;
    background-color: #007d4f;
    color: white;
    text-align: center;
    line-height: 30px;
}

.btn-left {
    left: 10px;
}

.btn-right {
    right: 10px;
}
(3)js代码如下:
window.addEventListener("load", function () {
ads();
});
function ads(){
console.log("这是⼴告轮播图交互");
// 第⼀步:获取元素
let oAd = document.querySelector(".container .ads");
let aLi = document.querySelectorAll('.content .ads-list li');
let aBtn = document.querySelectorAll('.content .ads-btn span');
let oBtn_left = document.querySelector('.content .ads .btn-left');
let oBtn_right = document.querySelector('.content .ads .btn-right');
let index = 0; // 初始索引,从第⼀张图⽚开始轮播
let timer = null;
// 第二步:初始化,默认第一张图片显示 第一个按钮为焦点状态
aLi[index].classList.add("show");
aBtn[index].classList.add("active");
// 第三步: 给按钮添加点击事件
for (let i = 0; i < aBtn.length; i++) {
aBtn[i].onclick = function () {
index = i;
play();
}
}
function play() {
//先将所有按钮移除点击时的样式
for (let j = 0; j < aBtn.length; j++) {
aBtn[j].classList.remove("active");
aLi[j].classList.remove("show");
}
// 再将点击的按钮设置激活样式
aBtn[index].classList.add("active");
aLi[index].classList.add("show");
}
// 第四步: 自动播放
function autoplay() {
index++;
if (index >= aBtn.length) {
index = 0;
}
play();
}
timer = setInterval(autoplay, 3000);
// 悬停/离开 停止/播放
oAd.onmouseover = function(){
clearInterval(timer);
}
oAd.onmouseout = function(){
timer = setInterval(autoplay, 3000);
}
oBtn_left.onclick = function(){
index--;
if(index<0){
index = aBtn.length-1;
}
play();
}
oBtn_right.onclick = function(){
autoplay();
}
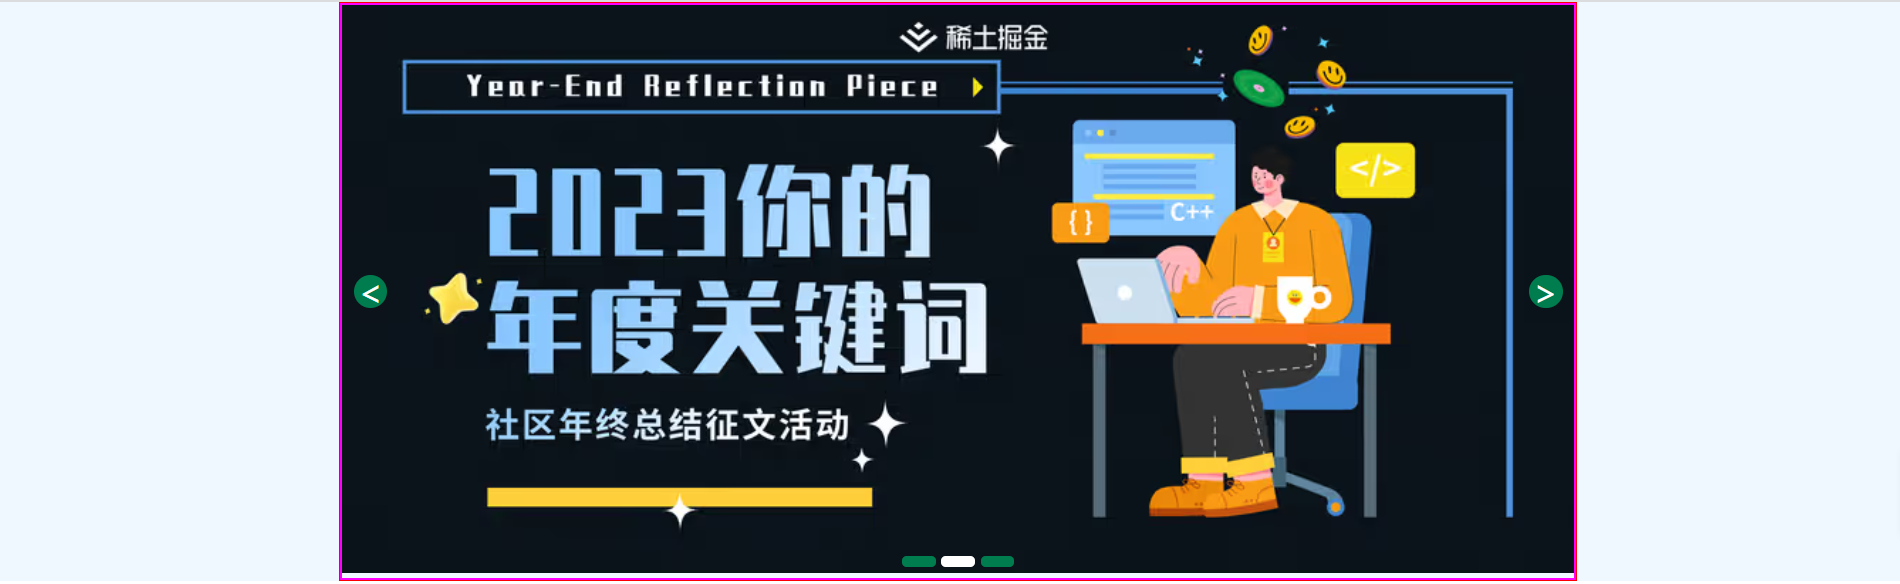
}(4)运行效果