目录
一、资源清单
|-------------|--------------------|--------------------|
| 主机 | 操作系统 | IP地址 |
| tomcat1 | OpenEuler24.03 | 192.168.16.142 |
| tomcat2 | OpenEuler24.03 | 192.168.16.143 |
| Nginx | OpenEuler24.03 | 192.168.16.144 |
二、基础环境
bash
hostnamectl set-hostname tomcat1
hostnamectl set-hostname tomcat2
hostnamectl set-hostname nginx
三、安装配置Tomcat
1.安装依赖
bash
dnf -y install tar
rpm -ivh jdk-8u102-linux-x64.rpm
2.解压并安装
bash
tar xf apache-tomcat-9.0.8.tar.gz
mv apache-tomcat-9.0.8/ /usr/local/tomcat9
3.启动Tomcat
bash
/usr/local/tomcat9/bin/startup.sh4.访问测试
bash
http://192.168.16.142:8080/
http://192.168.16.143:8080/
5.创建存放网页的文件
bash
mkdir -pv /web/webapp16.建立网页测试文件
bash
vi /web/webapp1/index.jsp

<%@ page language="java" import="java.util.*" pageEncoding="UTF-8"%> <html>
<head>
<title>JSP test2 page</title> </head>
<body>
<% out.println("动态页面 2,http://www.test2.com") ;%> </body>
<body>
<div>动态页面的图片 2</div><br><img src="logo.png">
</body>
</html>
7.修改Tomcat的server.xml文件(162行后添加)
bash
vi /usr/local/tomcat9/conf/server.xml

        <Context docBase="/web/webapp1" path="" reloadable="false" >
        </Context>
8.重启Tomcat
bash
/usr/local/tomcat9/bin/shutdown.sh
/usr/local/tomcat9/bin/startup.sh
四、安装配置Nginx
1.安装Nginx
bash
dnf install -y gcc make pcre-devel zlib-devel openssl-devel perl-ExtUtils-MakeMaker tar
useradd -M -s /sbin/nologin nginx
tar zxf nginx-1.26.3.tar.gz
cd nginx-1.26.3
./configure --prefix=/usr/local/nginx --user=nginx --group=nginx --with-http_ssl_module --with-http_v2_module --with-pcre
make && make install
2.配置Nginx.conf
bash
vi /usr/local/nginx/conf/nginx.conf

#(33行下添加)
upstream tomcat_server {

server 192.168.16.142:8080 weight=1;

server 192.168.16.143:8080 weight=1;

}

# 动态页面正则(48行下添加)
location ~ .*.jsp$ {
proxy_set_header HOST $host;

proxy_set_header X-Real-IP $remote_addr;

proxy_set_header Client-IP $remote_addr;

proxy_set_header X-Forwarded-For $proxy_add_x_forwarded_for;

proxy_pass http://tomcat_server;

}

# 静态图片正则
location ~ .*\.(gif|jpg|jpeg|png|bmp|swf)$ {

root /usr/local/nginx/html/img;

expires 30d;

}
3.创建静态文件目录并上传图片
bash
mkdir /usr/local/nginx/html/img
mv /root/logo.png /usr/local/nginx/html/img/
ls /usr/local/nginx/html/img
logo.png
4.添加网页测试文件
bash
vi /usr/local/nginx/html/index.html
<!DOCTYPE html>
<html>
<head>
<meta http-equiv="content-type" content="text/html;charset=utf-8">
<title>静态页面</title>
<style>
body {
width: 35em;
margin: 0 auto;
font-family: Tahoma, Verdana, Arial, sans-serif;
}
</style>
</head>
<body>
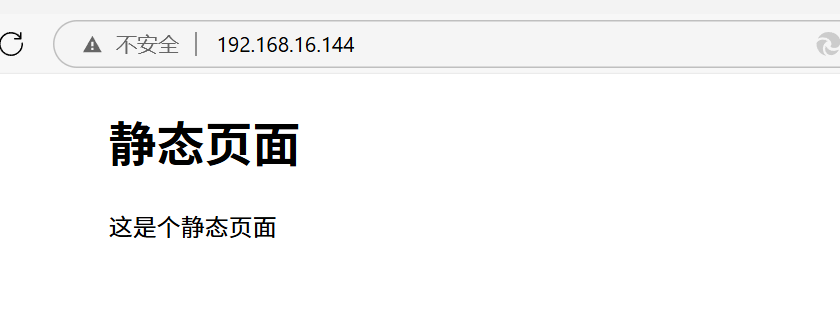
<h1>静态页面</h1>
<p>这是个静态页面</p>
</body>
</html>5.测试配置文件是否正确
bash
/usr/local/nginx/sbin/nginx -t6.启动Nginx服务
bash
/usr/local/nginx/sbin/nginx7.测试静态网页
8.测试负载均衡
a.更改tomcat1网页
bash
vi /web/webapp1/index.jsp

<%@ page language="java" import="java.util.*" pageEncoding="UTF-8"%> <html>
<head>
<title>JSP test2 page</title> </head>
<body>
<% out.println("动态页面 1,http://www.test1.com") ;%> </body>
<body>
<div>动态页面的图片 2</div><br><img src="logo.png">
</body>
</html>
b.测试
多次访问 http://192.168.16.144/index.jsp 应轮流显示来自tomcat1和tomcat2的响应