文章目录
- 1、主架构图
-
- [1.1 IP地址规划](#1.1 IP地址规划)
- 2、web服务器操作
- 3、配置nginx服务器的负载均衡
- 4、配置keepalived
-
- [4.1 master](#4.1 master)
- [4.1 backup](#4.1 backup)
- 5、测试双机热备
-
- [5.1 两台keepalived服务器均开启](#5.1 两台keepalived服务器均开启)
- [5.2 模拟master节点故障](#5.2 模拟master节点故障)
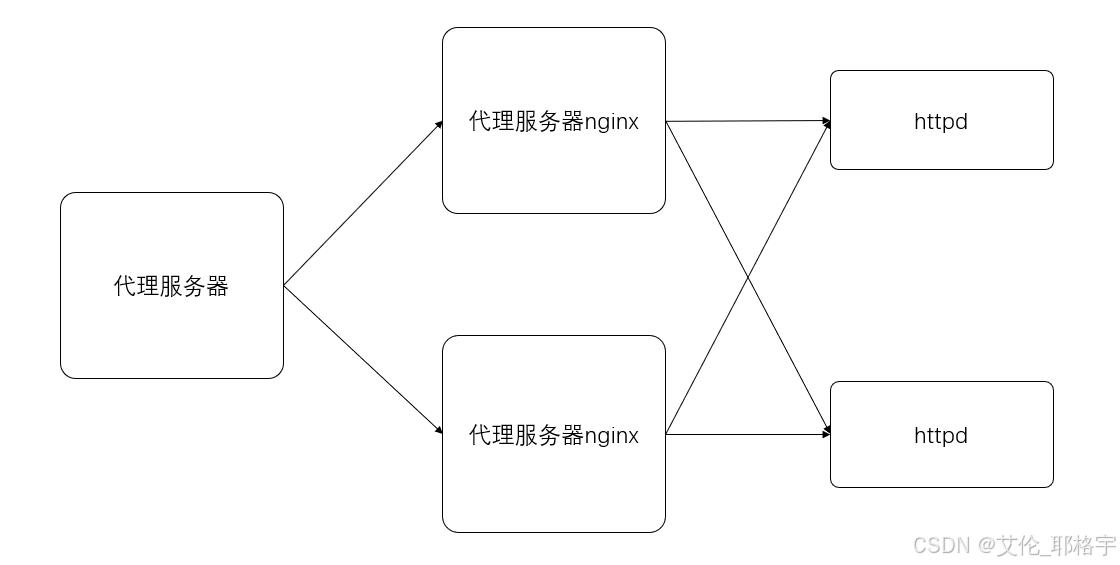
1、主架构图
1.1 IP地址规划
| 服务器 | IP地址 |
|---|---|
| web1 | 192.168.107.193 |
| web2 | 192.168.107.192 |
| nginx1 | 192.168.107.12 |
| nginx2 | 192.168.107.11 |
2、web服务器操作
注:web1和web2操作相同
js
#安装httpd服务
yum install -y httpd
#定制特制页面
cd /var/www/html/
ls
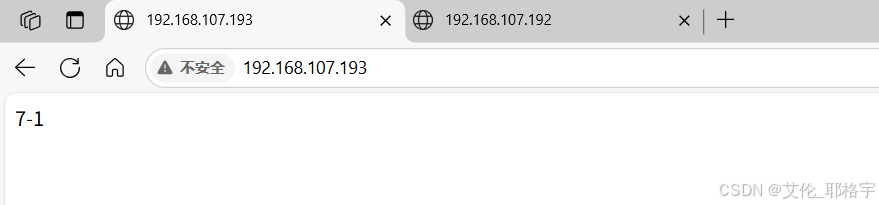
echo "7-1" > index.html
#开启httpd服务
systemctl start httpd.service
#查看服务是否开启
[root@localhost html]# systemctl status httpd.service结果:
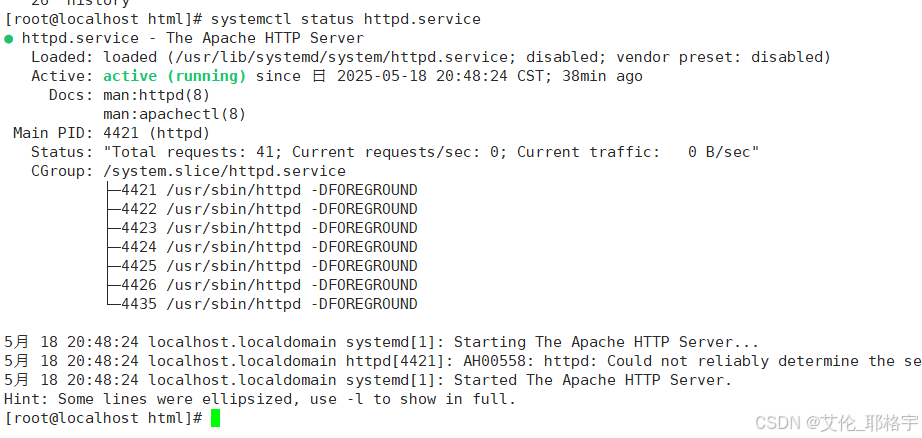
web2与web1服务相同

3、配置nginx服务器的负载均衡
js
#安装nginx
yum install -y nginx
systemctl start nginx
#更改配置文件,配置upstream模块
vim /etc/nginx/nginx.conf
upstream web {
server 192.168.107.193;
server 192.168.107.192;
}
location / {
proxy_pass http://web;
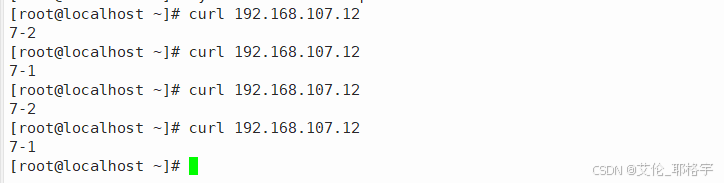
}验证负载均衡
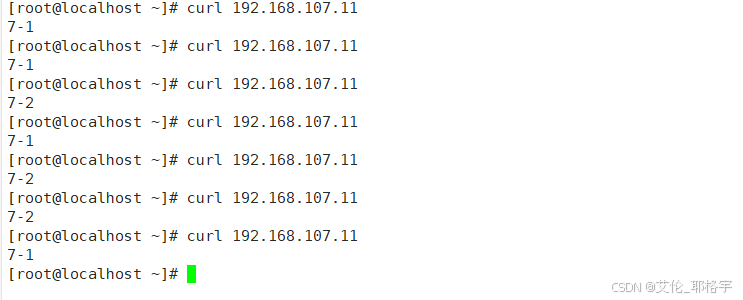
同样的操作,我们在nginx2上配置一样
验证负载均衡
4、配置keepalived
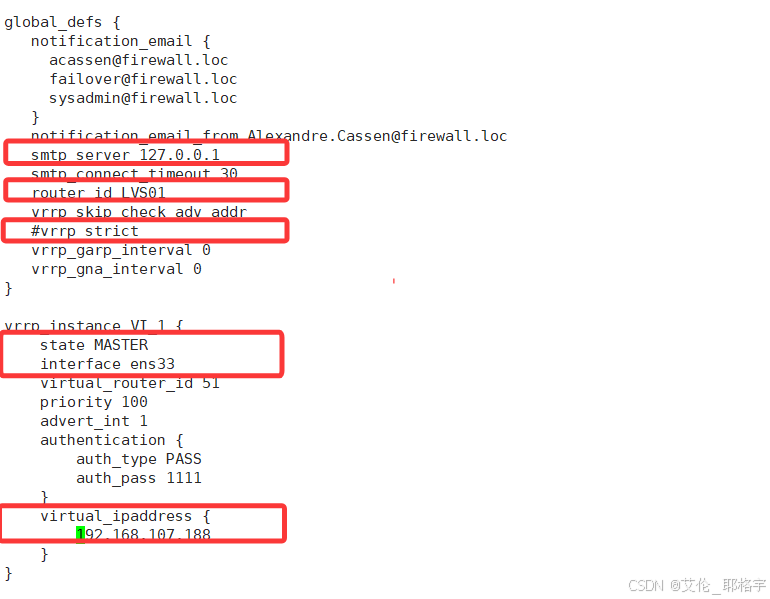
4.1 master
js
#安装keepalived
yum install keepalived   -y

#更改配置文件
[root@localhost ~]# vim /etc/keepalived/keepalived.conf
#配置文件如下
global_defs {
   notification_email {
     acassen@firewall.loc
     failover@firewall.loc
     sysadmin@firewall.loc
   }
   notification_email_from Alexandre.Cassen@firewall.loc
   smtp_server 127.0.0.1
   smtp_connect_timeout 30
   router_id LVS01
   vrrp_skip_check_adv_addr
   #vrrp_strict
   vrrp_garp_interval 0
   vrrp_gna_interval 0
}

vrrp_instance VI_1 {
    state MASTER
    interface ens33
    virtual_router_id 51
    priority 100
    advert_int 1
    authentication {
        auth_type PASS
        auth_pass 1111
    }
    virtual_ipaddress {
        192.168.107.188
    }
}
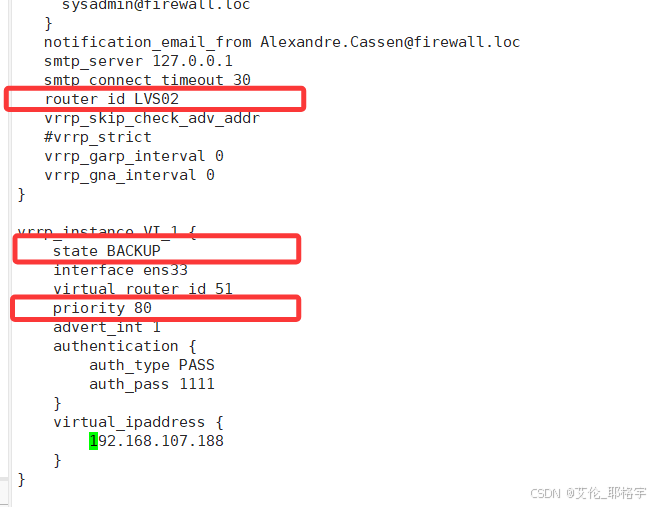
4.1 backup
js
#安装keepalived
yum install keepalived   -y

#更改配置文件
[root@localhost ~]# vim /etc/keepalived/keepalived.conf
#配置文件如下
  }
   notification_email_from Alexandre.Cassen@firewall.loc
   smtp_server 127.0.0.1
   smtp_connect_timeout 30
   router_id LVS02
   vrrp_skip_check_adv_addr
   #vrrp_strict
   vrrp_garp_interval 0
   vrrp_gna_interval 0
}

vrrp_instance VI_1 {
    state BACKUP
    interface ens33
    virtual_router_id 51
    priority 80
    advert_int 1
    authentication {
        auth_type PASS
        auth_pass 1111
    }
    virtual_ipaddress {
        192.168.107.188
    }
5、测试双机热备
5.1 两台keepalived服务器均开启
在客户端上访问vip地址
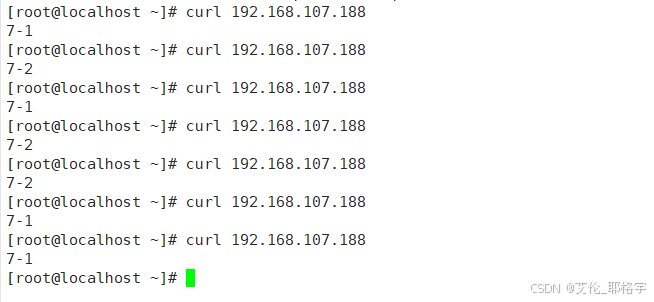
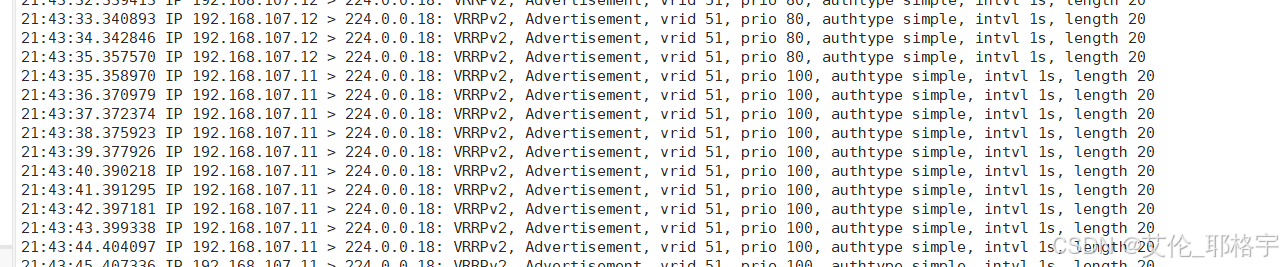
检测流量的来源:结果为master在转发

5.2 模拟master节点故障
在master上模拟keepalived服务down掉
[root@localhost ~]# systemctl stop keepalived.service
再次访问vip地址
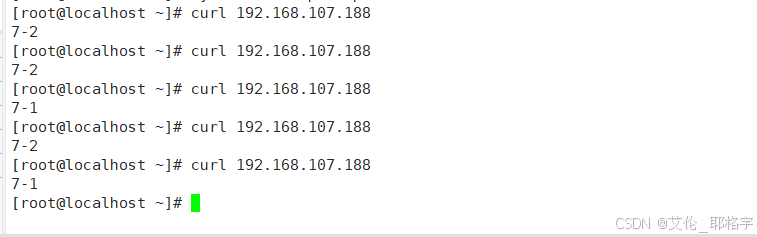
发现从master节点转到了backup节点

此时我们再次开启master节点上的keepalived服务
[root@localhost ~]# systemctl start keepalived.service
转发服务就会从backup上再次转到master上了