系列文章目录
第一章 下载源码 运行cornerstone3D example
第二章 修改示例crosshairs的图像源
第三章 vite+vue3+cornerstonejs项目创建
第四章 加载本地文件夹中的dicom文件并归档
第五章 dicom文件生成png,显示检查栏,序列栏
第六章 stack viewport 显示dicom序列
第七章 在Displayer四个角落显示文字
第八章 在Displayer中显示图像方位
第九章 自动加载、清空显示、修改布局
第十章 显示标尺
第十一章 测量工具
第十二章 镜像、负像、旋转、伪彩、复位
第十三章 自定义垂直滚动条
第十四章 参考线、同步调窗、同步缩放、同步移动
第十五章 预设窗值
第十六章 工具栏svg按钮
第十七章 同步滚动
文章目录
- 系列文章目录
- 前言
- 一、播放条组件Playbar.vue
-
- [1. 数据定义](#1. 数据定义)
- [2. 事件与函数](#2. 事件与函数)
- [3. 模板与样式](#3. 模板与样式)
- 二、使用步骤
-
- [1. Displayer中添加播放条](#1. Displayer中添加播放条)
- [2. 修改DisplayerArea](#2. 修改DisplayerArea)
- 总结
前言
cornerstone3D中有CINE Tool可以实现自动播放,参考官方示例
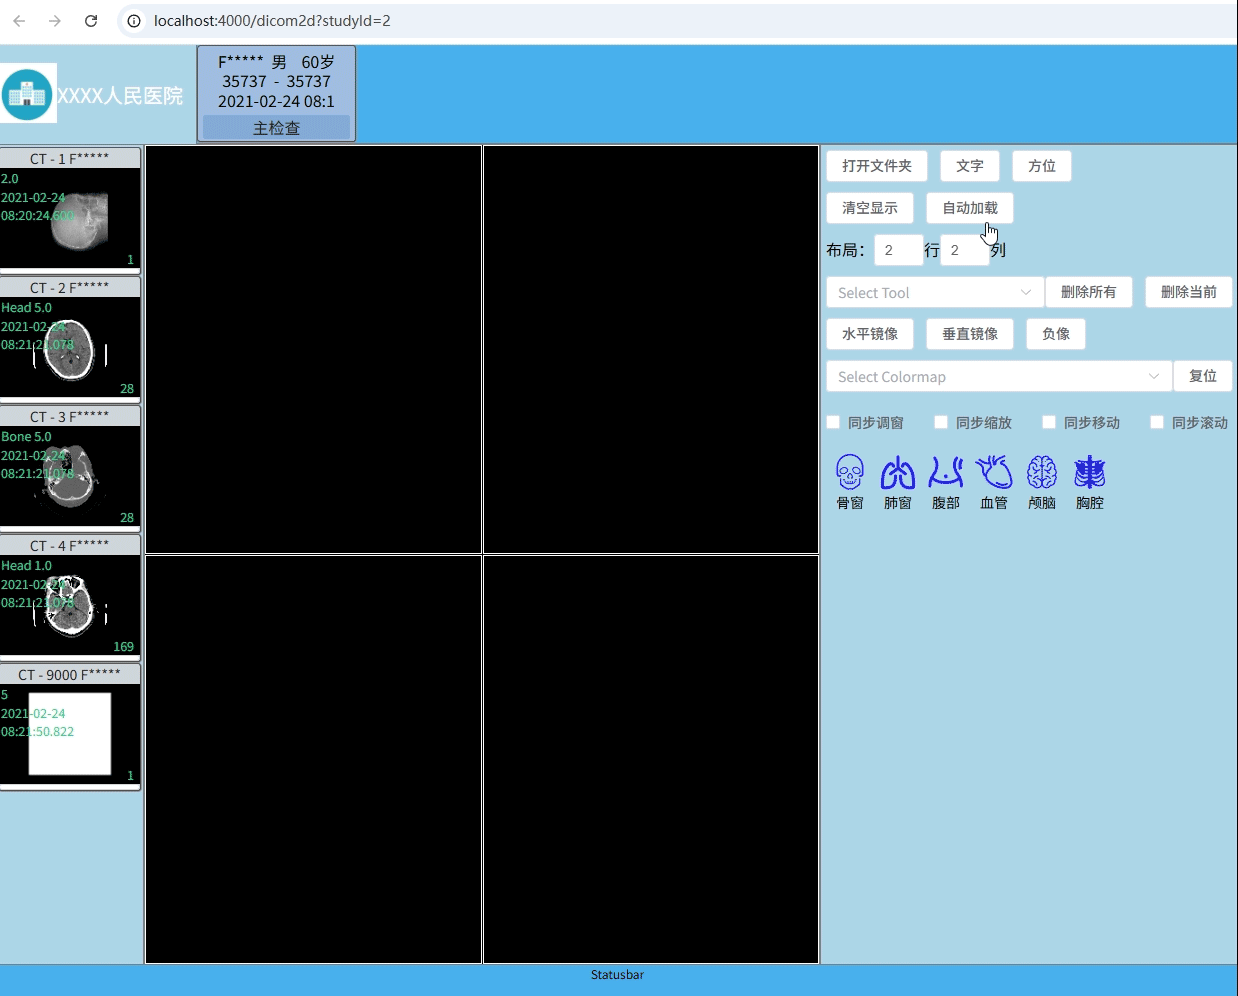
本文没有使用CINE Tool,自定义实现一个自动播放条,供各位看官参考,显示在Displayer下方,有七个按钮,播放/停止,上一张,下一张,第一张,最后一张,播放速度加,播放速度减。
效果如下:
一、播放条组件Playbar.vue
1. 数据定义
playButtons: 定义五个按钮图标
state.current: 当前索引
state.fps: 播放速度
state.autoPlay: 播放状态
state.fpsTimer: 播放定时器
props.max: 最大索引,关联序列图像数量-1
2. 事件与函数
- 按钮点击事件,改变current值,发送changeValue
- 监听autoPlay, 为true则发送startPlay,用于停止其他窗口播放
- 监听fps,重新设置timer
- 导出两个函数 setCurrent用于外部设置当前索引,stop用于停止播放
3. 模板与样式
见代码
javascript
<script lang="js" setup name="Playbar">
import { ref, reactive, watch, computed } from "vue";

const emit = defineEmits(["startPlay", "changeValue"]);
const state = reactive({
	current: 0,
	autoPlay: false,
	fps: 4,
    fpsTimer: null,
});

const playButtons = reactive([
    "/src/assets/images/first.png",
	"/src/assets/images/prev.png",
	"/src/assets/images/play.png",
	"/src/assets/images/next.png",
	"/src/assets/images/last.png",
]);

const props = defineProps({
	max: {
		type: Number,
		default: 1,
	},
});

const buttonStyle = computed(() => {
    return (idx)=> {
        const icon = playButtons[idx];
        return { backgroundImage: `url(${icon})`, };
    };
});


const upFPS = ()=> {
    state.fps++;
	if (state.fps > 25) state.fps = 25;
}
const downFPS = () => {
    state.fps--;
	if (state.fps < 1) state.fps = 1;
}

const onPlayButtonClick = (idx) => {
    switch (idx) {
        case 0: // first
            state.current = 0;
            break;
        case 1: // previous
            state.current--;
            if (state.current < 0) state.current = 0;
            break;
        case 2: // play/stop
            state.autoPlay = !state.autoPlay;
            break;
        case 3: // next
            state.current++;
            if (state.current > props.max)
                state.current = props.max;
            break;
        case 4: // last
            state.current = props.max;
            break;
    }
	emit("changeValue", state.current);
}

watch(() => state.autoPlay, (newVal) => {
    if (newVal === true) {
        console.log("autoPlay start");
        playButtons.splice(2, 1, "/src/assets/images/stop.png");

        state.fpsTimer = setInterval(() => {
            state.current = (state.current+1) % (props.max+1);
			emit("changeValue", state.current);
        }, 1000 / state.fps);

        // 通知自动播放,停止其他播放器
        emit("startPlay");
    } else {
        console.log("autoPlay stop");
        playButtons.splice(2, 1, "/src/assets/images/play.png");
        clearInterval(state.fpsTimer);
    }
});

watch(() => state.fps, (newVal) => {
    if (state.autoPlay) {
        clearInterval(state.fpsTimer);
        state.fpsTimer = setInterval(() => {
            state.current = (state.current+1) % (props.max+1);
			emit("changeValue", state.current);
        }, 1000 / newVal);
    }
});

const setCurrent = (val) => {
	state.current = val;
};

const stop = () => {
	state.autoPlay = false;
};

defineExpose({
	setCurrent,
	stop,
});
</script>

<template>
	<div class="playbar" @mousedown.stop.prevent>
		<div
			class="playbutton"
			v-for="(icon, idx) in playButtons"
			:key="idx"
			:style="buttonStyle(idx)"
			@click.stop="onPlayButtonClick(idx)"
		></div>
		<div class="playfps">
			<div class="fps">
				<div class="fpstitle">FPS</div>
				<div class="fpsvalue">{{ state.fps }}</div>
			</div>
			<div class="fps">
				<div class="fpsup" @click.stop="upFPS"></div>
				<div class="fpsdown" @click.stop="downFPS"></div>
			</div>
		</div>
	</div>
</template>

<style lang="scss" scoped>
.playbar {
	width: 222px;
	height: 32px;
	margin: 0 auto;
	align-items: center;
	background-color: rgb(180, 180, 180);
}

.playbutton {
	display: inline-block;
	width: 30px;
	height: 32px;
	background-repeat: no-repeat;
	background-position: center center;
	background-size: 30px auto;
}

.playfps {
	display: flex;
	width: 60px;
	height: 100%;
	float: right;
}

.fps {
	display: flex;
	flex-direction: column;
	width: 30px;
	height: 32px;
}

.fpstitle {
	height: 12px;
	font-size: 12px;
	line-height: 12px;
}
.fpsvalue {
	height: 20px;
	font-size: 18px;
	line-height: 20px;
}

.fpsup {
	width: 30px;
	height: 16px;
	background-image: url("../assets/images/up.png");
	background-repeat: no-repeat;
	background-position: center center;
	background-size: auto 16px;
}

.fpsdown {
	width: 30px;
	height: 16px;
	background-image: url("../assets/images/down.png");
	background-repeat: no-repeat;
	background-position: center center;
	background-size: auto 16px;
}

.playbutton:hover,
.fpsup:hover,
.fpsdown:hover {
	background-color: #f0f0f0;
	border: 1px solid #ccc;
}
</style>
二、使用步骤
1. Displayer中添加播放条
- 使用vue中的transition name="fade"给播放条增加动画
- 传入属性max=序列图像数量 - 1
- 响应changeValue, startPlay两个事件
- 有starPlay事件时,mitt发送stopAutoPlay,在DisplayerArea中停止其他窗口播放
- 增加mousemove事件处理,用于在鼠标移入时显示播放条
- 增加mouseleave事件处理,用于鼠标移出时隐藏播放条
javascript
<script lang="js" setup name="Displayer">
const playbar = ref(null);

const canShowPlaybar = computed(() => {
    return state.isSeries && state.series && state.series.GetCount() > 1;
});

const mouseMove = (e) => {
    const curPt = { x: e.offsetX, y: e.offsetY };
    if (canShowPlaybar && maxPos.value > 1) {
        const rect = displayer.value.getBoundingClientRect();
        if (curPt.y > rect.height - 52 && curPt.y < rect.height-20) {
            showPlaybar.value = true;
        } else {
            showPlaybar.value = false;
        }
    }
};

const mouseOutPlaybar = () => {
    showPlaybar.value = false;
};

const startPlay = () => {
    proxy.emitter.emit("stopAutoPlay", { pos: props.pos });
};
</script>

<template>
	<div
		class="displaybox"
		:class="borderClass"
		@drop.prevent="dragDrop($event)"
		@dragover.prevent
		@mousedown="onMouseDown"
		@mouseover="onMouseOver"
		@mouseout="onMouseOut"
		@mouseup="onMouseUp"
	>
		<div class="displayer" ref="displayer" @mousemove="mouseMove">
			<span class="orient_top" v-show="appStore.showOrientText">{{
				orientation.top
			}}</span>
			<span class="orient_bottom" v-show="appStore.showOrientText">{{
				orientation.bottom
			}}</span>
			<span class="orient_left" v-show="appStore.showOrientText">{{
				orientation.left
			}}</span>
			<span class="orient_right" v-show="appStore.showOrientText">{{
				orientation.right
			}}</span>
		</div>
		<div class="scroll-right" v-show="isLoaded()">
			<VerticalScrollbar
				ref="scrollbar"
				:min="minPos"
				:max="maxPos"
				:size="10"
				@position="scrollTo"
			/>
		</div>
		<transition name="fade">
			<div
				class="animated-playbar"
				v-show="showPlaybar"
				@mouseleave="mouseOutPlaybar"
			>
				<Playbar
					ref="playbar"
					:max="maxPos"
					@changeValue="scrollTo"
					@startPlay="startPlay"
				/>
			</div>
		</transition>
	</div>
</template>

<style lang="scss" scoped>
...

.animated-playbar {
	position: absolute;
	display: flex;
	justify-content: center;
	width: 100%;
	height: 32px;
	bottom: 20px;
	left: 0;
	z-index: 11;
}

.fade-enter-active {
	transition: opacity 0.2s ease;
}
.fade-leave-active {
	transition: opacity 0.6s ease;
}

.fade-enter, .fade-leave-to {
	opacity: 0;
}
</style>
2. 修改DisplayerArea
- 响应stopAutoPlay事件,停止其他窗口播放
javascript
const stopAutoPlay = ({pos}) => {
    for (let i = 0; i < dispRefs.length; i++) {
        if (i !== pos) {
            dispRefs[i].stopAutoPlay();
        }
    }
}

onMounted(() => {
    ...
    proxy.emitter.on("syncWindow", syncVoiRange);
    ...
    proxy.emitter.on("stopAutoPlay", stopAutoPlay);
});

onUnmounted(() => {
    proxy.emitter.off("syncWindow", syncVoiRange);
    ...
    proxy.emitter.off("stopAutoPlay", stopAutoPlay);
});
总结
实现自动播放条,控制序列图像的播放、停止,上一张,下一张,第一张,最后一张及播放速度。