前言
什么是移动端适配?
让页面的元素在屏幕尺寸变化时, 同比放大或缩小
移动适配的方案
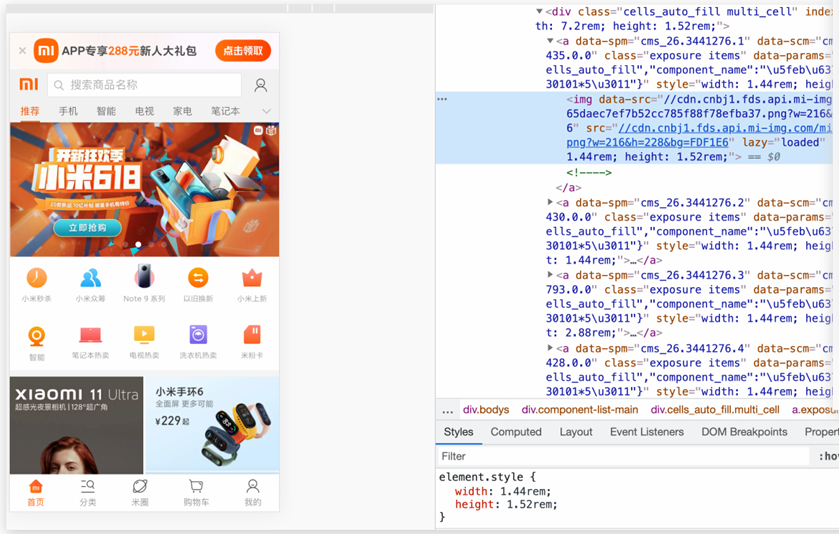
- rem:目前多数企业在用的解决方案
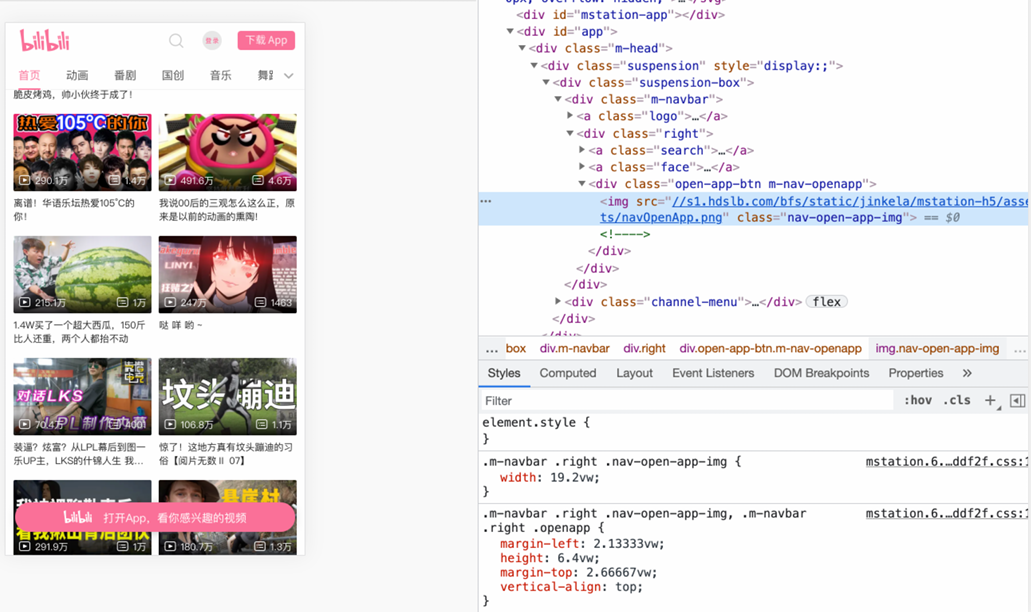
- vw/vh:未来的解决方案
rem
体验rem适配
目标: 能够使用rem单位设置网页元素的尺寸
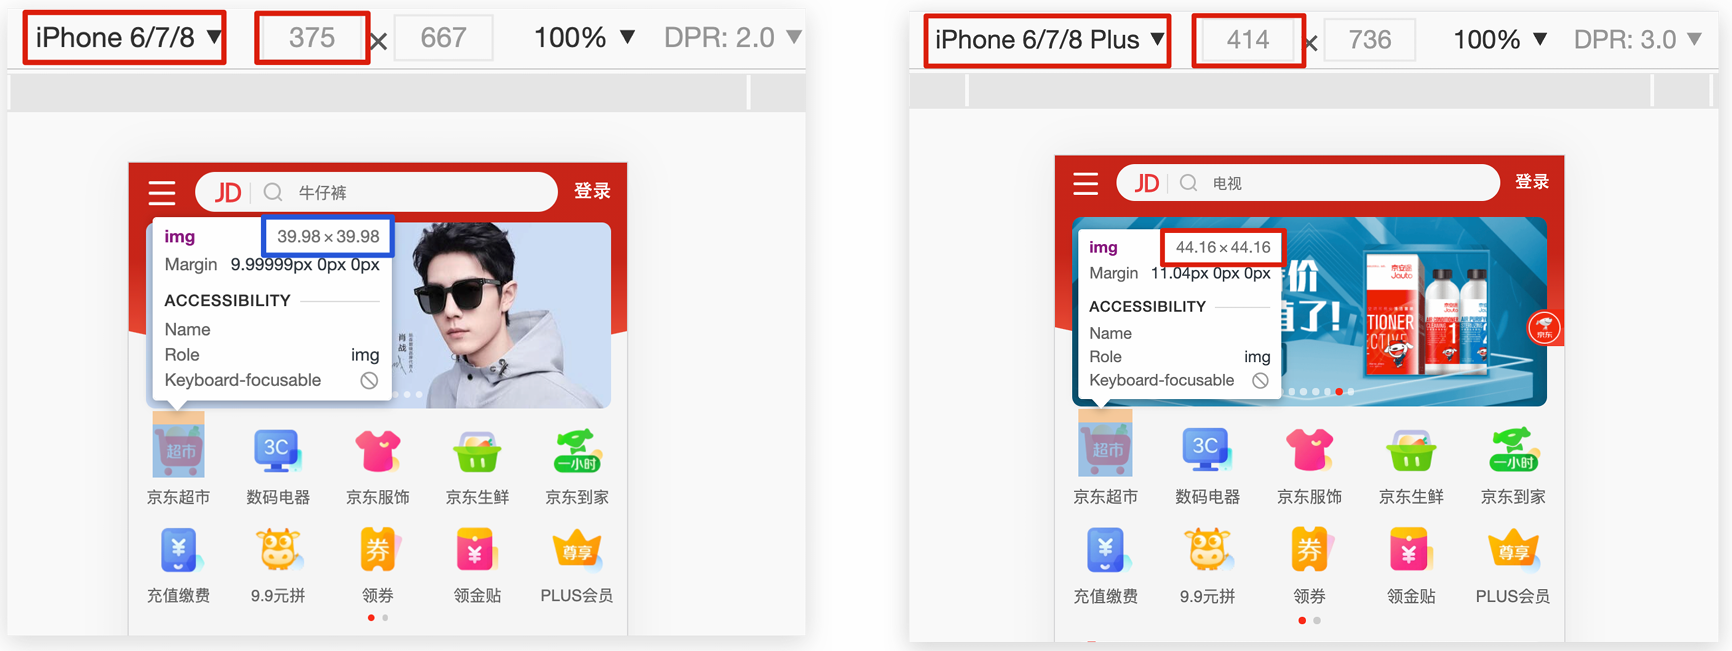
- 网页效果: 屏幕宽度不同,网页元素尺寸不同(等比缩放)
- px单位或百分比布局可以实现吗 ?
- px单位是绝对单位, 不管屏幕大小都是固定的尺寸
- 百分比布局特点宽度自适应,高度固定, 不能满足现在的企业要求
什么是rem?
-
rem是css3新增的尺寸单位
-
是一种相对单位
-
rem单位是相对于HTML标签的字号计算结果
-
1rem =1HTML字号大小
rem是多大